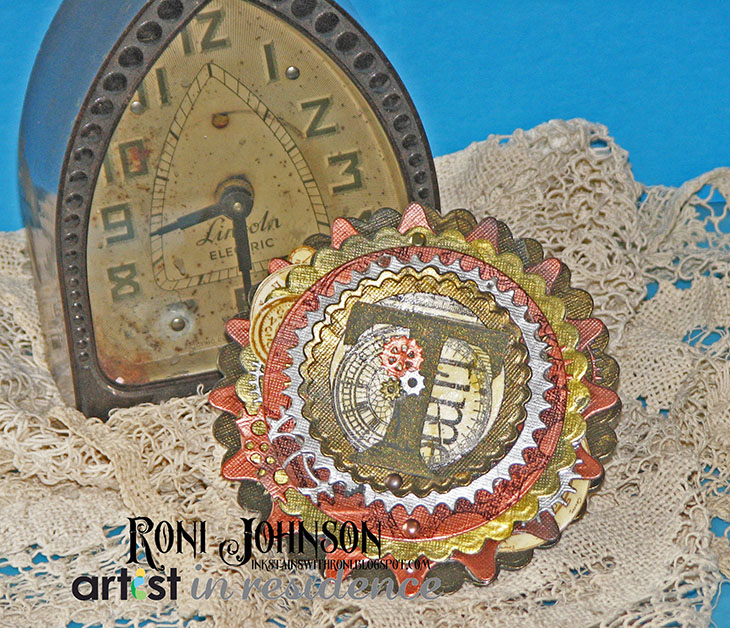
When we were asked to create a project with movement I knew immediately what I wanted to do…a telescoping card! This project incorporates so many things I love…metallics in the form of Metallic Creative Medium, Steampunk designs, rubber stamping and sheets of mica – Mother Natures own form of glitter. Let’s get “moving” and make this telescoping card come to life.
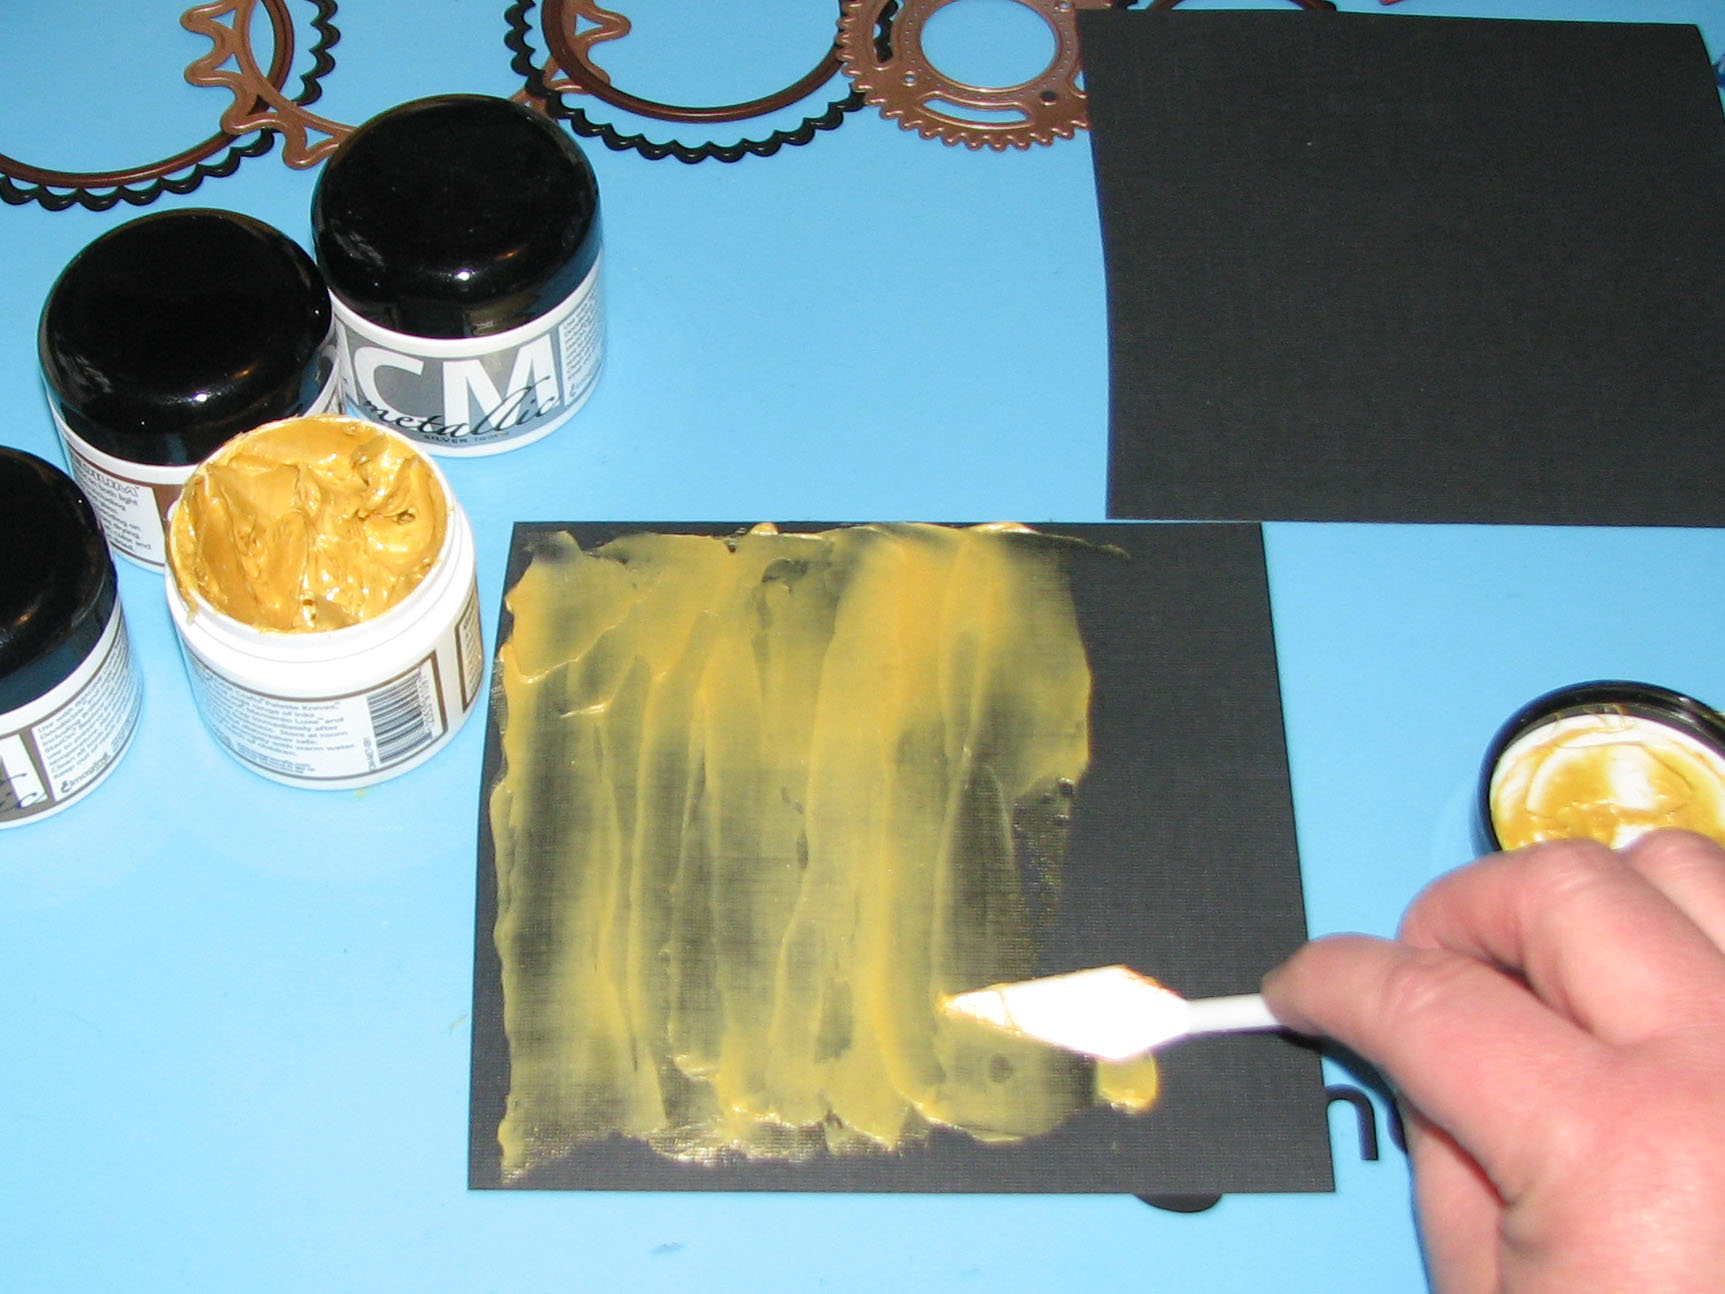
1. Cut black cardstock into eight (8) 6″ x 6″ panels; set four (4) of the panels aside for now.
2. Use the Diamond Trowel to spread Gold Creative Medium over one of the 6″ x 6″ panels. Set aside to dry.
3. Repeat step 2 with the Copper, Bronze and Silver Creative Medium on three additional cardstock panels. Set each panel aside to dry.

4. Emboss two or three sheets of mica by sandwiching it between cutting plates and a gear die; run it through a die cutting machine. The mica is thick enough that it won’t cut completely through all of the layers but instead will emboss the gear design in the upper most layers.


5. Use a Sponge Dauber to rub Gauche StazOn Midi ink into the embossed design. Wipe off any excess ink with a dry cloth.
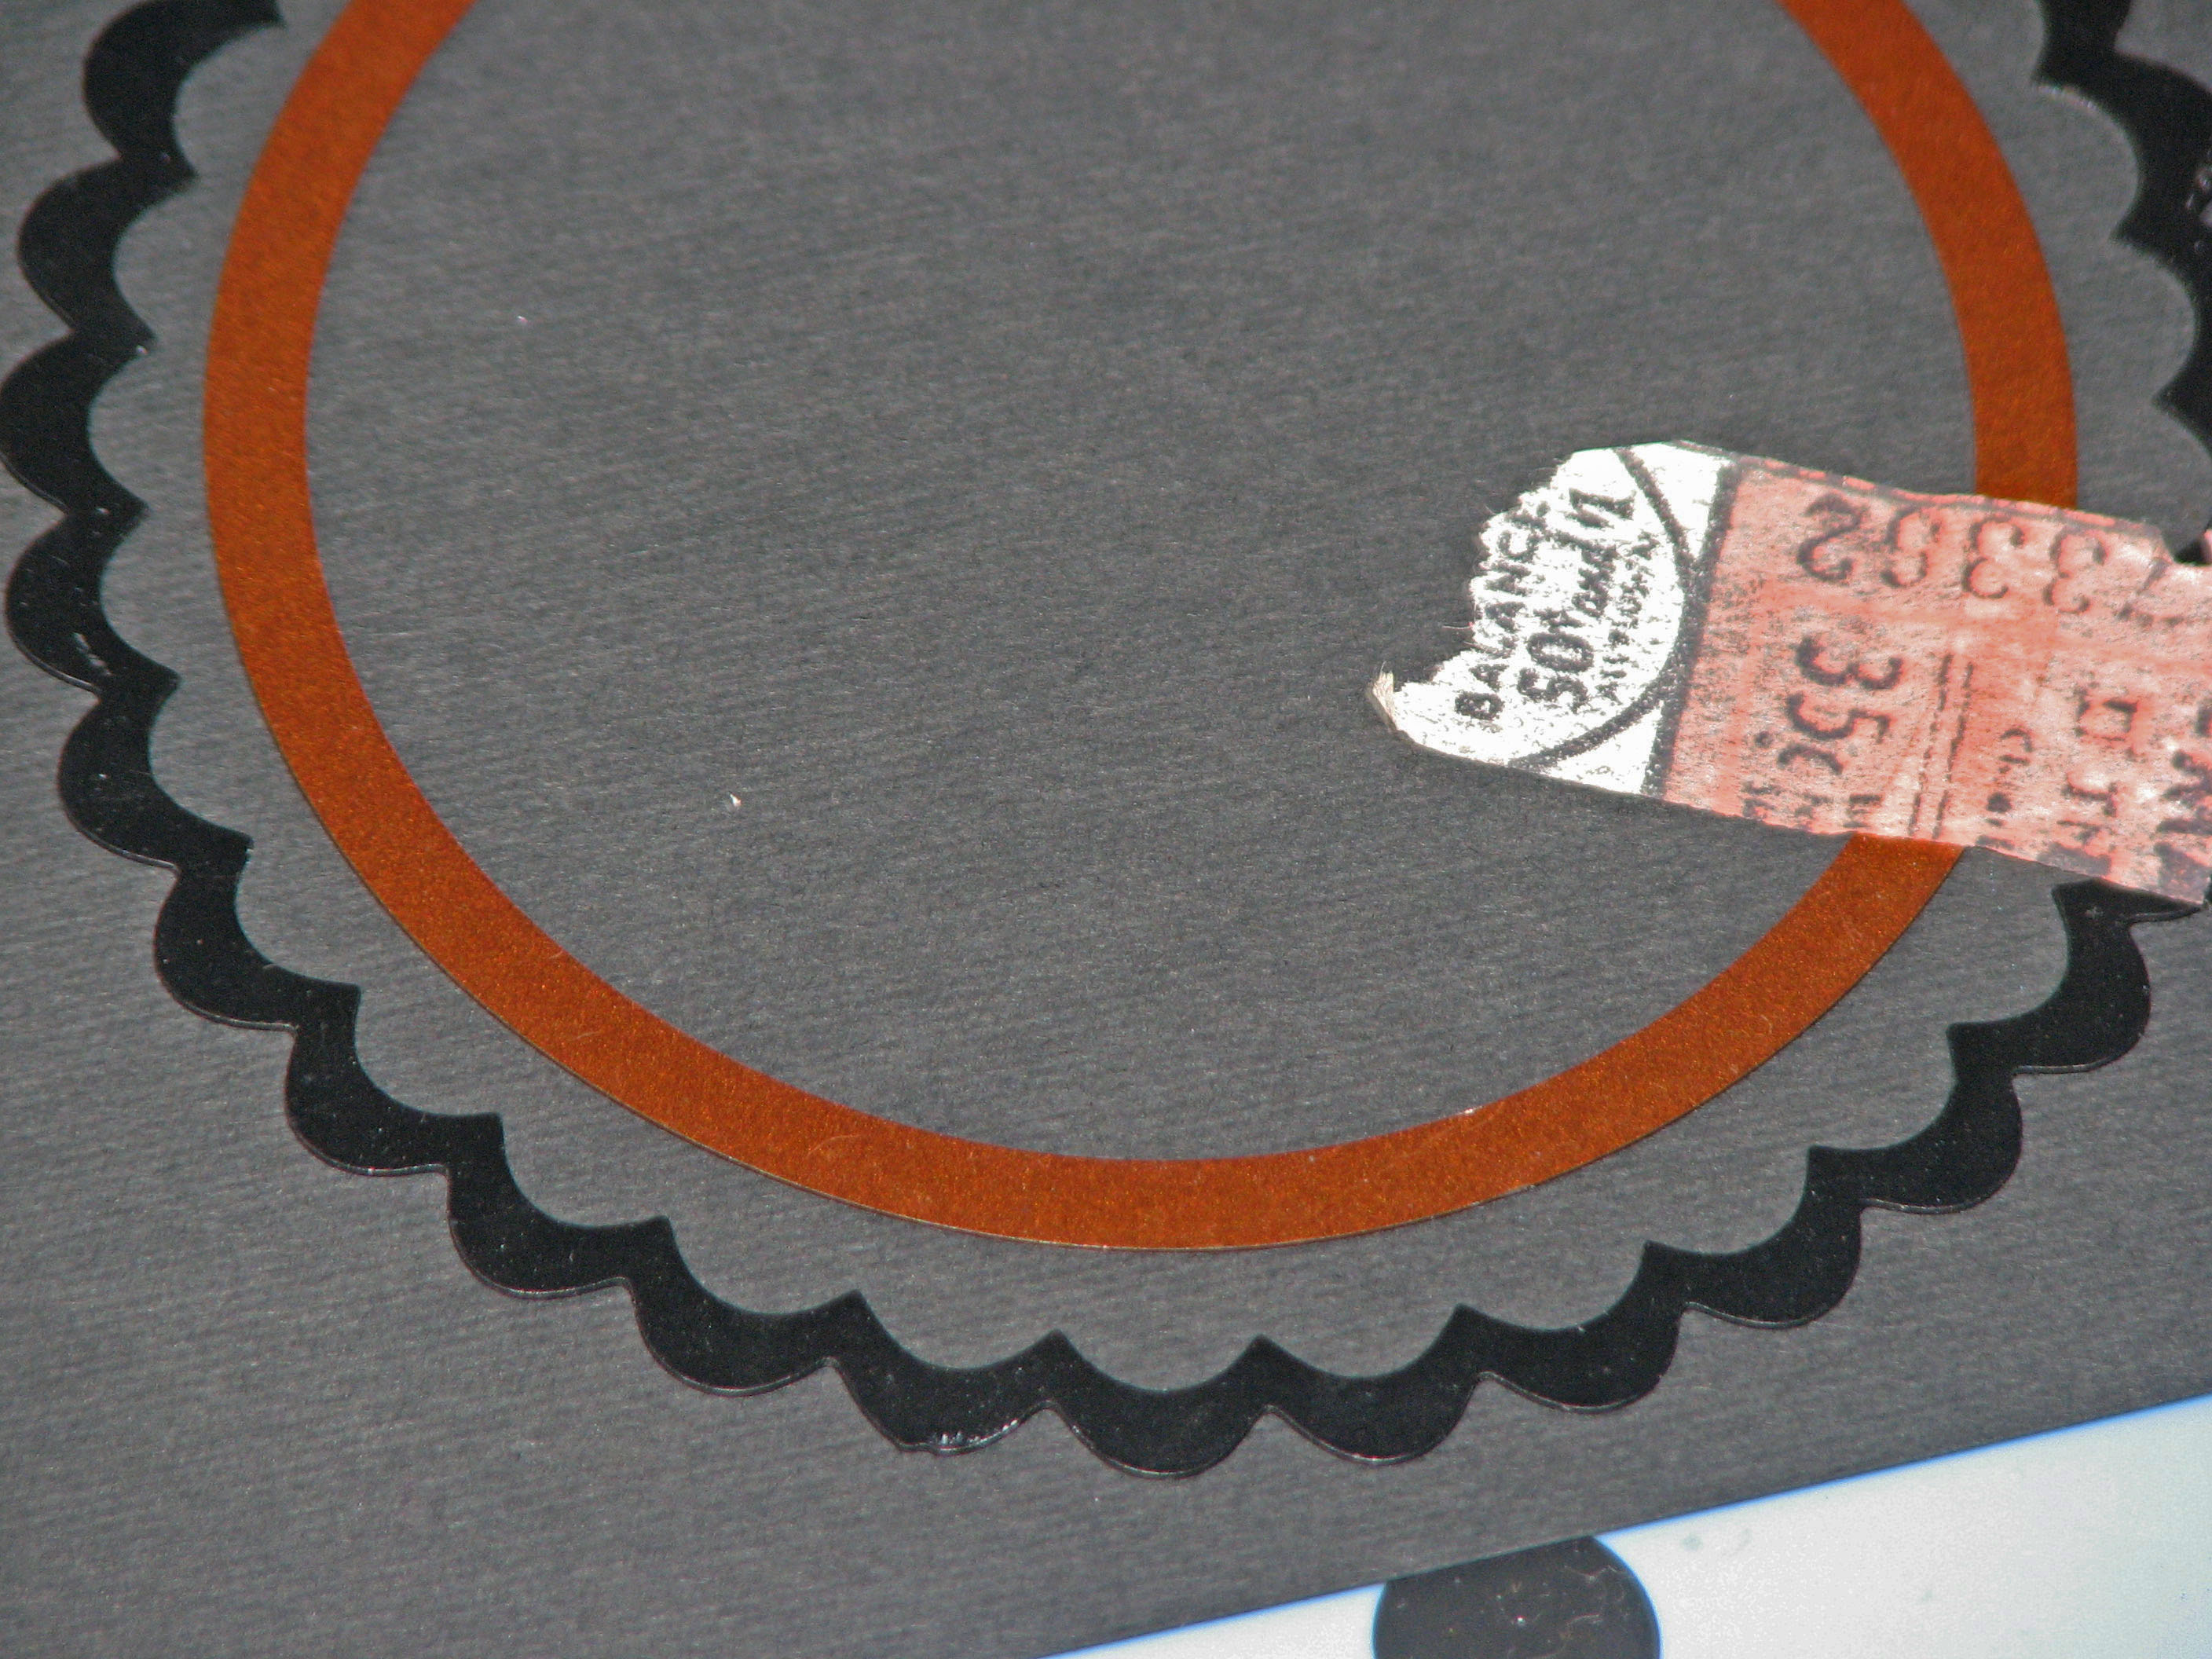
6. Once the Creative Medium has dried, die-cut four (4) frames as follows: Place one of the blank 6″ x 6″ panels face down over a panel covered with Creative Medium, tape down one or two cutting dies as shown to cut a frame. Run it through a die cutting machine once or twice (depending on the machine).

7. Repeat this process with smaller sets of cutting dies until you have a total of (4) frames. Retain two of the inside circles cut from the frames to insert into the mix.
8. Trim the embossed mica sheets to fit inside the die-cut frames.


9. Assemble each frame by applying adhesive to the plain frame, stack the embossed mica sheet in the center and place the Creative Medium frame on top of the stack.
10. Repeat step #9 for each additional frame until all have been assembled. Notice the two circles which have been inserted into the arrangement.


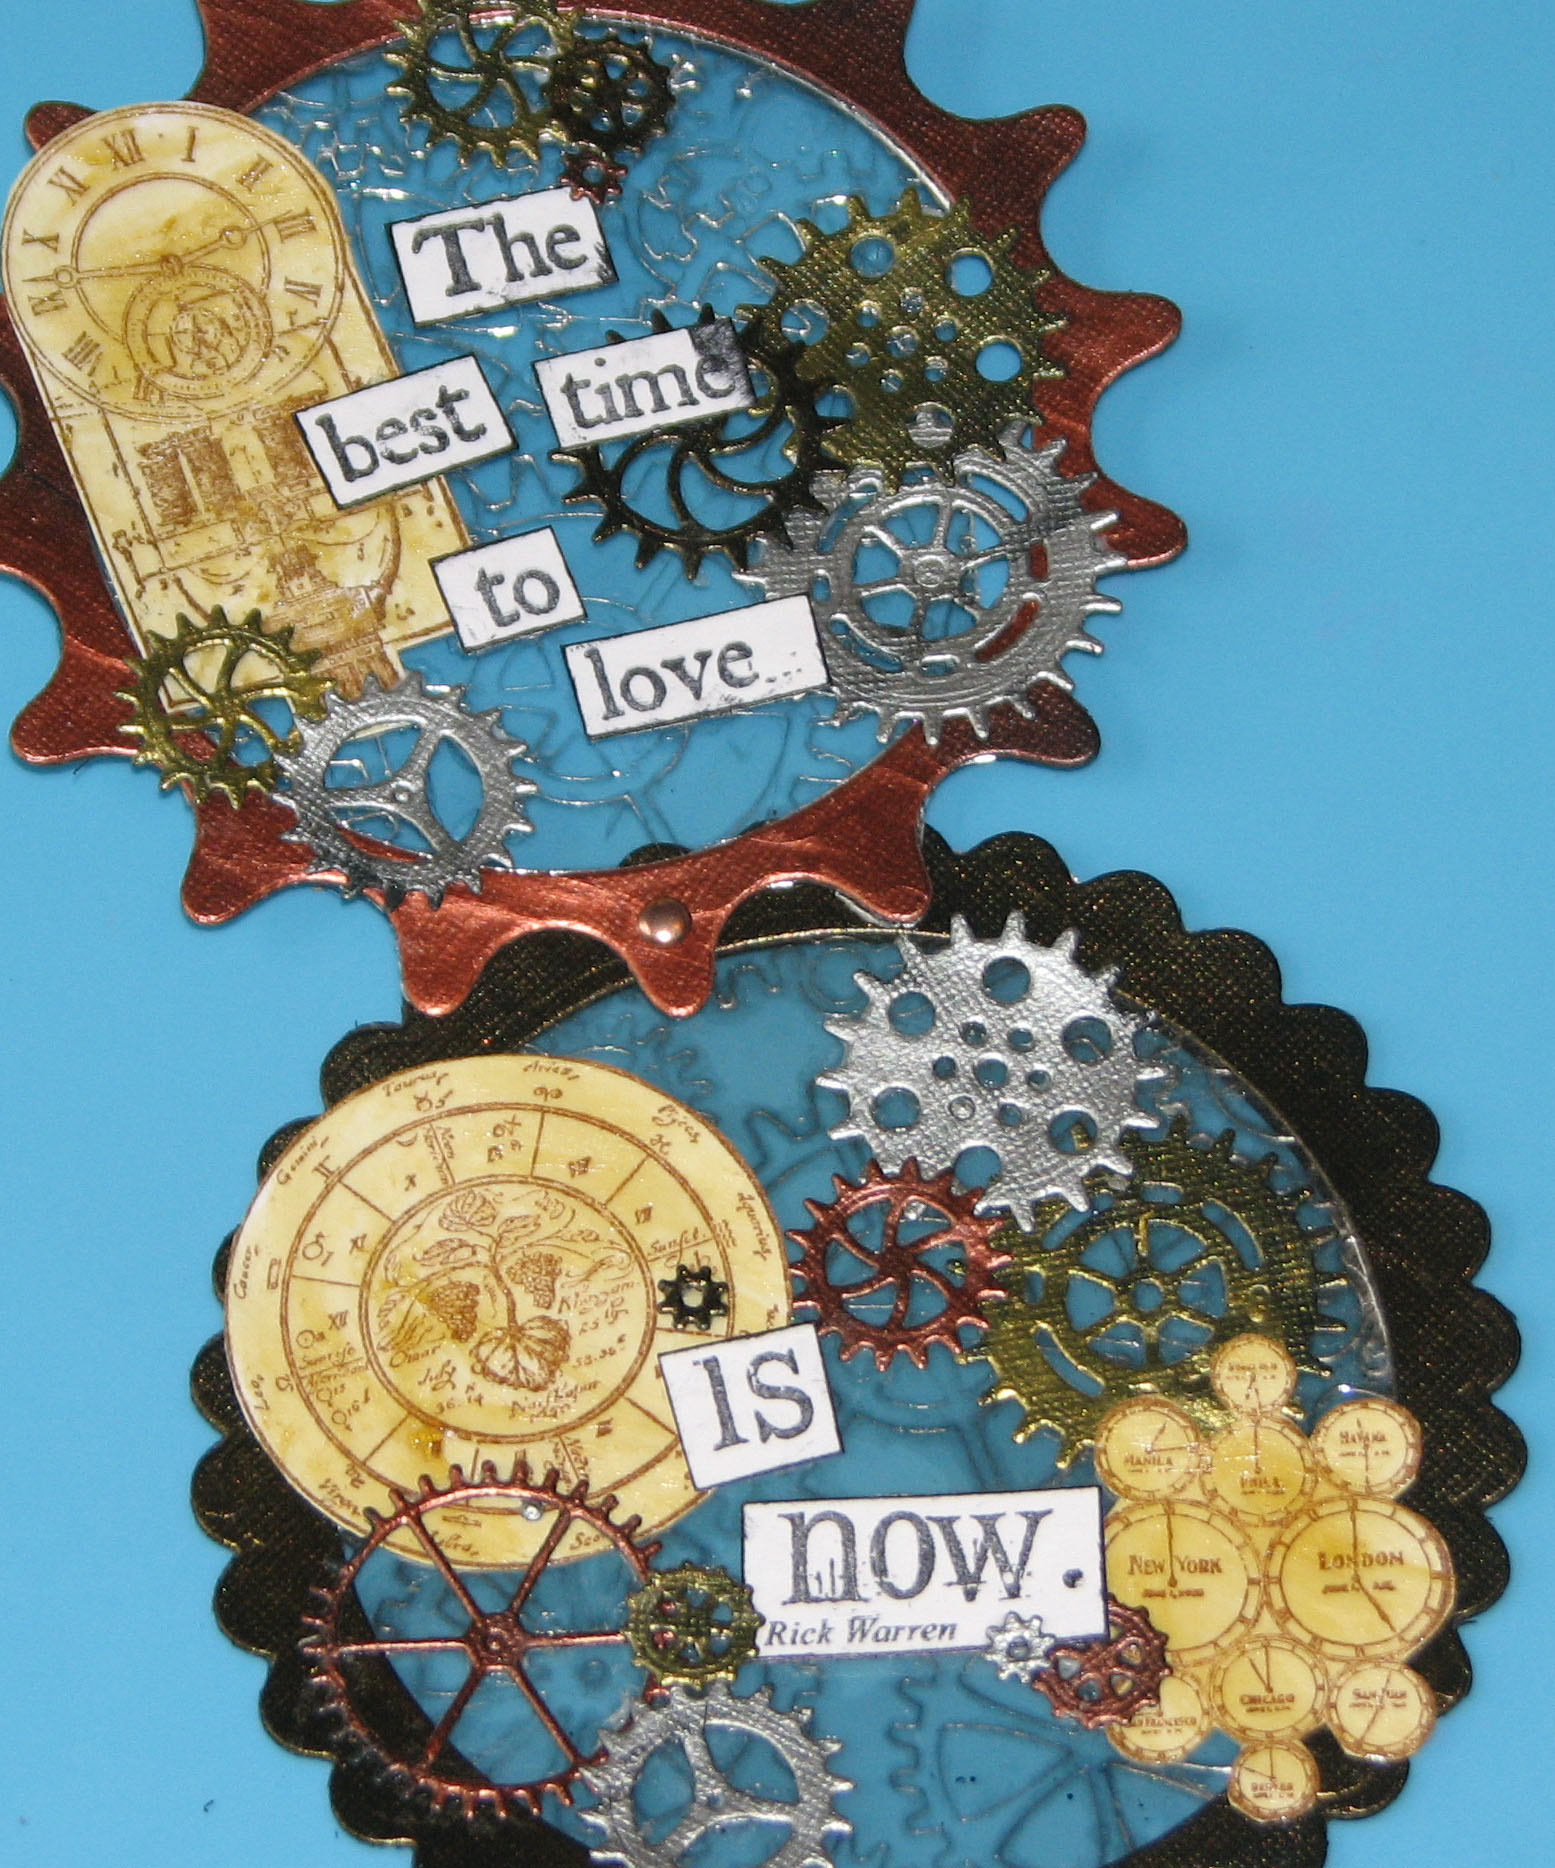
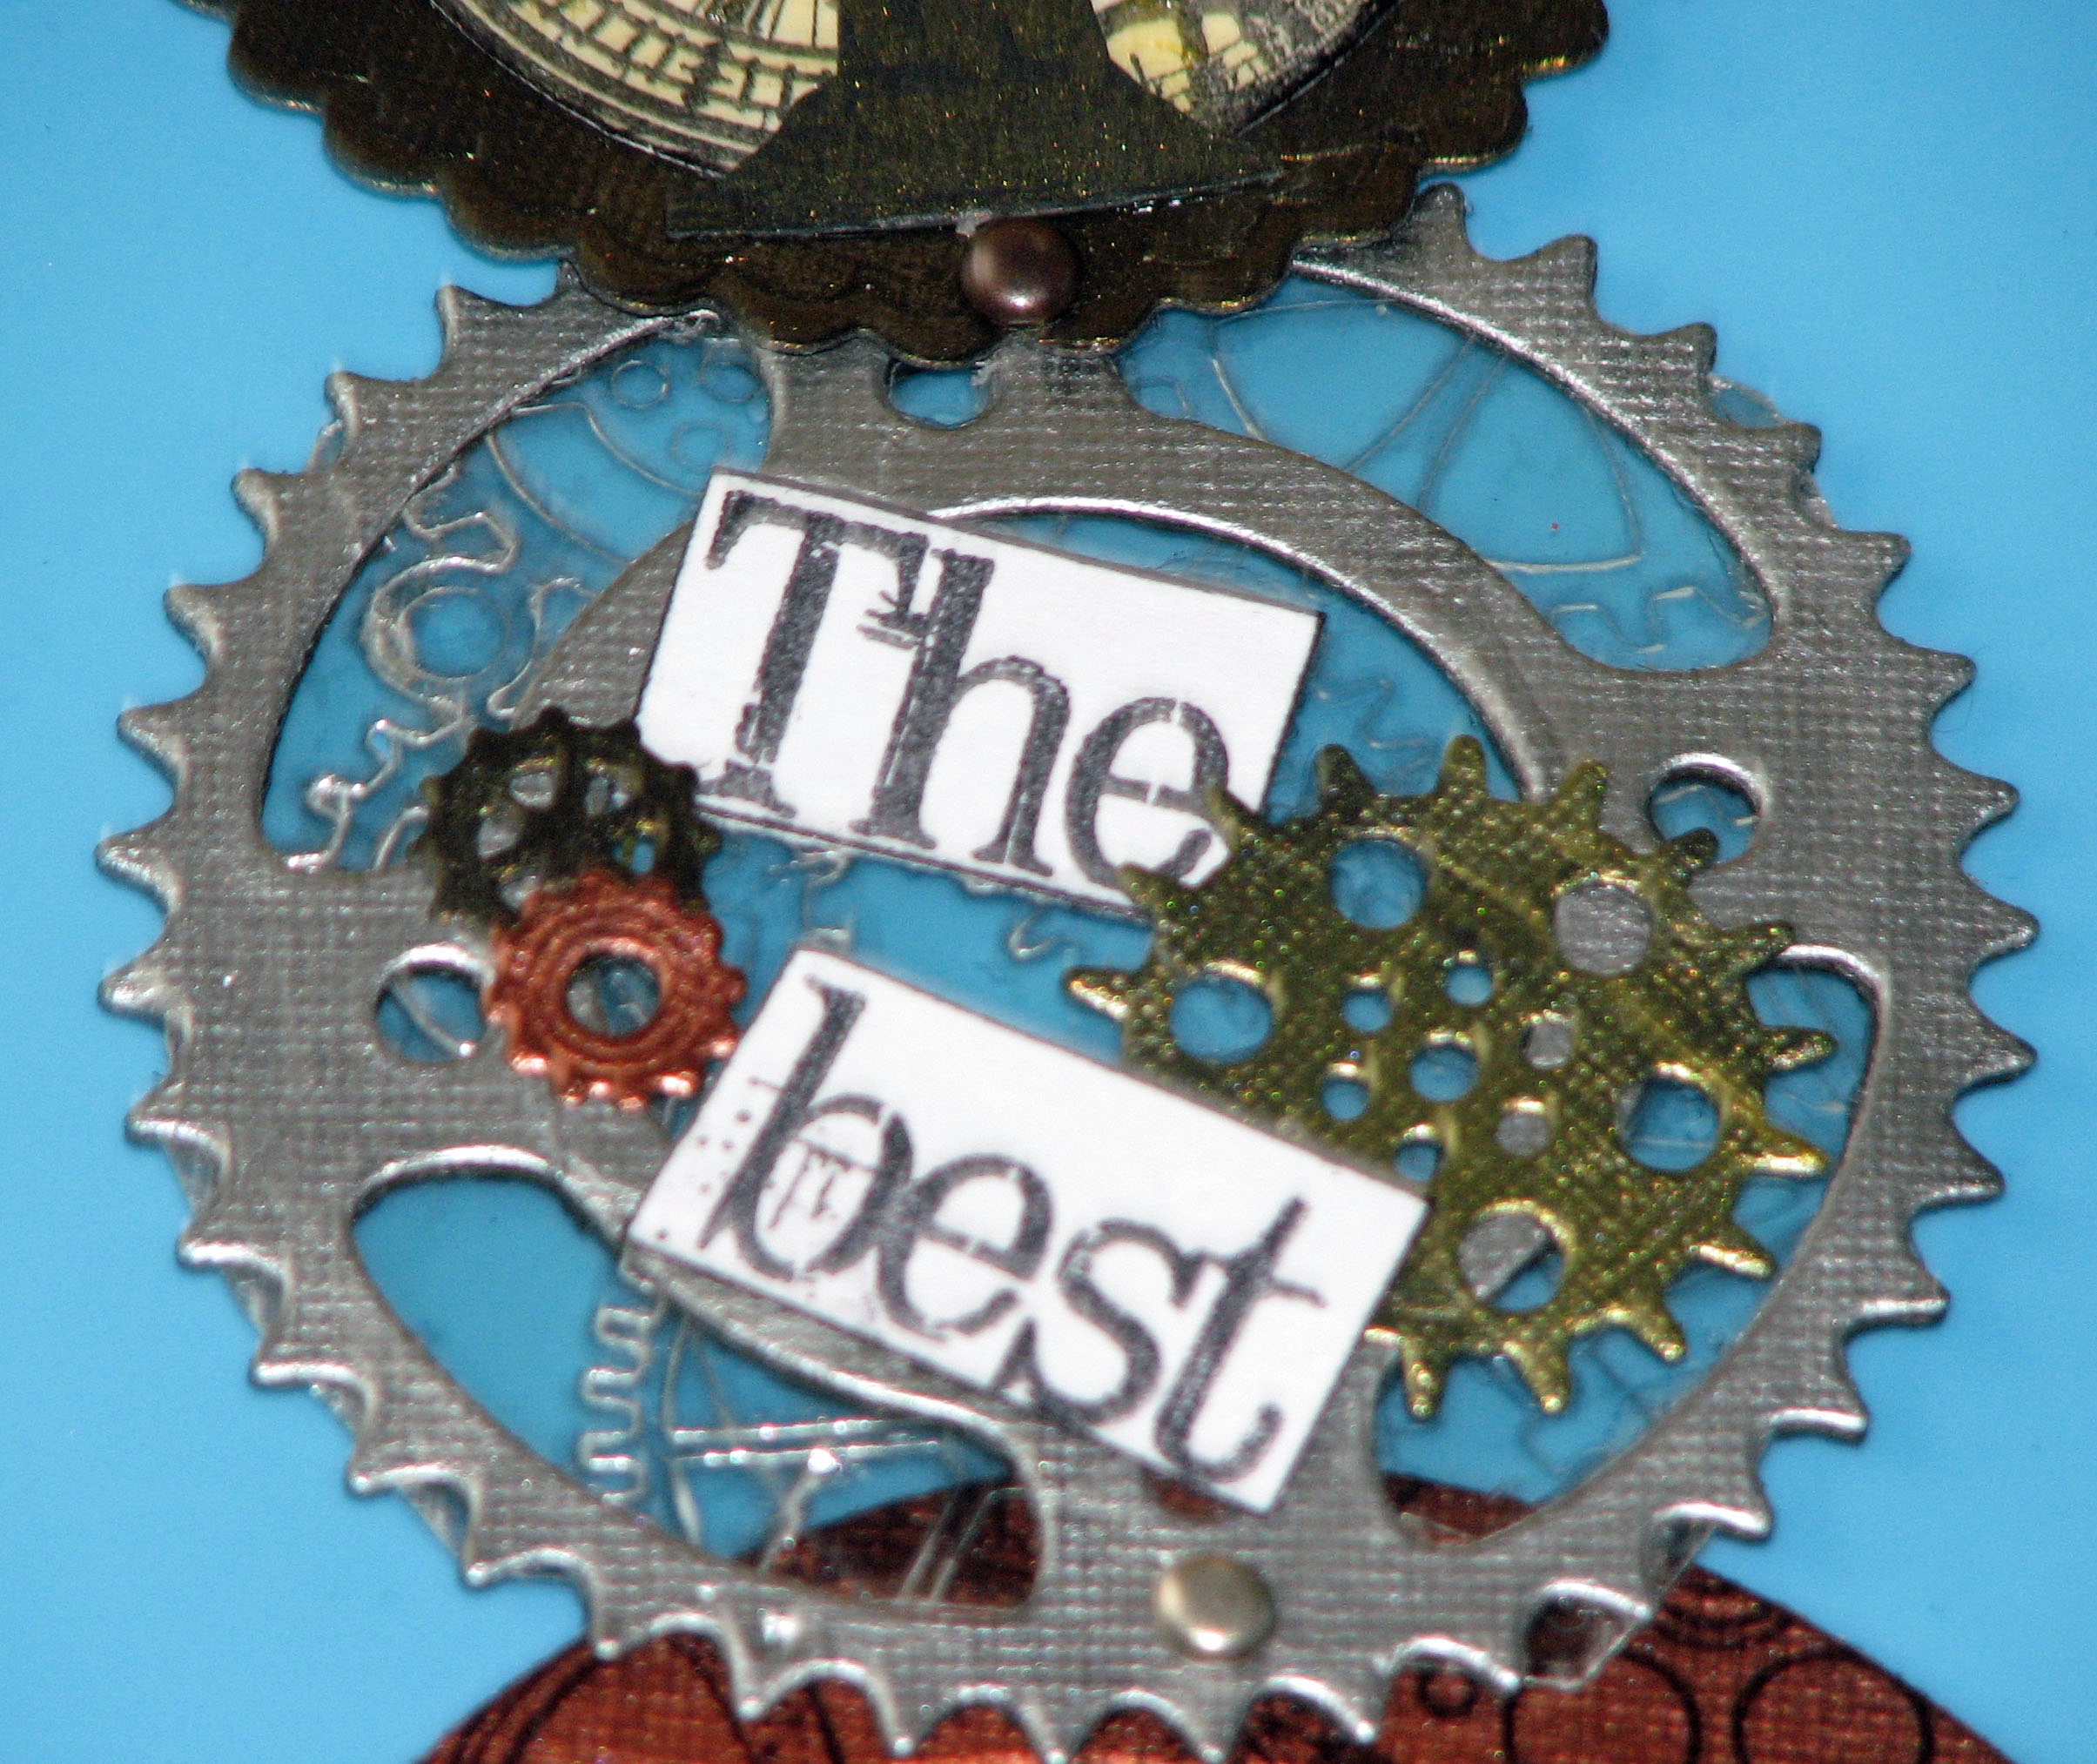
11. Stamp extra images to embellish the frames, apply a layer of Antique Creative Medium to give the designs an aged, vintage appearance. Stamp the sentiment several times, these will be cut apart to spread the sentiment out over each of the layers.
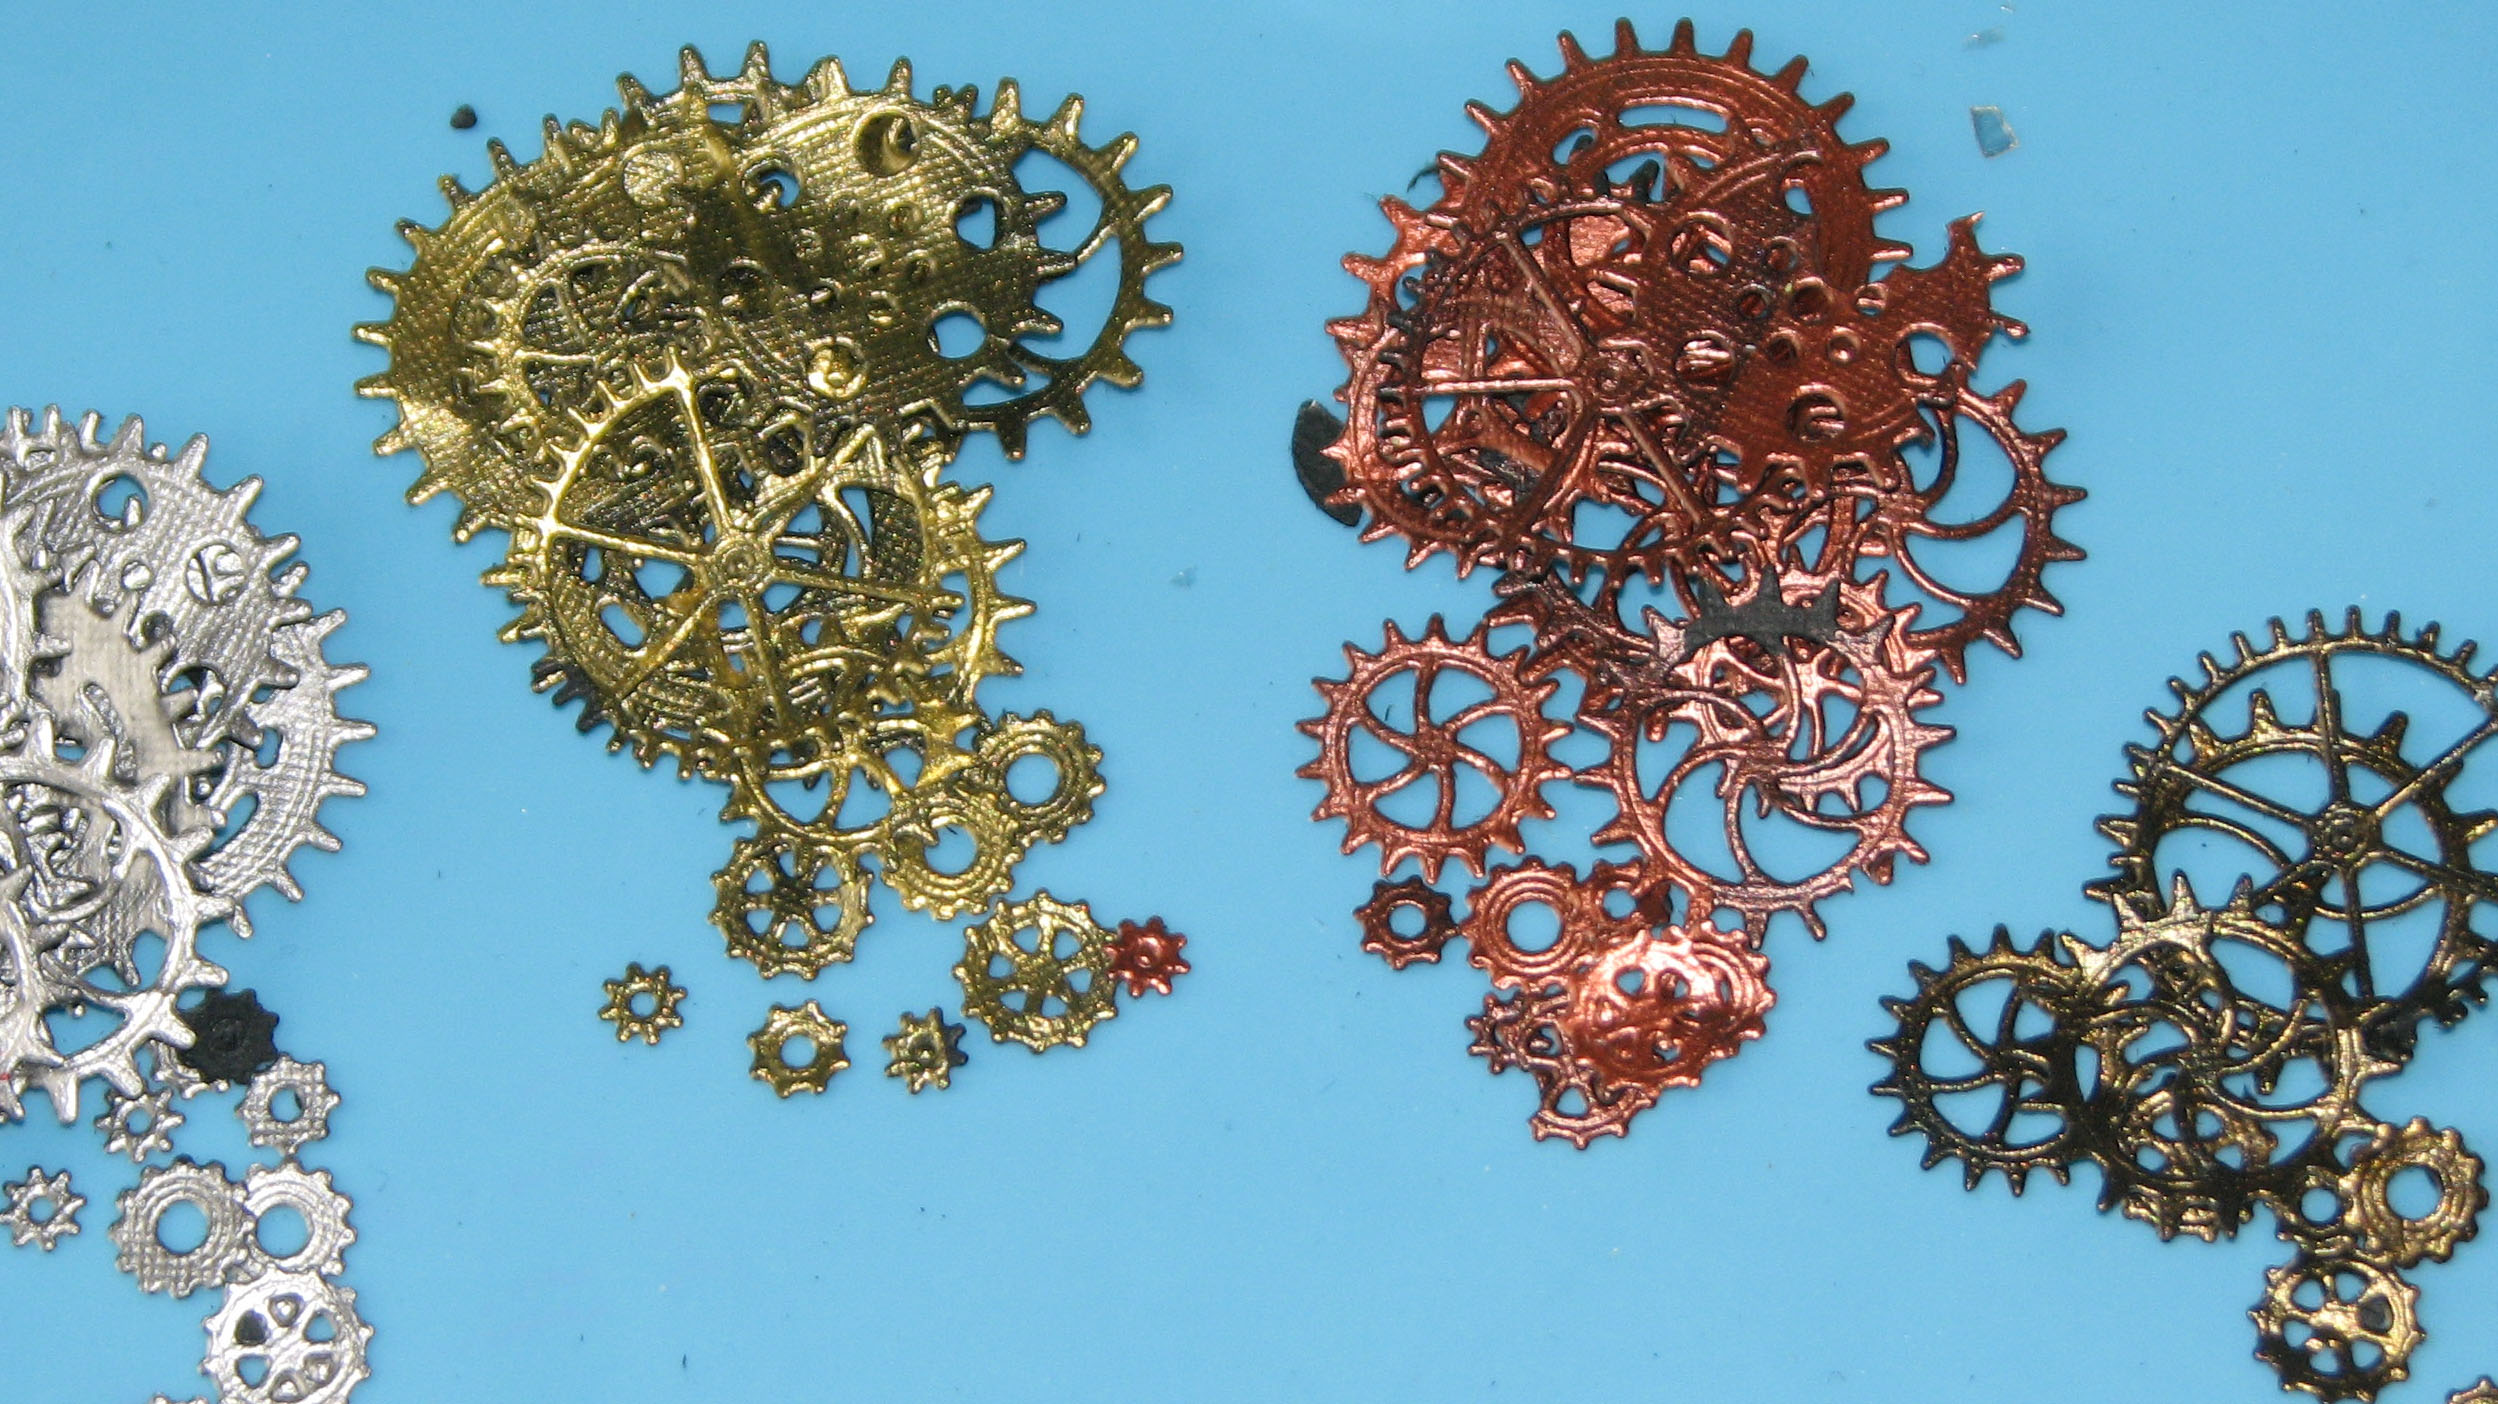
12. Die cut gears in a variety of sizes from the remaining paper covered with the Metallic Creative Medium.
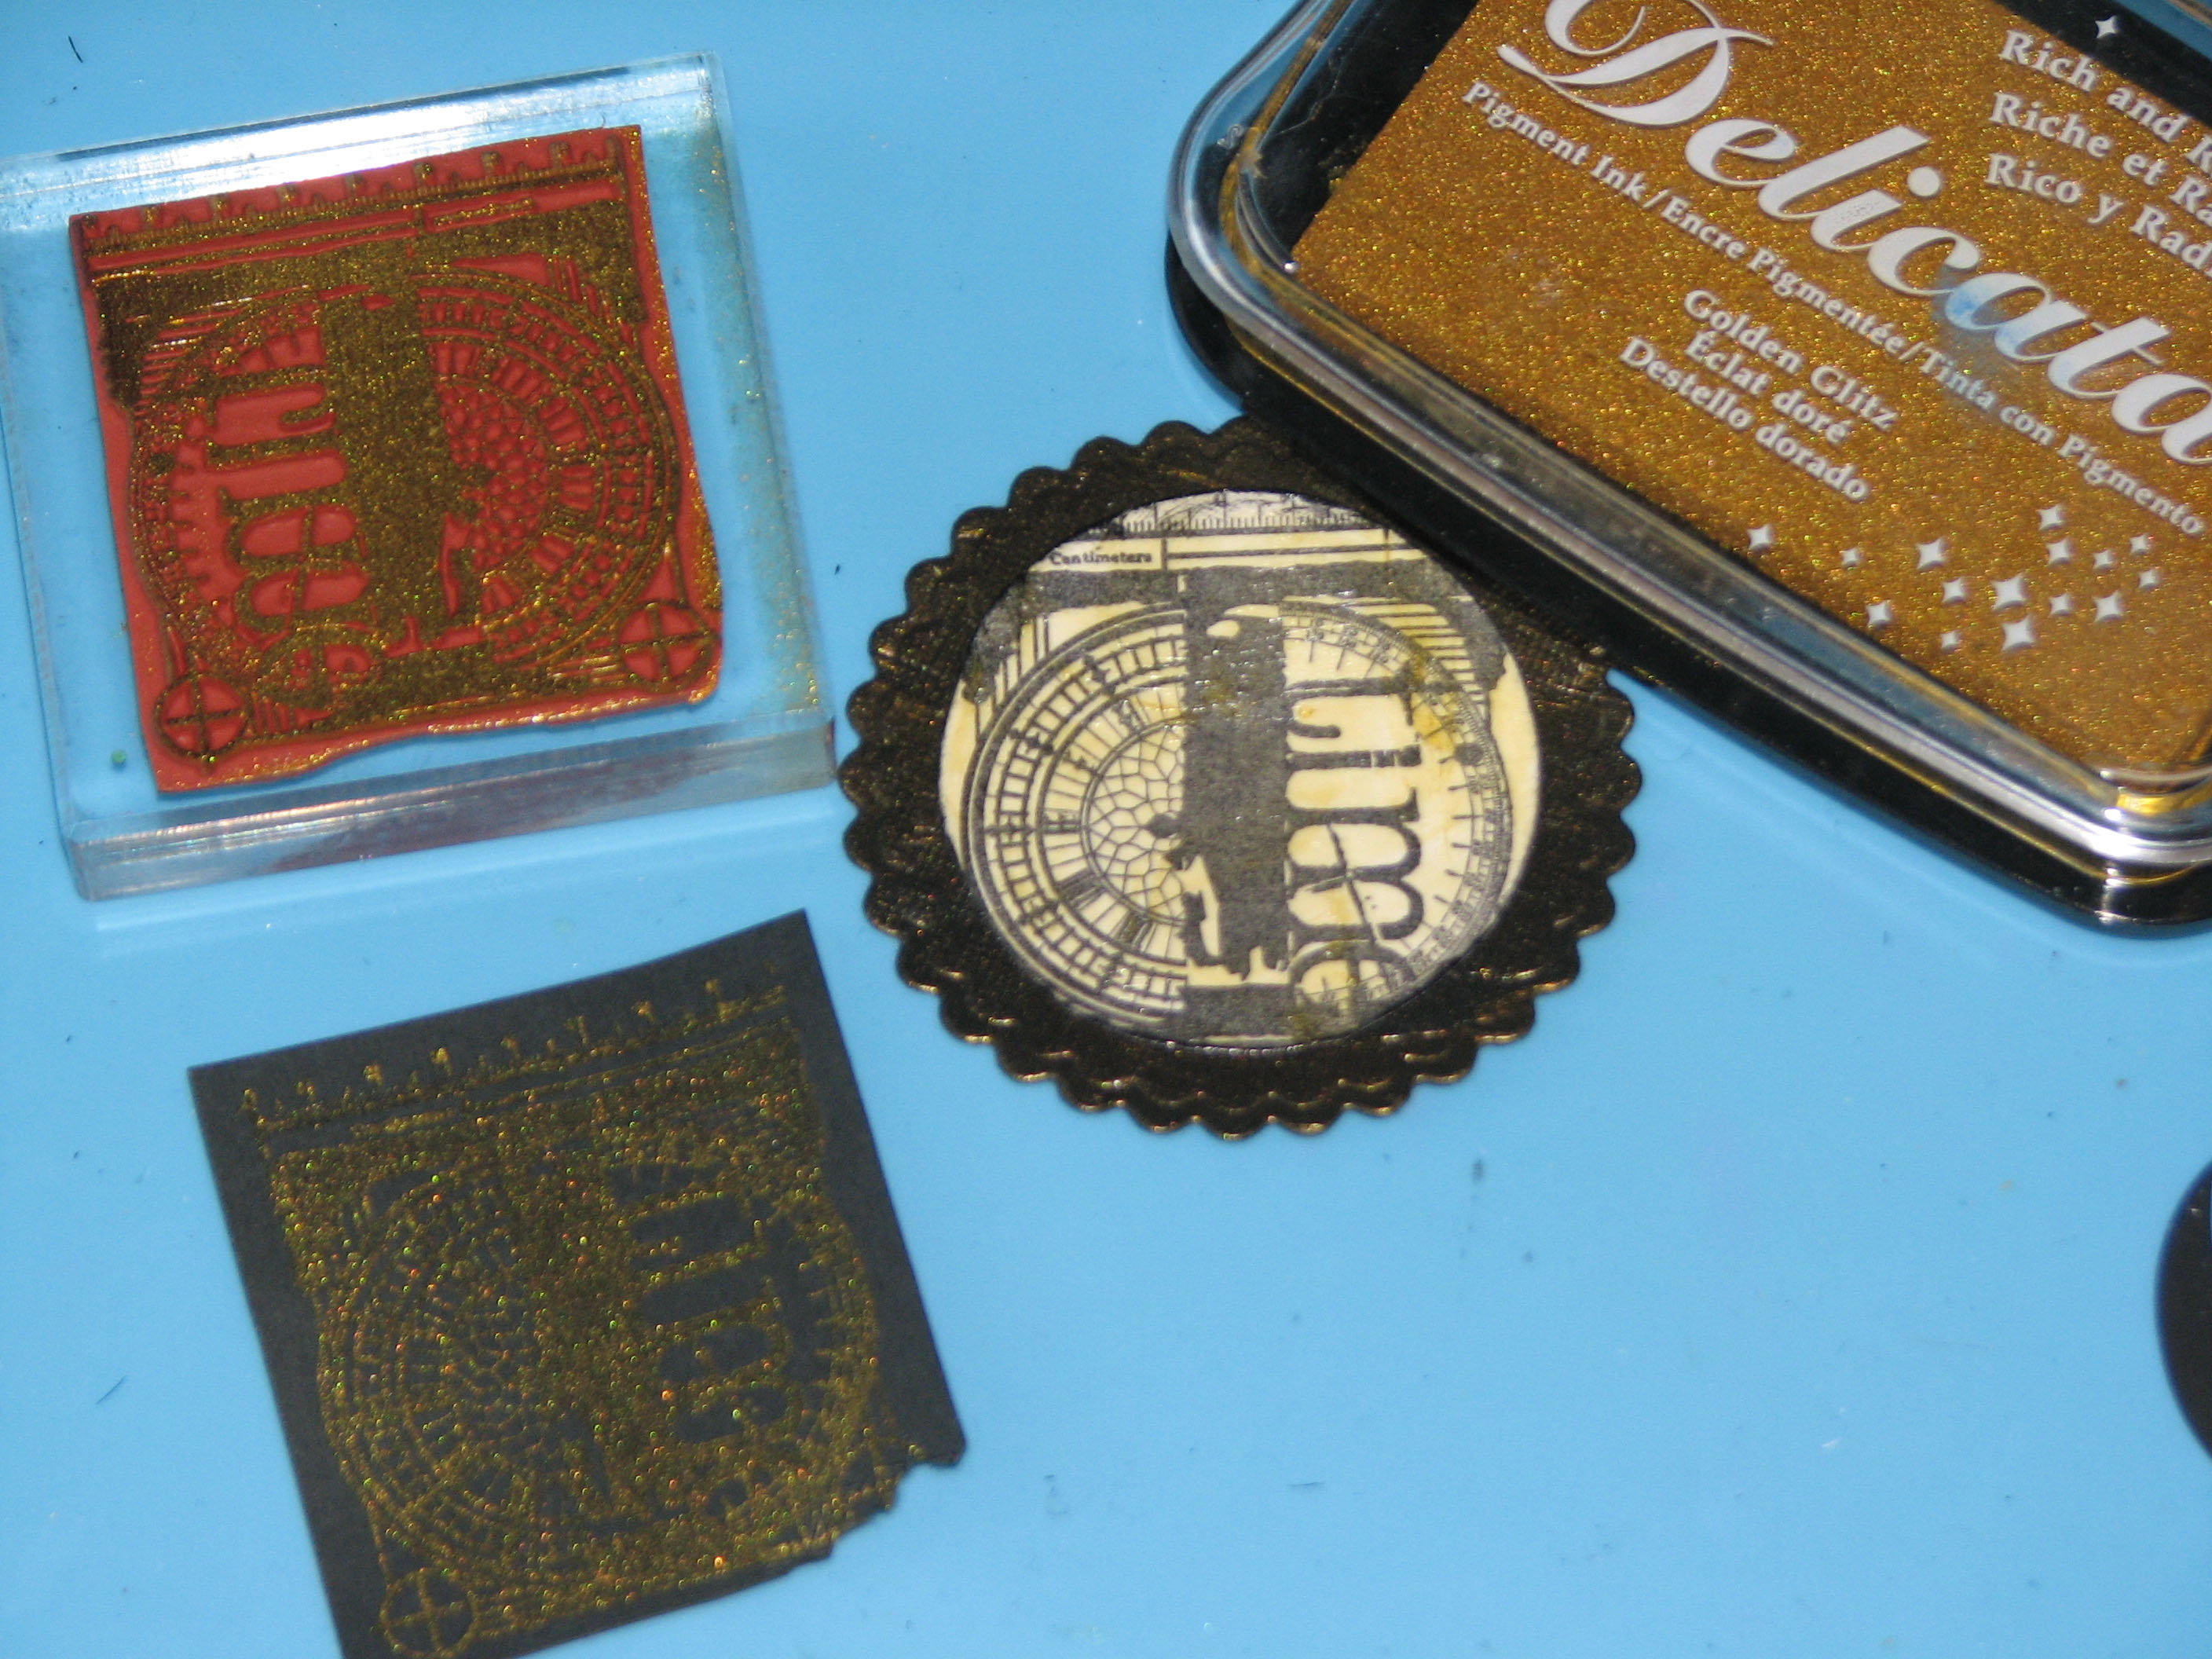

13. Stamp the “Time” image on white cardstock with Jet Black StazOn ink; cover with a thin layer of Antique Creative Medium. Stamp the “Time” image a second time on black cardstock using Golden Glitz Delicata ink and emboss with clear embossing powder. Trim the “T” from the embossed image and glue it to the black image.
14. Begin adding the sentiment, gears and extra stamped embellishments to each layer of the card. Continue until each frame has been embellished.

15. Assemble the telescoping card backwards, place the last frame on a piece of cork and stack the next size up frame over it; poke a hole through both frames and use a mini brad to connect them together.

16. Stack the next size frame over the second largest frame; again, poke a hole where the frames should connect, add a mini brad and continue attaching the next size smaller frame to the last until all have been connected.
Your card is now finished. Each frame of the assembly will swing around to cover the next size frame and you’ll be left with a nice neat stack of gears! Below are photos of each frame for this telescoping card:


Imagine Crafts featuring Tsukineko:
Other: