In case you couldn't join us for our workshop at the 2015 Winter CHA Show, here are the complete instructions for creating your own Monterey Pine bracelet with IMAGINE Crafts' inks.
1. Choose three colors of Memento Luxe inks to use for your background colors – you’ll be working from lighter to darker on all pieces at the same time.
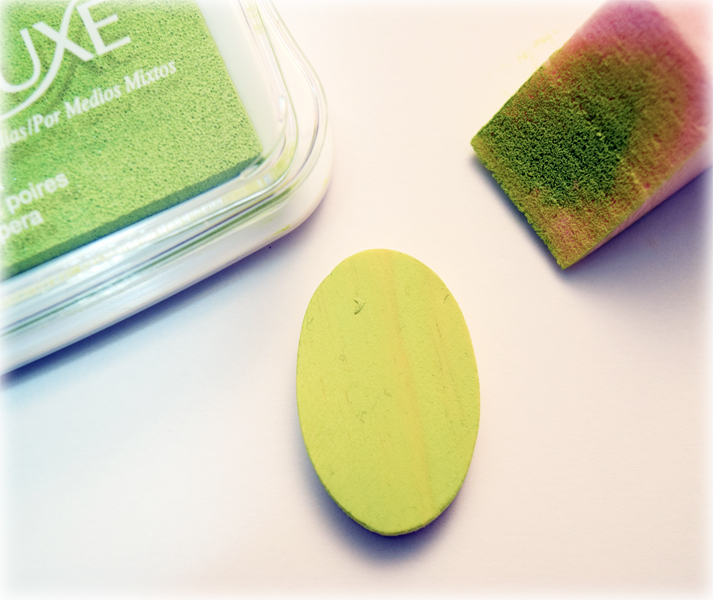
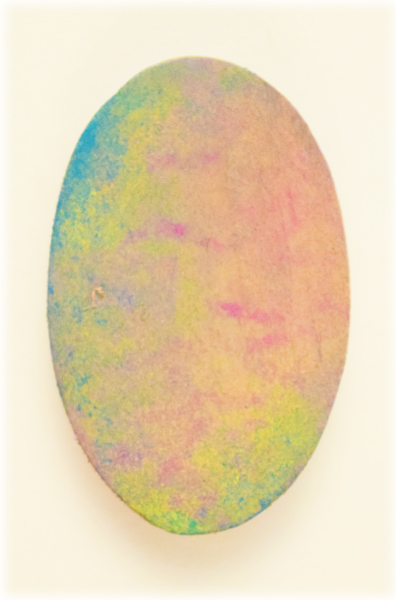
2. Apply the first color of Memento Luxe ink to the wood piece. Highlight with the other colors until blended and to the desired color. Heat set.
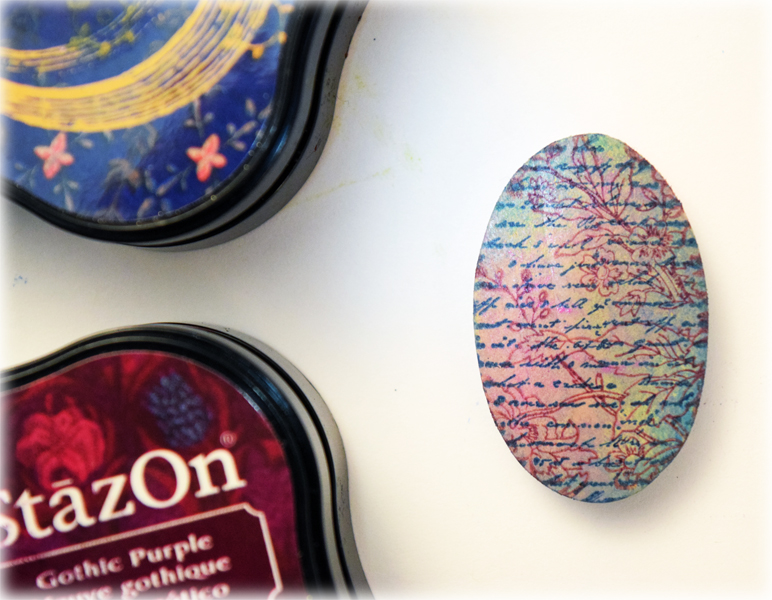
3. Stamp with StazOn inks onto the colored wood pieces.
4. Repeat for the opposite side of the wood pieces.

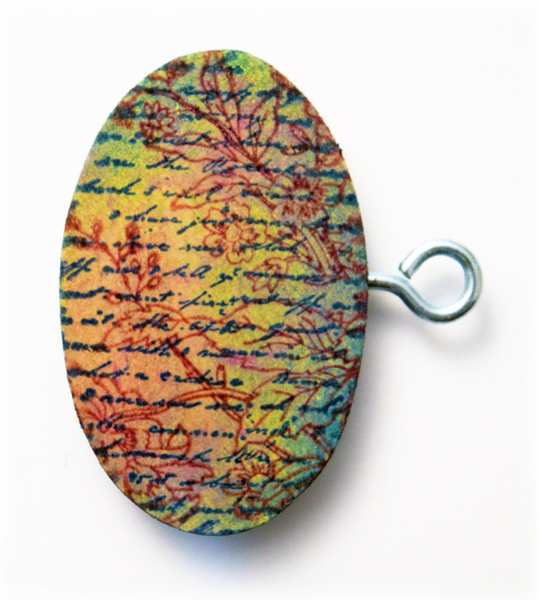
5. Add the closed (not opened) eye hooks into the pre-drilled holes by easily twisting into the wood piece. Repeat with all wood pieces, adding to the same side for all pieces
6. Cover the entire surface of the decorated wood piece with VersaMark ink.
7. Add clear embossing powder to the wood piece on all sides. TIP: use a pair of pliers to hold the wood piece by the eye hook for easy handling.
8. Gently heat set the embossing powder. Do not over heat the embossing powder to avoid getting opaque areas in the embossing powder. Repeat for all pieces.
9. Twist the “open” eye hooks into the opposite side of the wood piece into the pre-drilled hole.
10. Add beads onto the eye hook if desired.
11. Use flat now pliers to close the eye hooks.
12. Add the eye hook with the claw hook closure onto the end wood piece.
IMAGINE Crafts featuring Tsukineko:
Other Supplies:
Crafter's Companion: ruber stamps
Miscellaneous: claw hook closure, headpins, beads, eye hooks