When we were asked about holiday traditions in our family I instantly thought of cookies. Since I can't share cookies with you over the net I thought I'd do the next best thing.... share how to make holiday cookies into Faux Ceramic Glazed Ornaments instead!
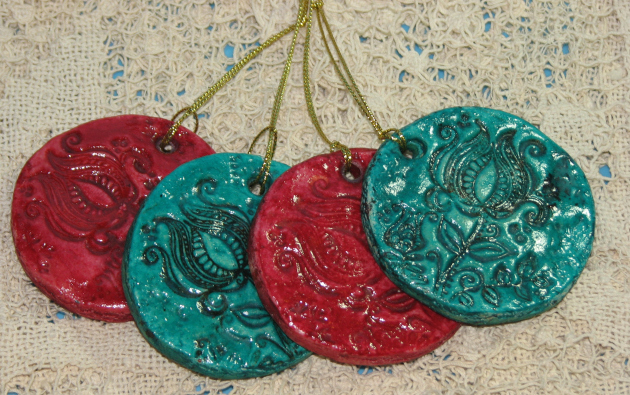
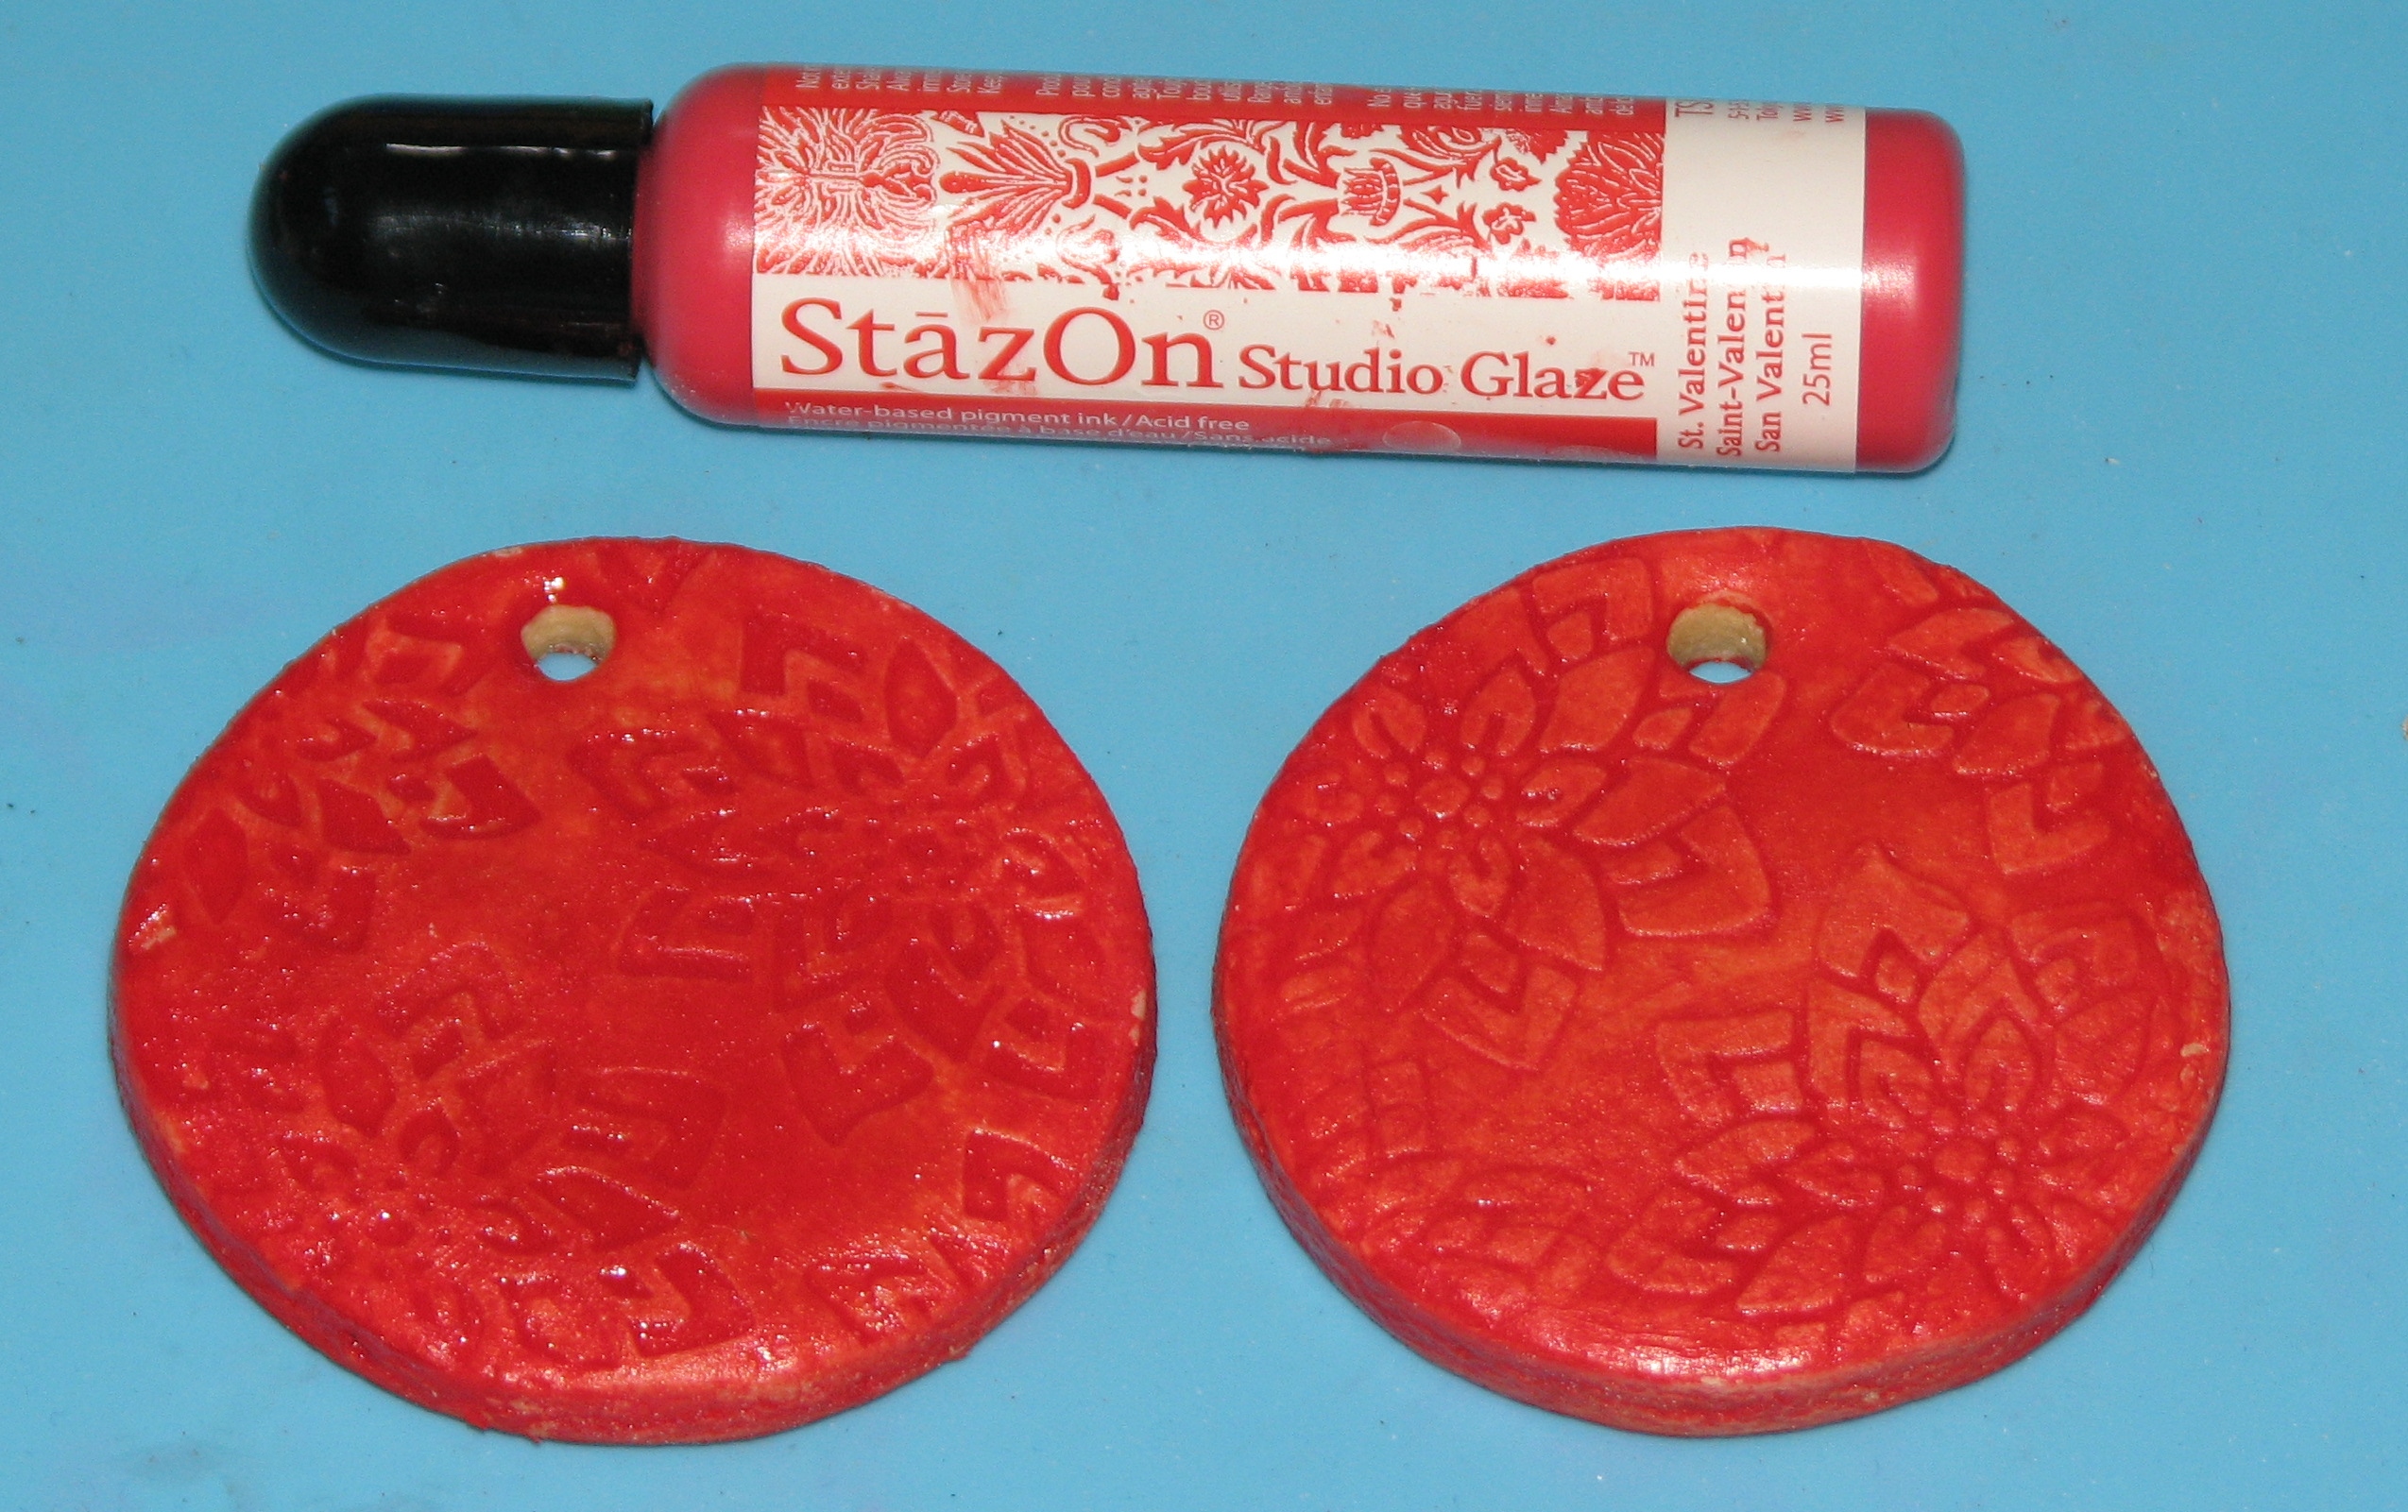
If you're like me you love the look of the glazed ceramic ornaments but lack the all important and very expensive kiln for finishing off these lovely pieces of art you'll love this technique. You'll end up with the lovely look of the glazed ceramic without the expense! How so? Start off with a bit of salt dough, throw in a few stamps and the magic ingredient - StazOn Studio Glaze!
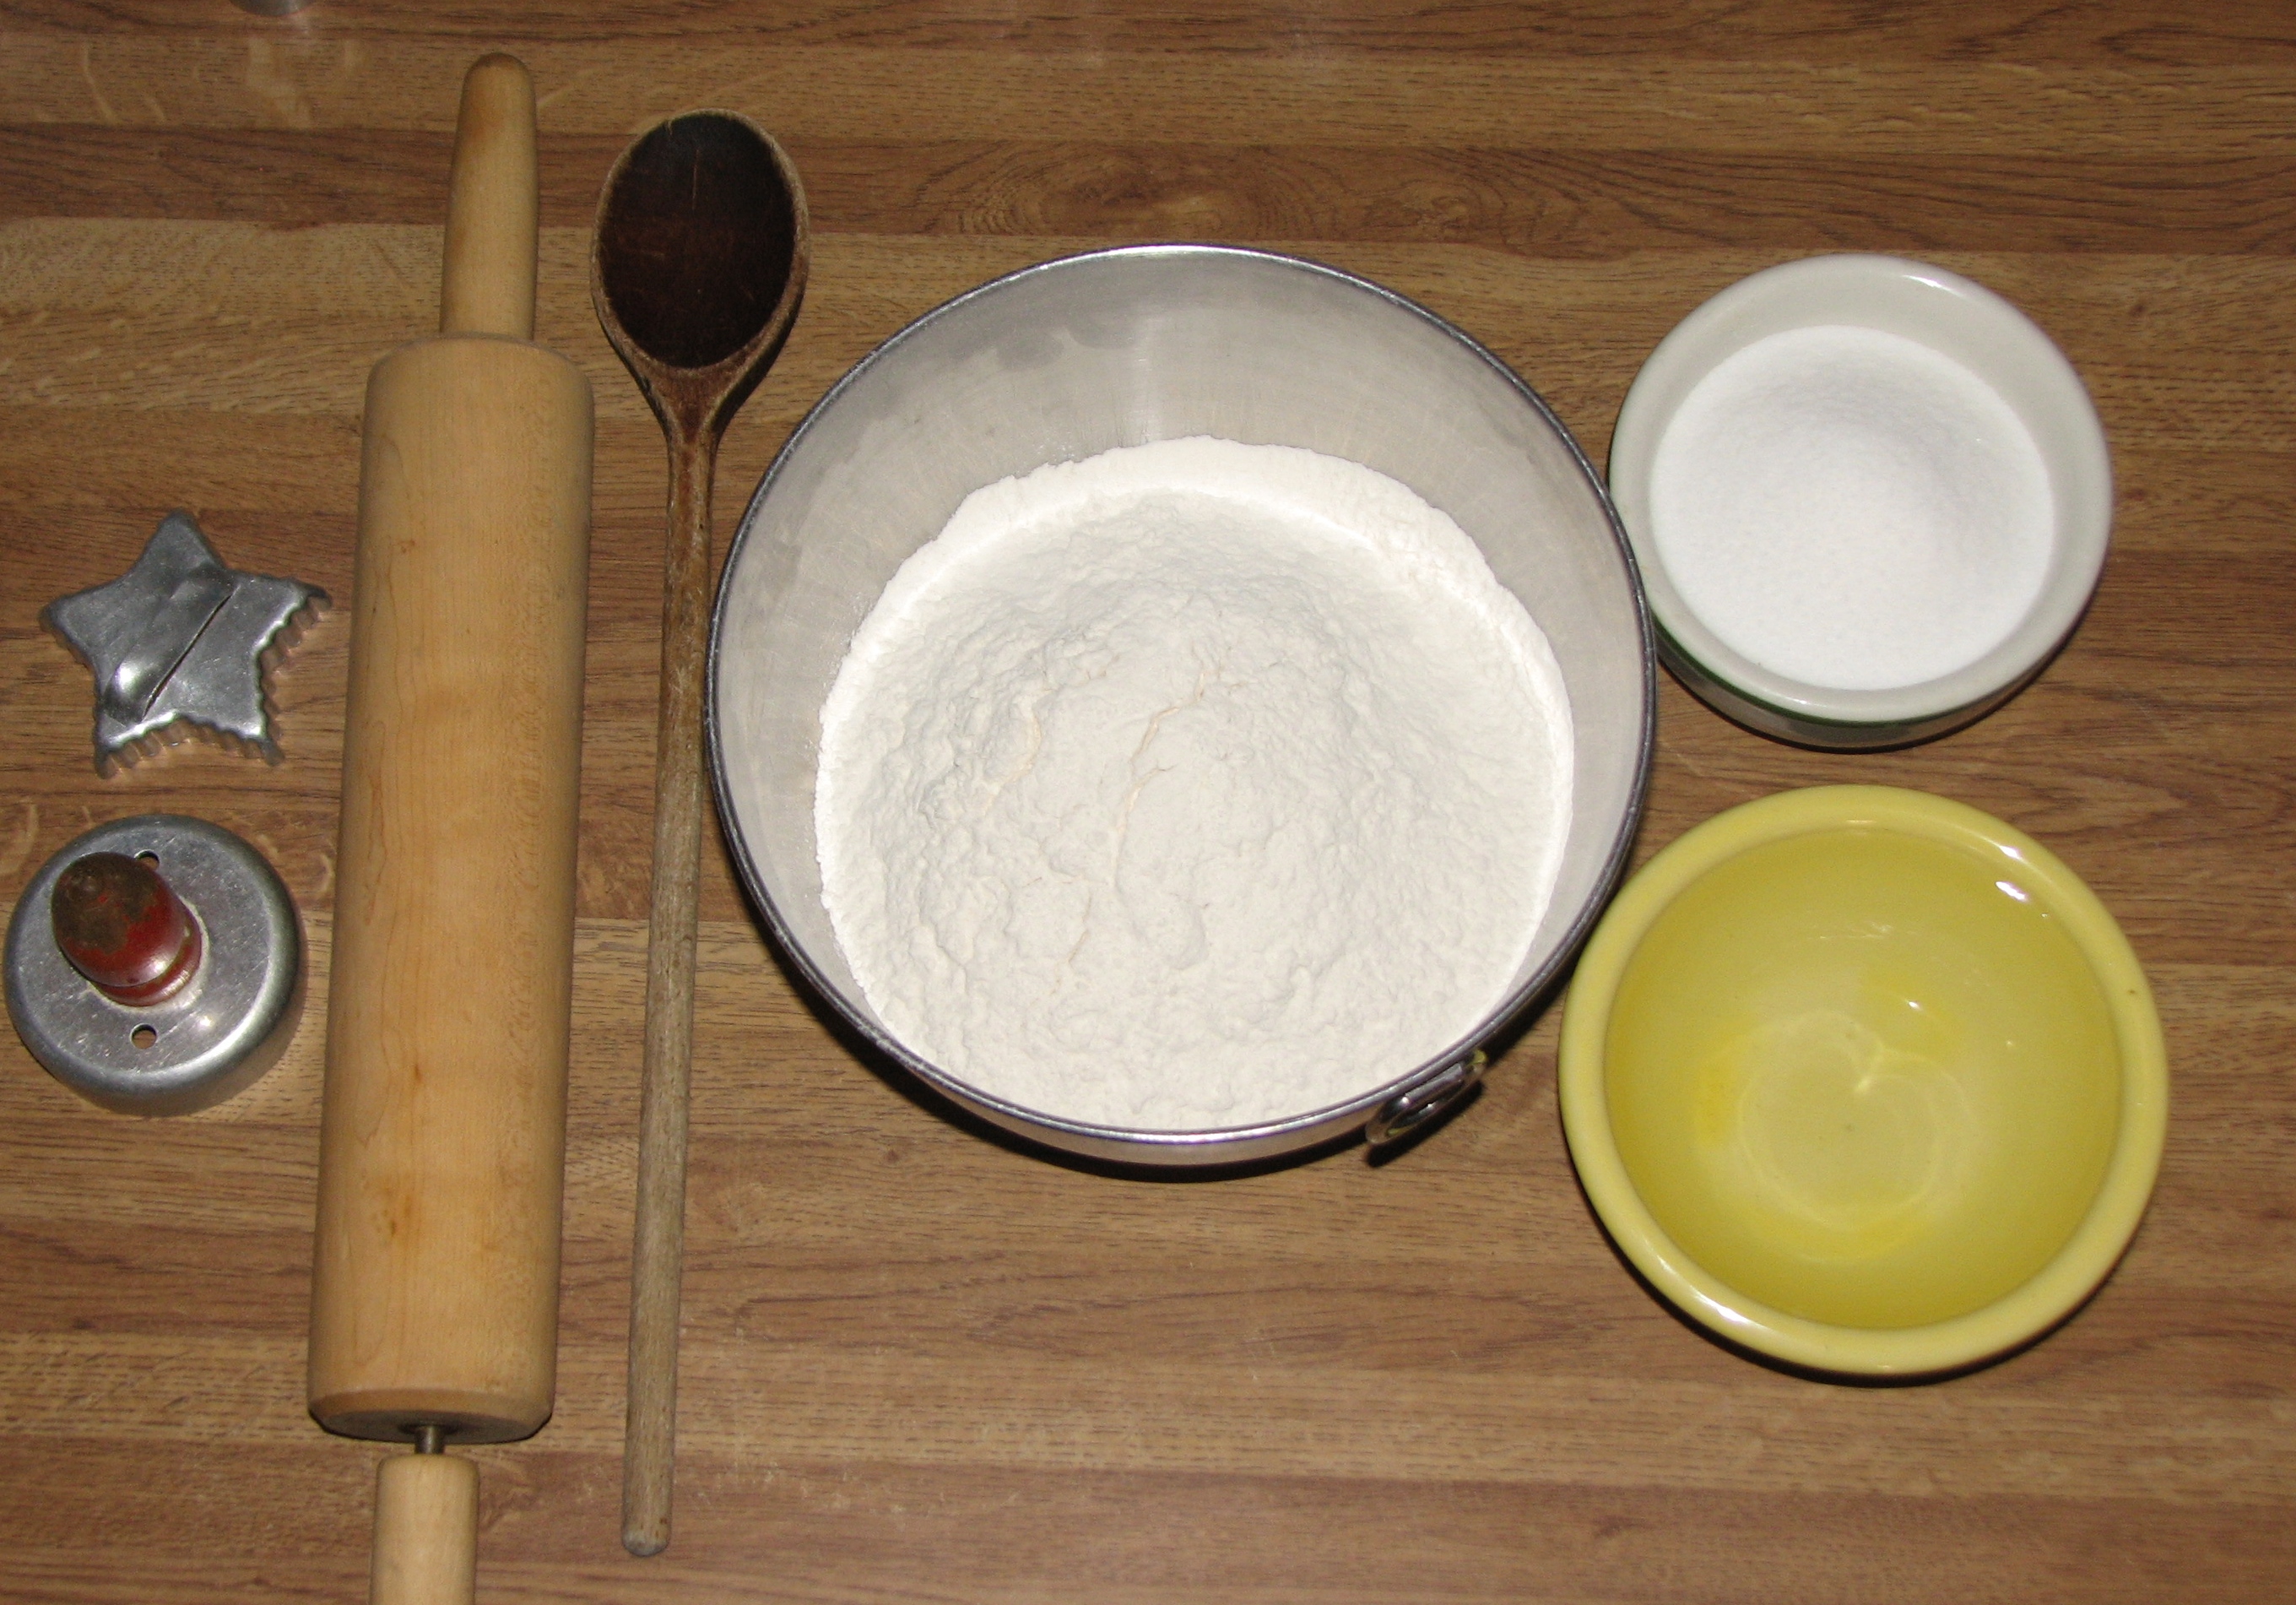
1 Gather up a few ingredients to make the salt dough. You'll need 4 cups of flour; 1 cup of salt; 1 1/2 cups of water, a spoon to mix it all up, a rolling pin to roll out the dough and a cookie cutter or two.
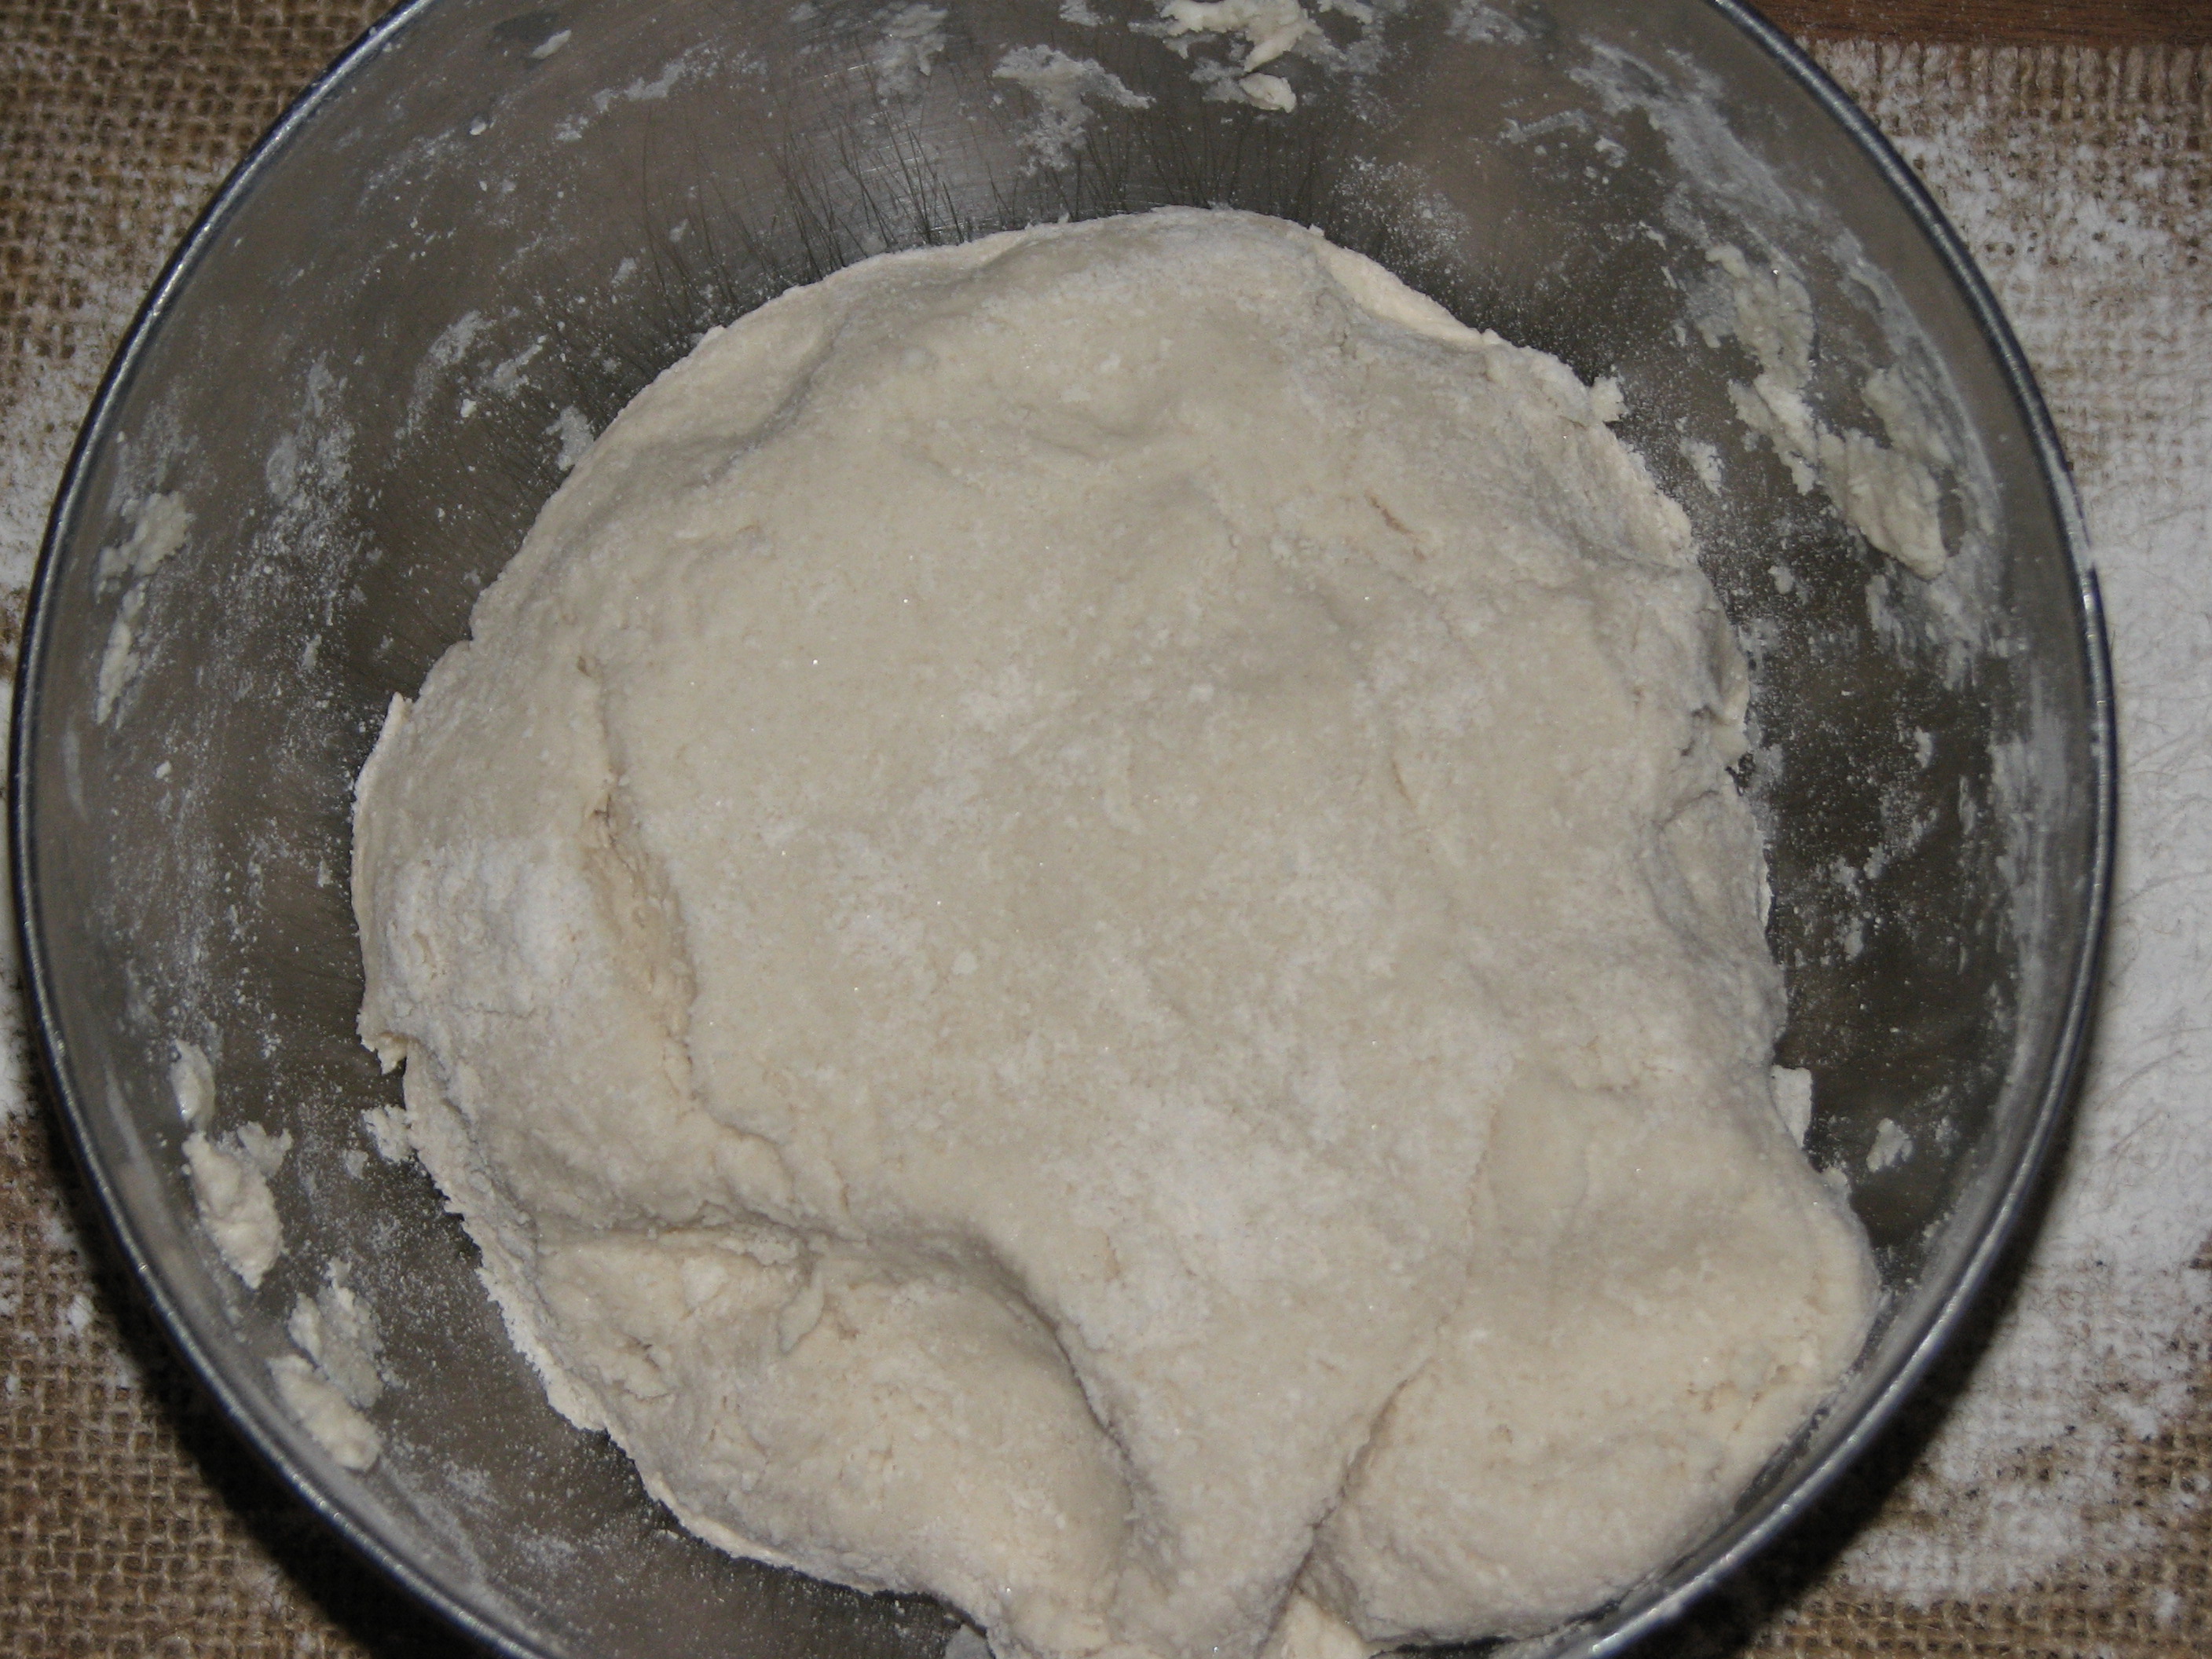
2. Mix up the salt dough by hand mixing the salt into the flour; add 1 cup of water and mix, if needed add the additional 1/2 cup of water a few tablespoons at a time. The dough should be stiff but not wet as shown.
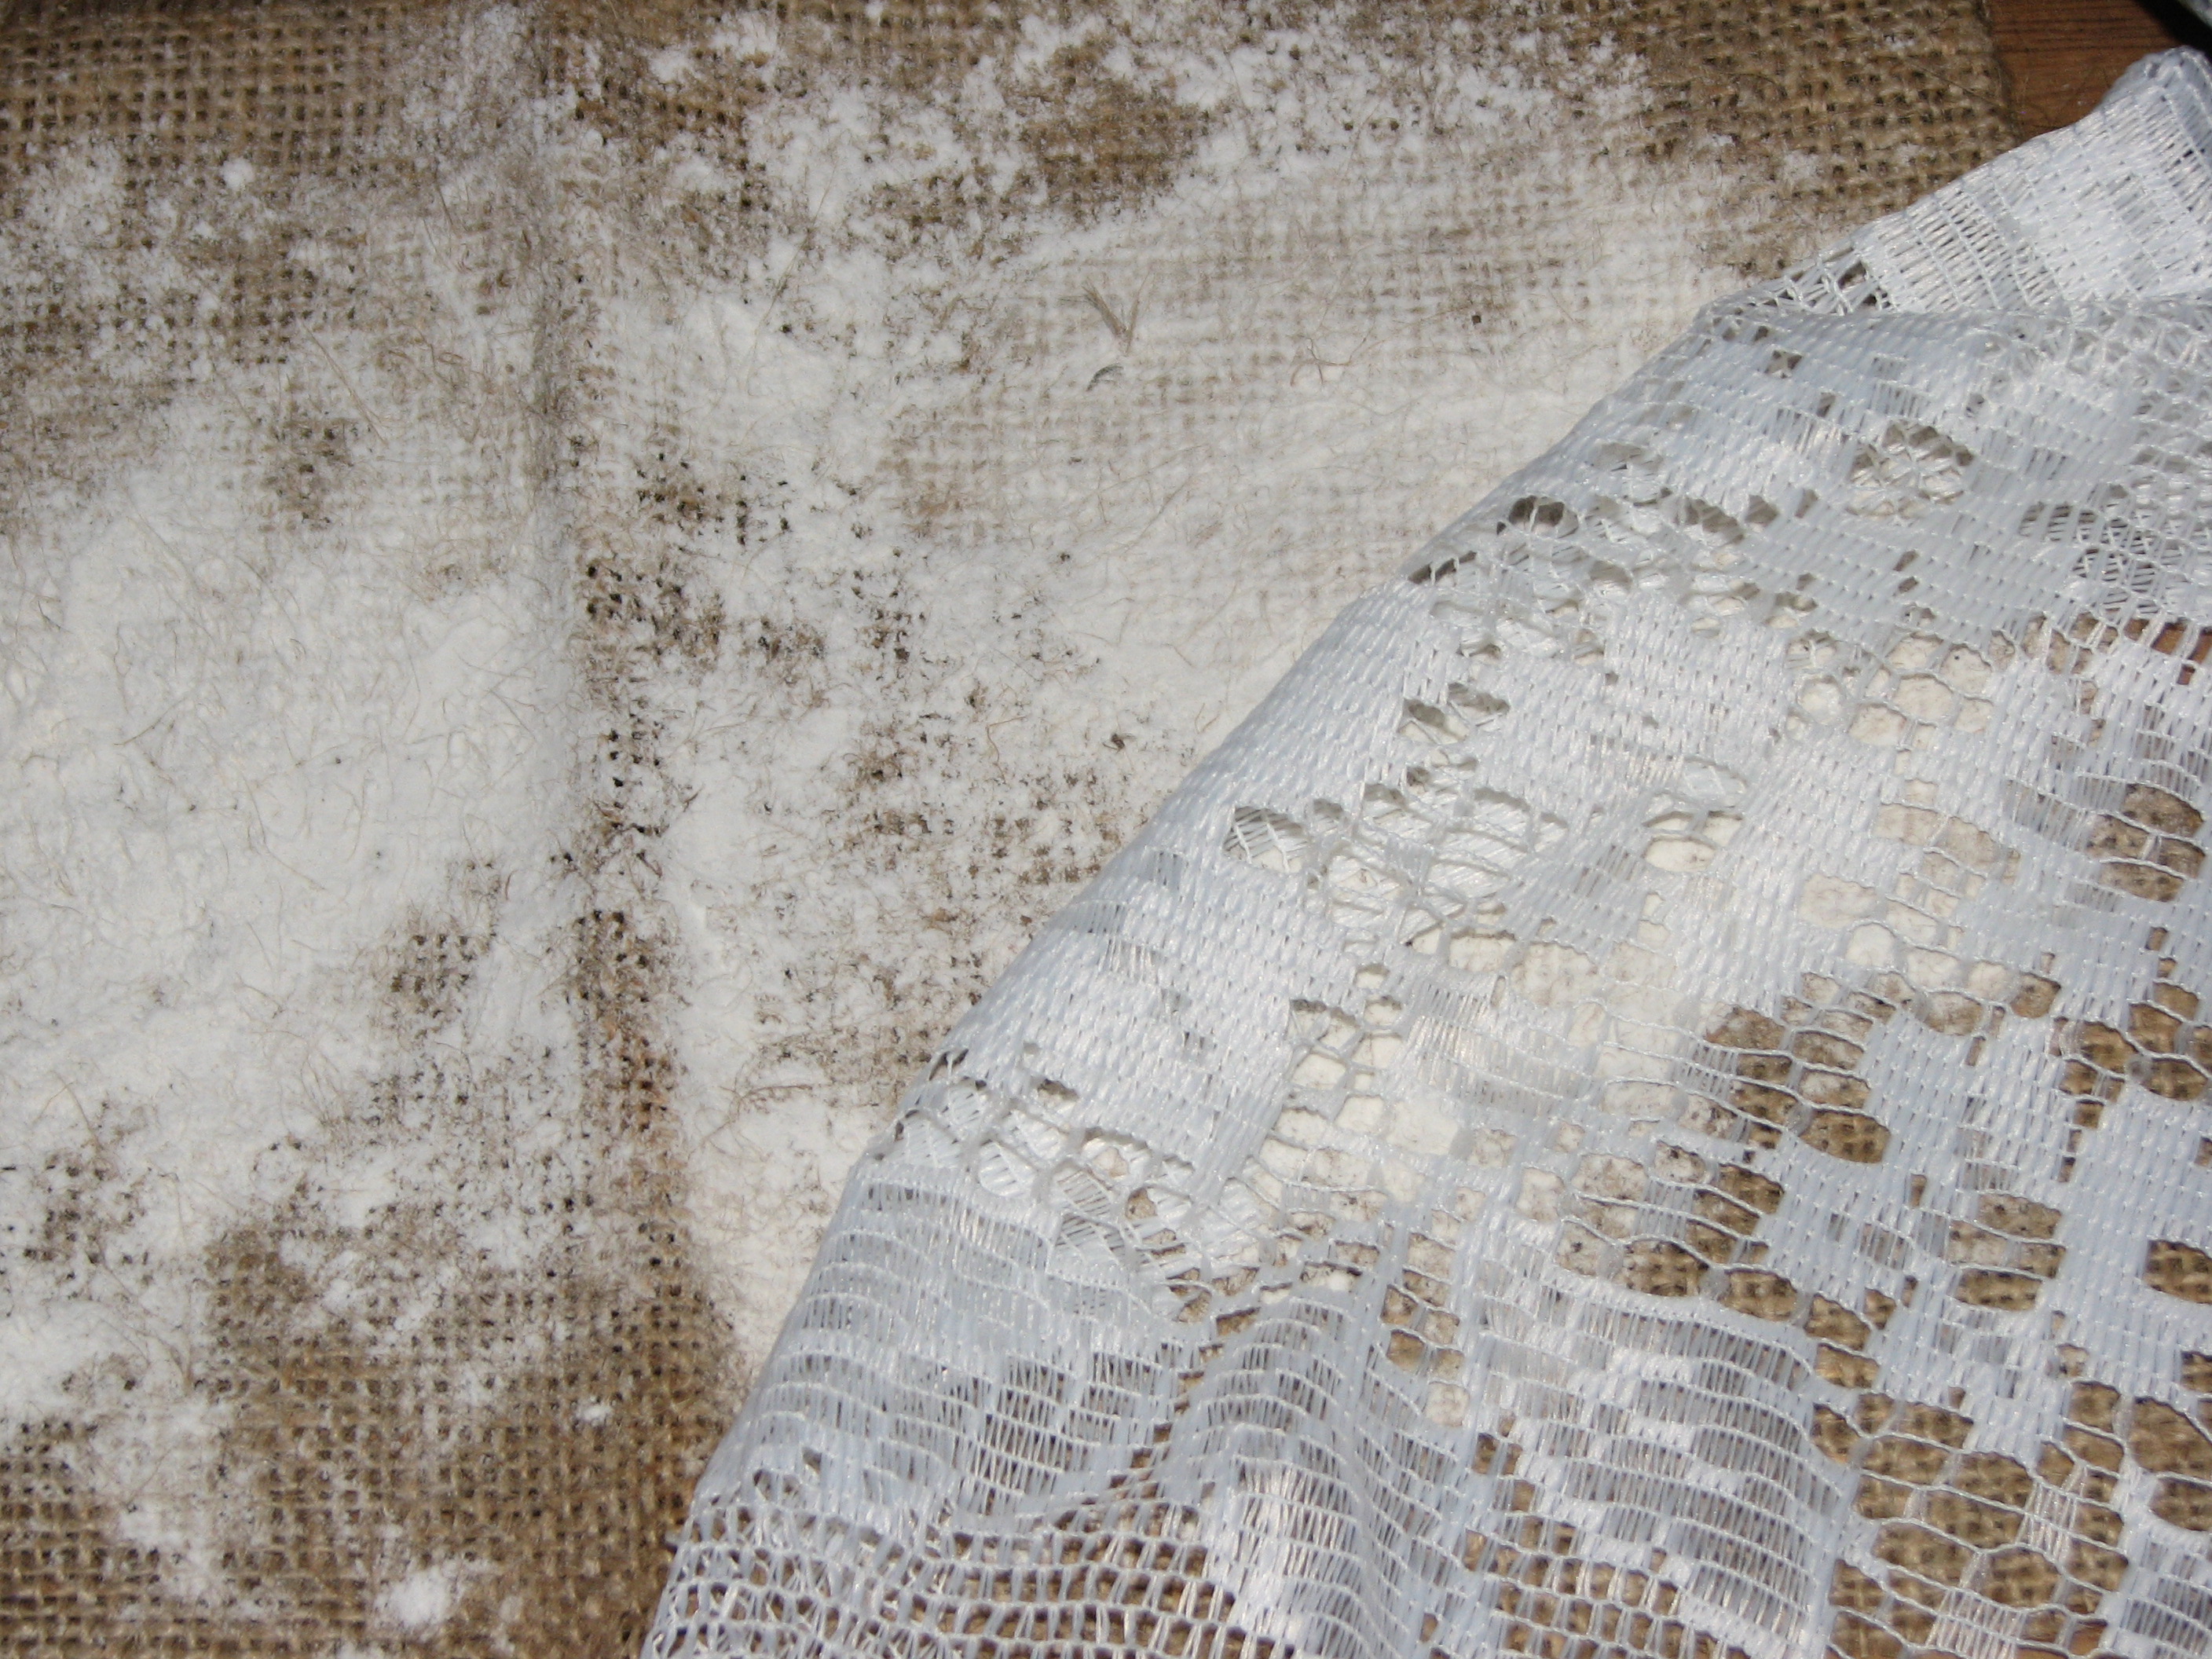
3. To give the finished ornament a pretty back use a piece of burlap, fabric or lace under the dough when you roll it out. The texture will automatically transfer to the dough. Sprinkle flour onto the fabric to keep the dough from sticking.
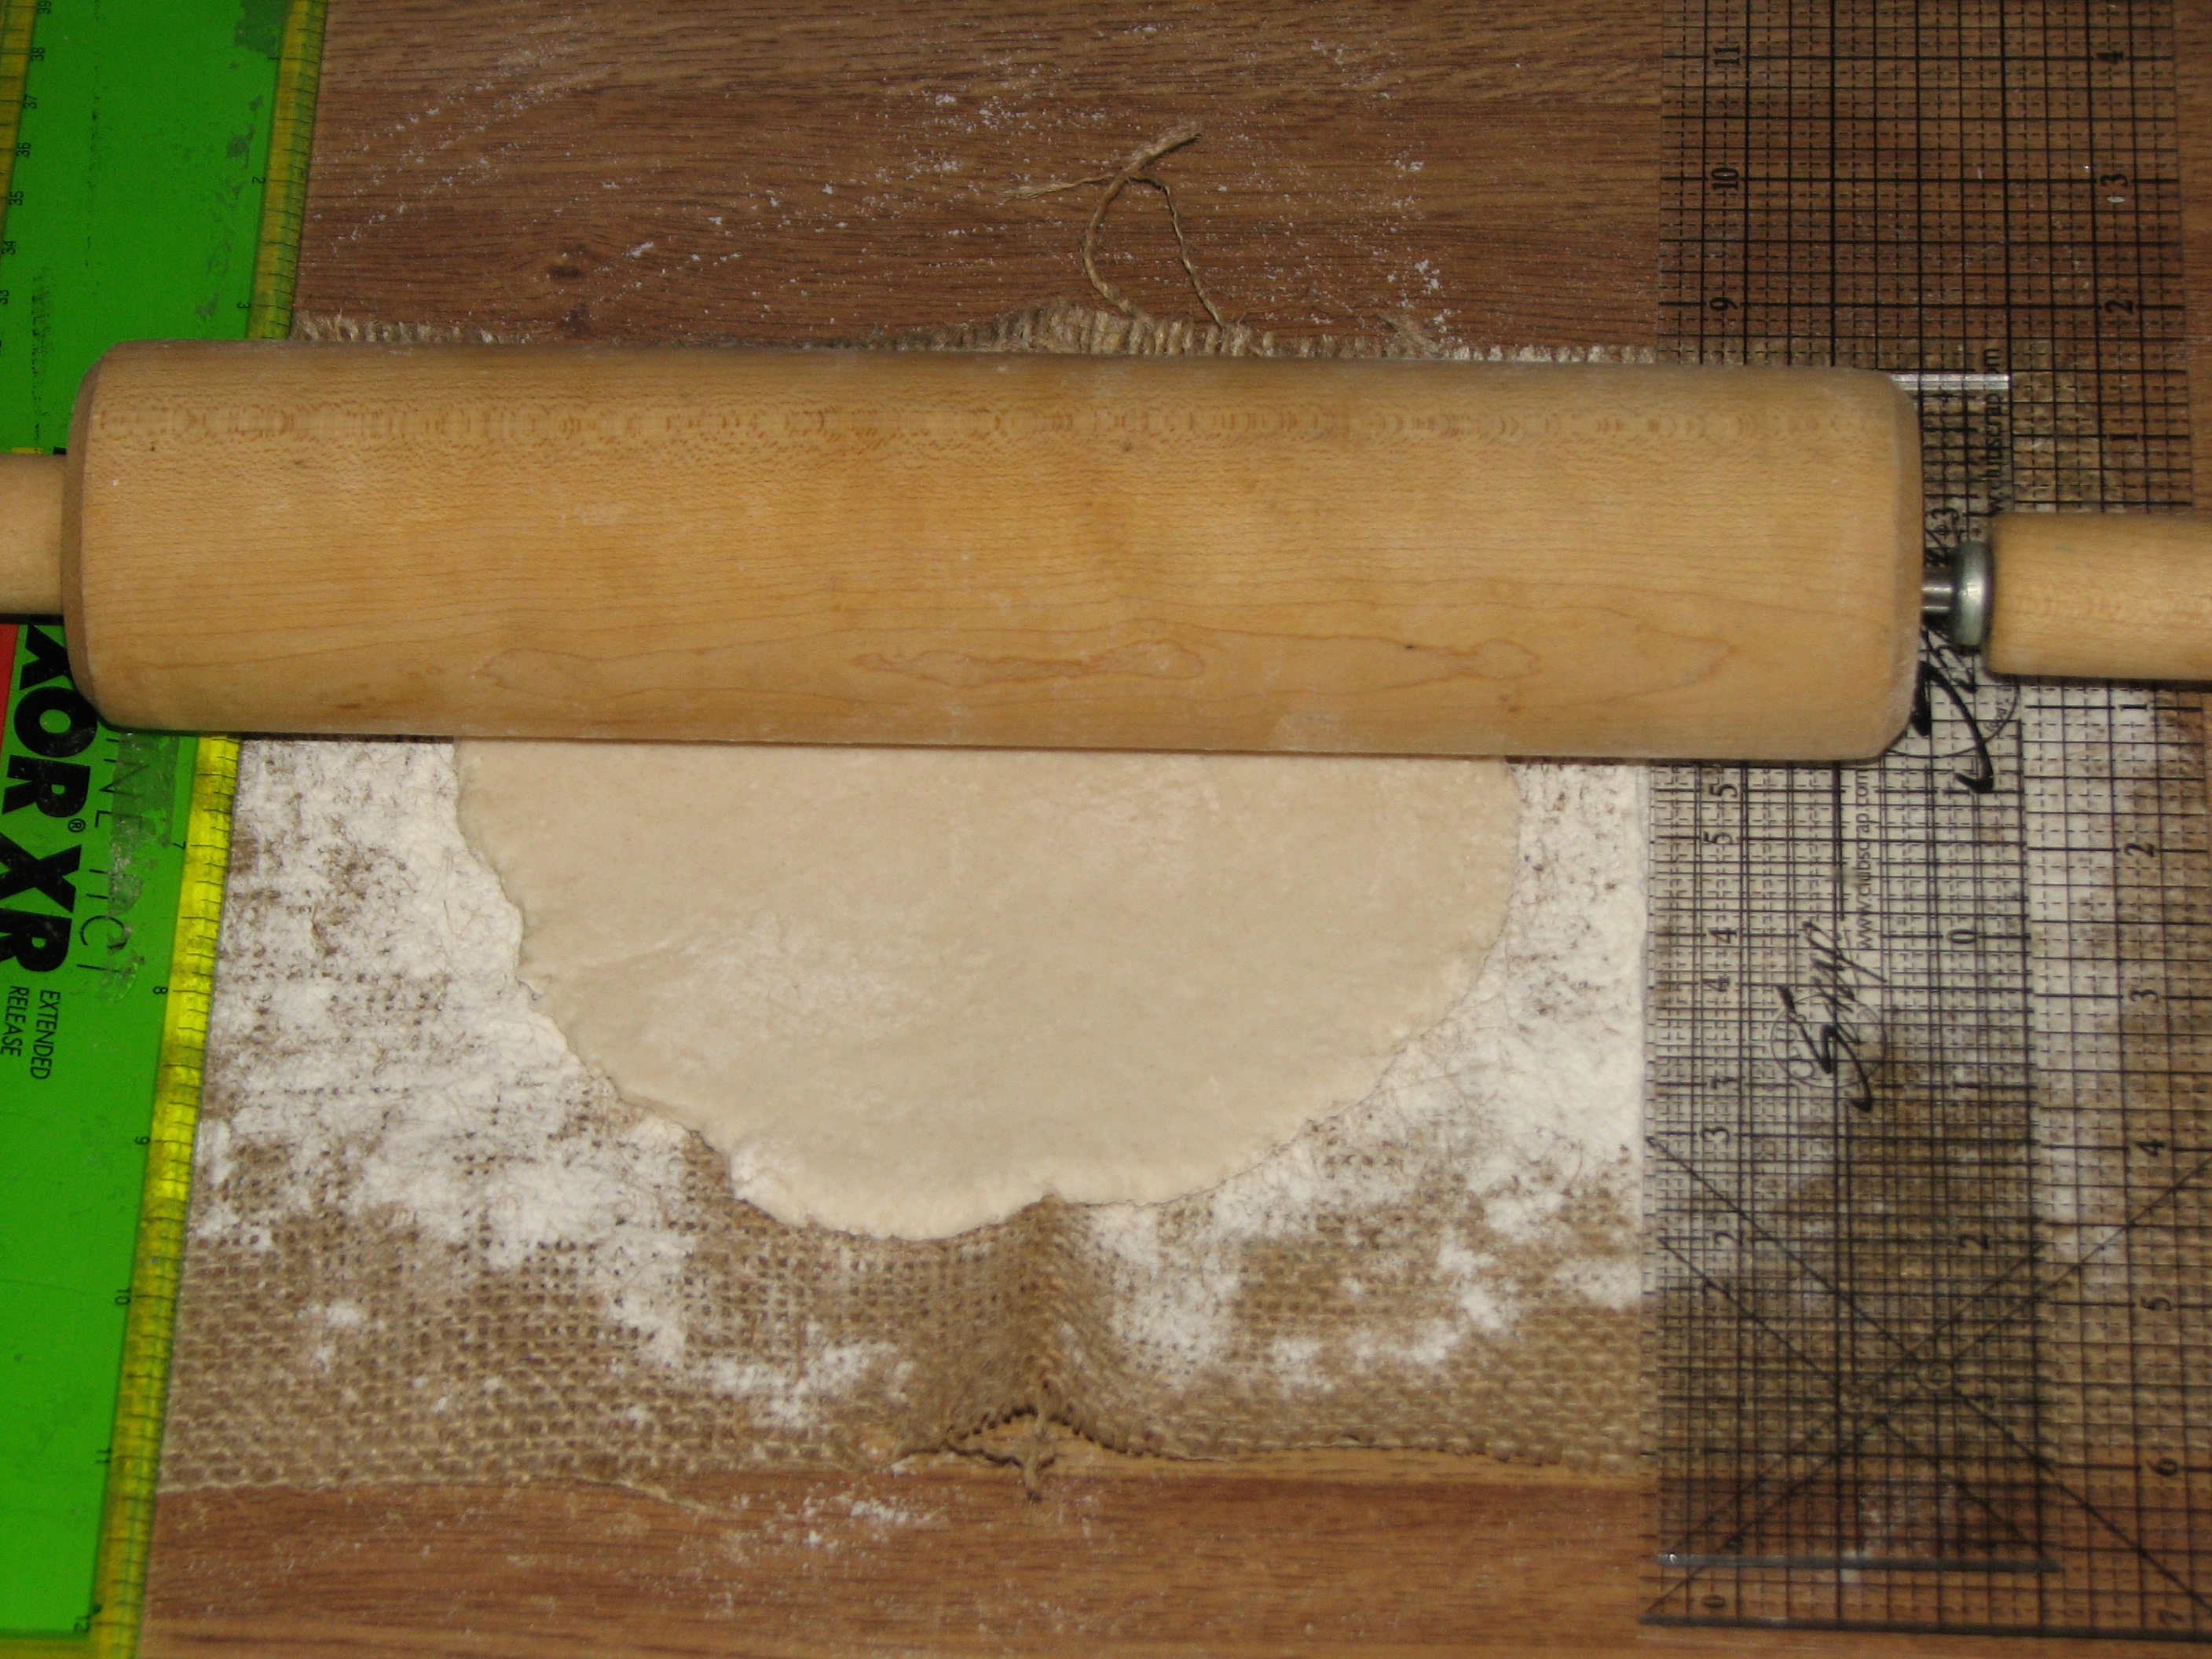
4. Roll out the dough to desired thickness. I used a couple rulers (on either end of the rolling pin) to help maintain 1/4" thickness.
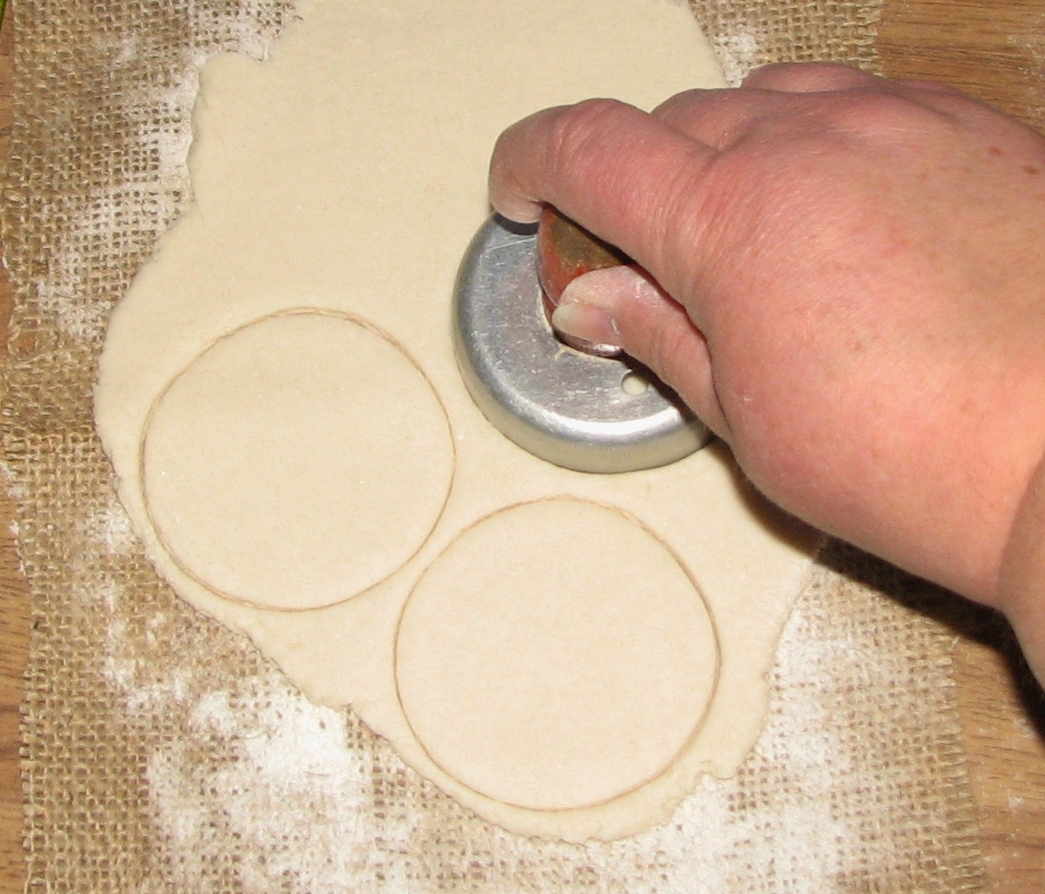
5. Cut out shapes using cookie cutters and transfer to a cookie sheet.
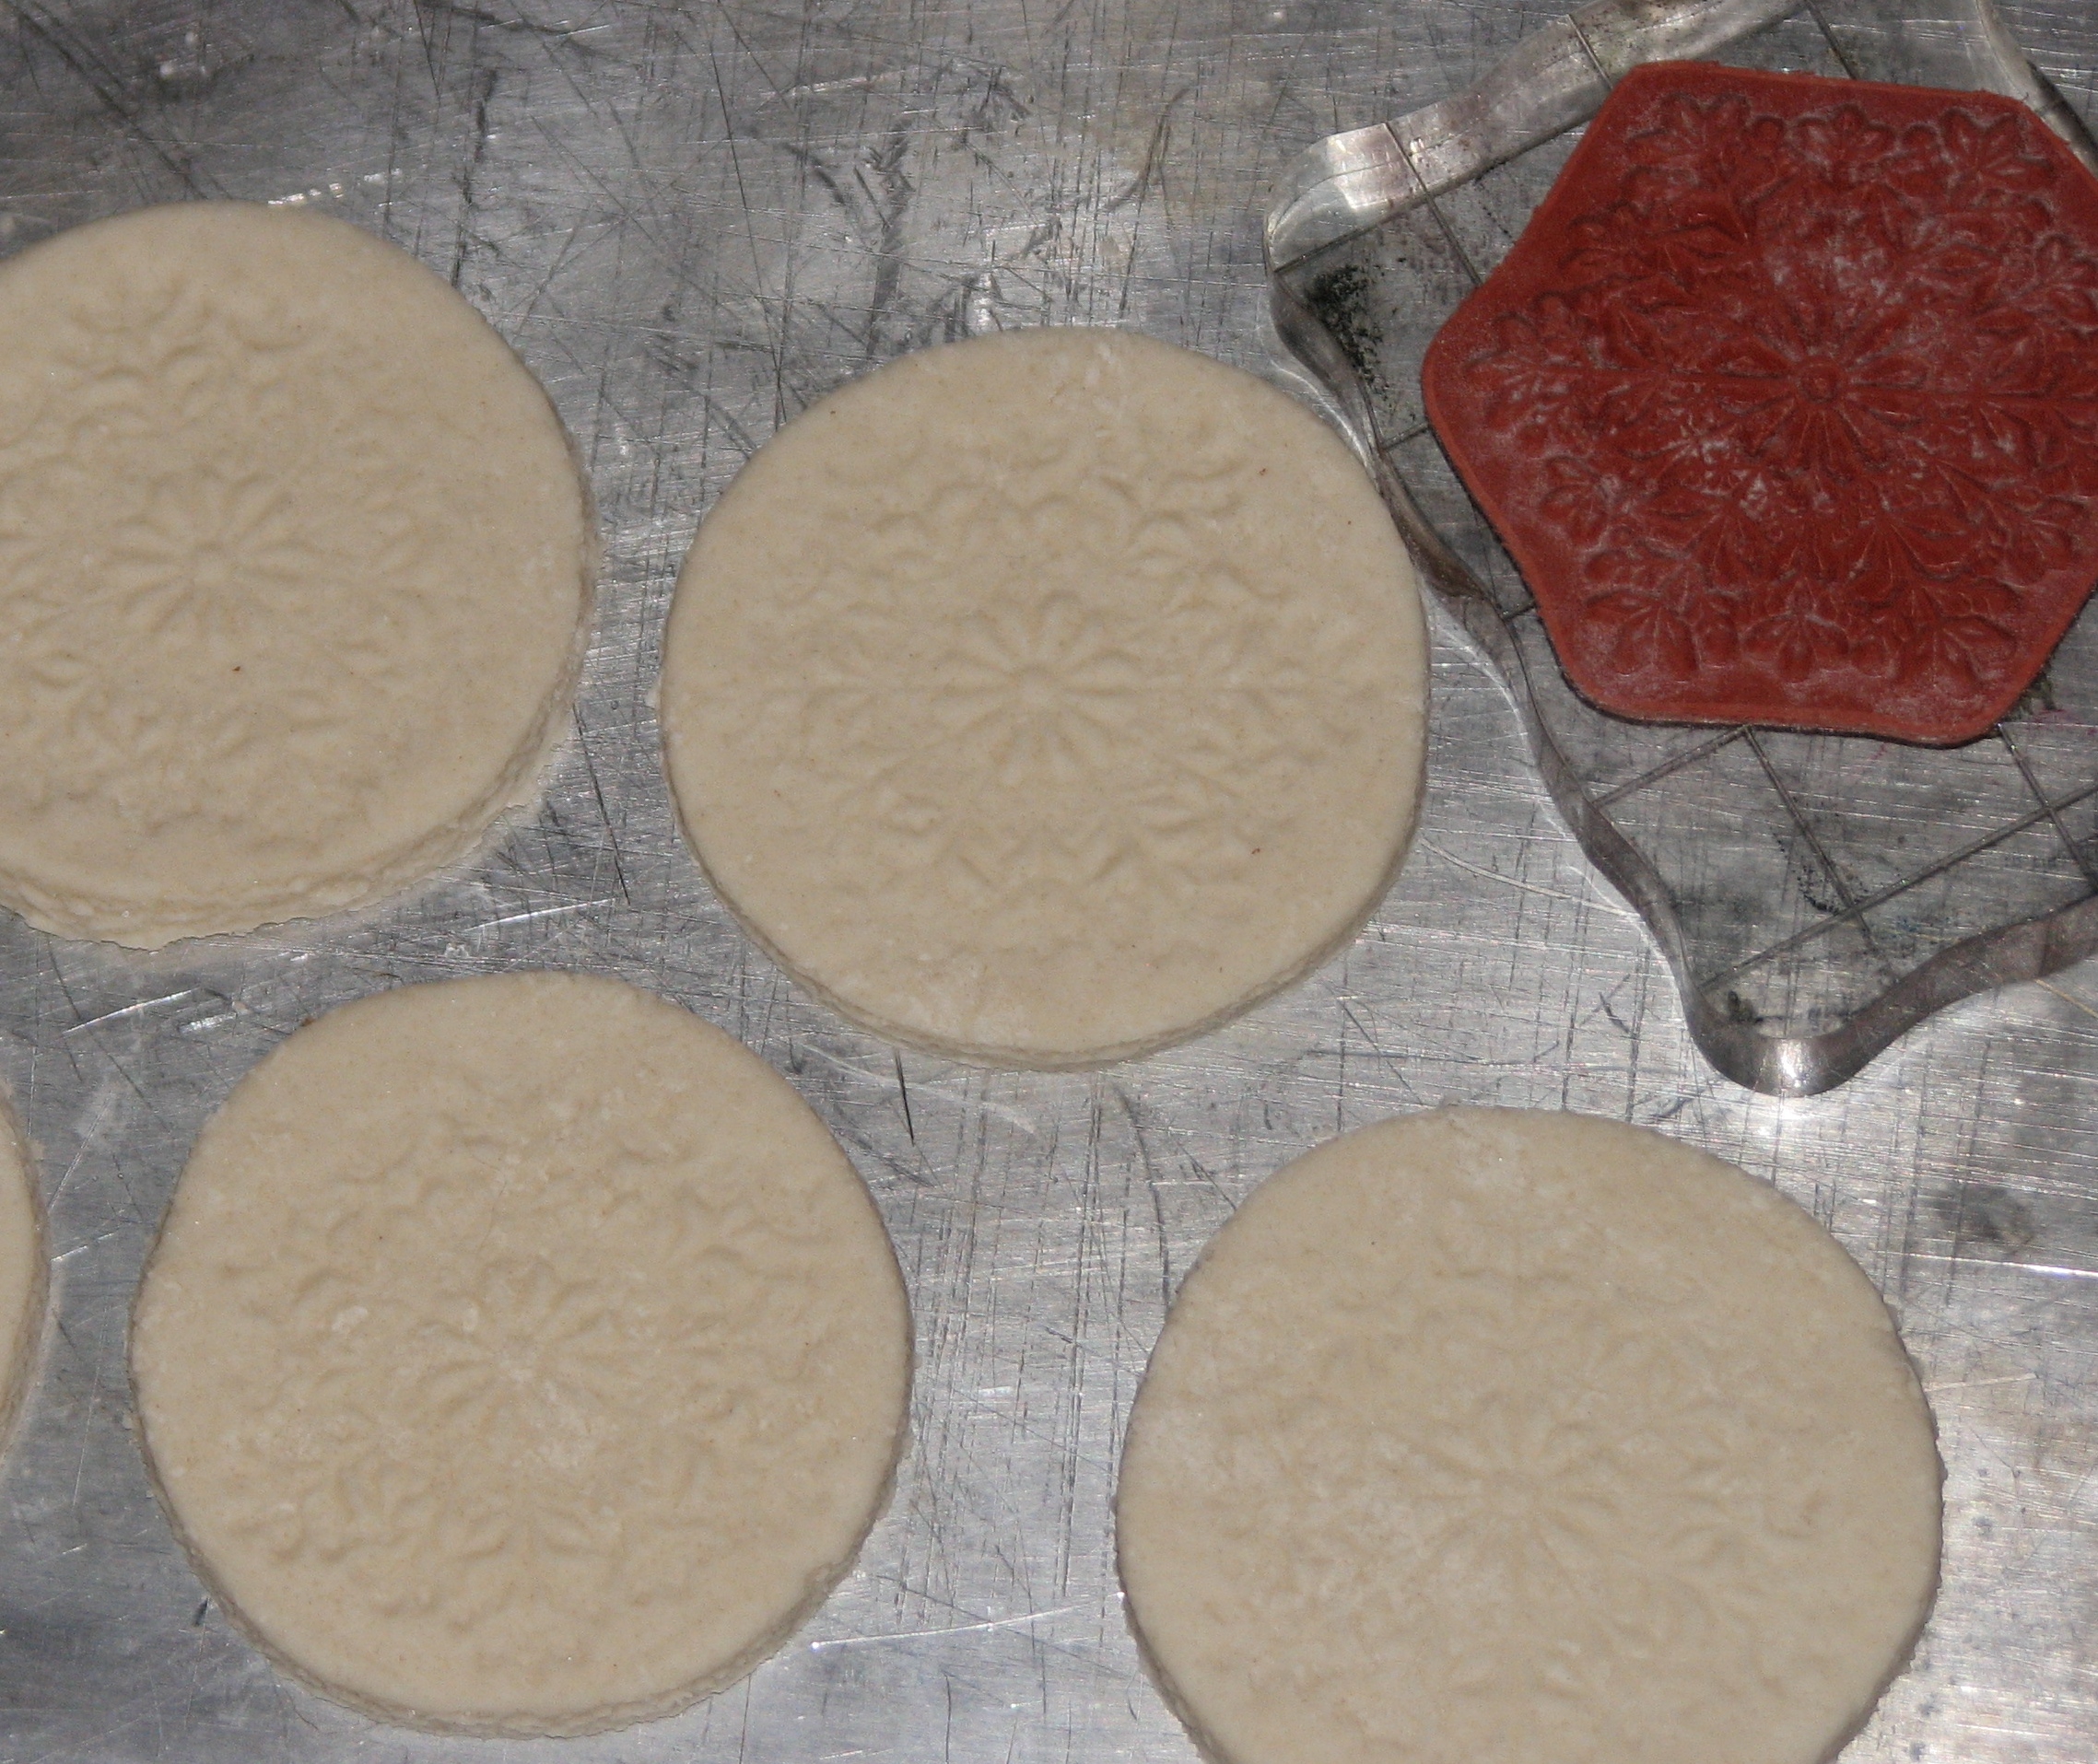

6. Press a stamp into the dough, the stamp can be un-inked (left) or inked using StazOn ink (right).
OPTIONAL IDEA: Instead of stamping into the cookie dough, place an open embossing folder over the dough as it is rolled out. When the folder is lifted from the dough the embossing folder design will be imprinted on the dough - both positive and negative.

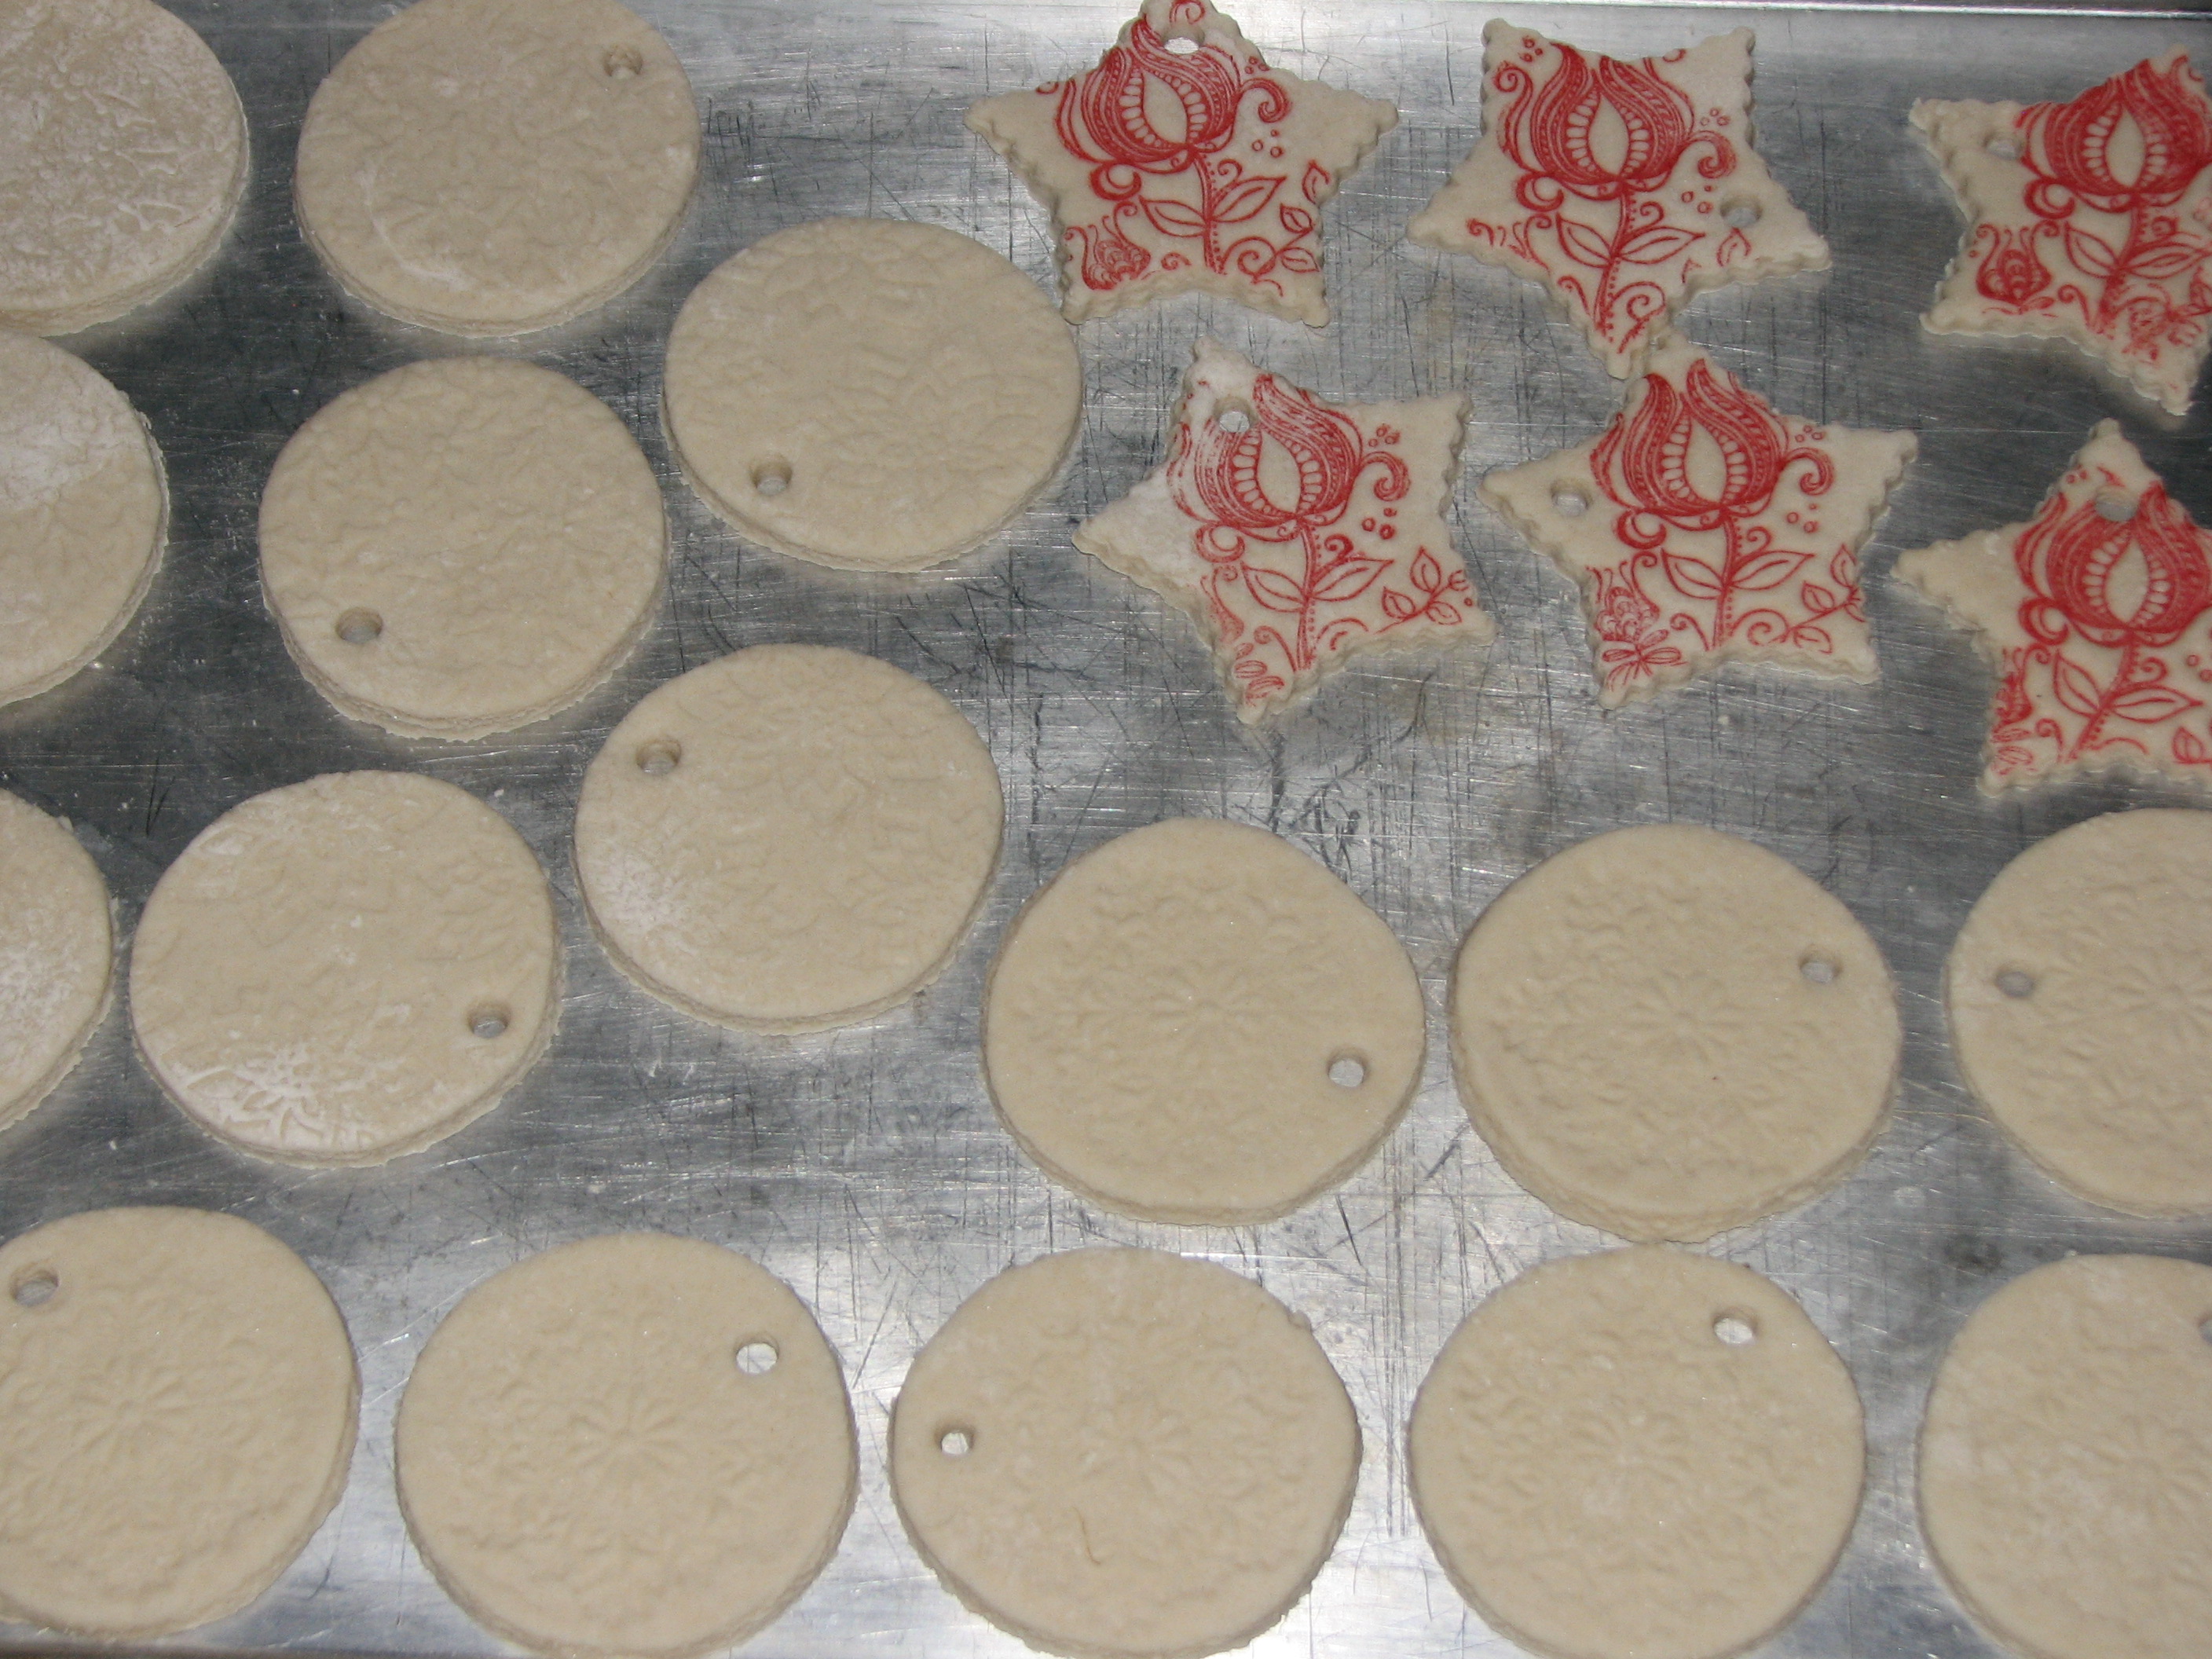
7. Poke a hole in each ornament for hanging later.
8. Bake the ornaments (to dry the dough) in a 325 degree oven for 2 hours, turn the ornaments often to ensure even drying.
TIP: I found it helpful to place a 2nd cookie sheet over the ornaments to keep them from puffing up and getting lumpy while drying. I also poked holes in the side and bottom of the ornaments to help release any trapped air that accumulates while drying.
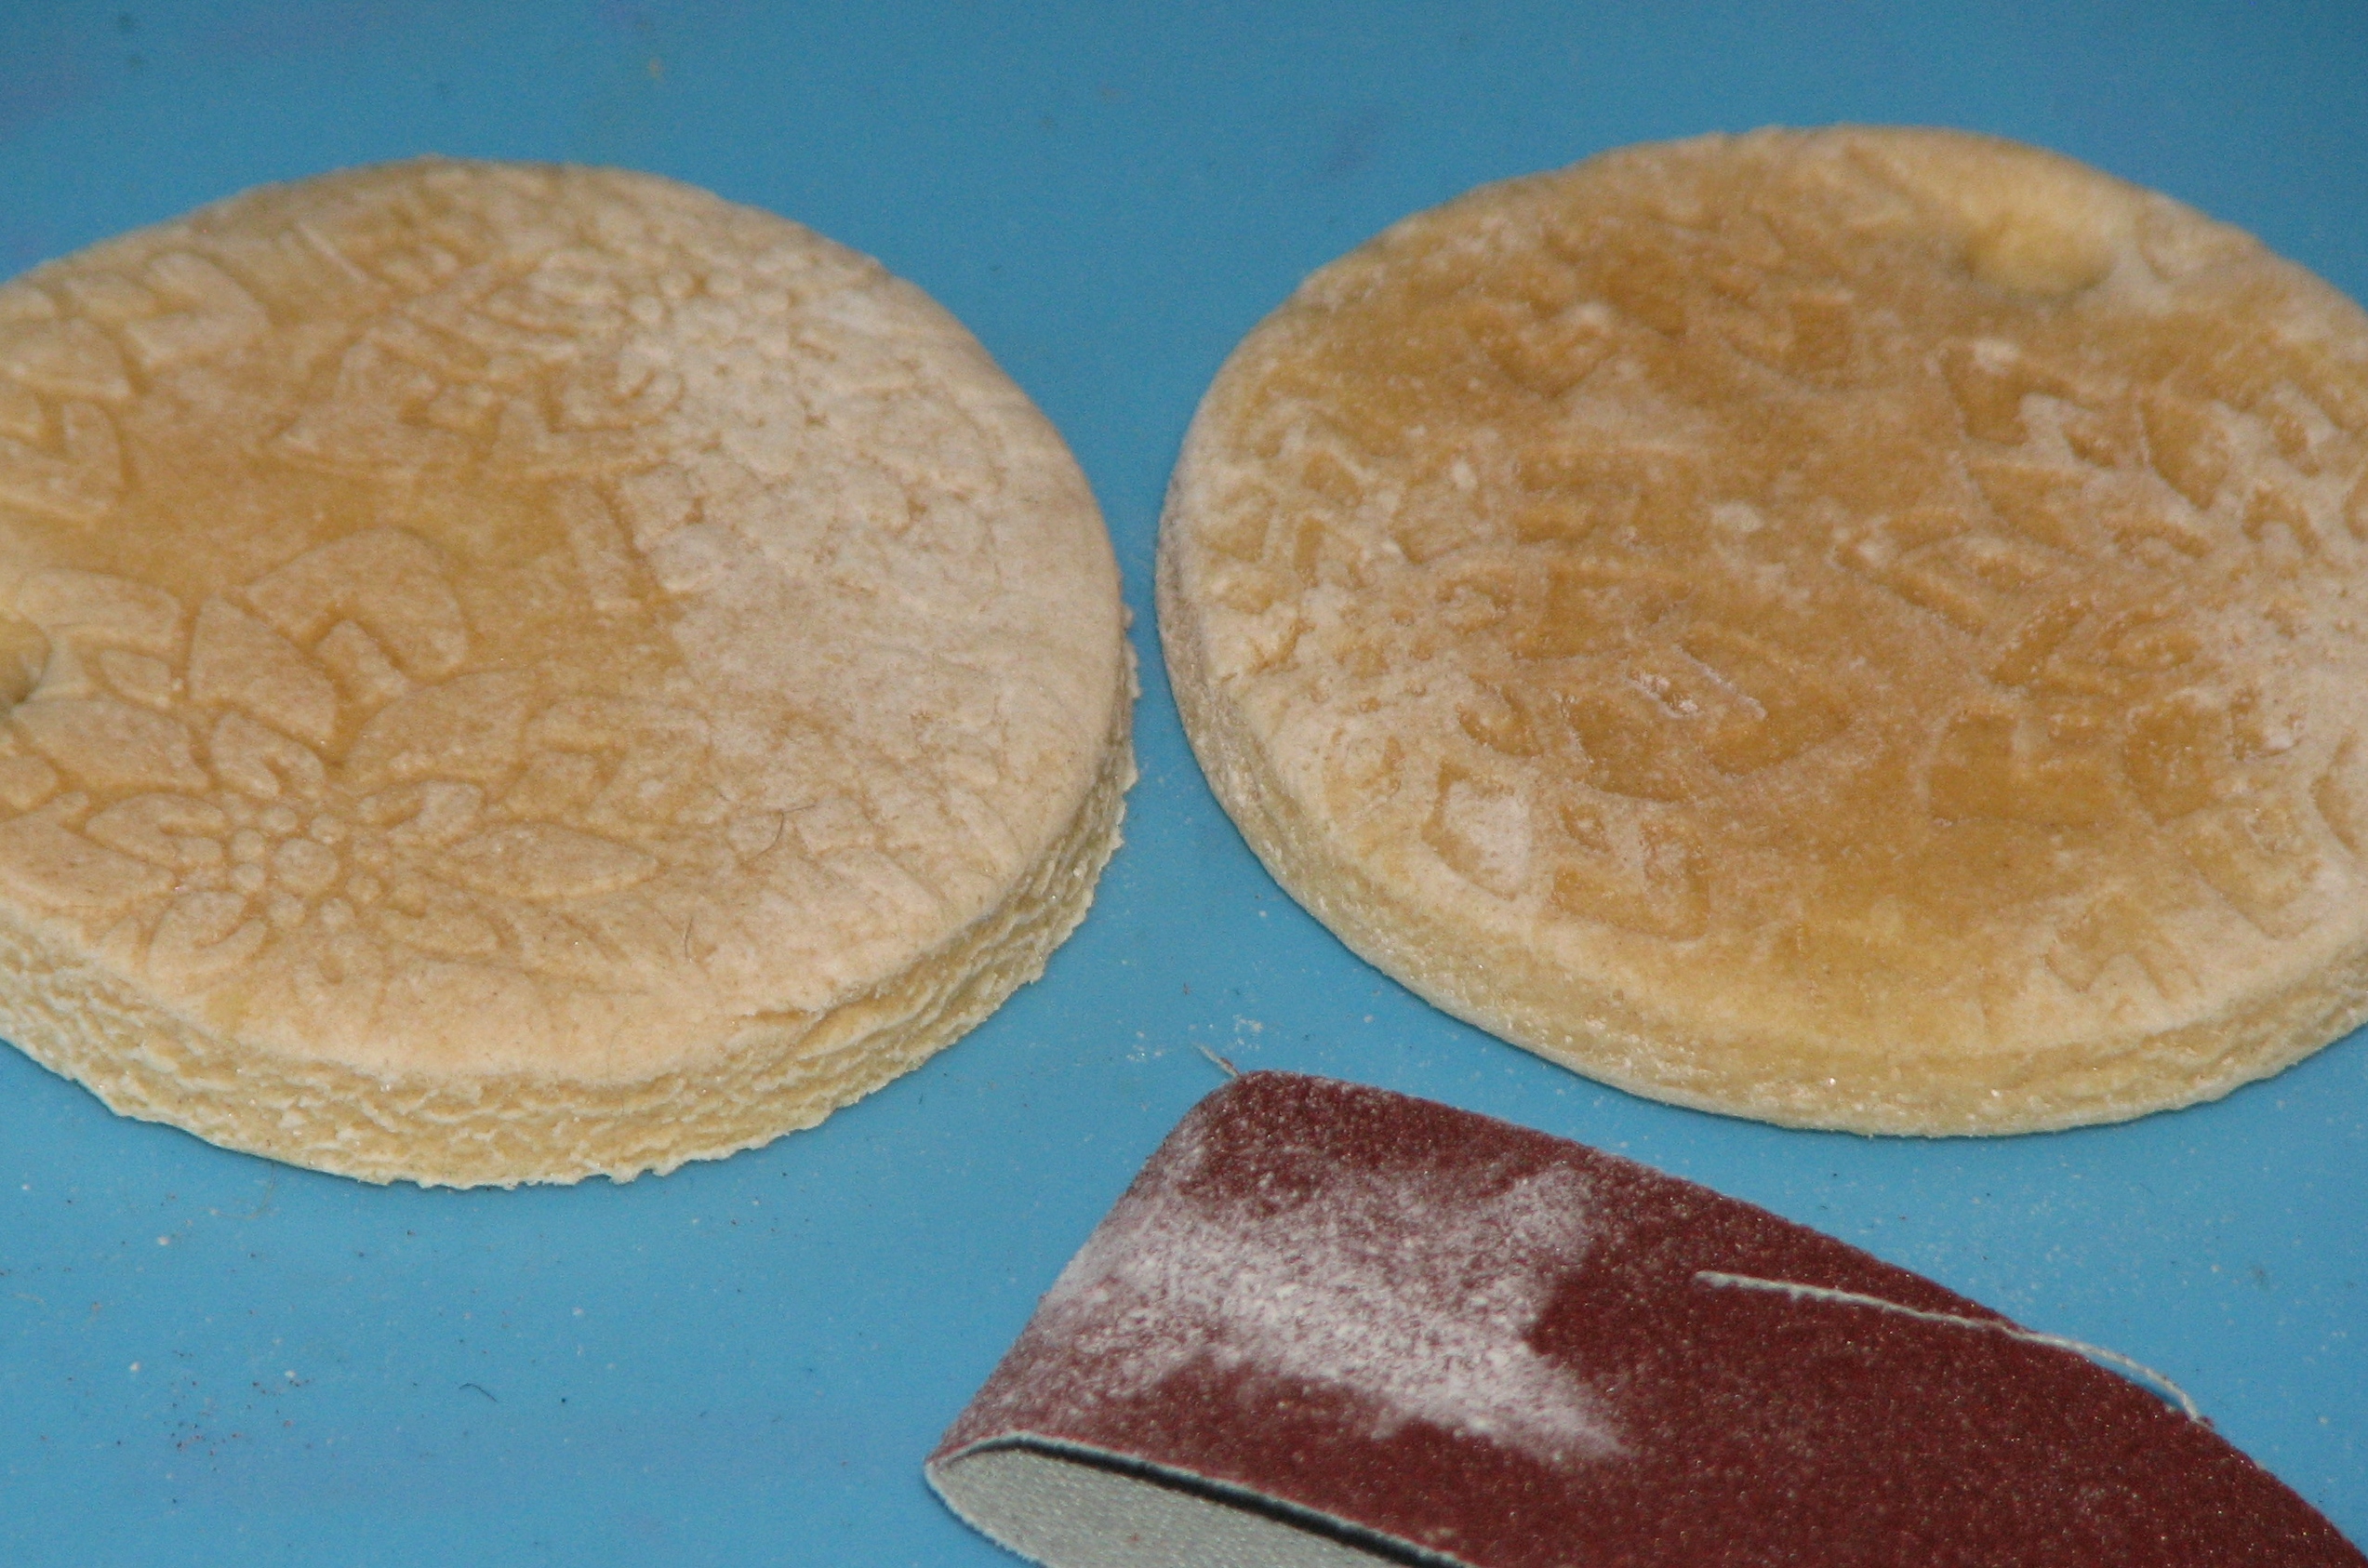
9. Sand the edges of each ornament.
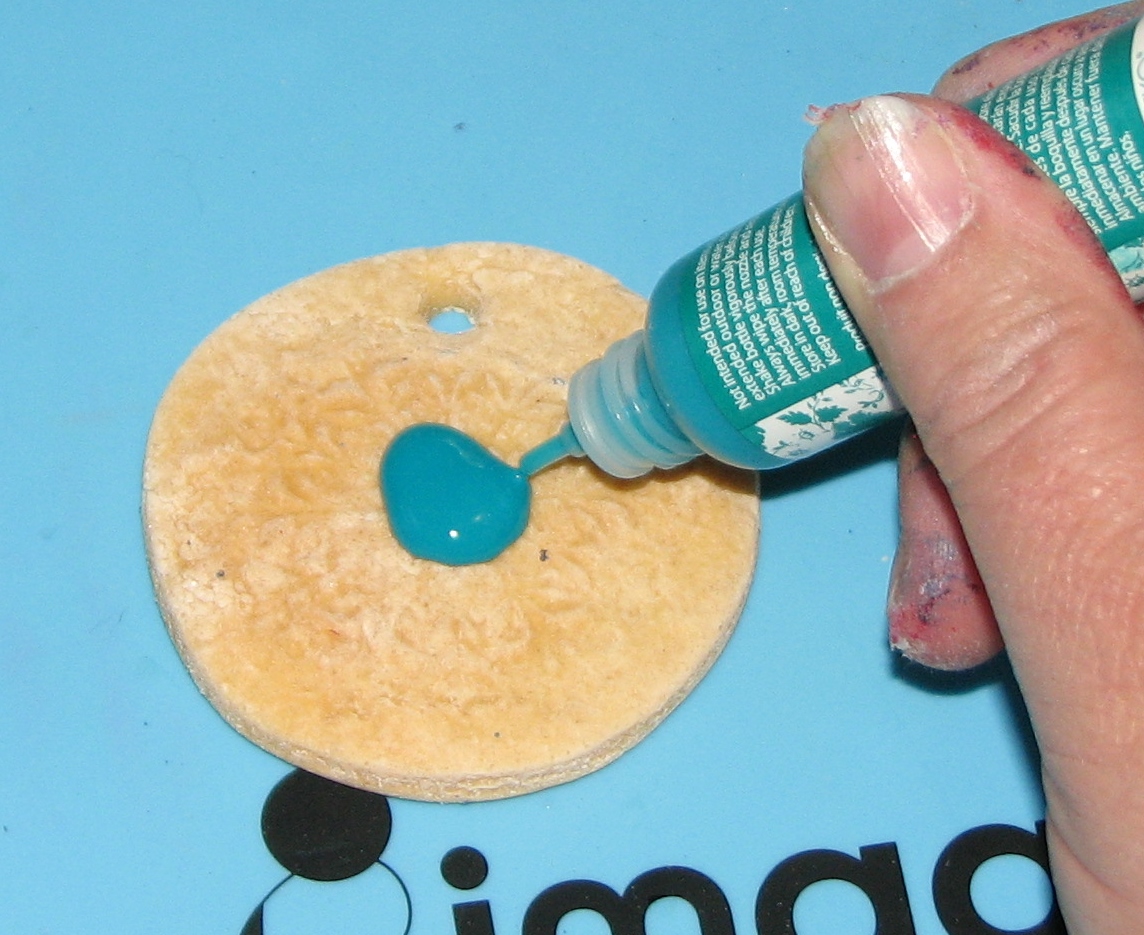

10. Apply a dime size puddle of desired color of StazOn Studio Glaze on the ornament and spread around with your fingertip until the entire ornament is covered - front, back and sides. Let the glaze dry completely.
11. Once the glaze has dried you may choose to add a ribbon or fiber for hanging and any additional embellishments as desired or move onto Step 12 which is optional.
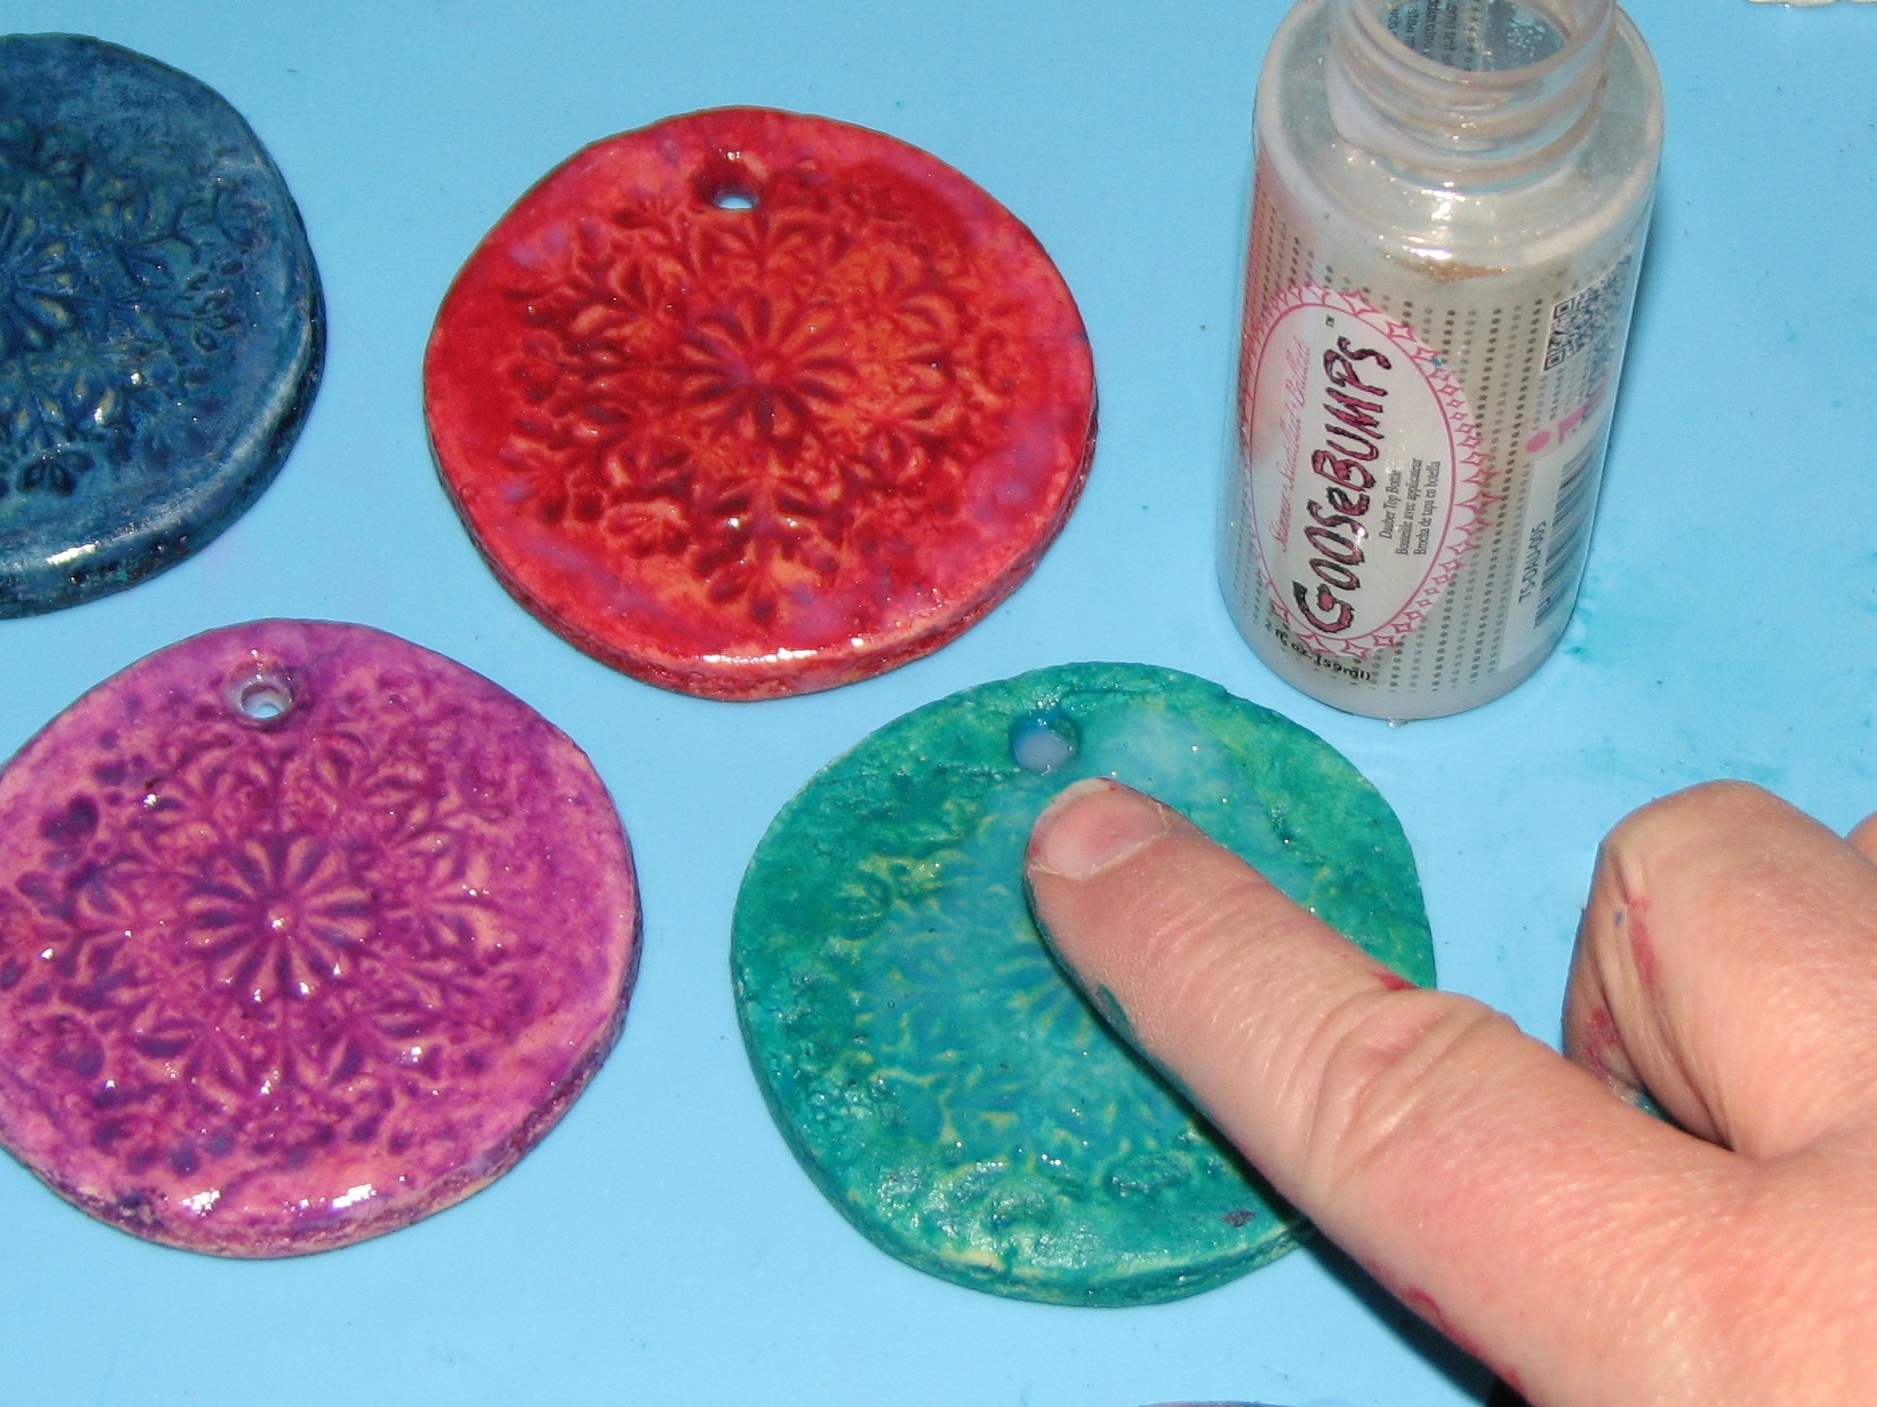
12. (Optional) To achieve a high gloss shine, apply a thin layer of Goosebumps Texture Medium over the entire ornament and let dry. Finish the dried ornaments with fiber or ribbon hangers and any additional embellishments as desired.
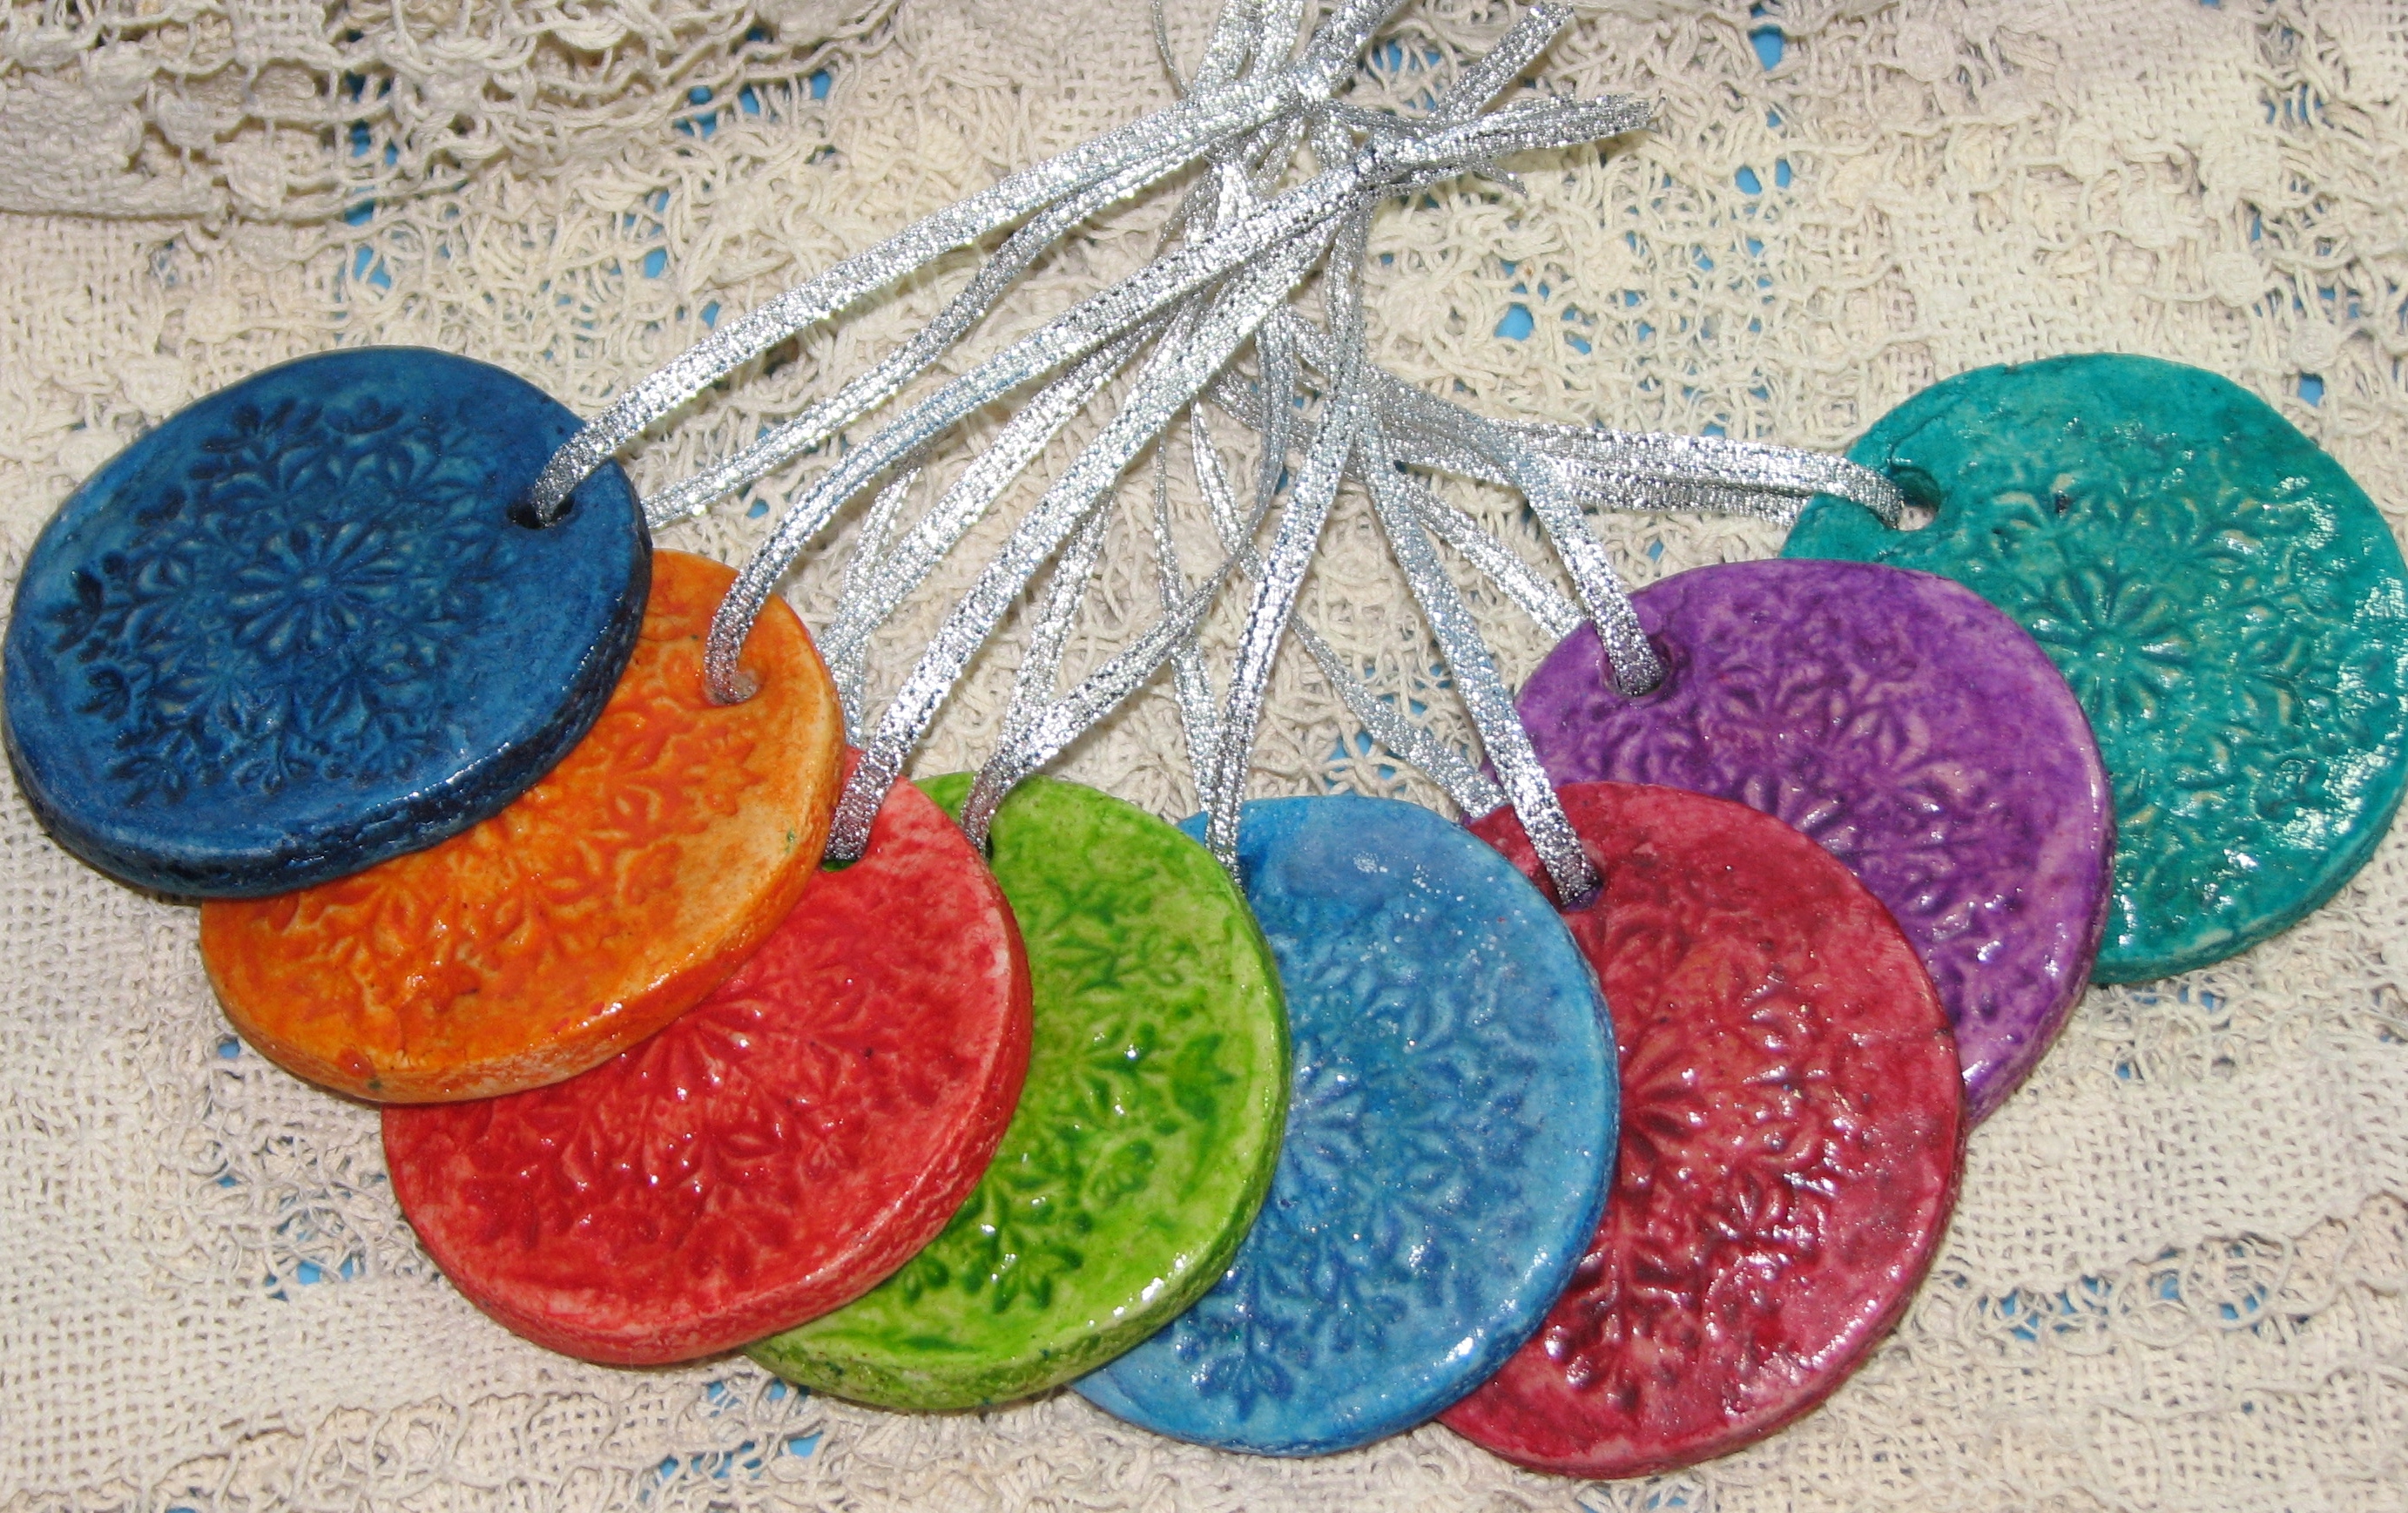
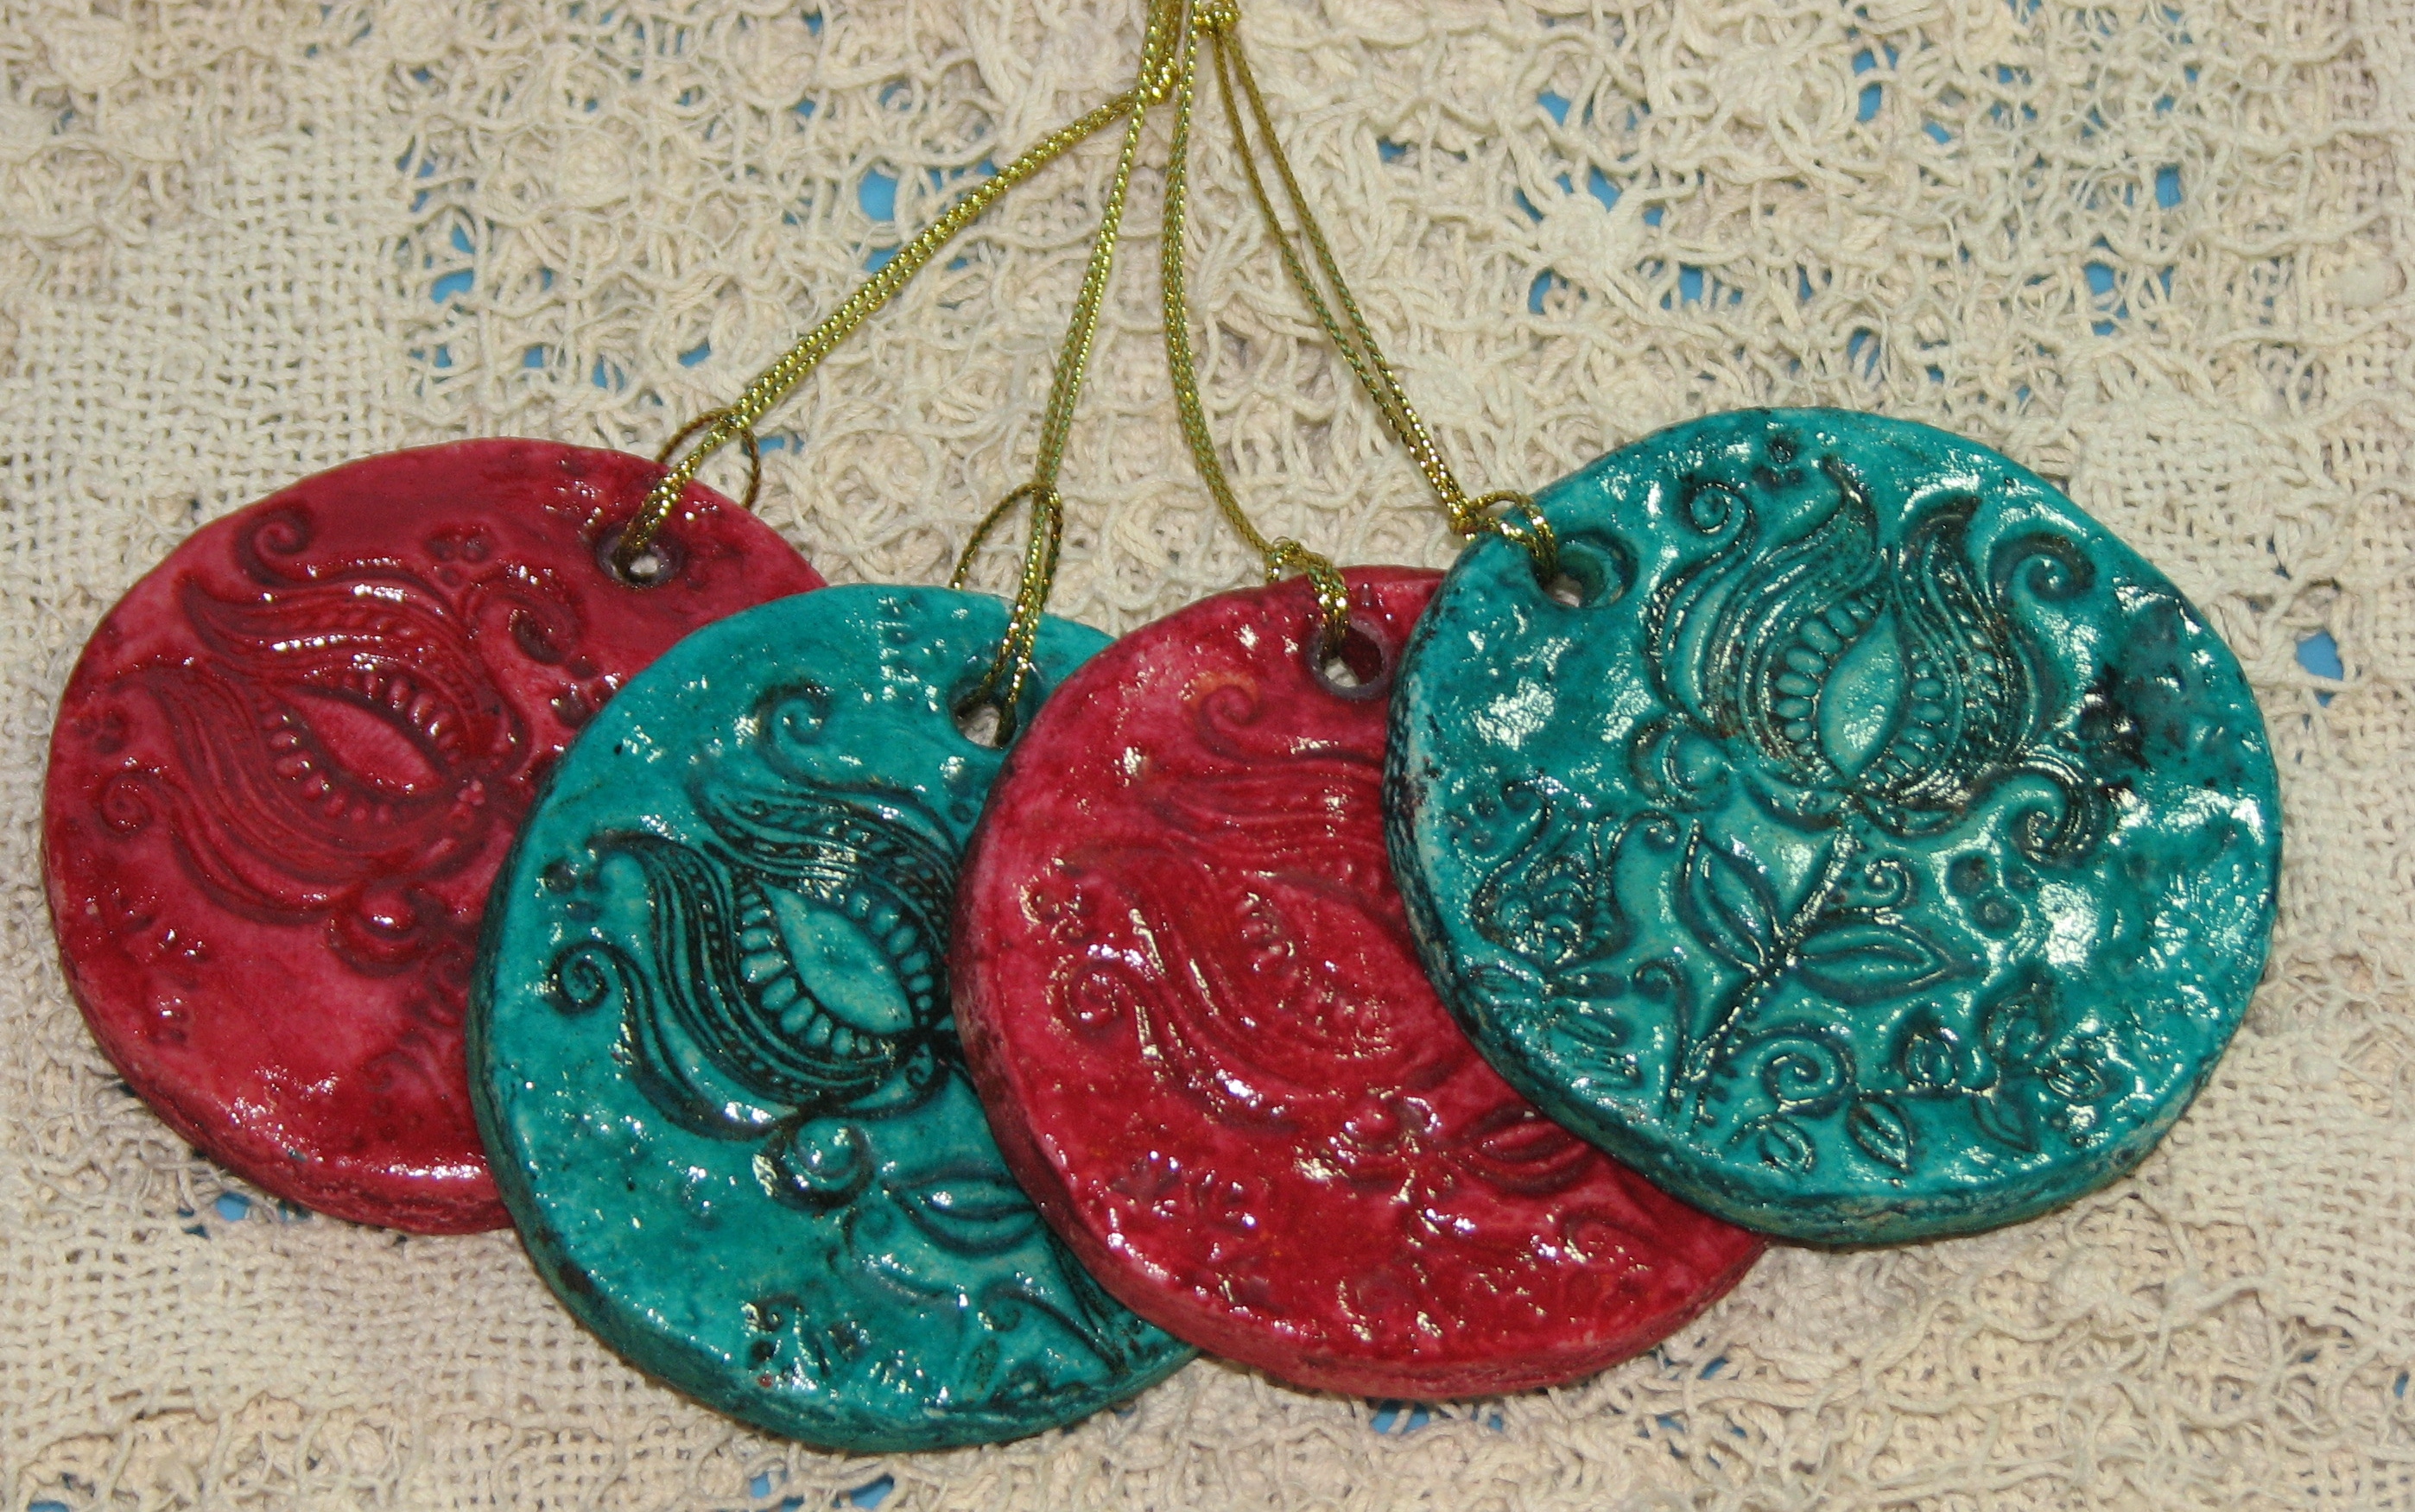
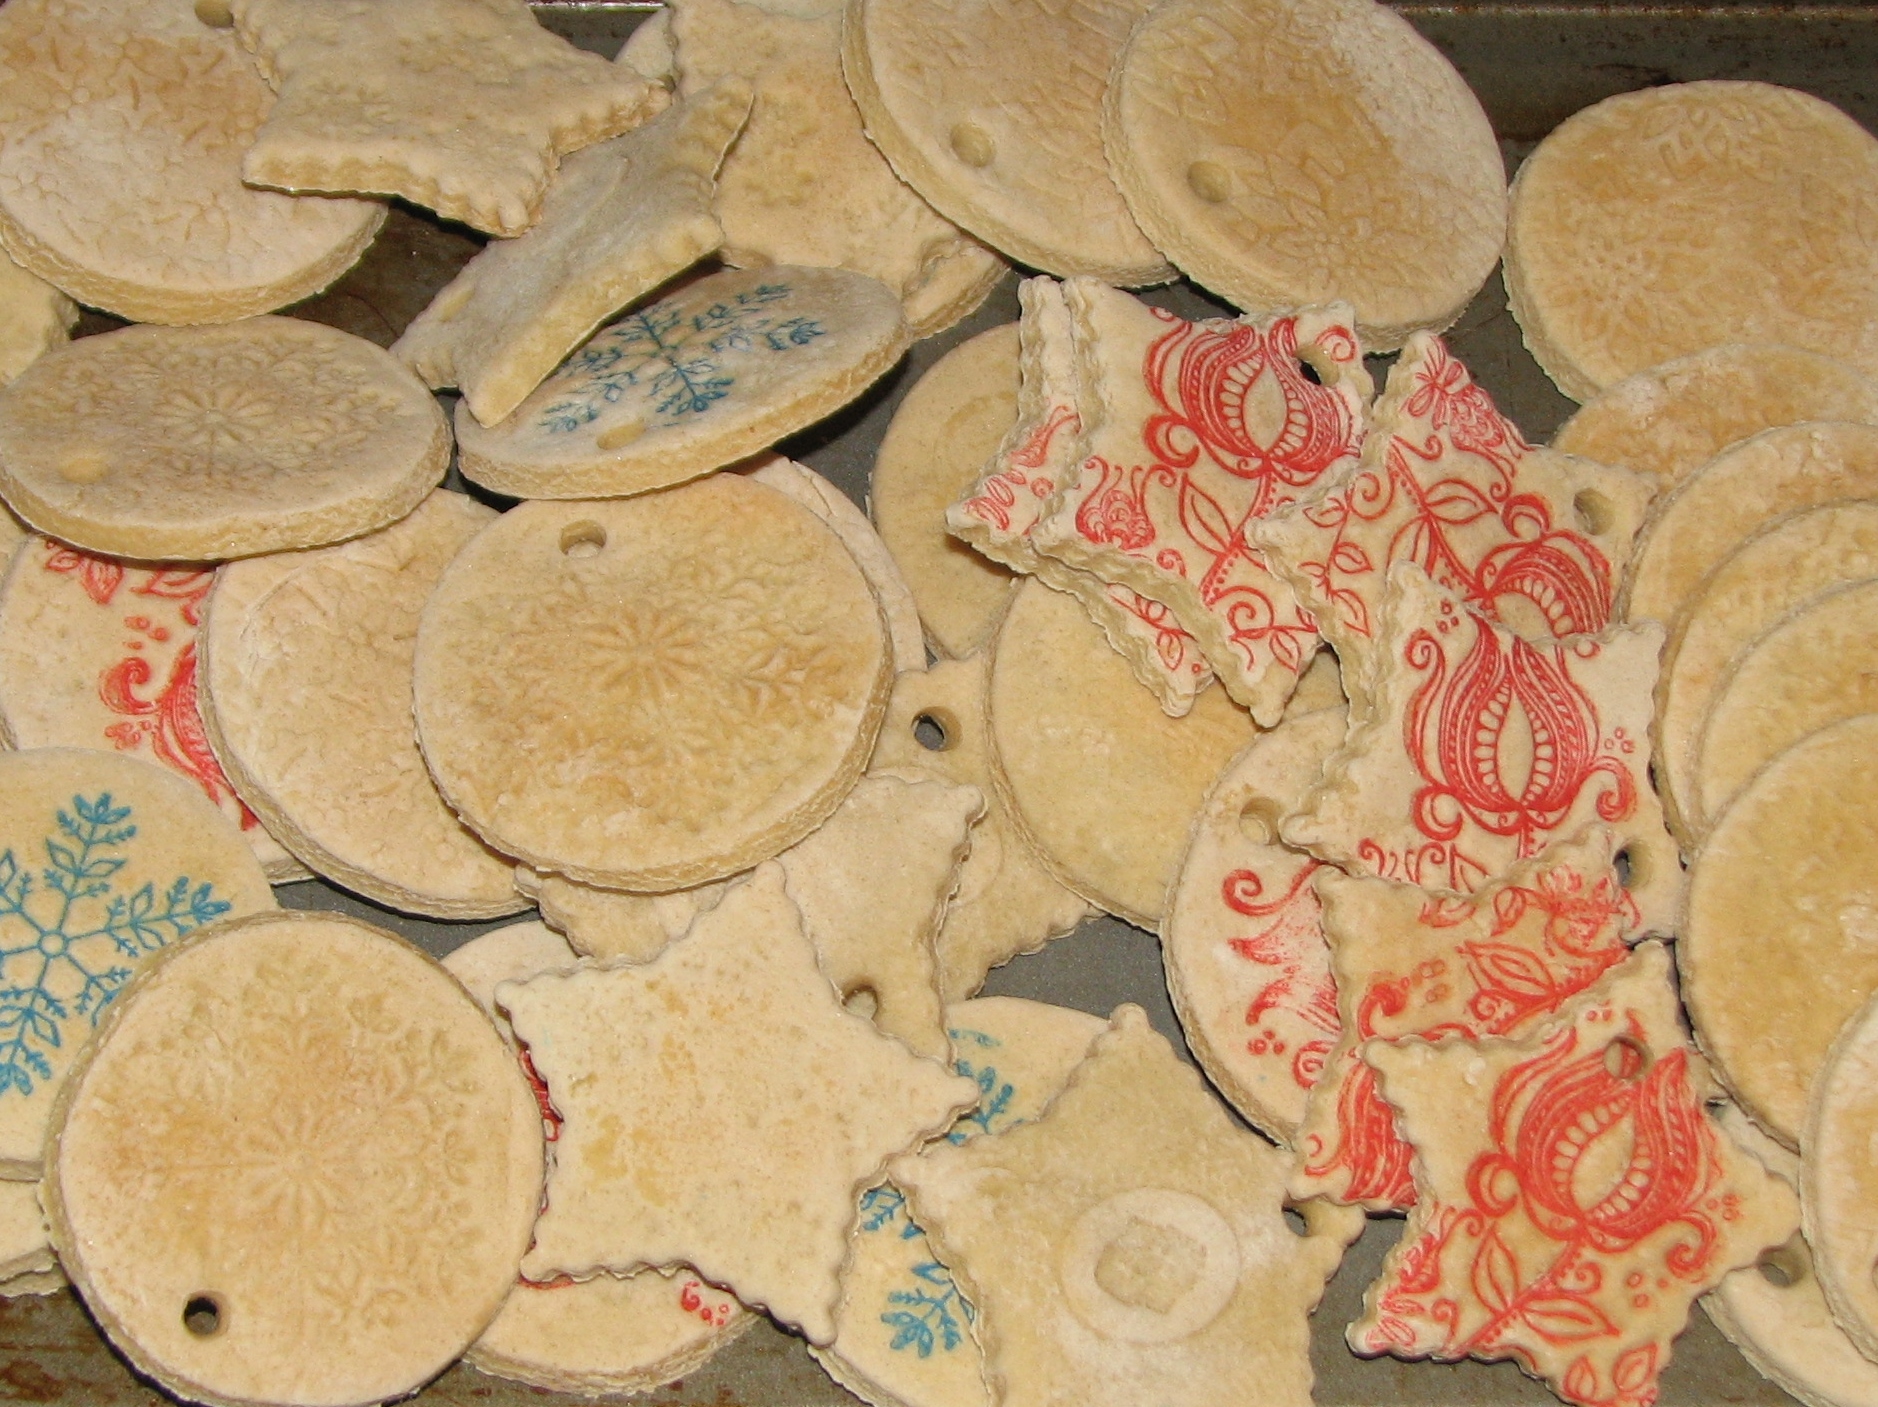
A rainbow of snowflake ornaments (Left); Floral ornaments - Image stamped into dough with Claret StazOn Ink (Right)
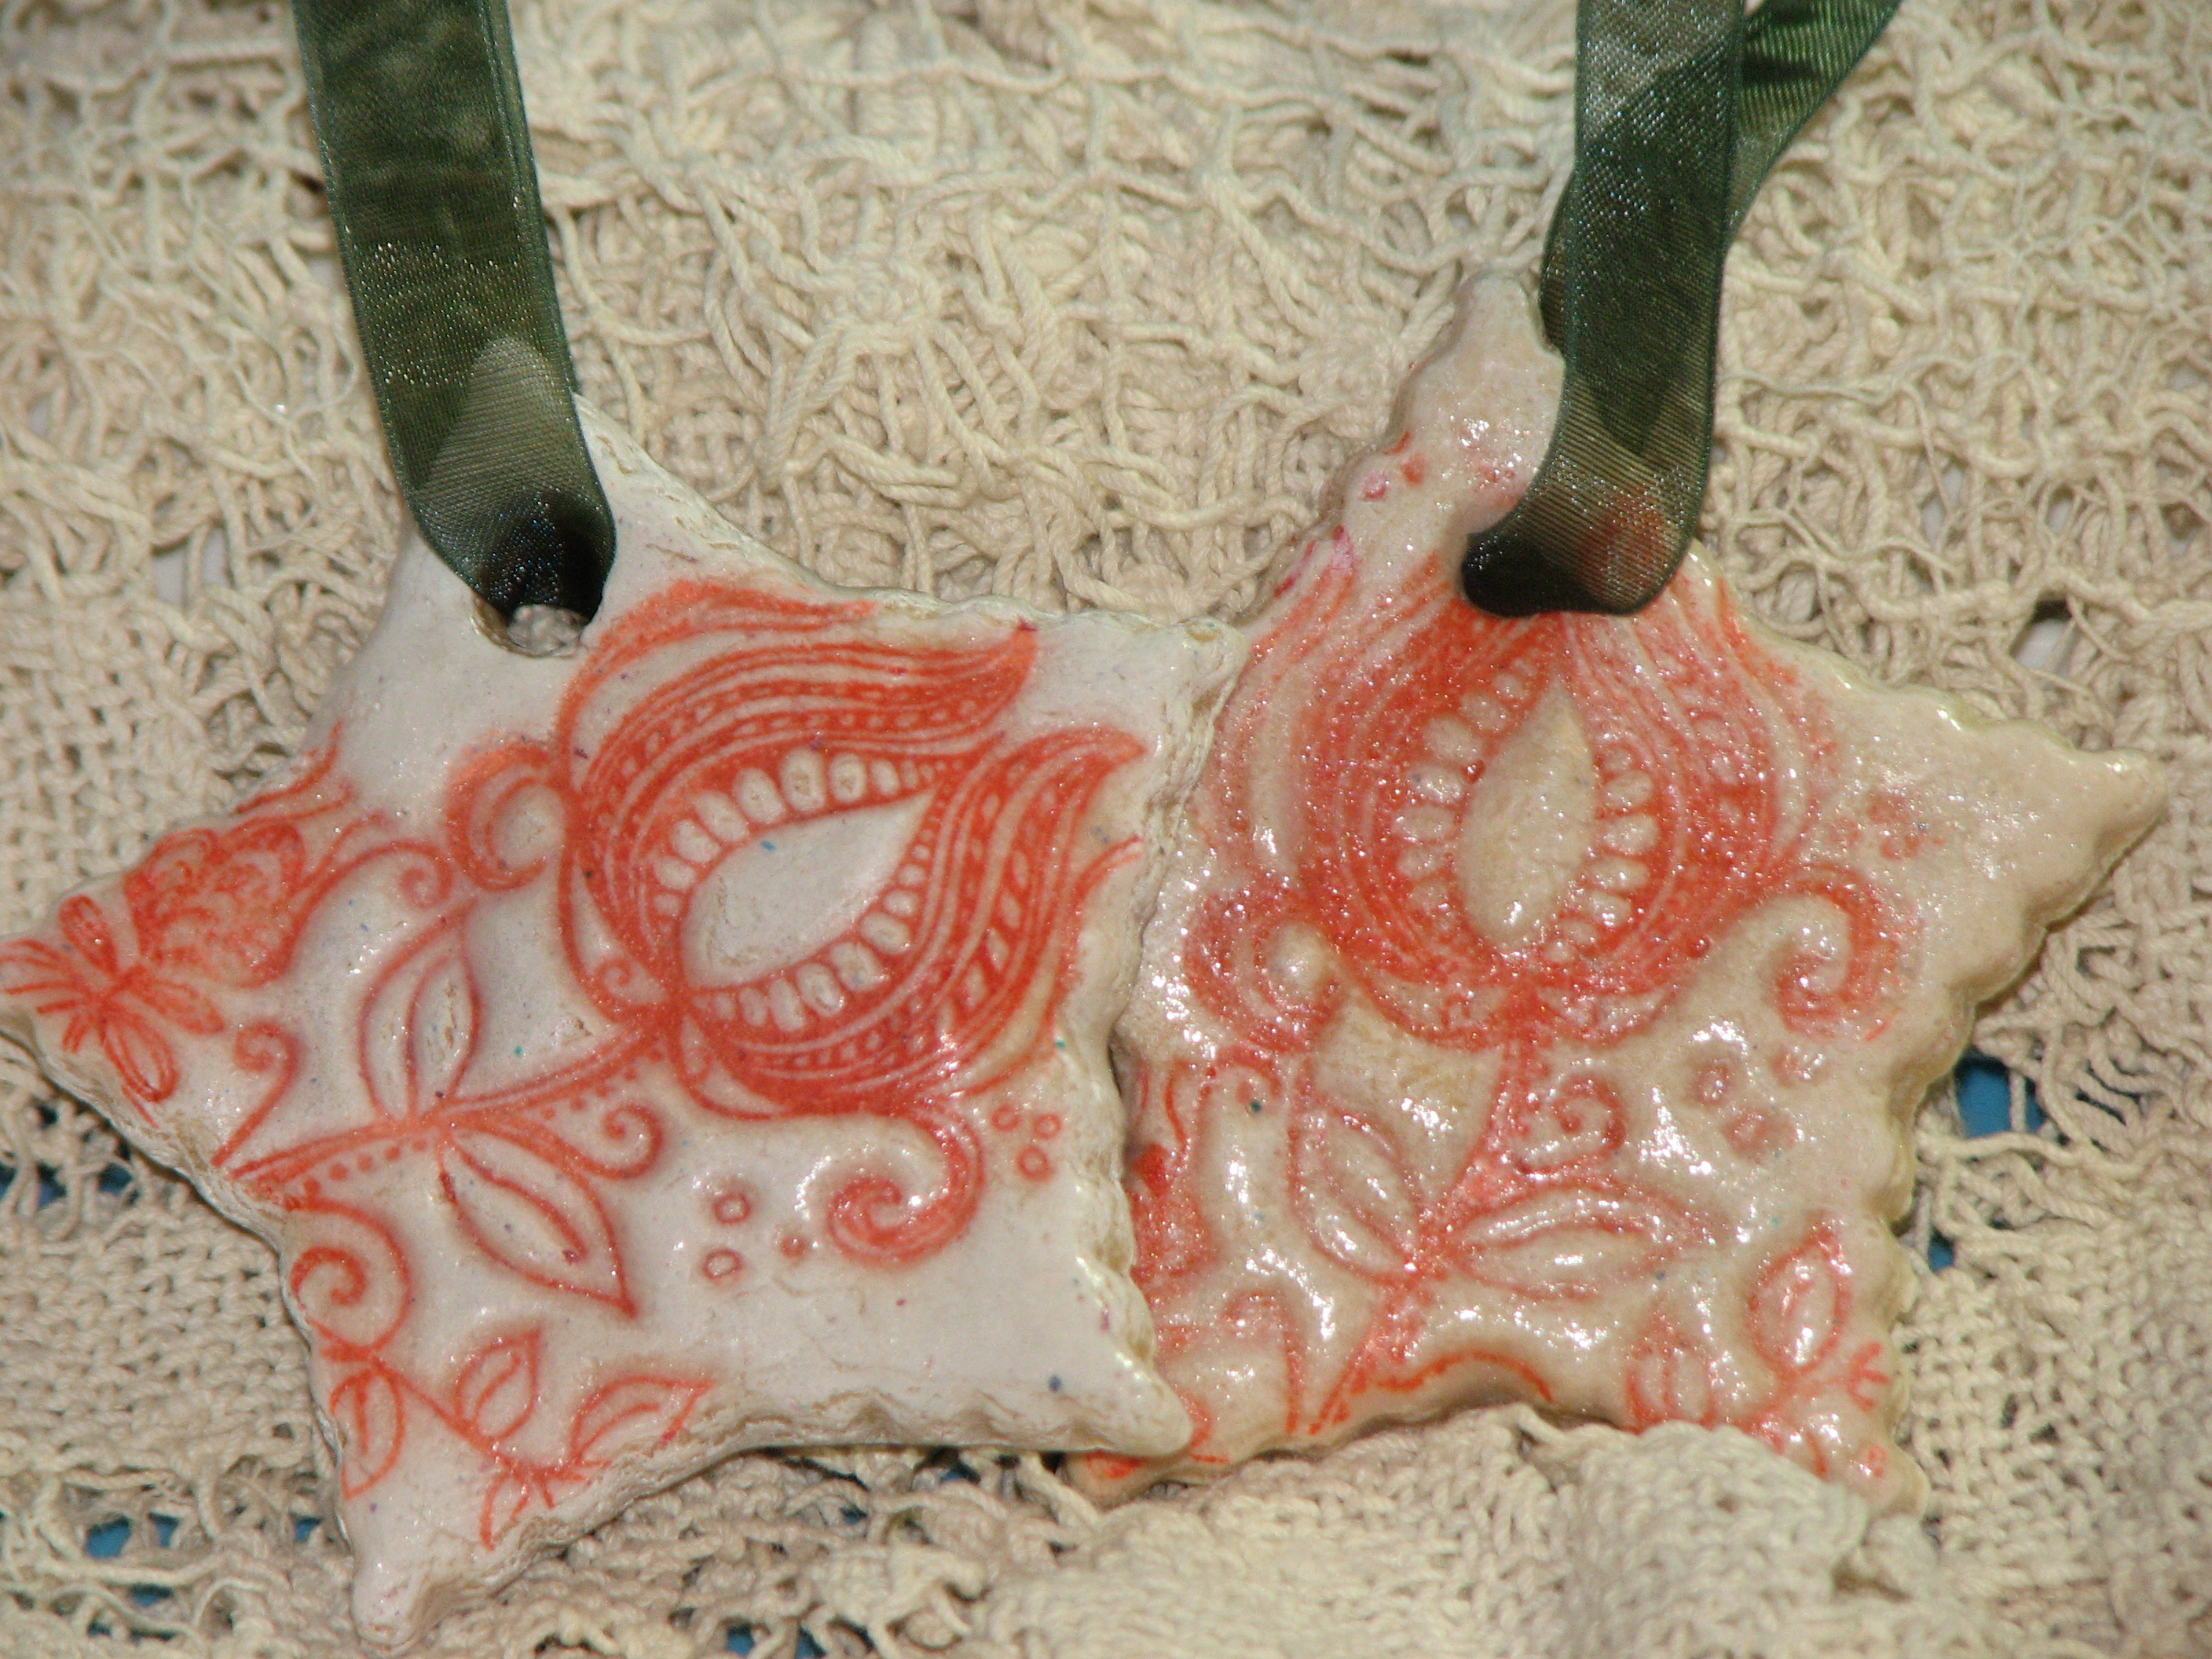
Star Floral Ornaments (Left) - Left Star - Imagine was stamped with St Valentine StazOn, once baked a layer of Wedding Dress Memento Luxe ink was applied on the raised areas of the design then covered with Goosebumps Texture Spray; Right Star - Image was stamped with St. Valentine StazOn, baked and finished with a layer of Goosebumps Texture Spray.
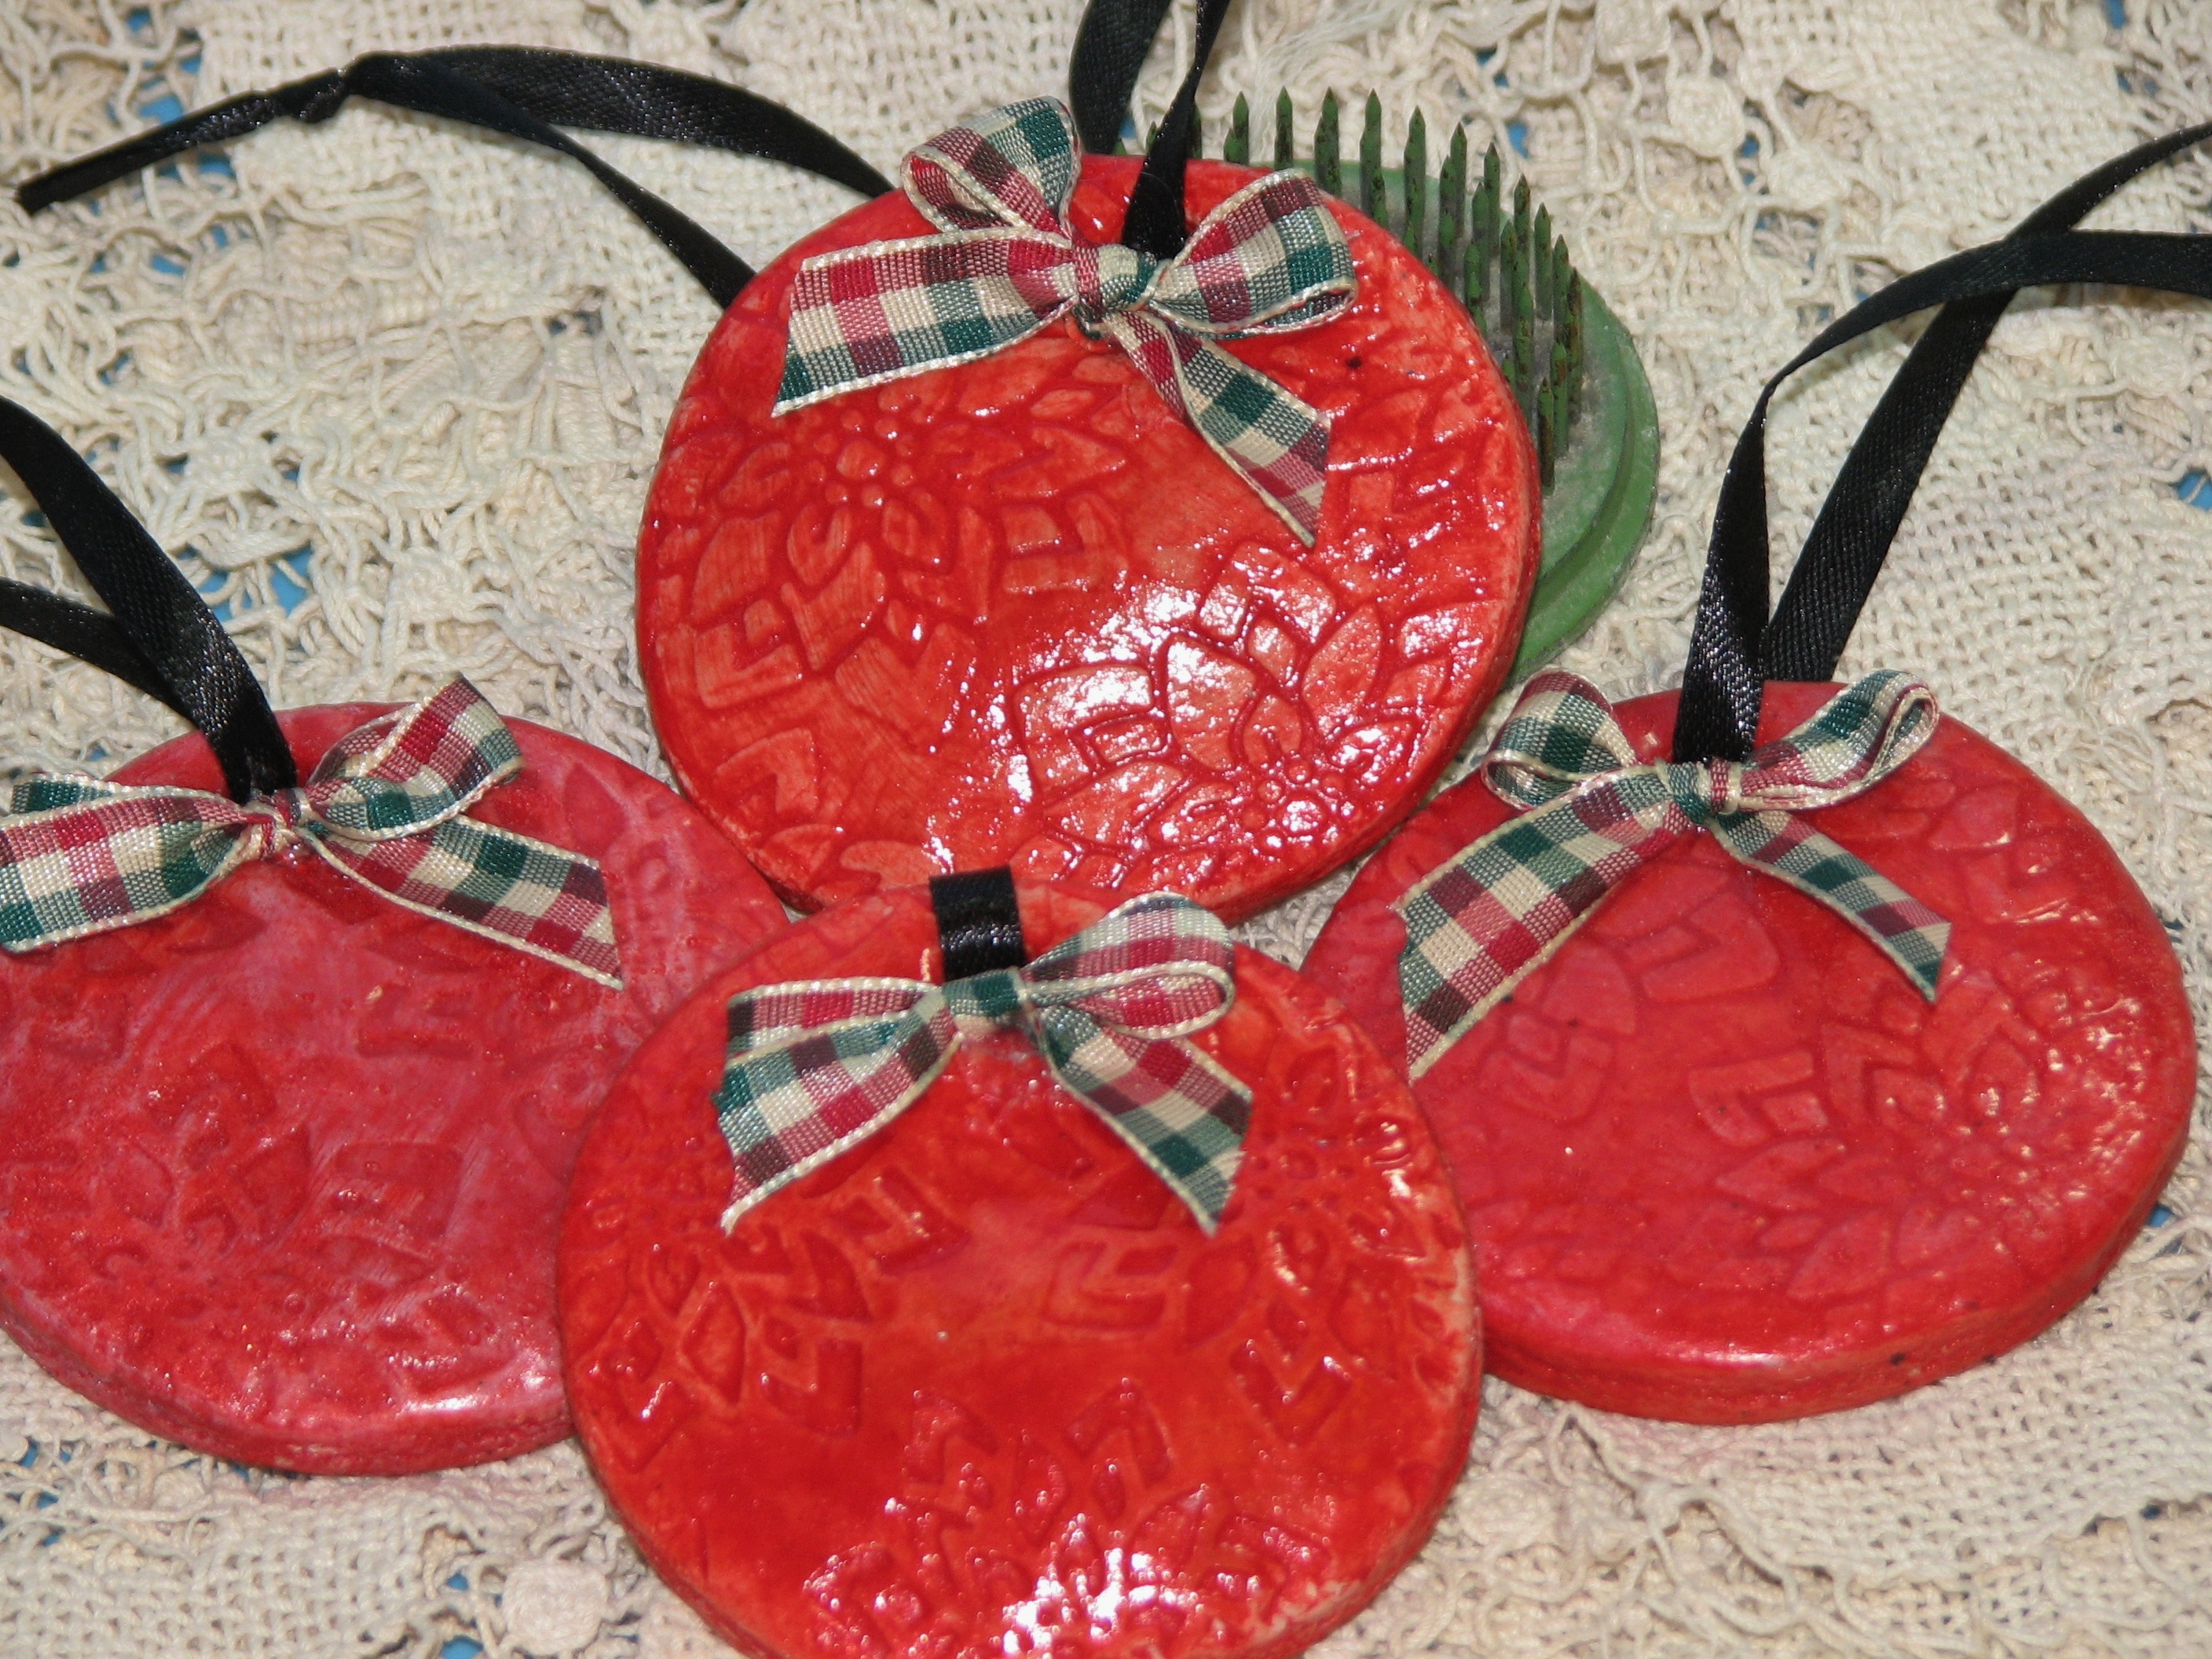
Poinsettia Ornaments (Right) - These ornaments were created by placing an embossing folder over the dough while it was being rolled out. There are 2 examples of the embossed design and 2 examples of debossed designs in this set of ornaments.
Imagien Crafts featuring Tsukineko:
Other: