Array ( [0] => 280 [ID] => 280 [1] => 1 [TYPEID] => 1 [2] => 0 [SECTIONID] => 0 [3] => project-details [MOD_NAME] => project-details [4] => [TITLE] => [5] => Project Details [META_TITLE] => Harvest Cornucopia Thanksgiving Card [6] => [META_DESCRIPTION] => Harvest Cornucopia Thanksgiving Card [7] => [META_KEYWORDS] => [8] => [BUTTON_TITLE] => [9] => [BODY] => [10] => [BODY_SIDE] => [11] => [MODULE_PROCESSING] => [12] => [MODULE_META] => [13] => project-details-head.php [MODULE_HEAD] => project-details-head.php [14] => project-details-body.php [MODULE_BODY] => project-details-body.php [15] => [MODULE_SIDE] => [16] => 0 [TOP_ORDER] => 0 [17] => 0 [HITS_UNIQUE] => 0 [18] => 0 [HITS_REPEAT] => 0 [19] => 0 [ROBOT_HITS] => 0 [20] => 0000-00-00 00:00:00 [LASTVIEWED] => 0000-00-00 00:00:00 [21] => 0000-00-00 00:00:00 [ROBOT_LASTVIEWED] => 0000-00-00 00:00:00 [22] => 0.70 [PRIORITY] => 0.70 [23] => 1 [SITEMAP] => 1 [24] => 1 [ACTIVE] => 1 [25] => 1 [DISPLAY_TITLE] => 1 [26] => 0 [SSL_MODE] => 0 [27] => 0 [EDITABLE] => 0 [28] => 0 [DELETABLE] => 0 [29] => 2013-11-05 00:00:00 [LASTUPDATED] => 2013-11-05 00:00:00 [30] => 2013-11-05 00:00:00 [CREATED] => 2013-11-05 00:00:00 )
Imagine Crafts
LearnMakeCommunityShop

Harvest Cornucopia Thanksgiving Card

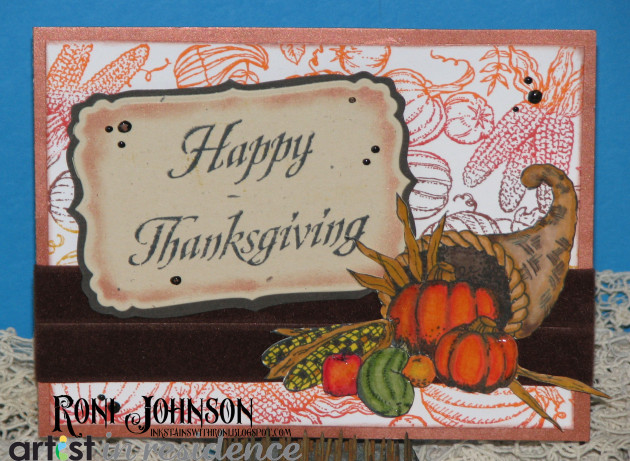
Thanksgiving is a lovely time of year spent with family and friends but it’s also time to give thanks for the bounty of the harvest for the year. Here’s to all of the farmers that make a bountiful Thanksgiving possible…Thanks for all your hard work.


Harvest Cornucopia Thanksgiving Card

2015_November_RJ_Thanksgiving_10

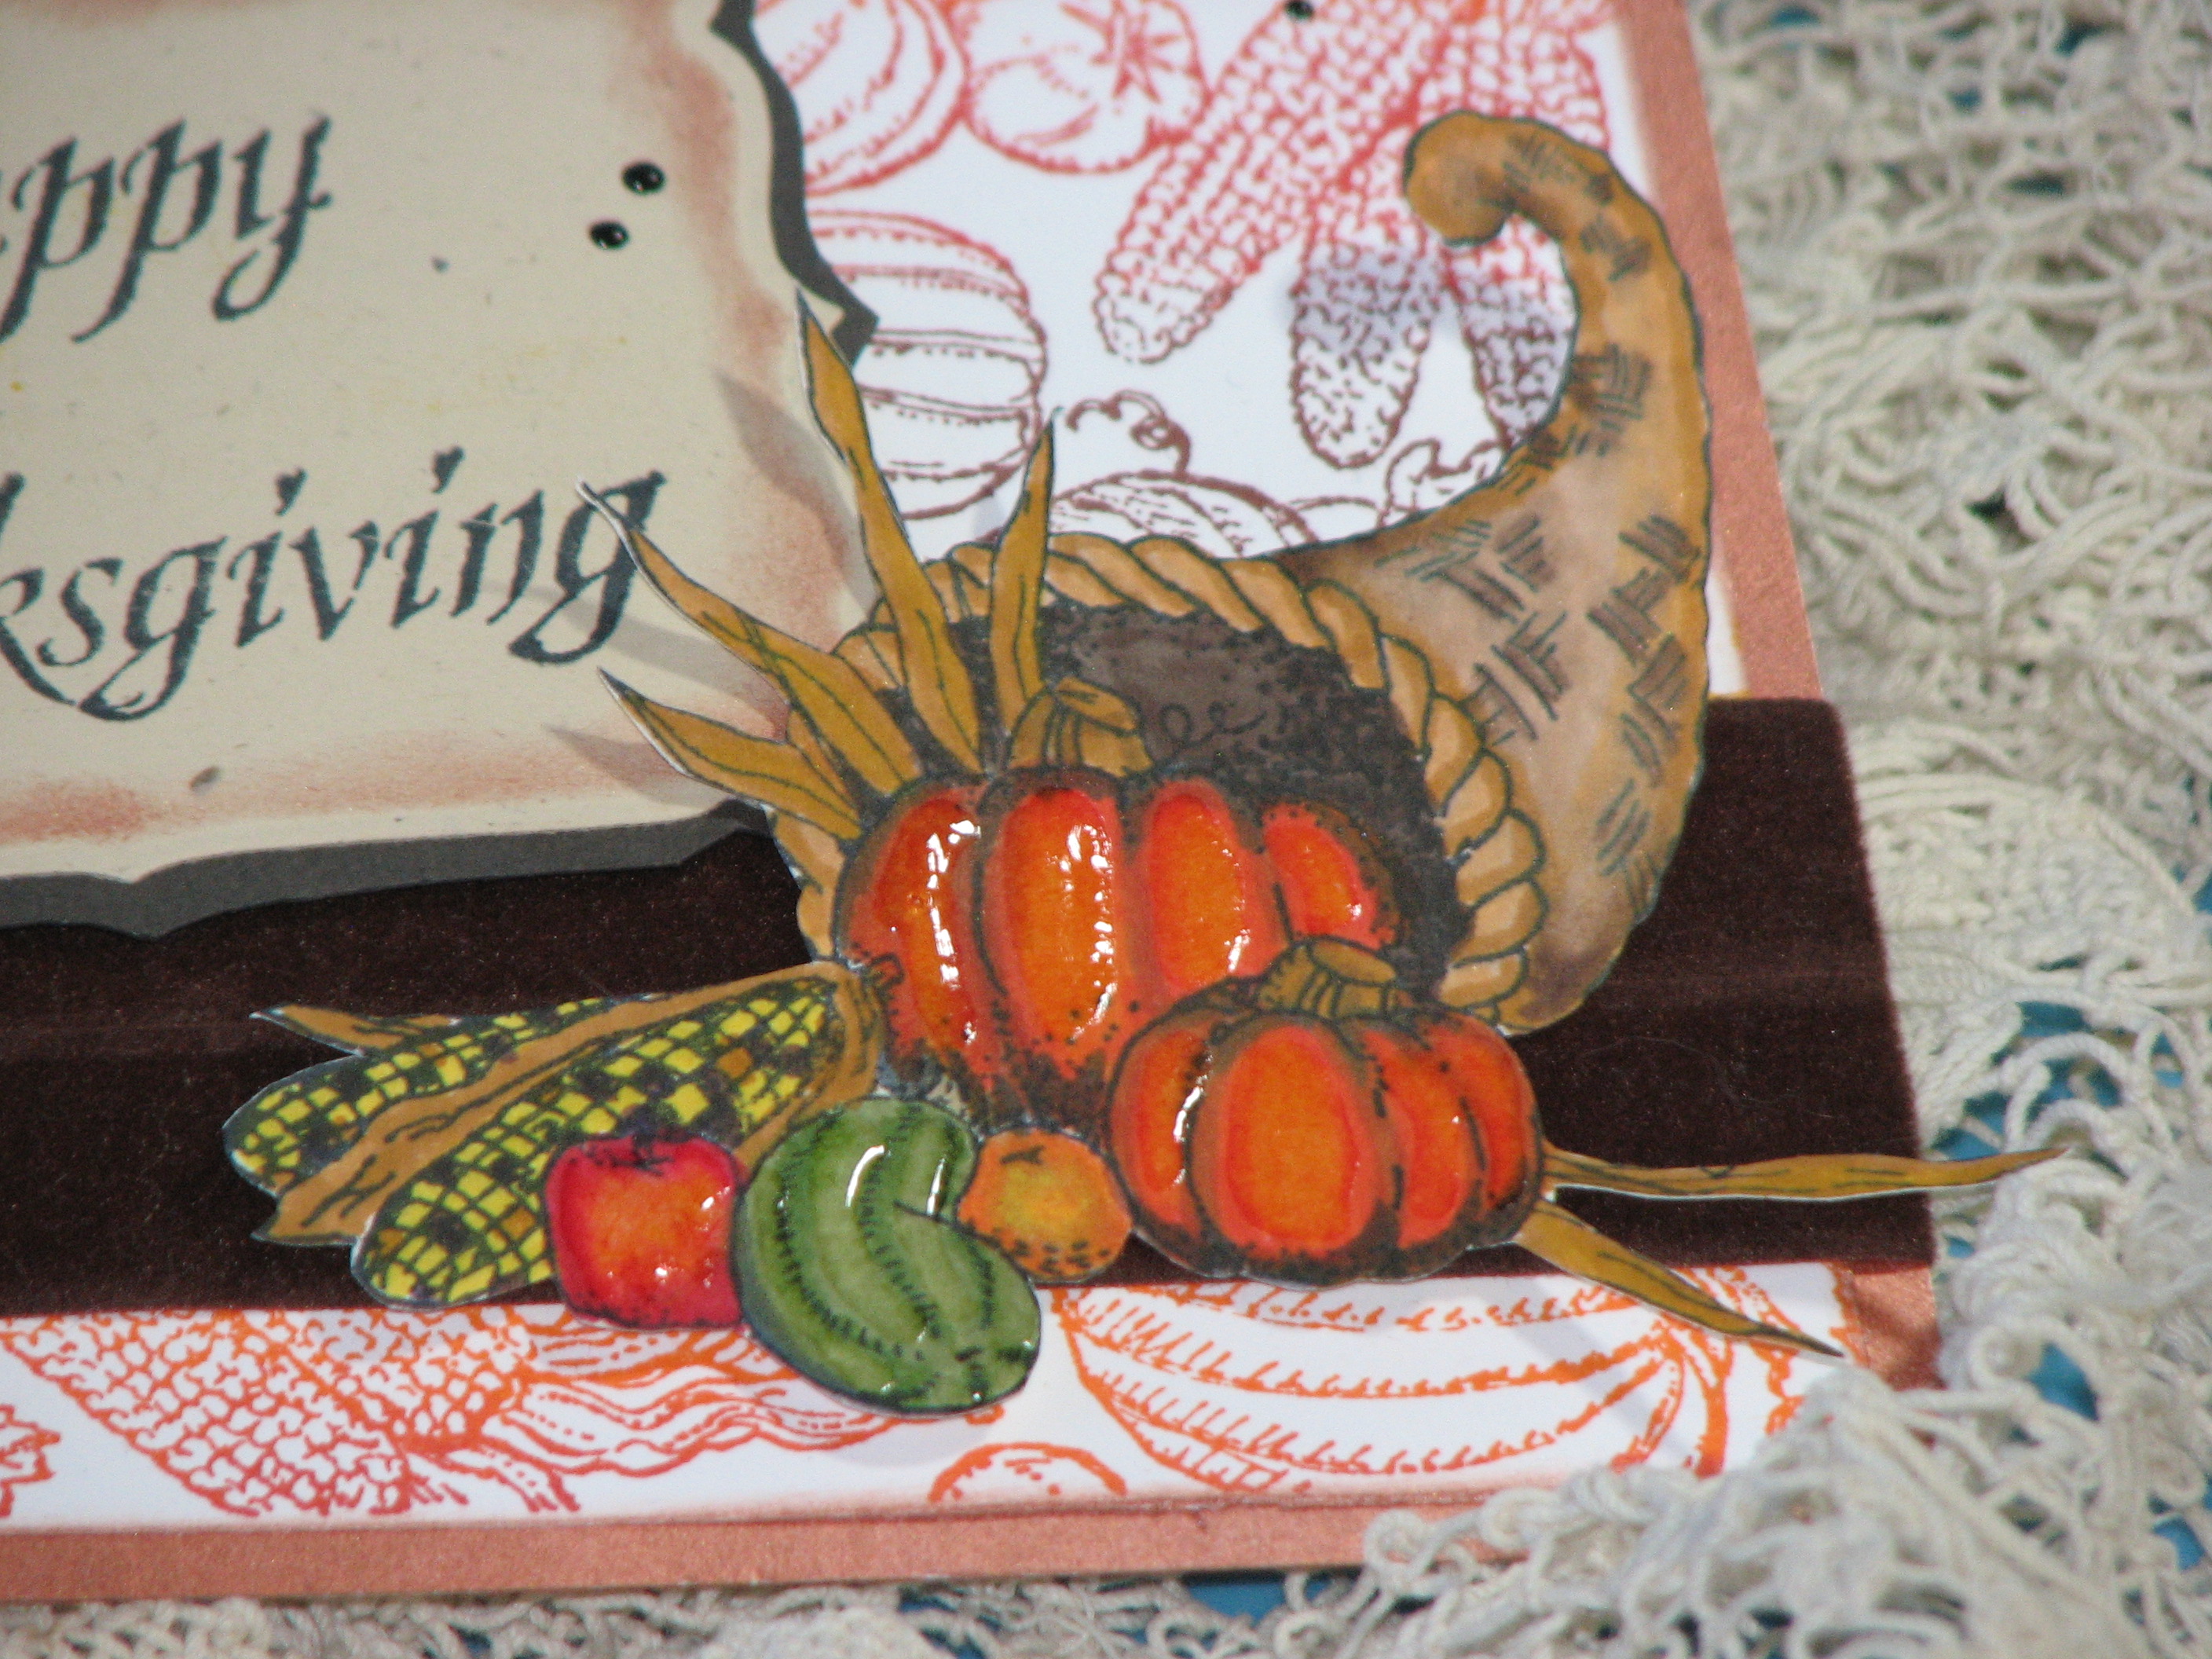
This is a close up of the dimensional detail the Pico Embellisher gives to the pumpkins and gourds. It really makes the image pop.

Directions:

2015_November_RJ_Thanksgiving_02

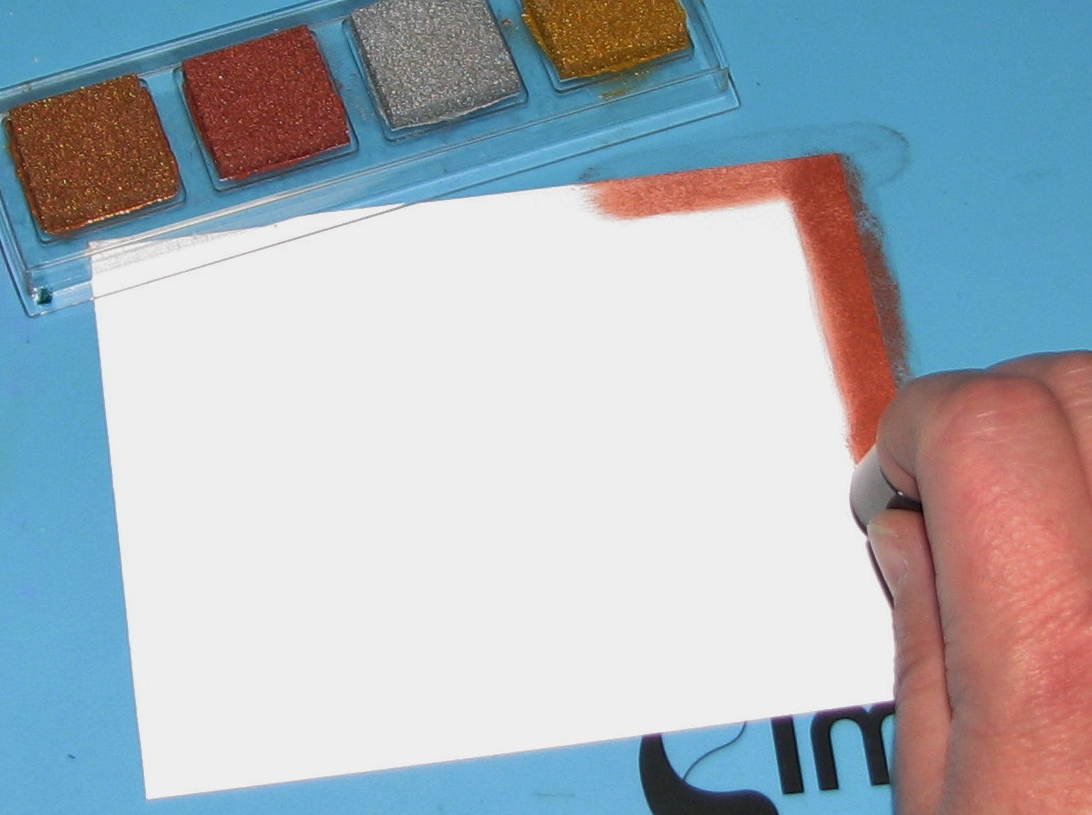
1. Cut a card mat to the desired finished card size – in this case 4.25″ x 5.5″.

2. Use a sponge dauber to apply Celestial Copper Delicata ink around the entire outside 1/2″ of the card.  Set aside to dry.

2015_November_RJ_Thanksgiving_01

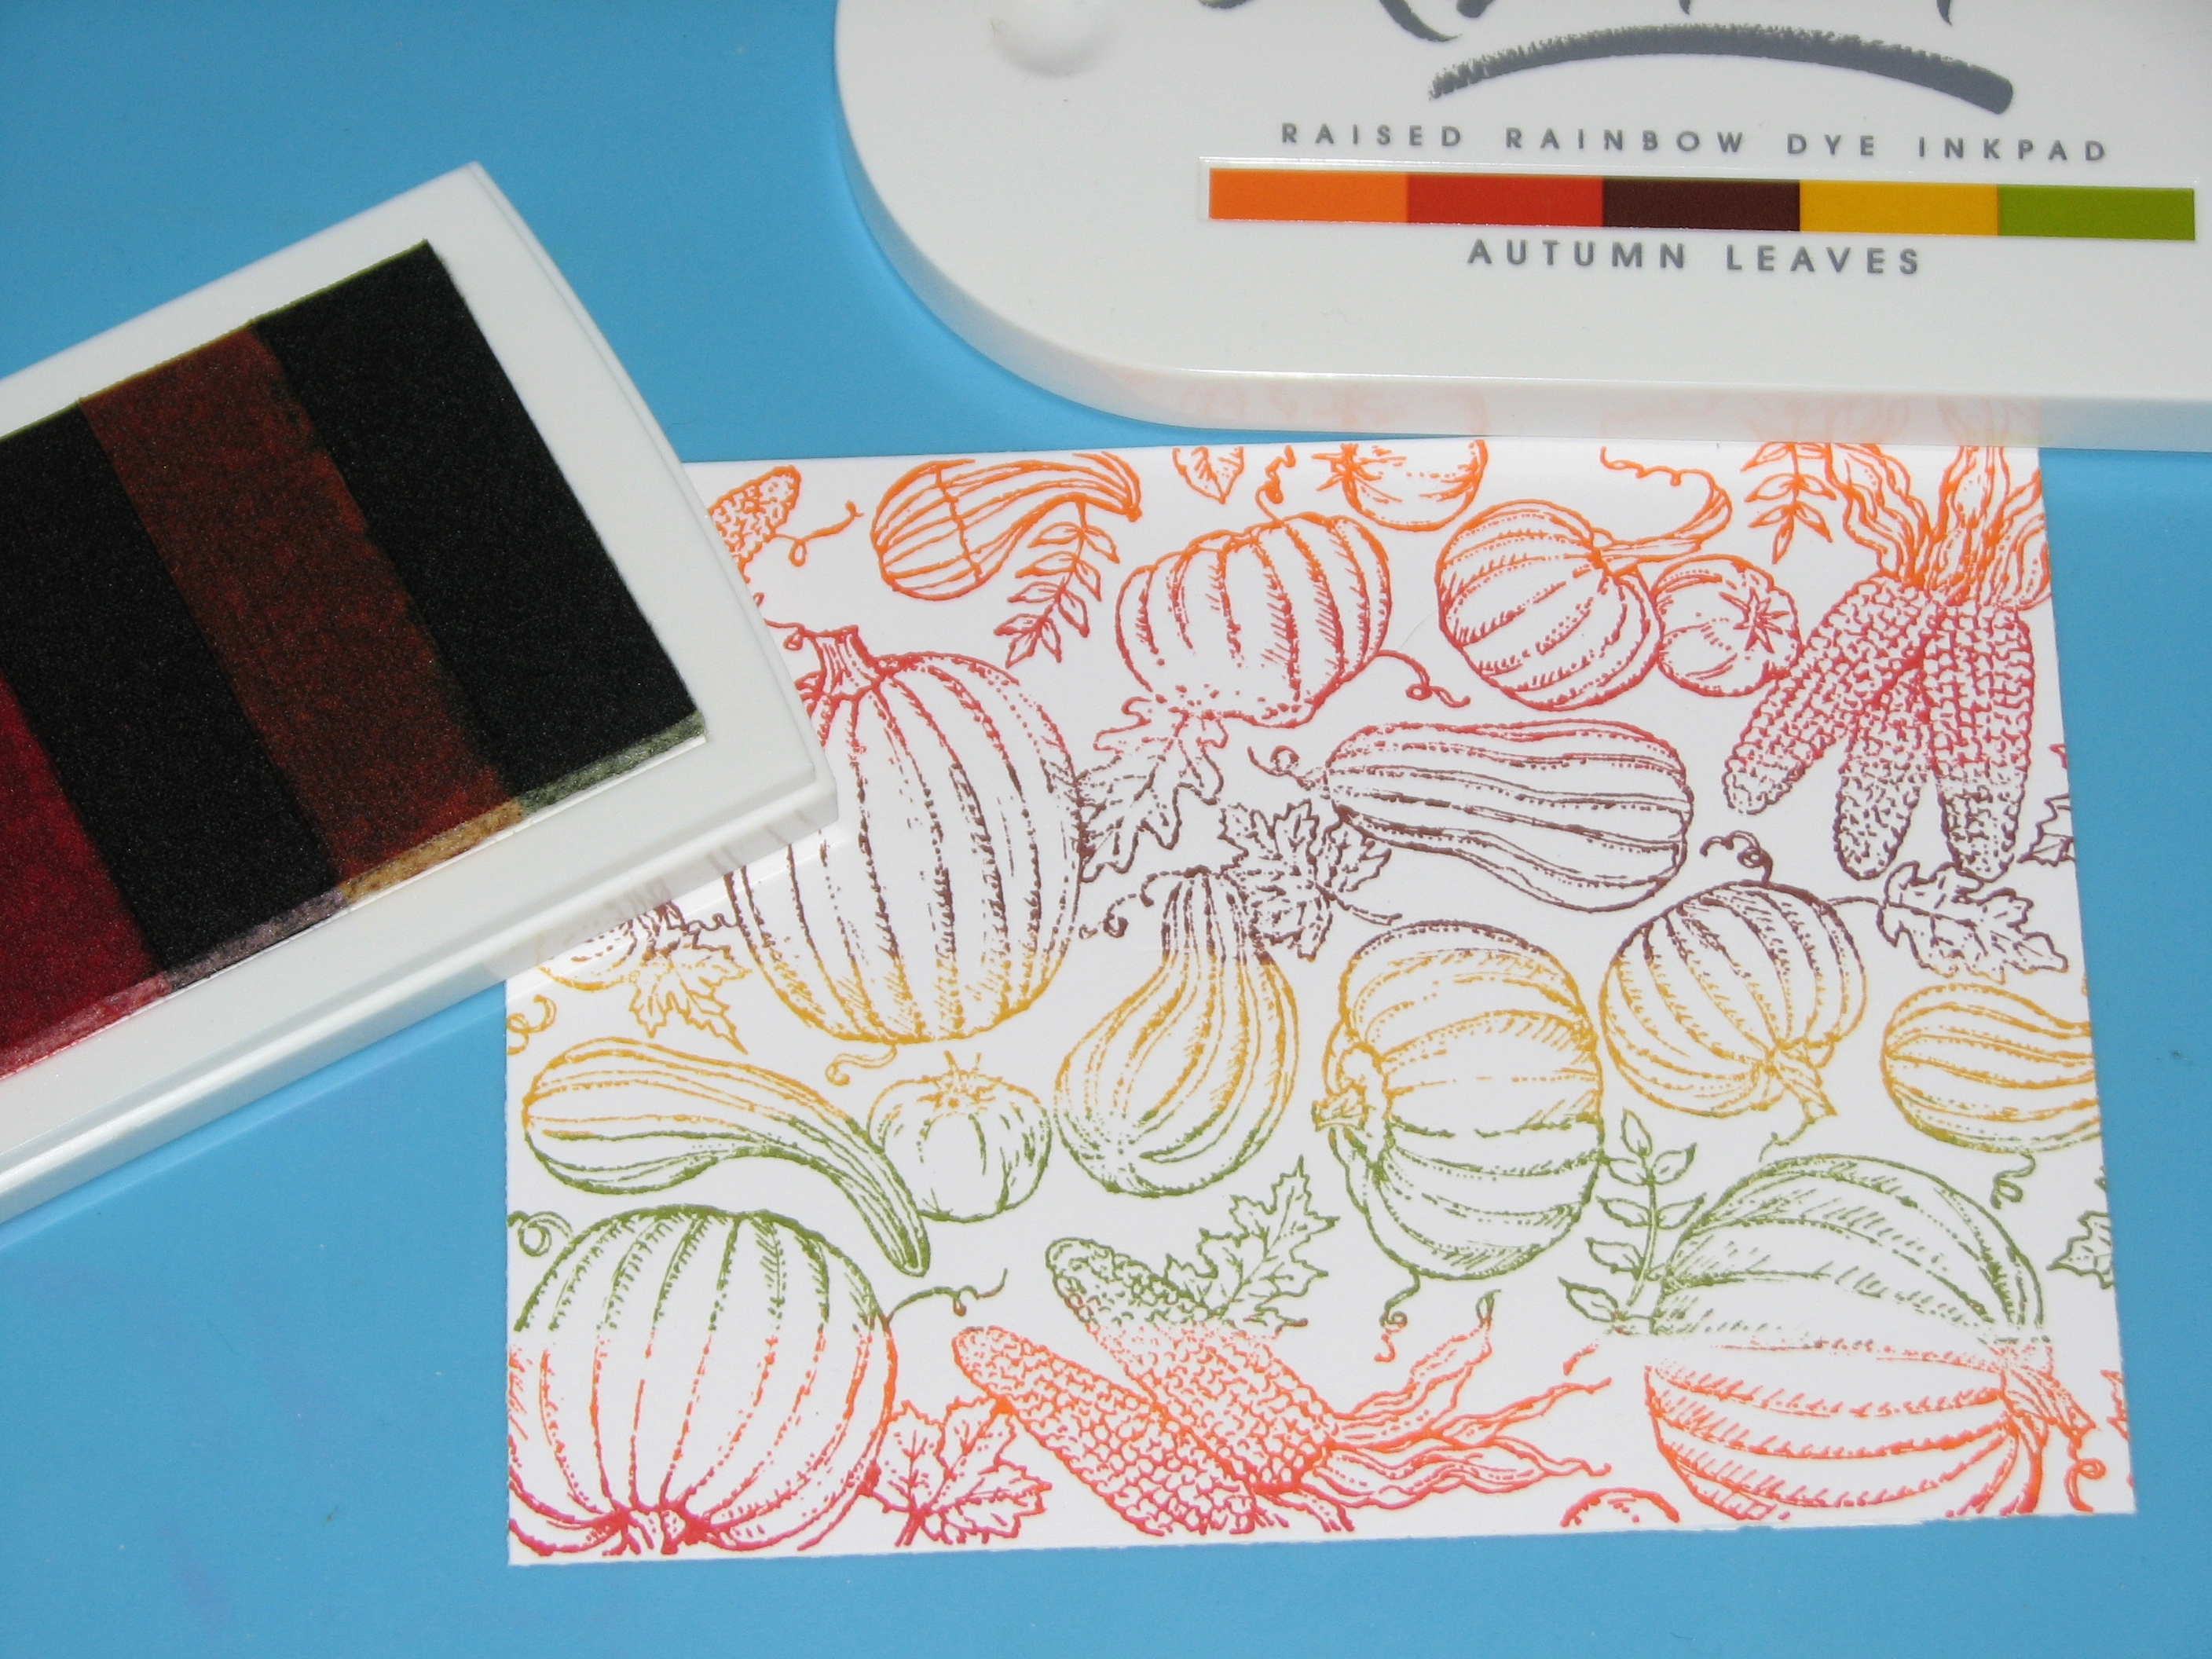
3. Apply ink directly to the harvest background stamp using the Autumn Leaves Kaleidacolor ink pad making sure to work directly across the stamp to keep the colors aligned.

4. Stamp the image on a piece of white cardstock.

2015_November_RJ_Thanksgiving_05

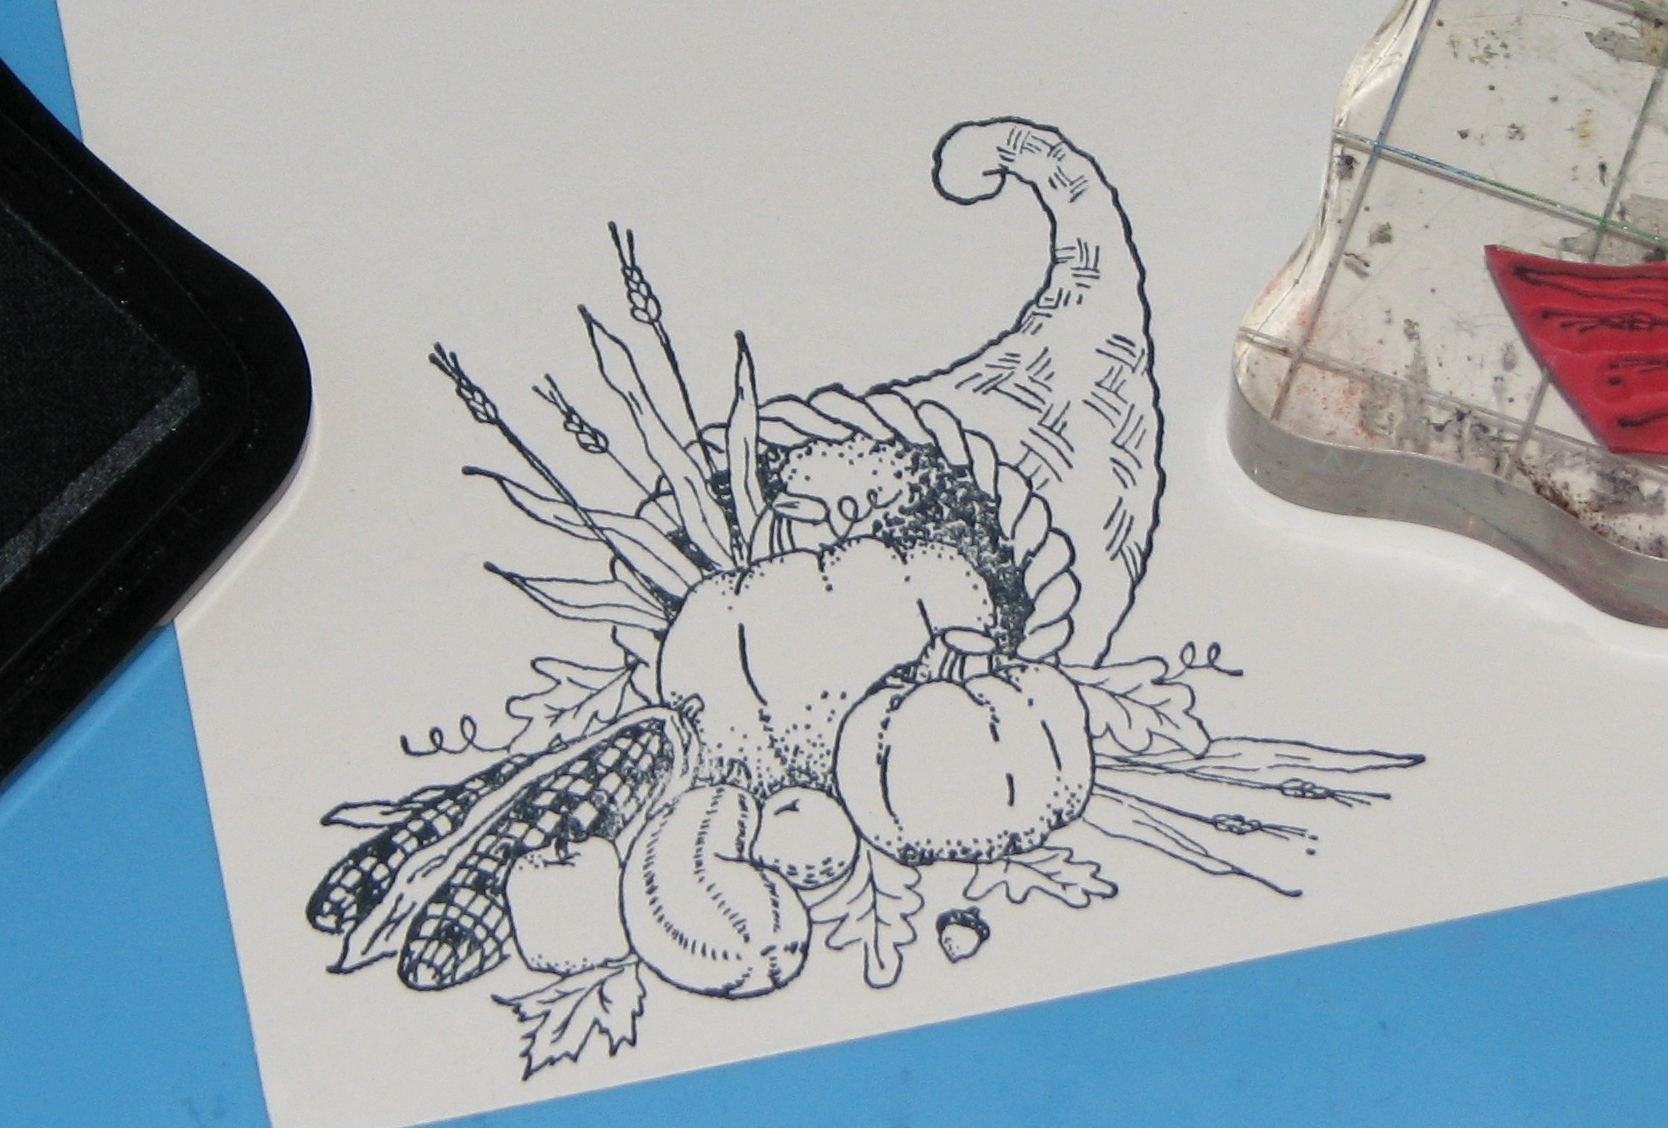
5. Stamp cornucopia image onto white cardstock with Tuxedo Black Memento ink.

2015_November_RJ_Thanksgiving_06

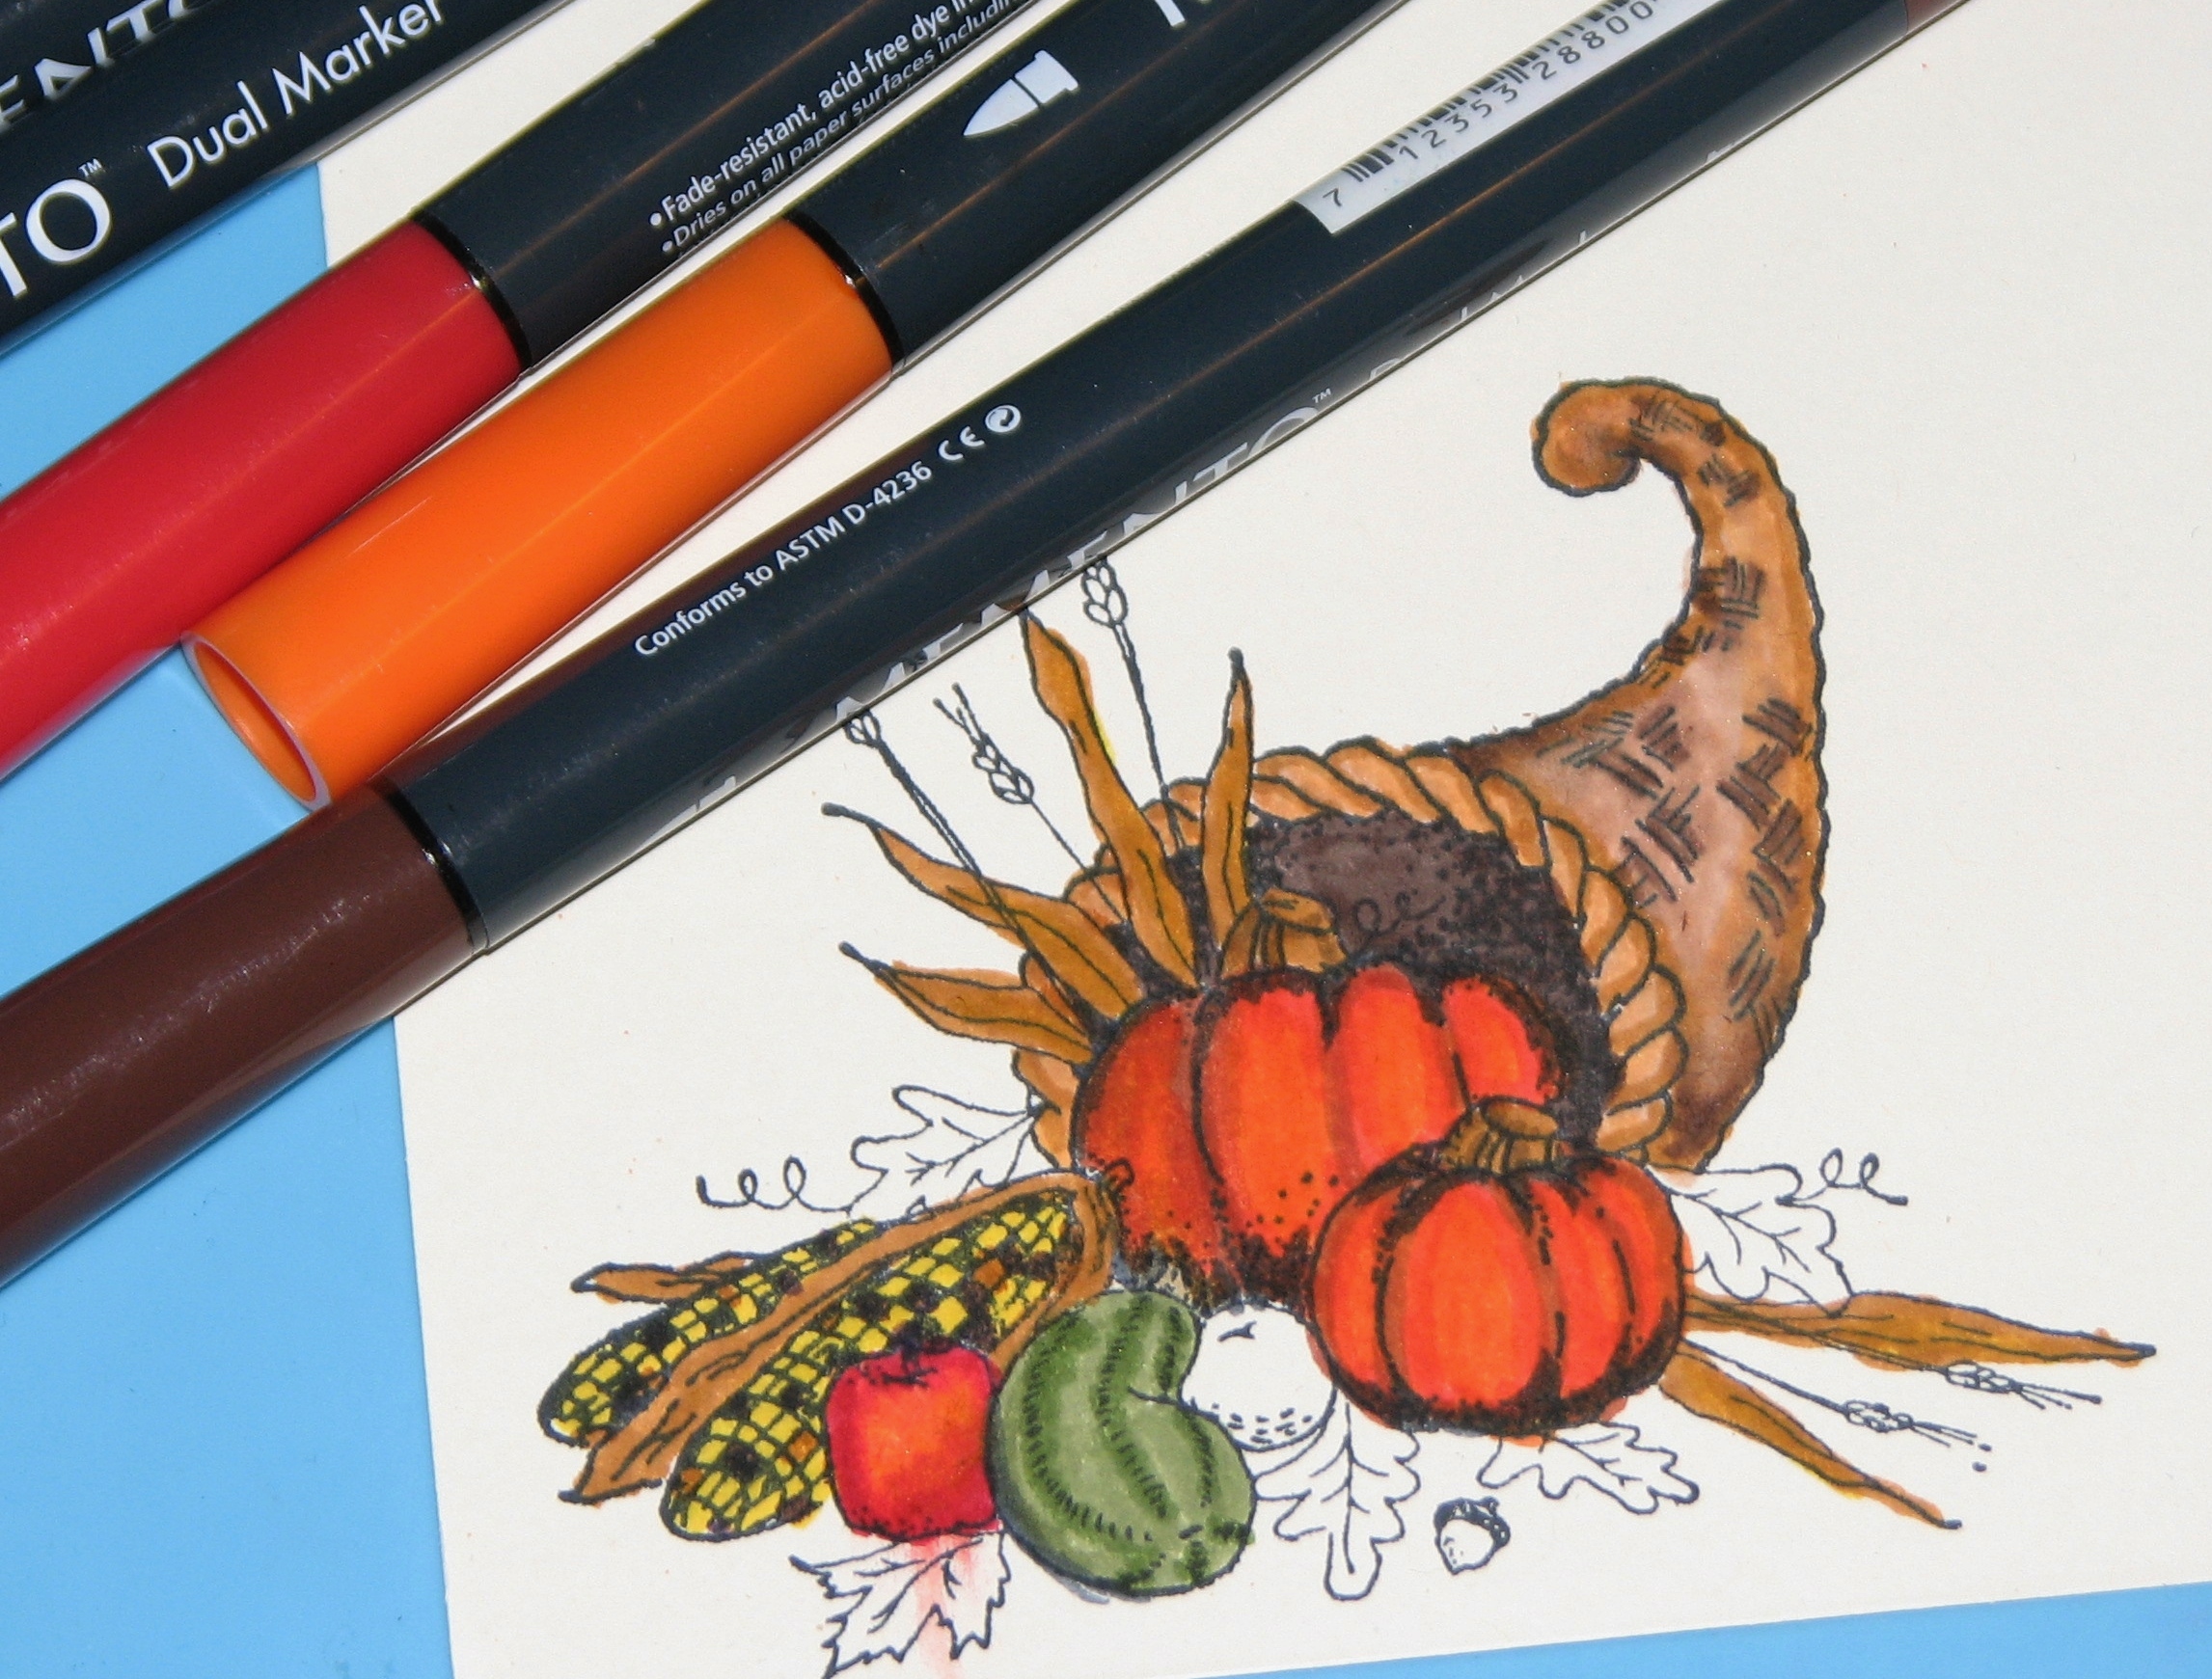
6. Color the image with Memento Dual Tip Markers blending colors as you go.

2015_November_RJ_Thanksgiving_03 2015_November_RJ_Thanksgiving_04

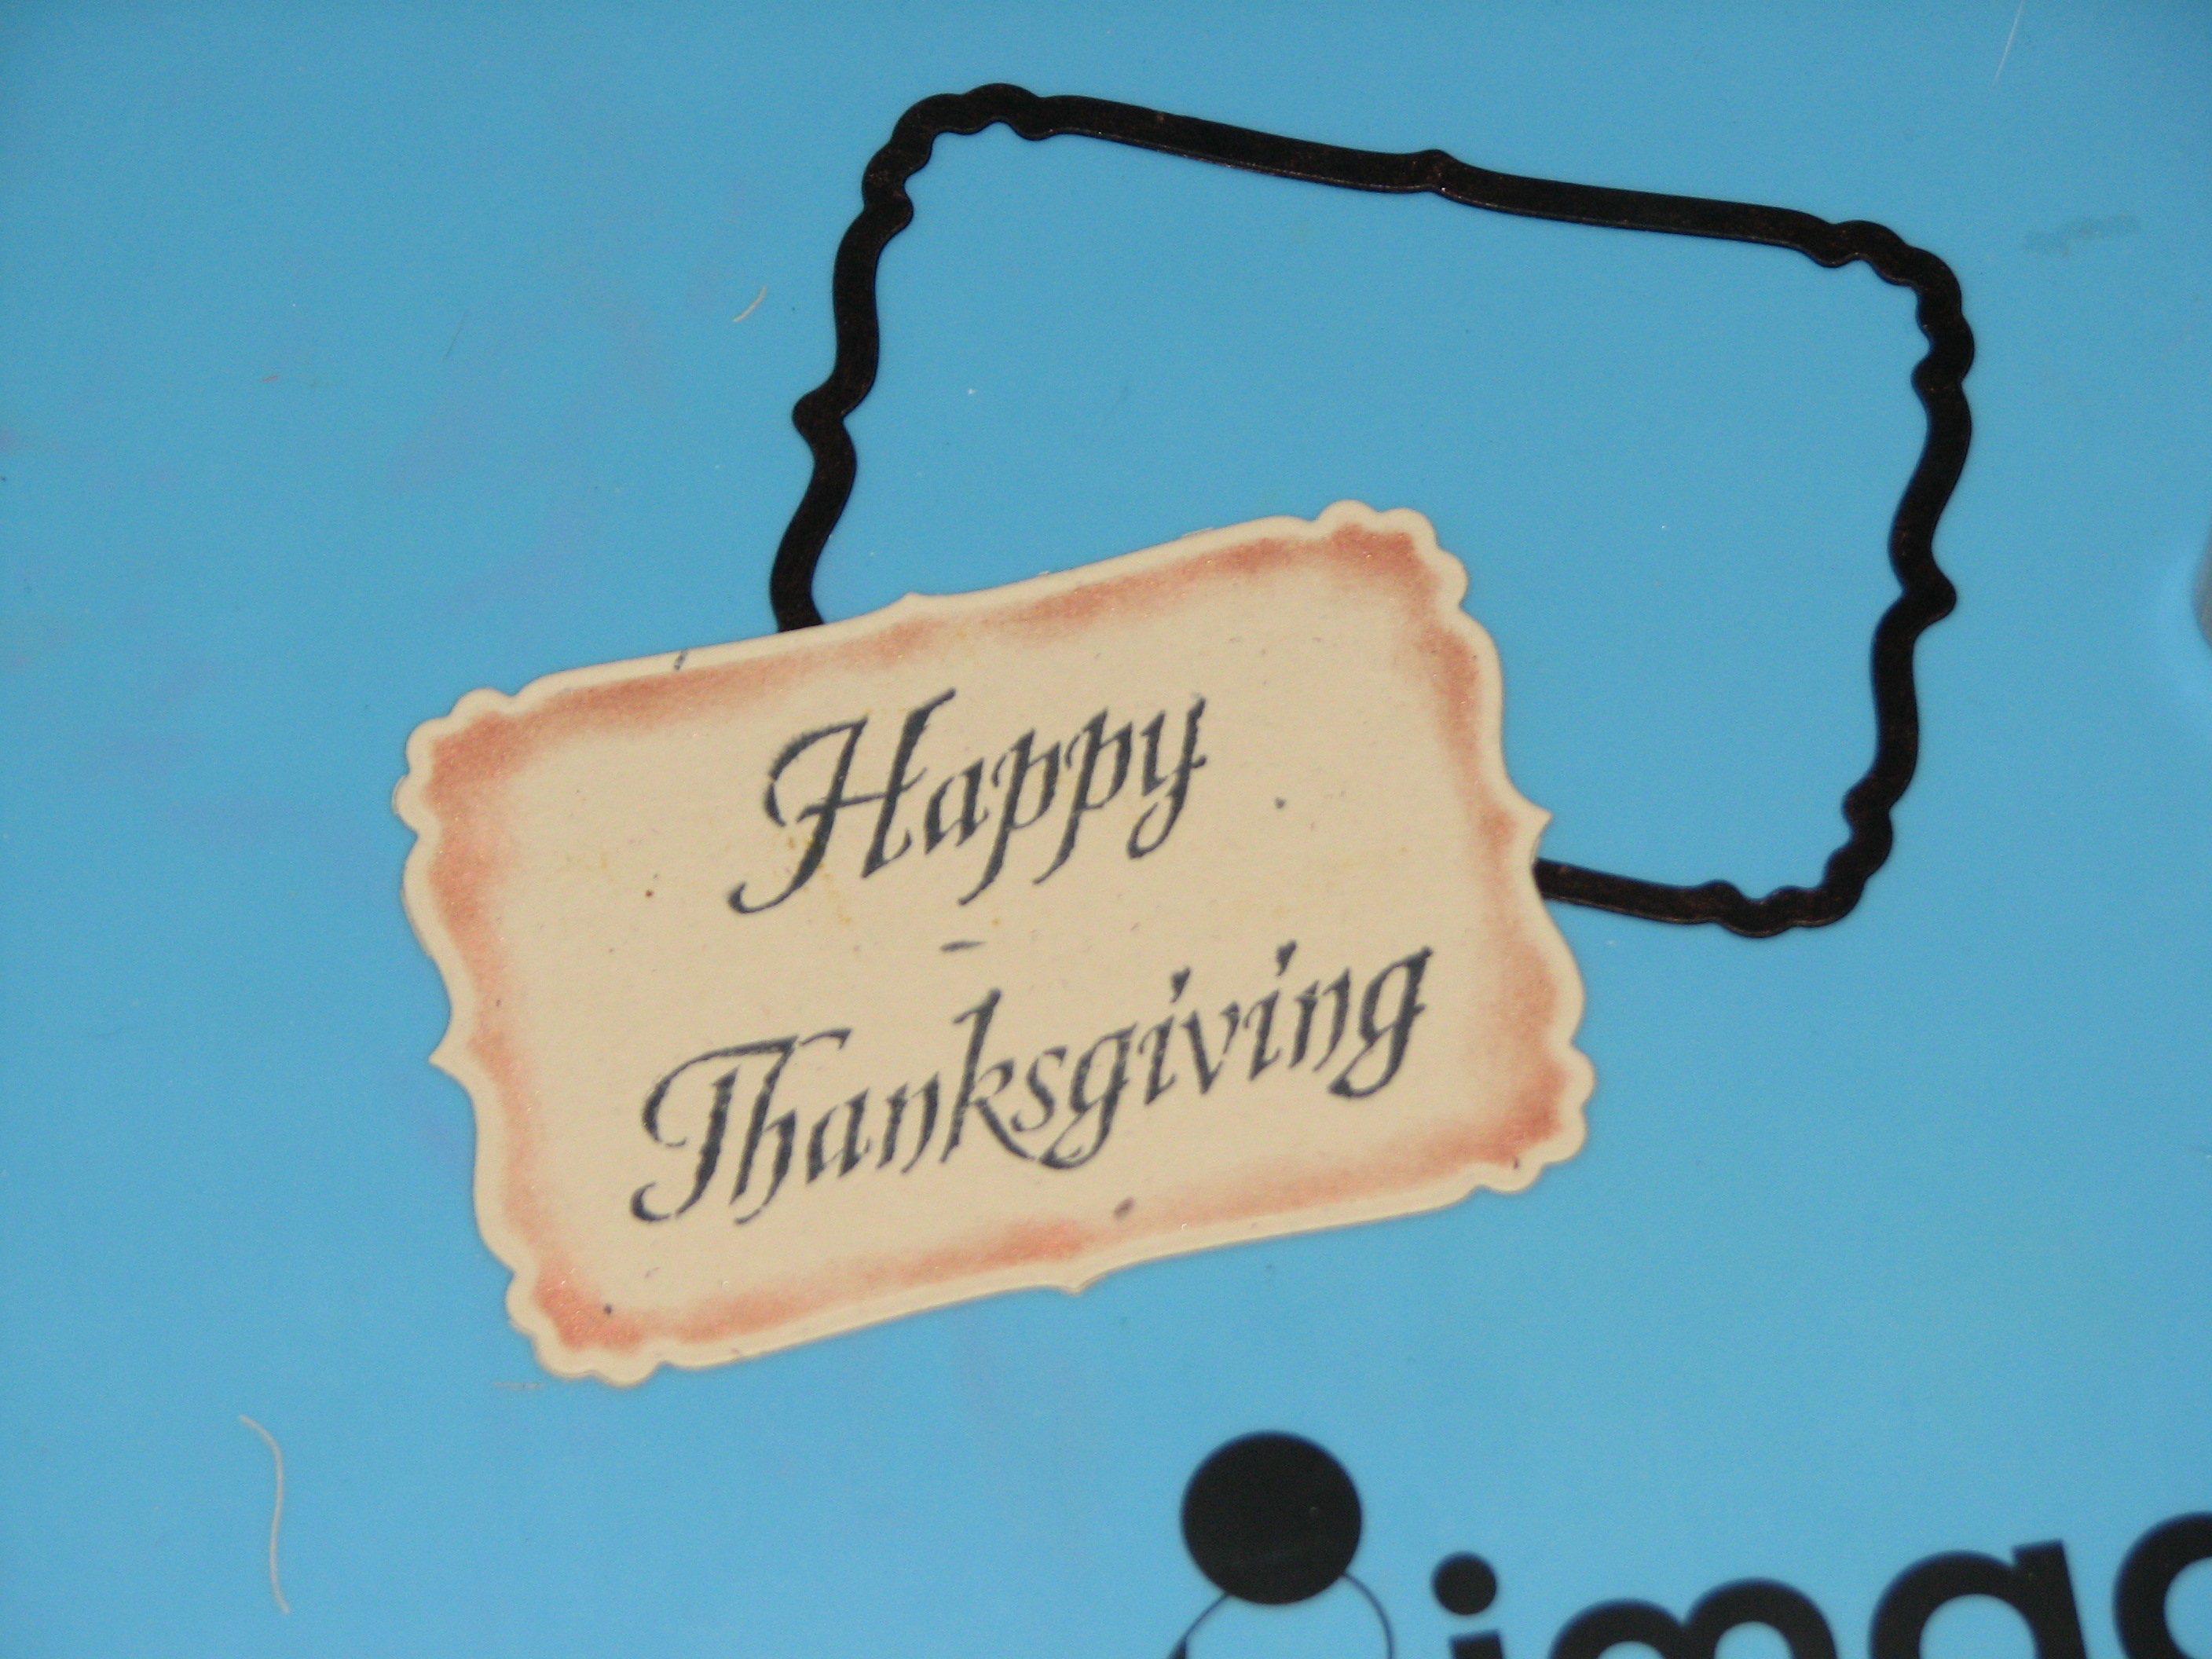
7. Stamp sentiment on speckled sand cardstock using Tuxedo Black ink.

8. Die-cut the sentiment; ink the inside edge of the die-cut with Celestial Copper Delicata ink before removing the die to yield a crisp clean edge.  Mat with dark brown cardstock.

2015_November_RJ_Thanksgiving_07

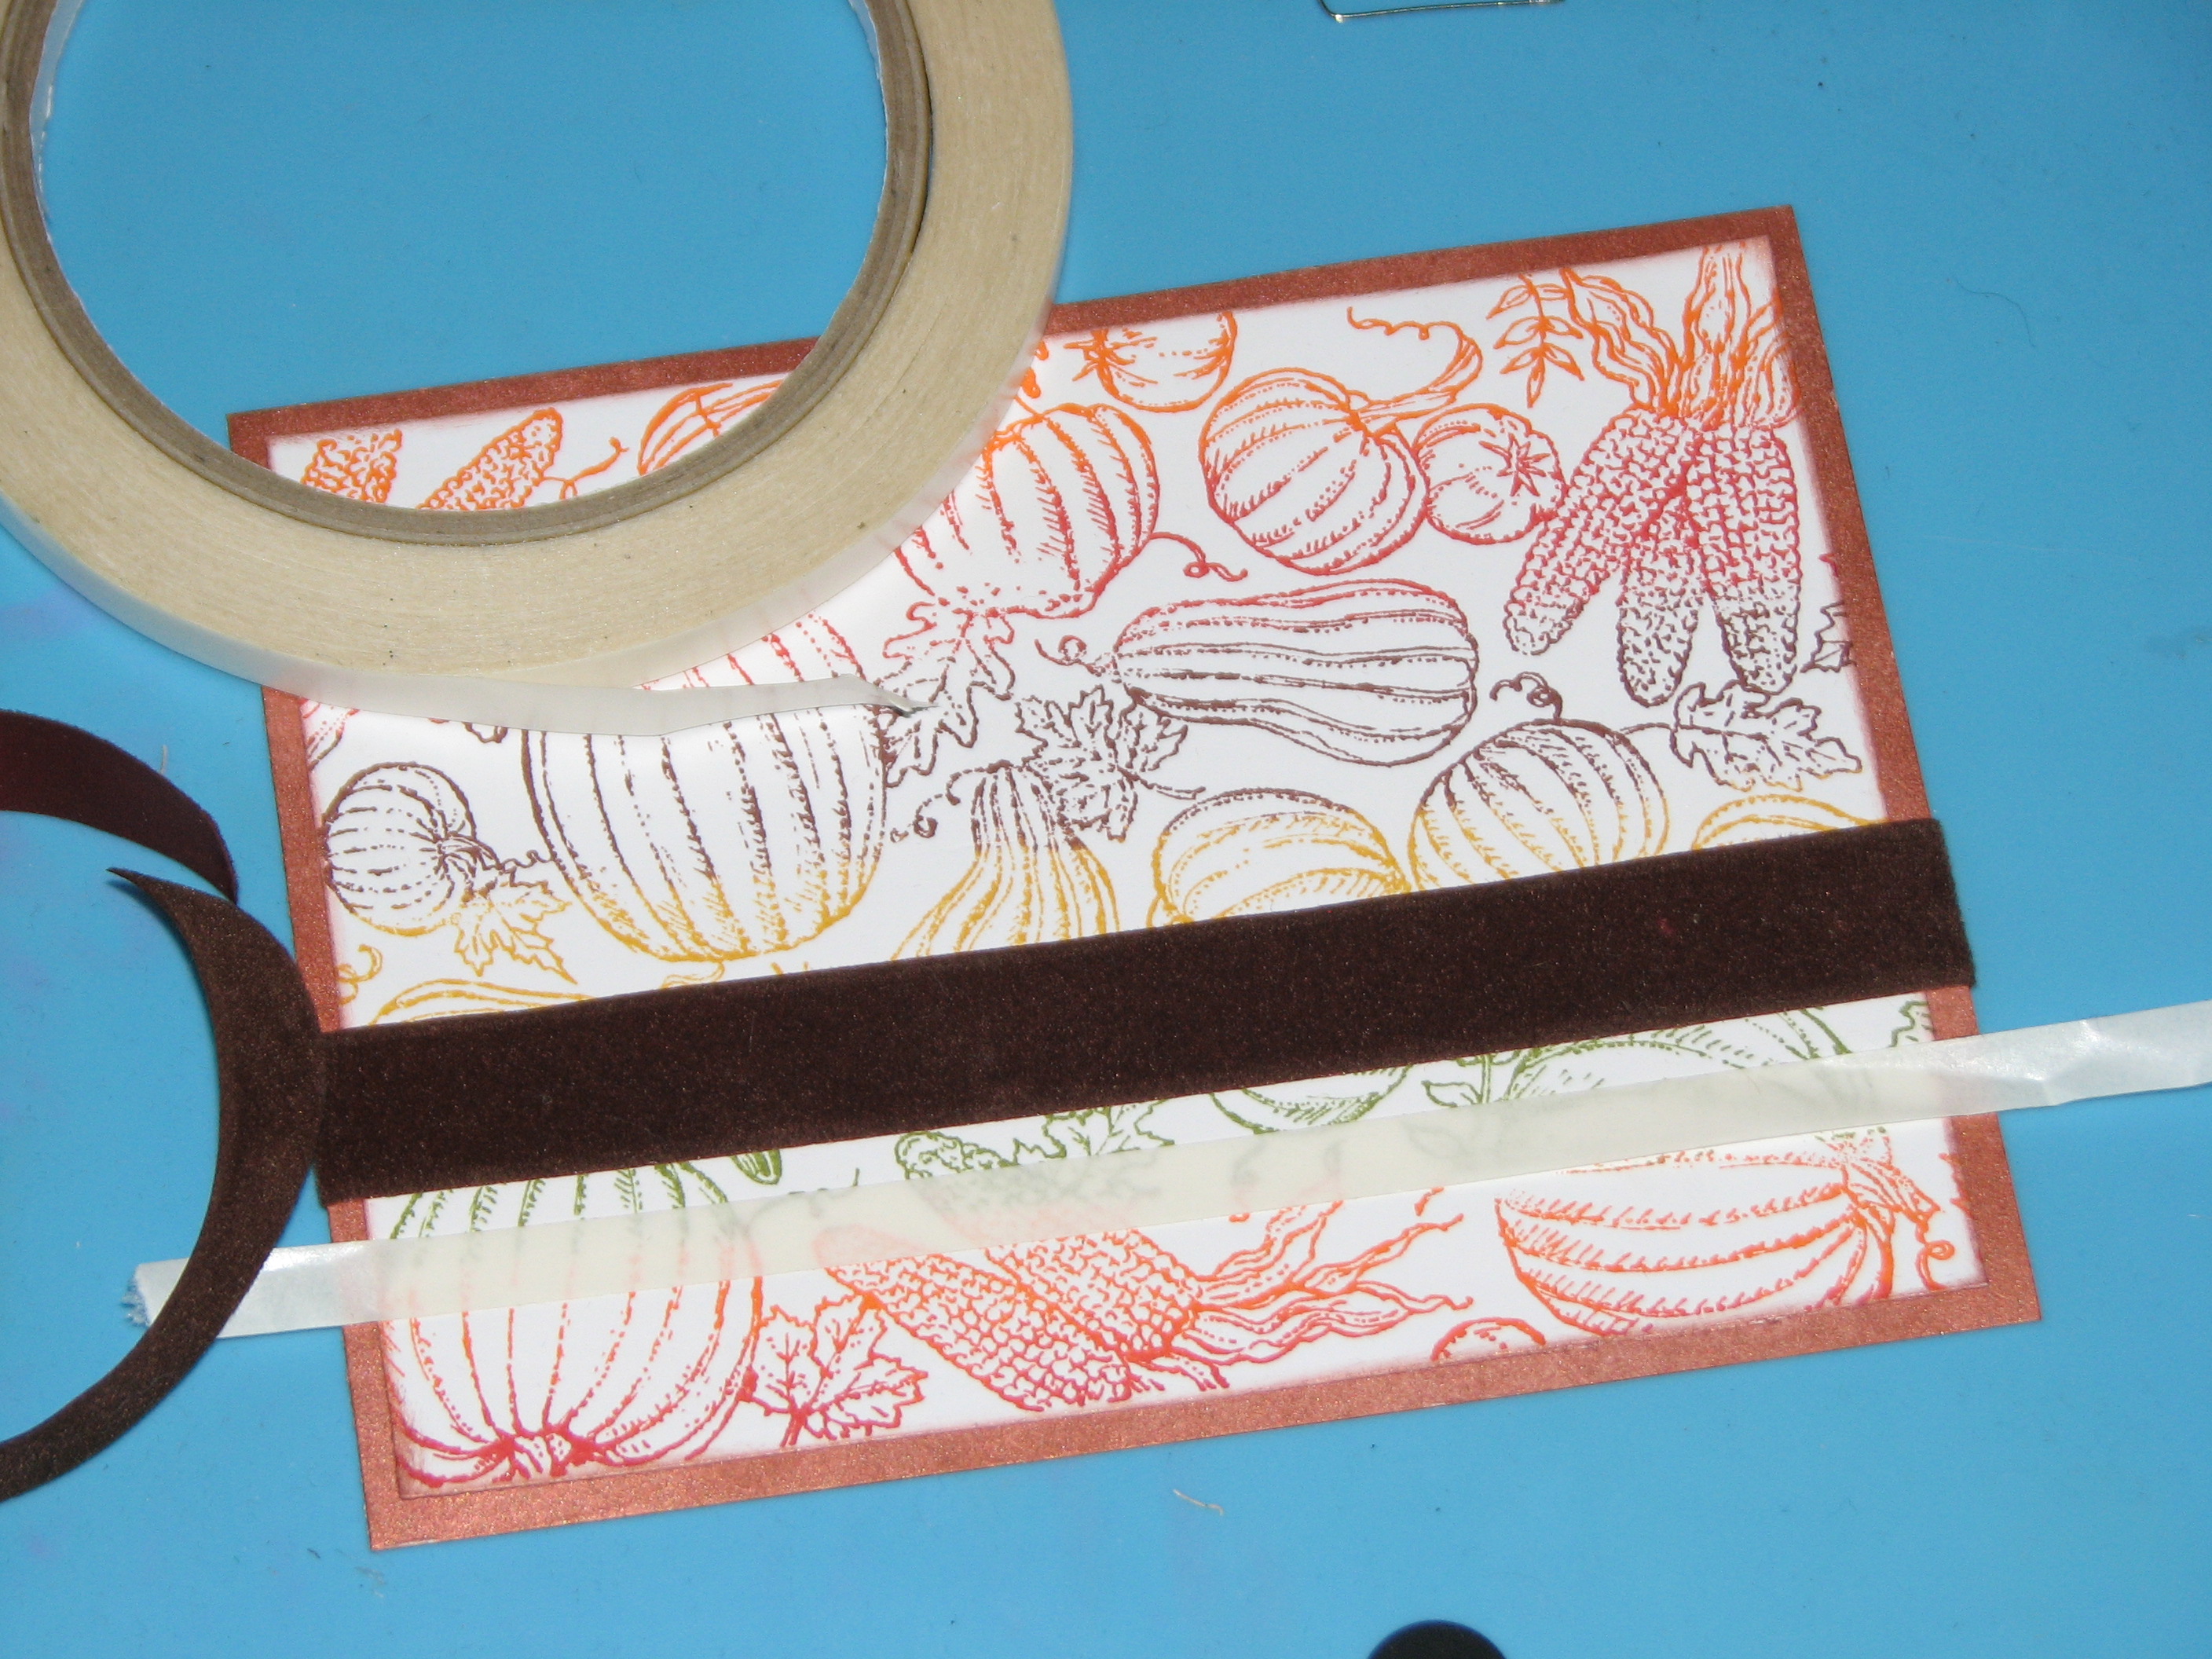
9. Use Tear It tape to adhere velvet ribbon to the card panel.

10. Adhere the rest of the elements to the card.

2015_November_RJ_Thanksgiving_09

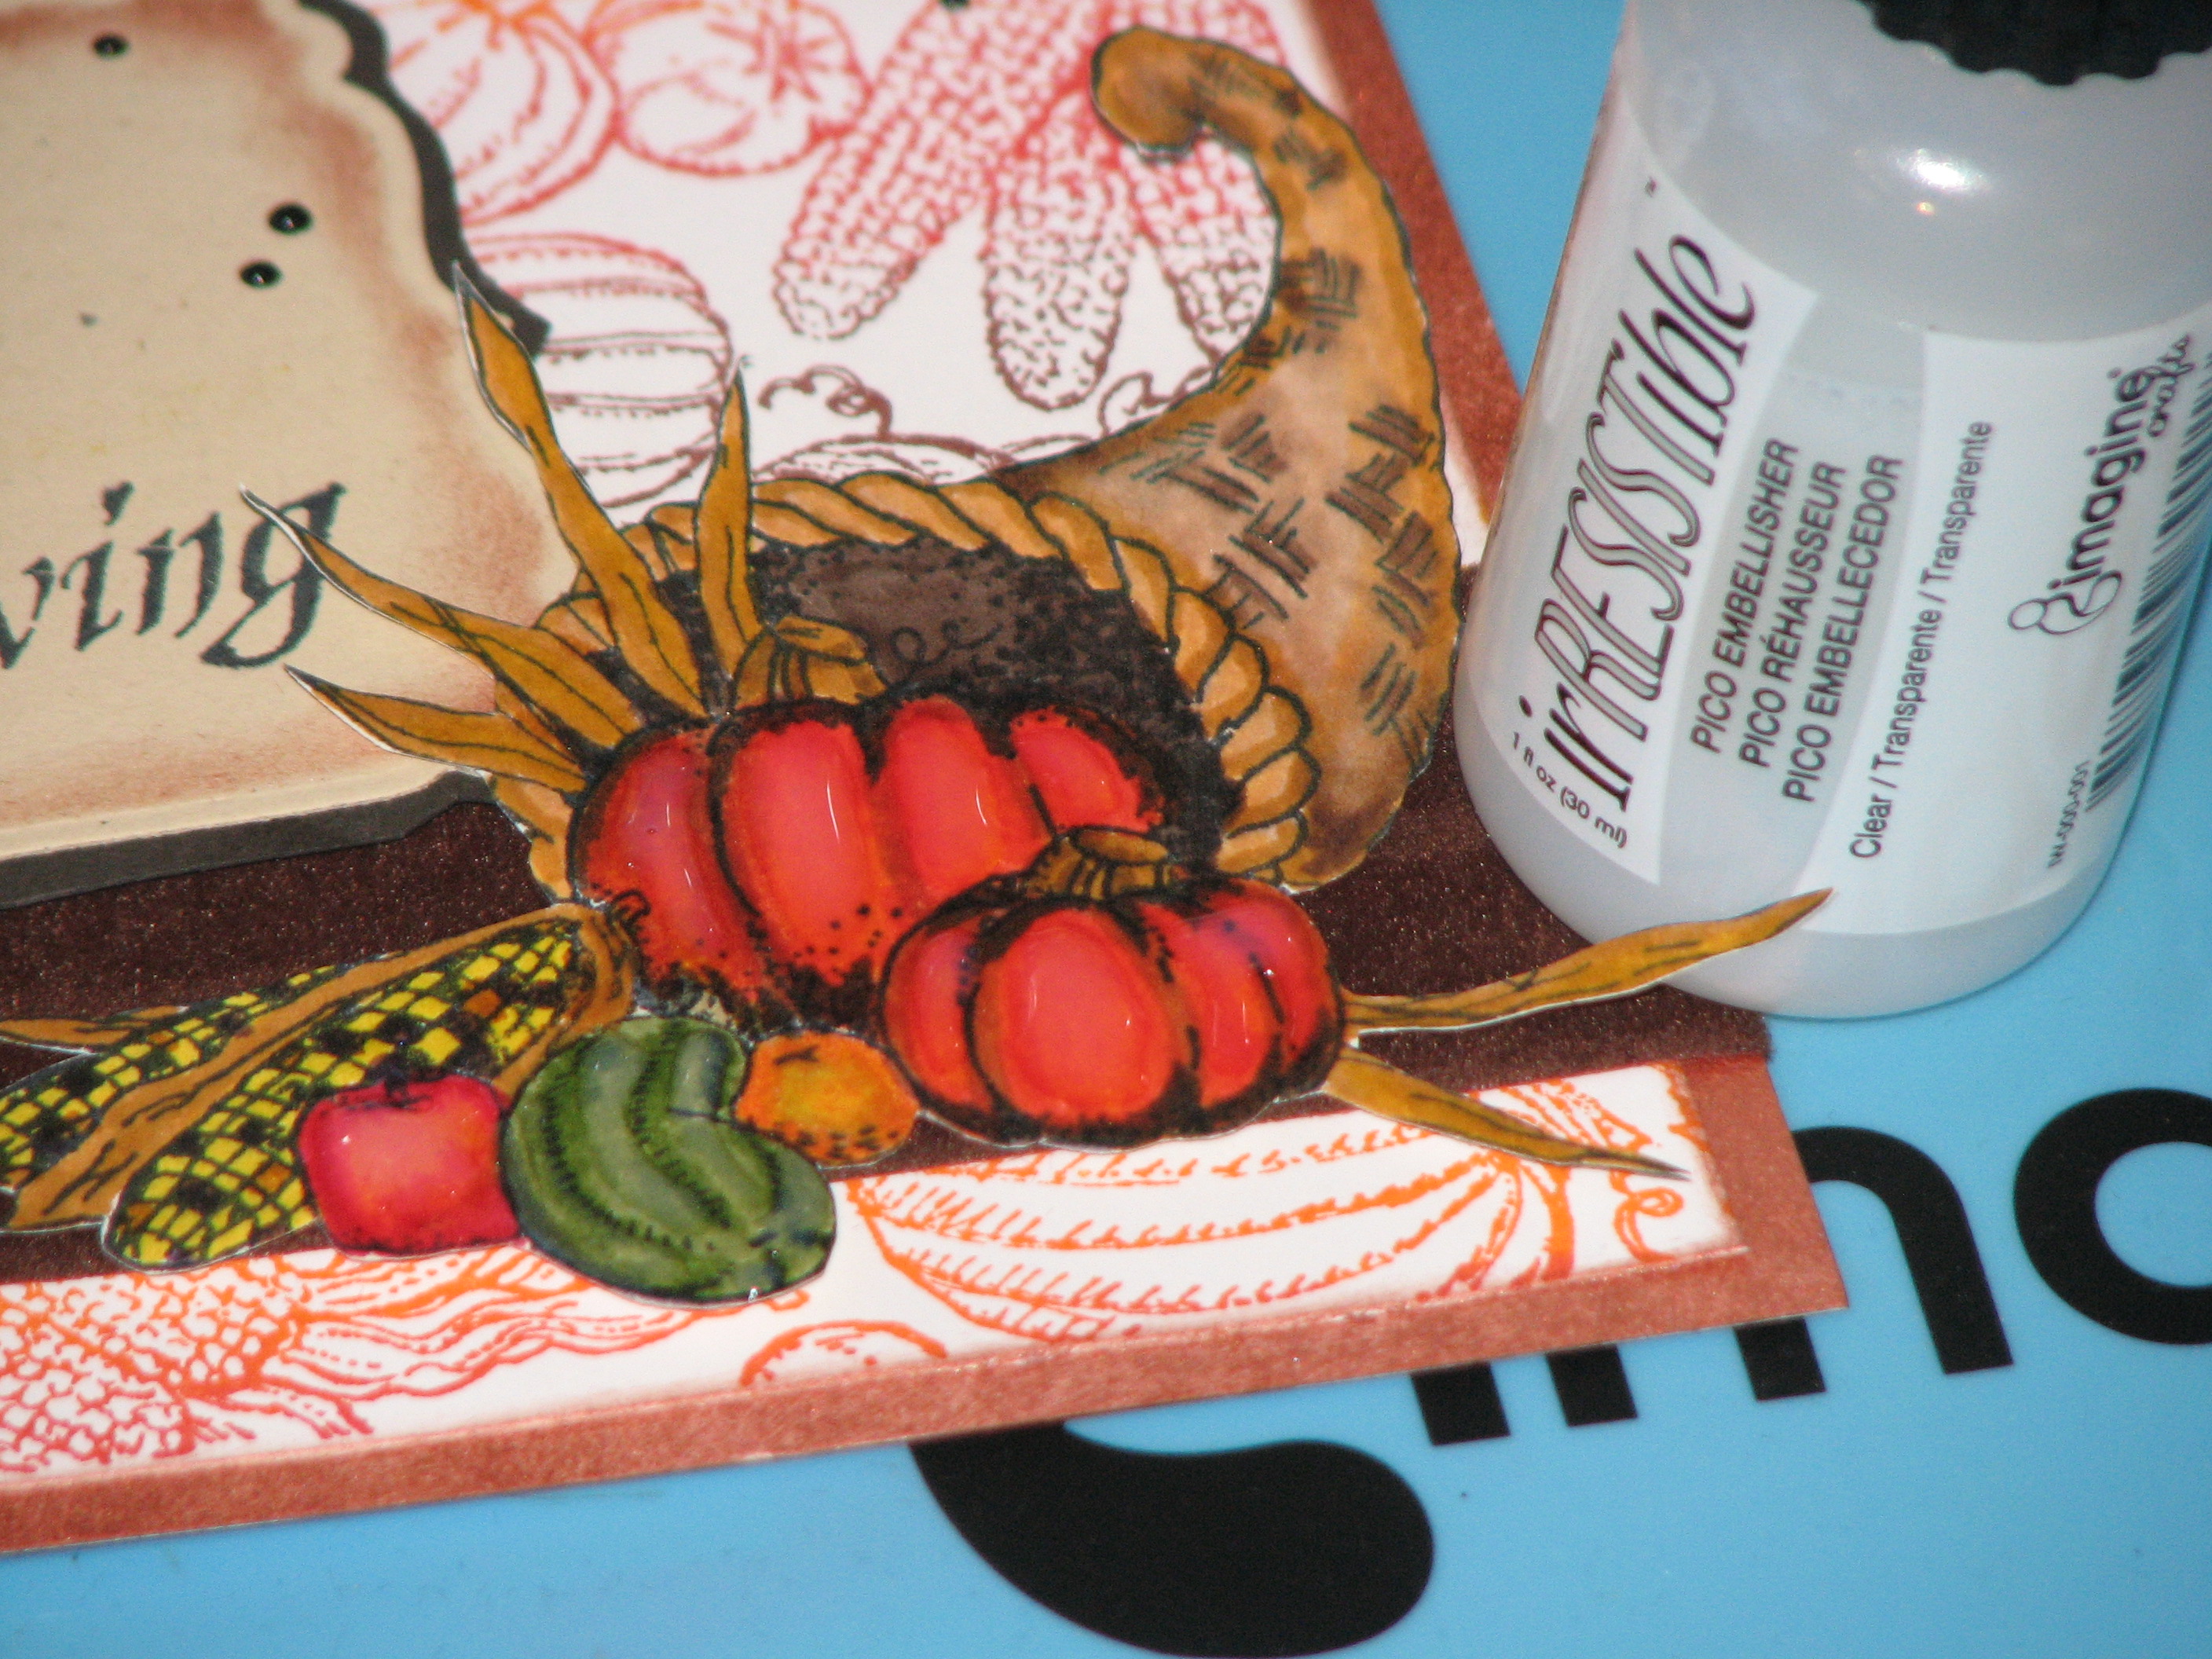
11. As a final touch apply clear irRESISTible Pico Embellisher to the pumpkins, gourd and apple. Apply a few dots of Bronze Pico Embellisher here and there.

by Roni Johnson

Difficulty

Beginner - Intermediate

Time

1/2 hour + dry time

Materials Needed

Imagine Crafts featuring Tsukineko:

Other:

  • ClubScrap.com – Speckled Sand, Dark Chocolate Cardstock
  • Georgia Pacific – White Cardstock
  • Just for Fun Rubber Stamps – Cornucopia, Sentiment
  • X-Cut – Label Die
  • Miscellaneous – Harvest Stamp (maker unknown)


Sign up for our newsletter
Facebook Pinterest Twitter YouTube Vimeo