Array ( [0] => 280 [ID] => 280 [1] => 1 [TYPEID] => 1 [2] => 0 [SECTIONID] => 0 [3] => project-details [MOD_NAME] => project-details [4] => [TITLE] => [5] => Project Details [META_TITLE] => Design Your Own Storage Container from a Recycled Box! [6] => [META_DESCRIPTION] => Design Your Own Storage Container from a Recycled Box! [7] => [META_KEYWORDS] => [8] => [BUTTON_TITLE] => [9] => [BODY] => [10] => [BODY_SIDE] => [11] => [MODULE_PROCESSING] => [12] => [MODULE_META] => [13] => project-details-head.php [MODULE_HEAD] => project-details-head.php [14] => project-details-body.php [MODULE_BODY] => project-details-body.php [15] => [MODULE_SIDE] => [16] => 0 [TOP_ORDER] => 0 [17] => 0 [HITS_UNIQUE] => 0 [18] => 0 [HITS_REPEAT] => 0 [19] => 0 [ROBOT_HITS] => 0 [20] => 0000-00-00 00:00:00 [LASTVIEWED] => 0000-00-00 00:00:00 [21] => 0000-00-00 00:00:00 [ROBOT_LASTVIEWED] => 0000-00-00 00:00:00 [22] => 0.70 [PRIORITY] => 0.70 [23] => 1 [SITEMAP] => 1 [24] => 1 [ACTIVE] => 1 [25] => 1 [DISPLAY_TITLE] => 1 [26] => 0 [SSL_MODE] => 0 [27] => 0 [EDITABLE] => 0 [28] => 0 [DELETABLE] => 0 [29] => 2013-11-05 00:00:00 [LASTUPDATED] => 2013-11-05 00:00:00 [30] => 2013-11-05 00:00:00 [CREATED] => 2013-11-05 00:00:00 )
Imagine Crafts
LearnMakeCommunityShop

Design Your Own Storage Container from a Recycled Box!

It is always nice to have artistic yet practical storage containers.  Think outside the box (pun intended) to make unique to you and your style, storage units.  This box was designed using stencils specifically to hold StazOn Studio Glaze bottles.


Design Your Own Storage Container from a Recycled Box, crafting, crafting ideas, wood crafts, wooden, ink, mixed media art, art supplies, handmade crafts,

Directions:

Step one:  
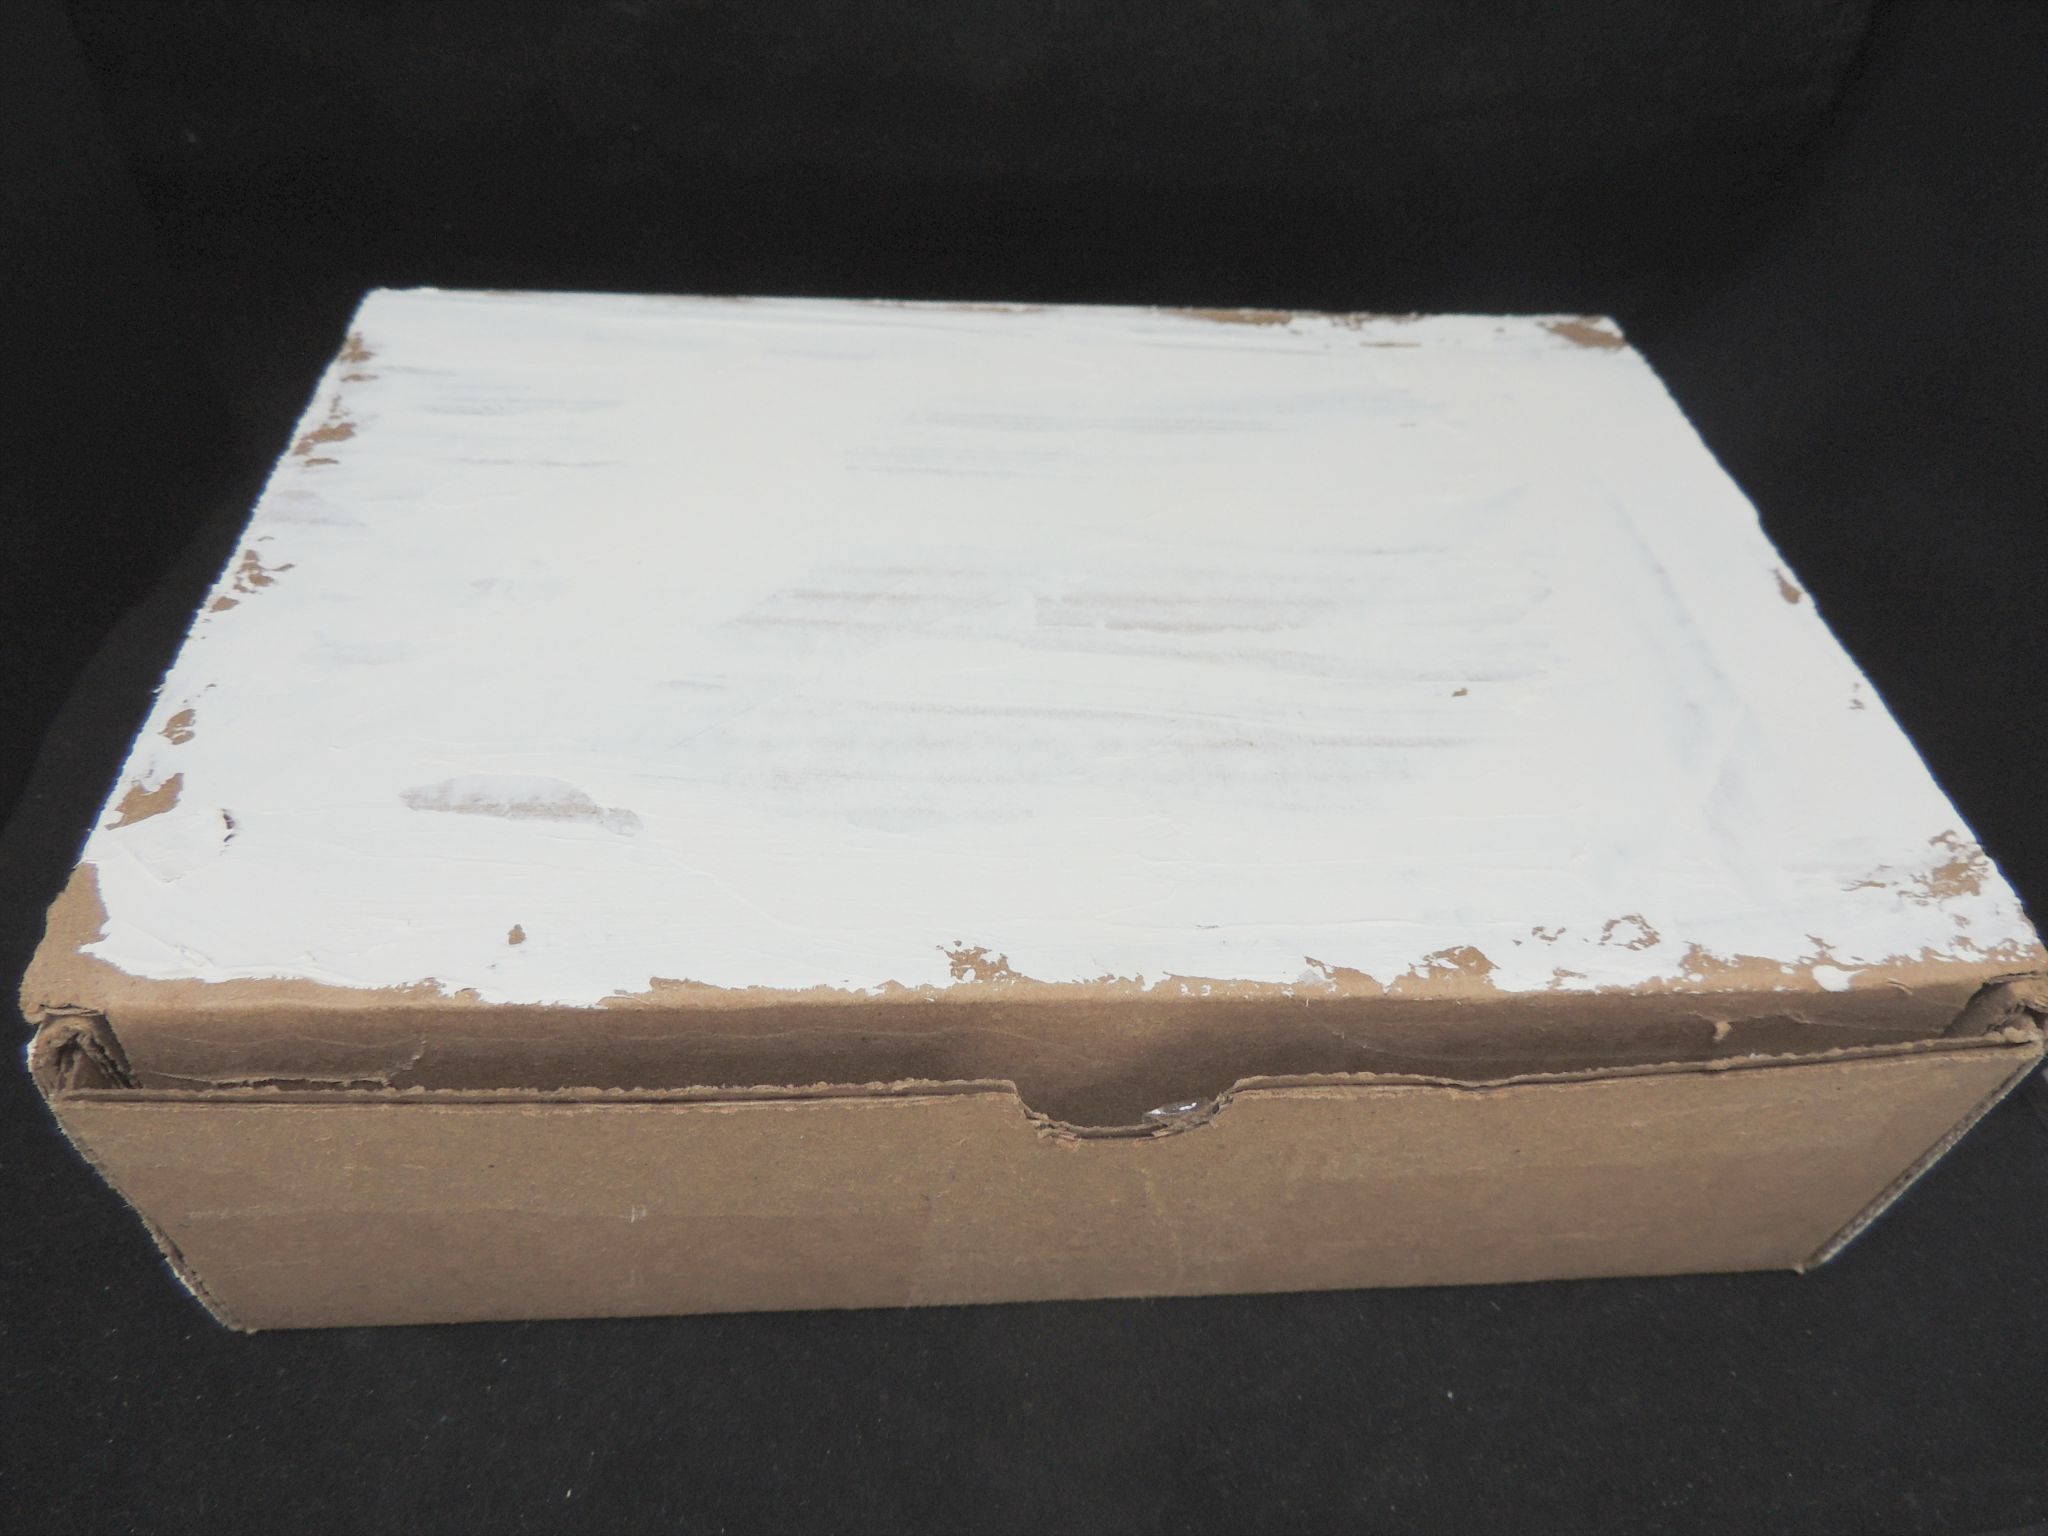
Find a study box that suits your storage needs, this one measures 5 ½” by 8 ½” and houses bottles of StazOn Studio Glaze.  Paint the exterior of the box with white, heavy Gesso to make it even more sturdy, allow to dry.

2015_Oct_RZ_StencilTechniques_Step1

Step Two:  
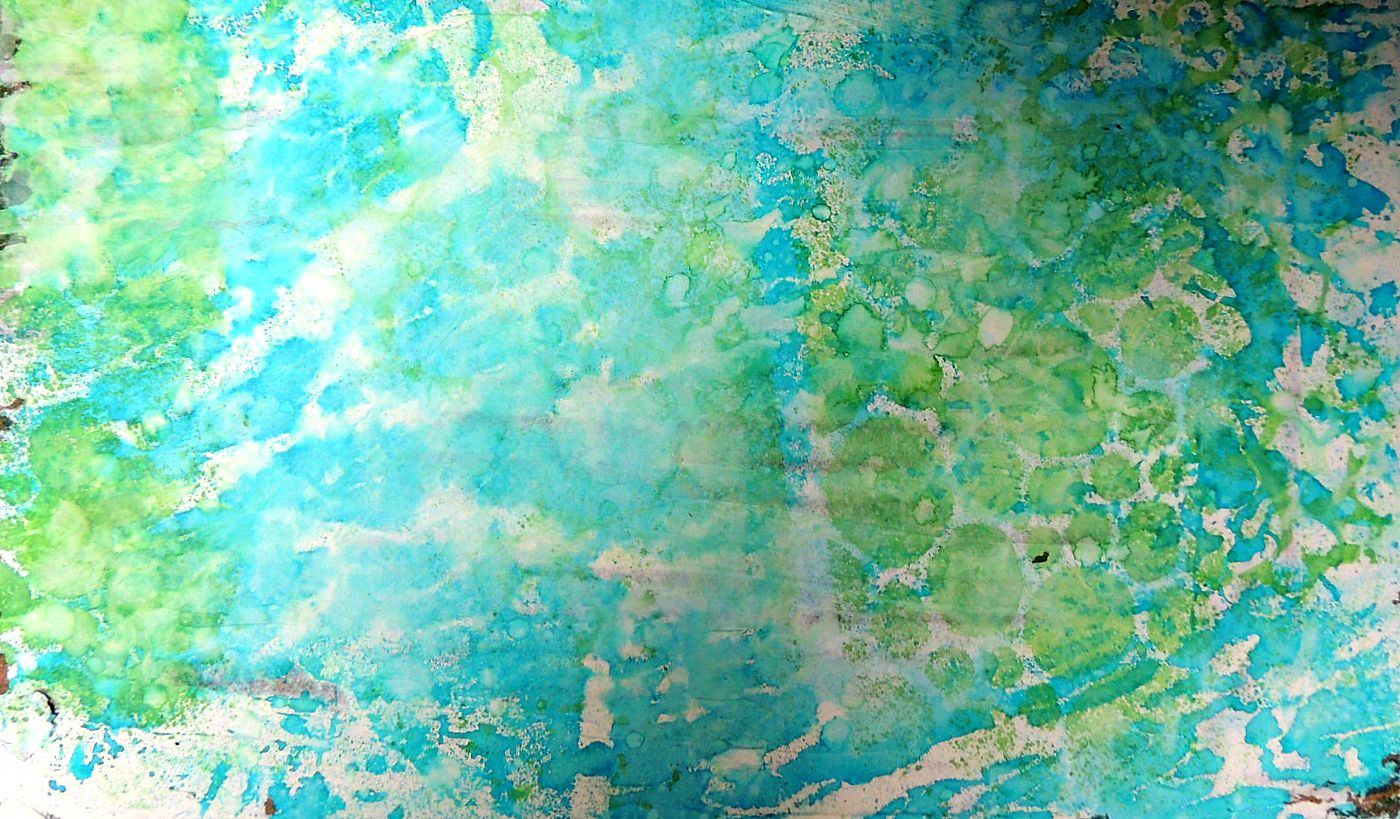
Using StazOn Studio Glaze in several colors along with stencils, create a master board that is large enough to cover the box.  Water color paper measuring 11” by 15” is a good size leaving plenty of designed paper to cover the box and allow room for error or for use in other projects later.

2015_Oct_RZ_StencilTechniques_Step2

Step Three:  
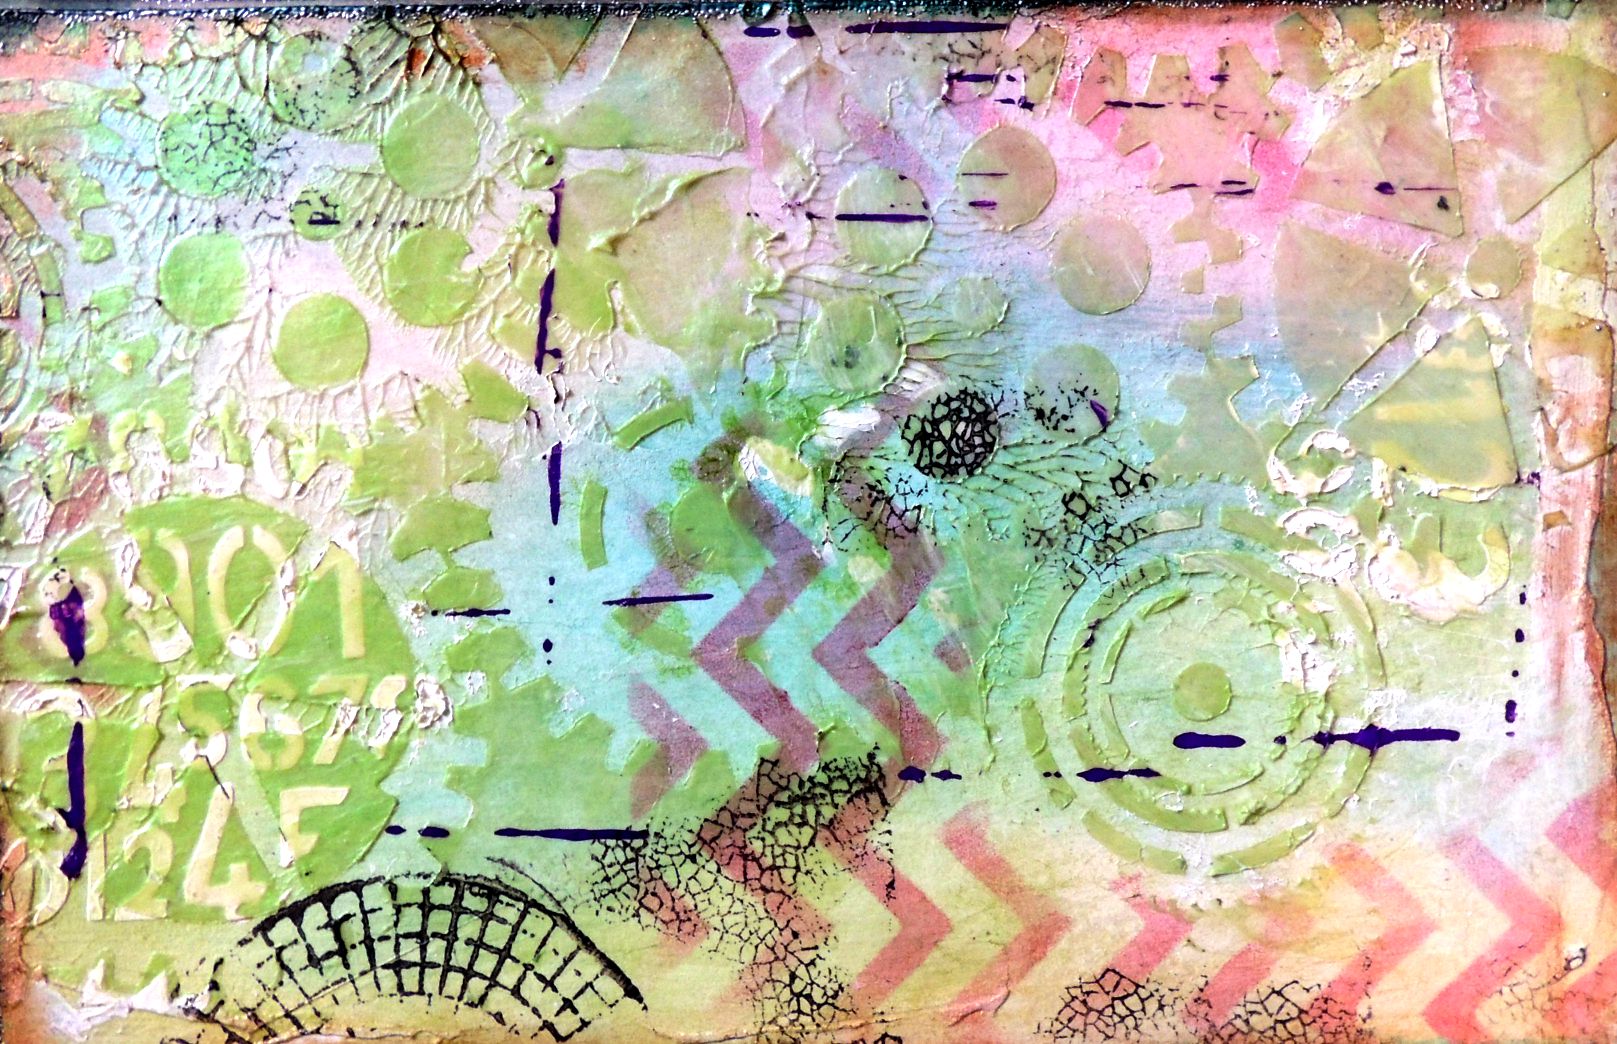
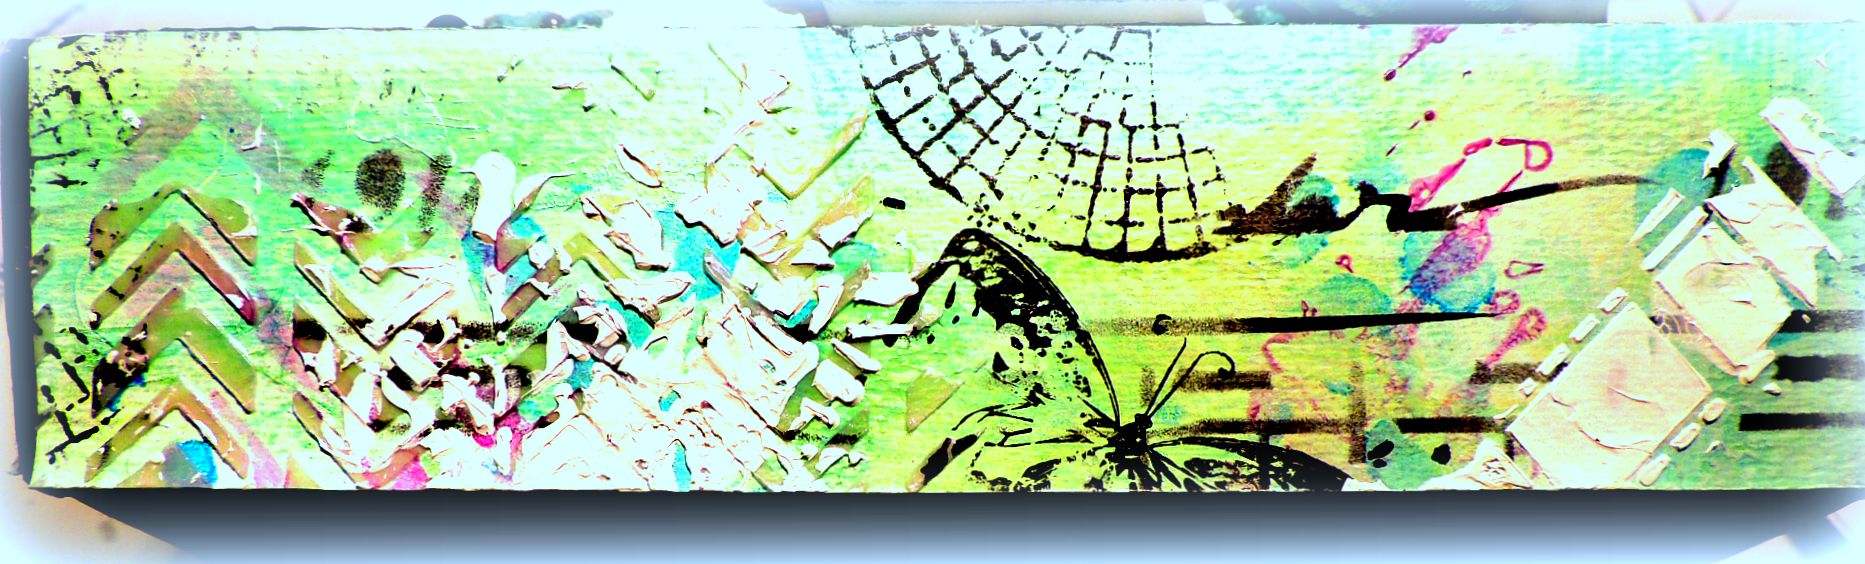
Stamp random background stamps with Jet Black StazOn ink on top of the colored paper.  Using different stencils and multiple colors of Iridescent Creative Medium Pastes, continue to add textures and colors to the master board.  Allow to dry thoroughly.  Applying white gesso through a stencil aids in pulling all the colors together on the master board.

2015_Oct_RZ_StencilTechniques_step3

Step Four:  
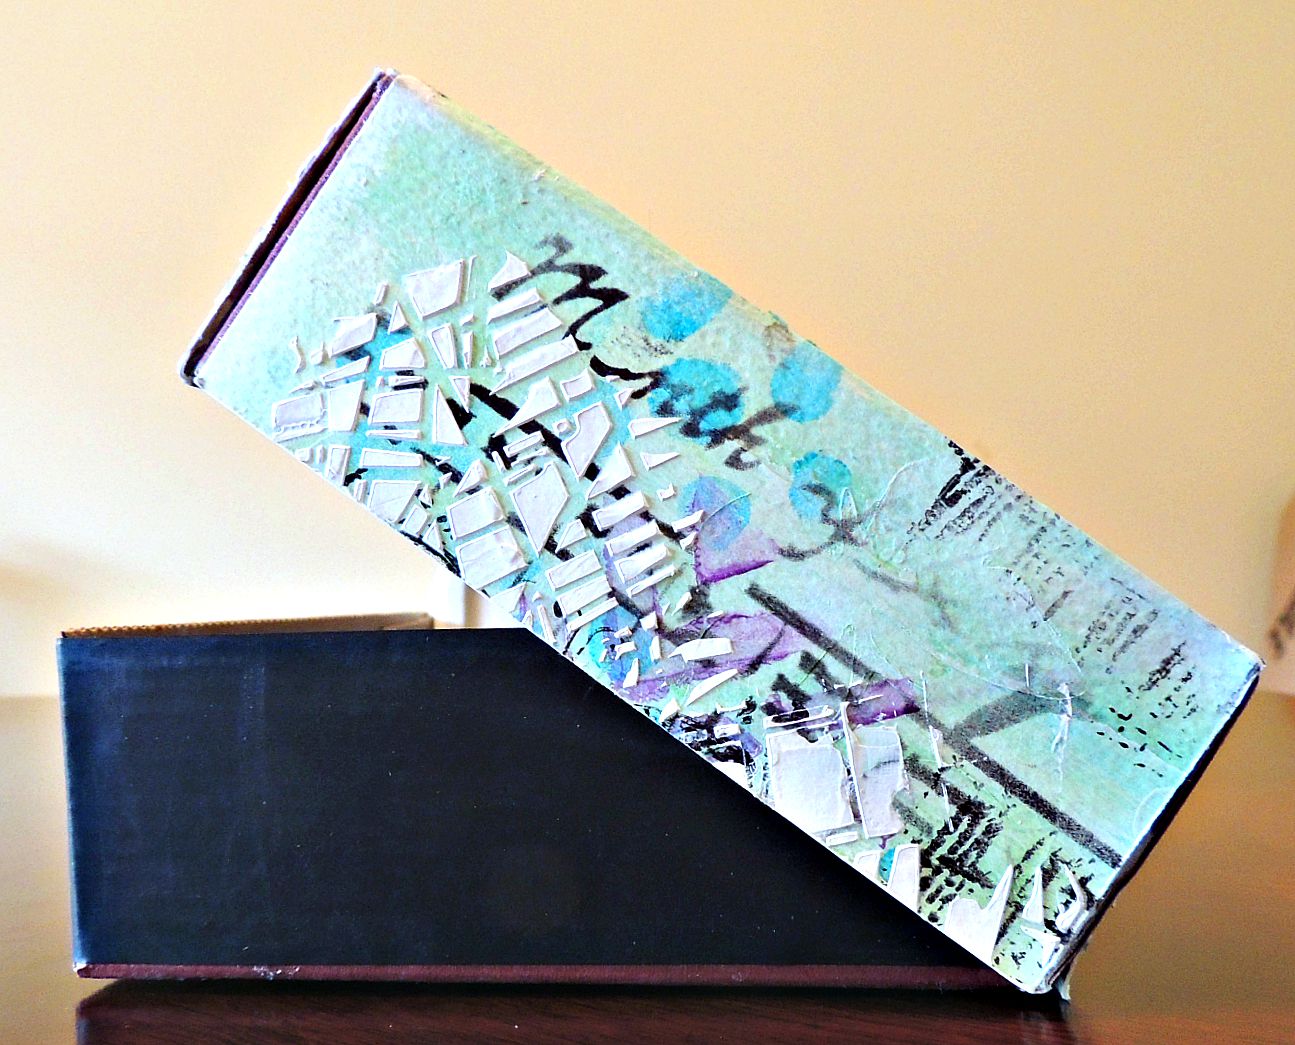
Measure the sides and top of the box and begin cutting the pieces to fit each section.  Adhere to the box with a strong adhesive.

2015_Oct_RZ_StencilTechnique_stepFour

Step Five:  
After adhering the paper to the box begin adding ephemera to the box.  When the box is open cover the inside edges with Chalk Board paint or a piece of Black Chalk Board tape.
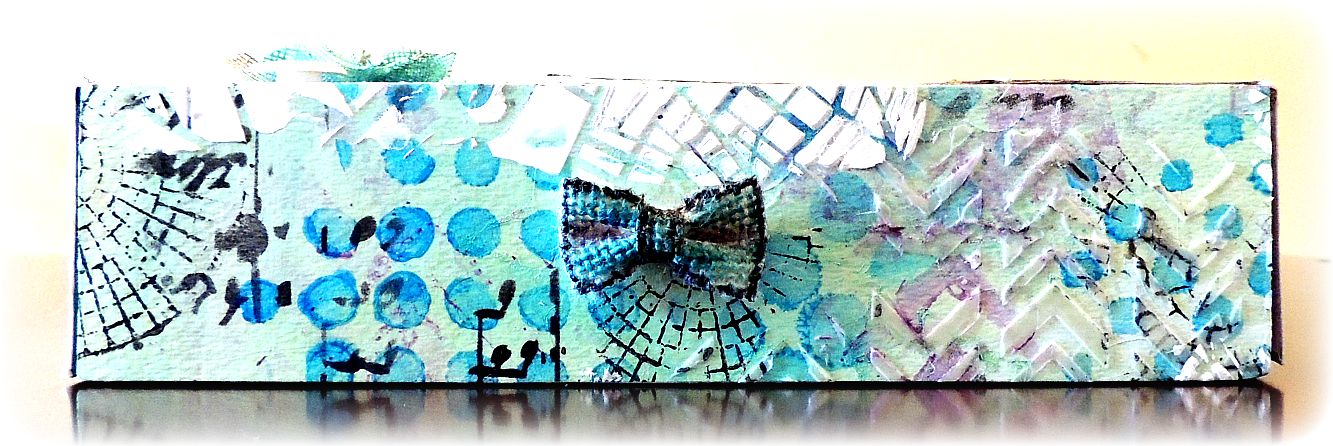
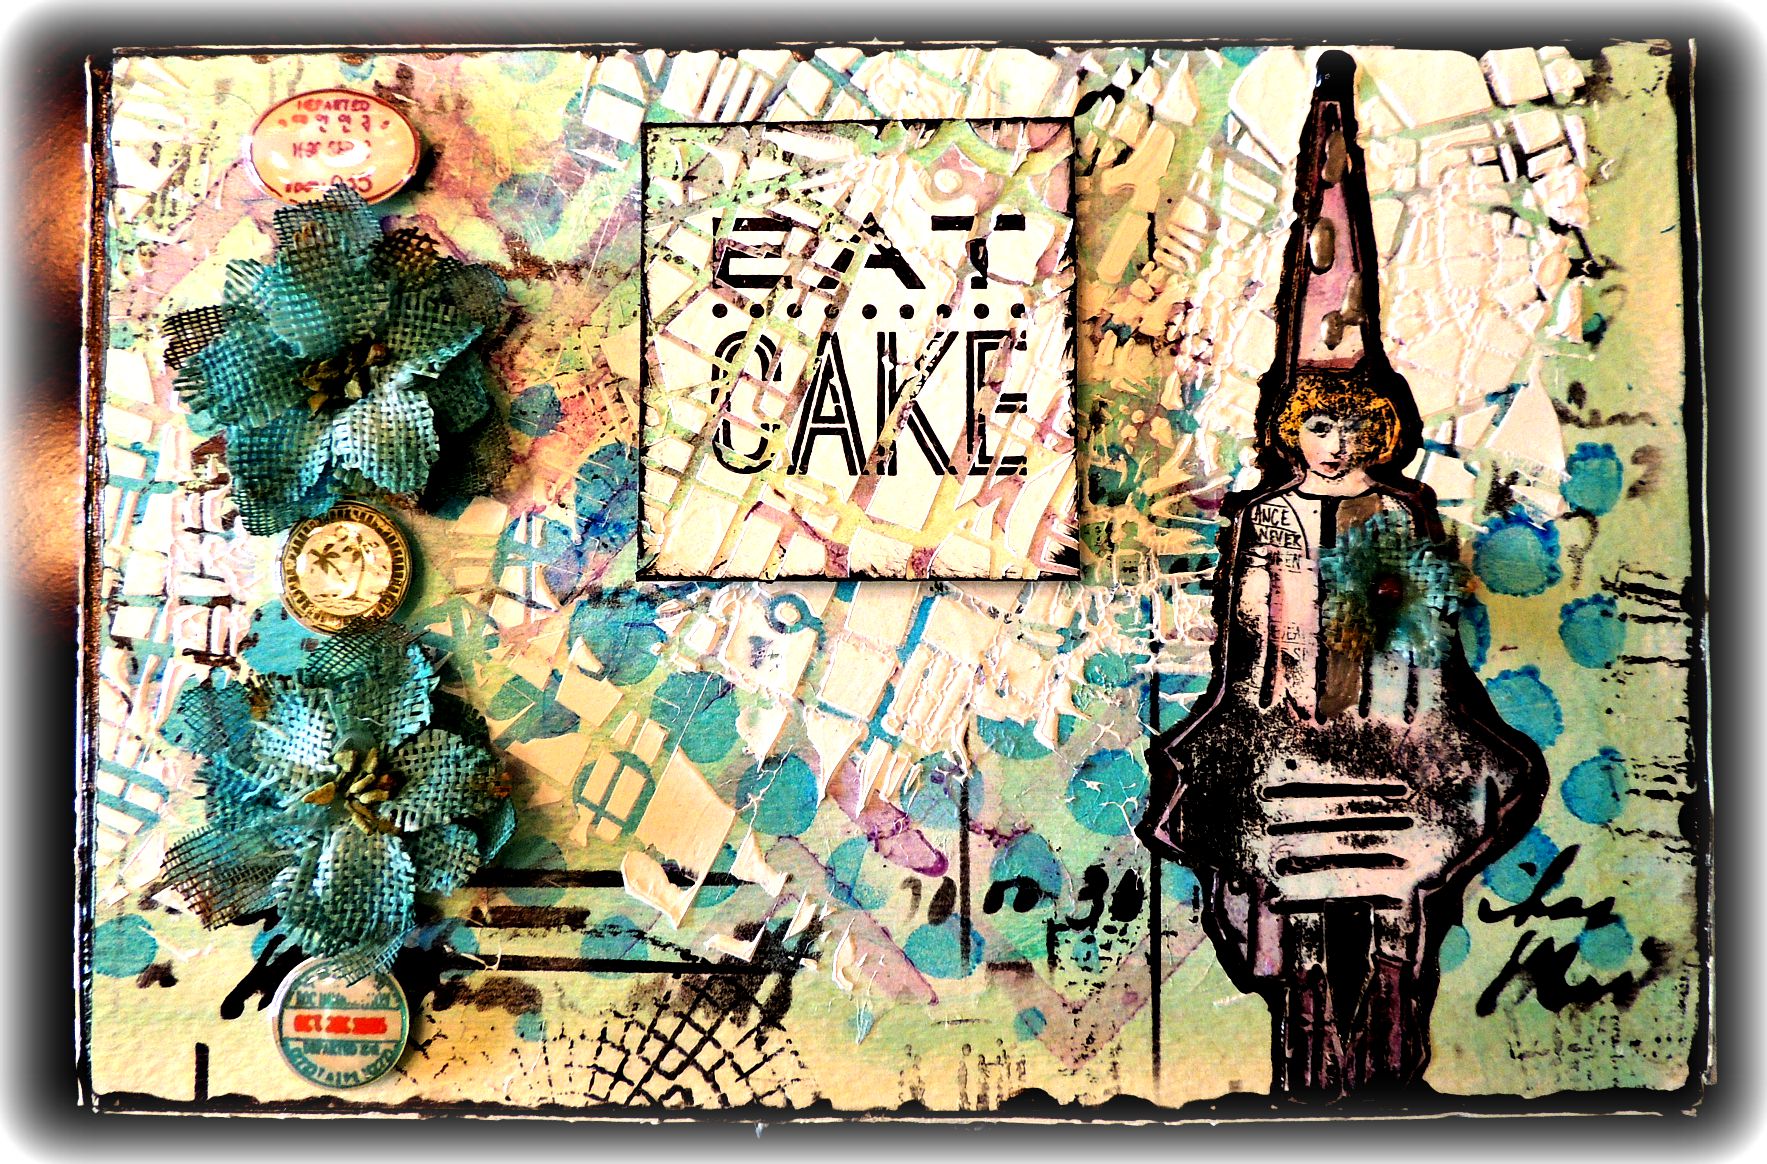
2015_Oct_RZ_StencilTechnique_Stepfive

2015_Oct_RZ_StencilTechnique_stepfiveC

Step Six: 
T
he fun part of decorating the cover of your unique box is the best part.  Use scraps, stamps, flowers, whatever is handy and plentiful in your stash.  Now fill the box with your choice of products.

2015_Oct_RZ_StencilTechniques_main

by Renee Zarate

Difficulty

Beginner - Intermediate

Time

1/2 hour + dry time

Materials Needed

Imagine Crafts featuring Tsukineko

Other

  • white gesso, box of your choosing, water color paper, strong adhesive, black chalkboard paint or tape, various embellishments, stencils & scraps to your choosing


Sign up for our newsletter
Facebook Pinterest Twitter YouTube Vimeo