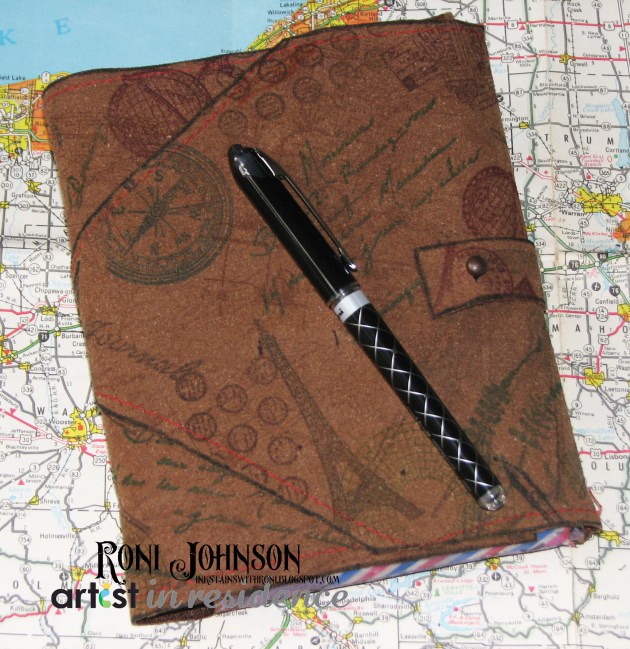
Enjoy the journey as much as the destination and record every memory made along the way in this fun, easy collage style travel journal.
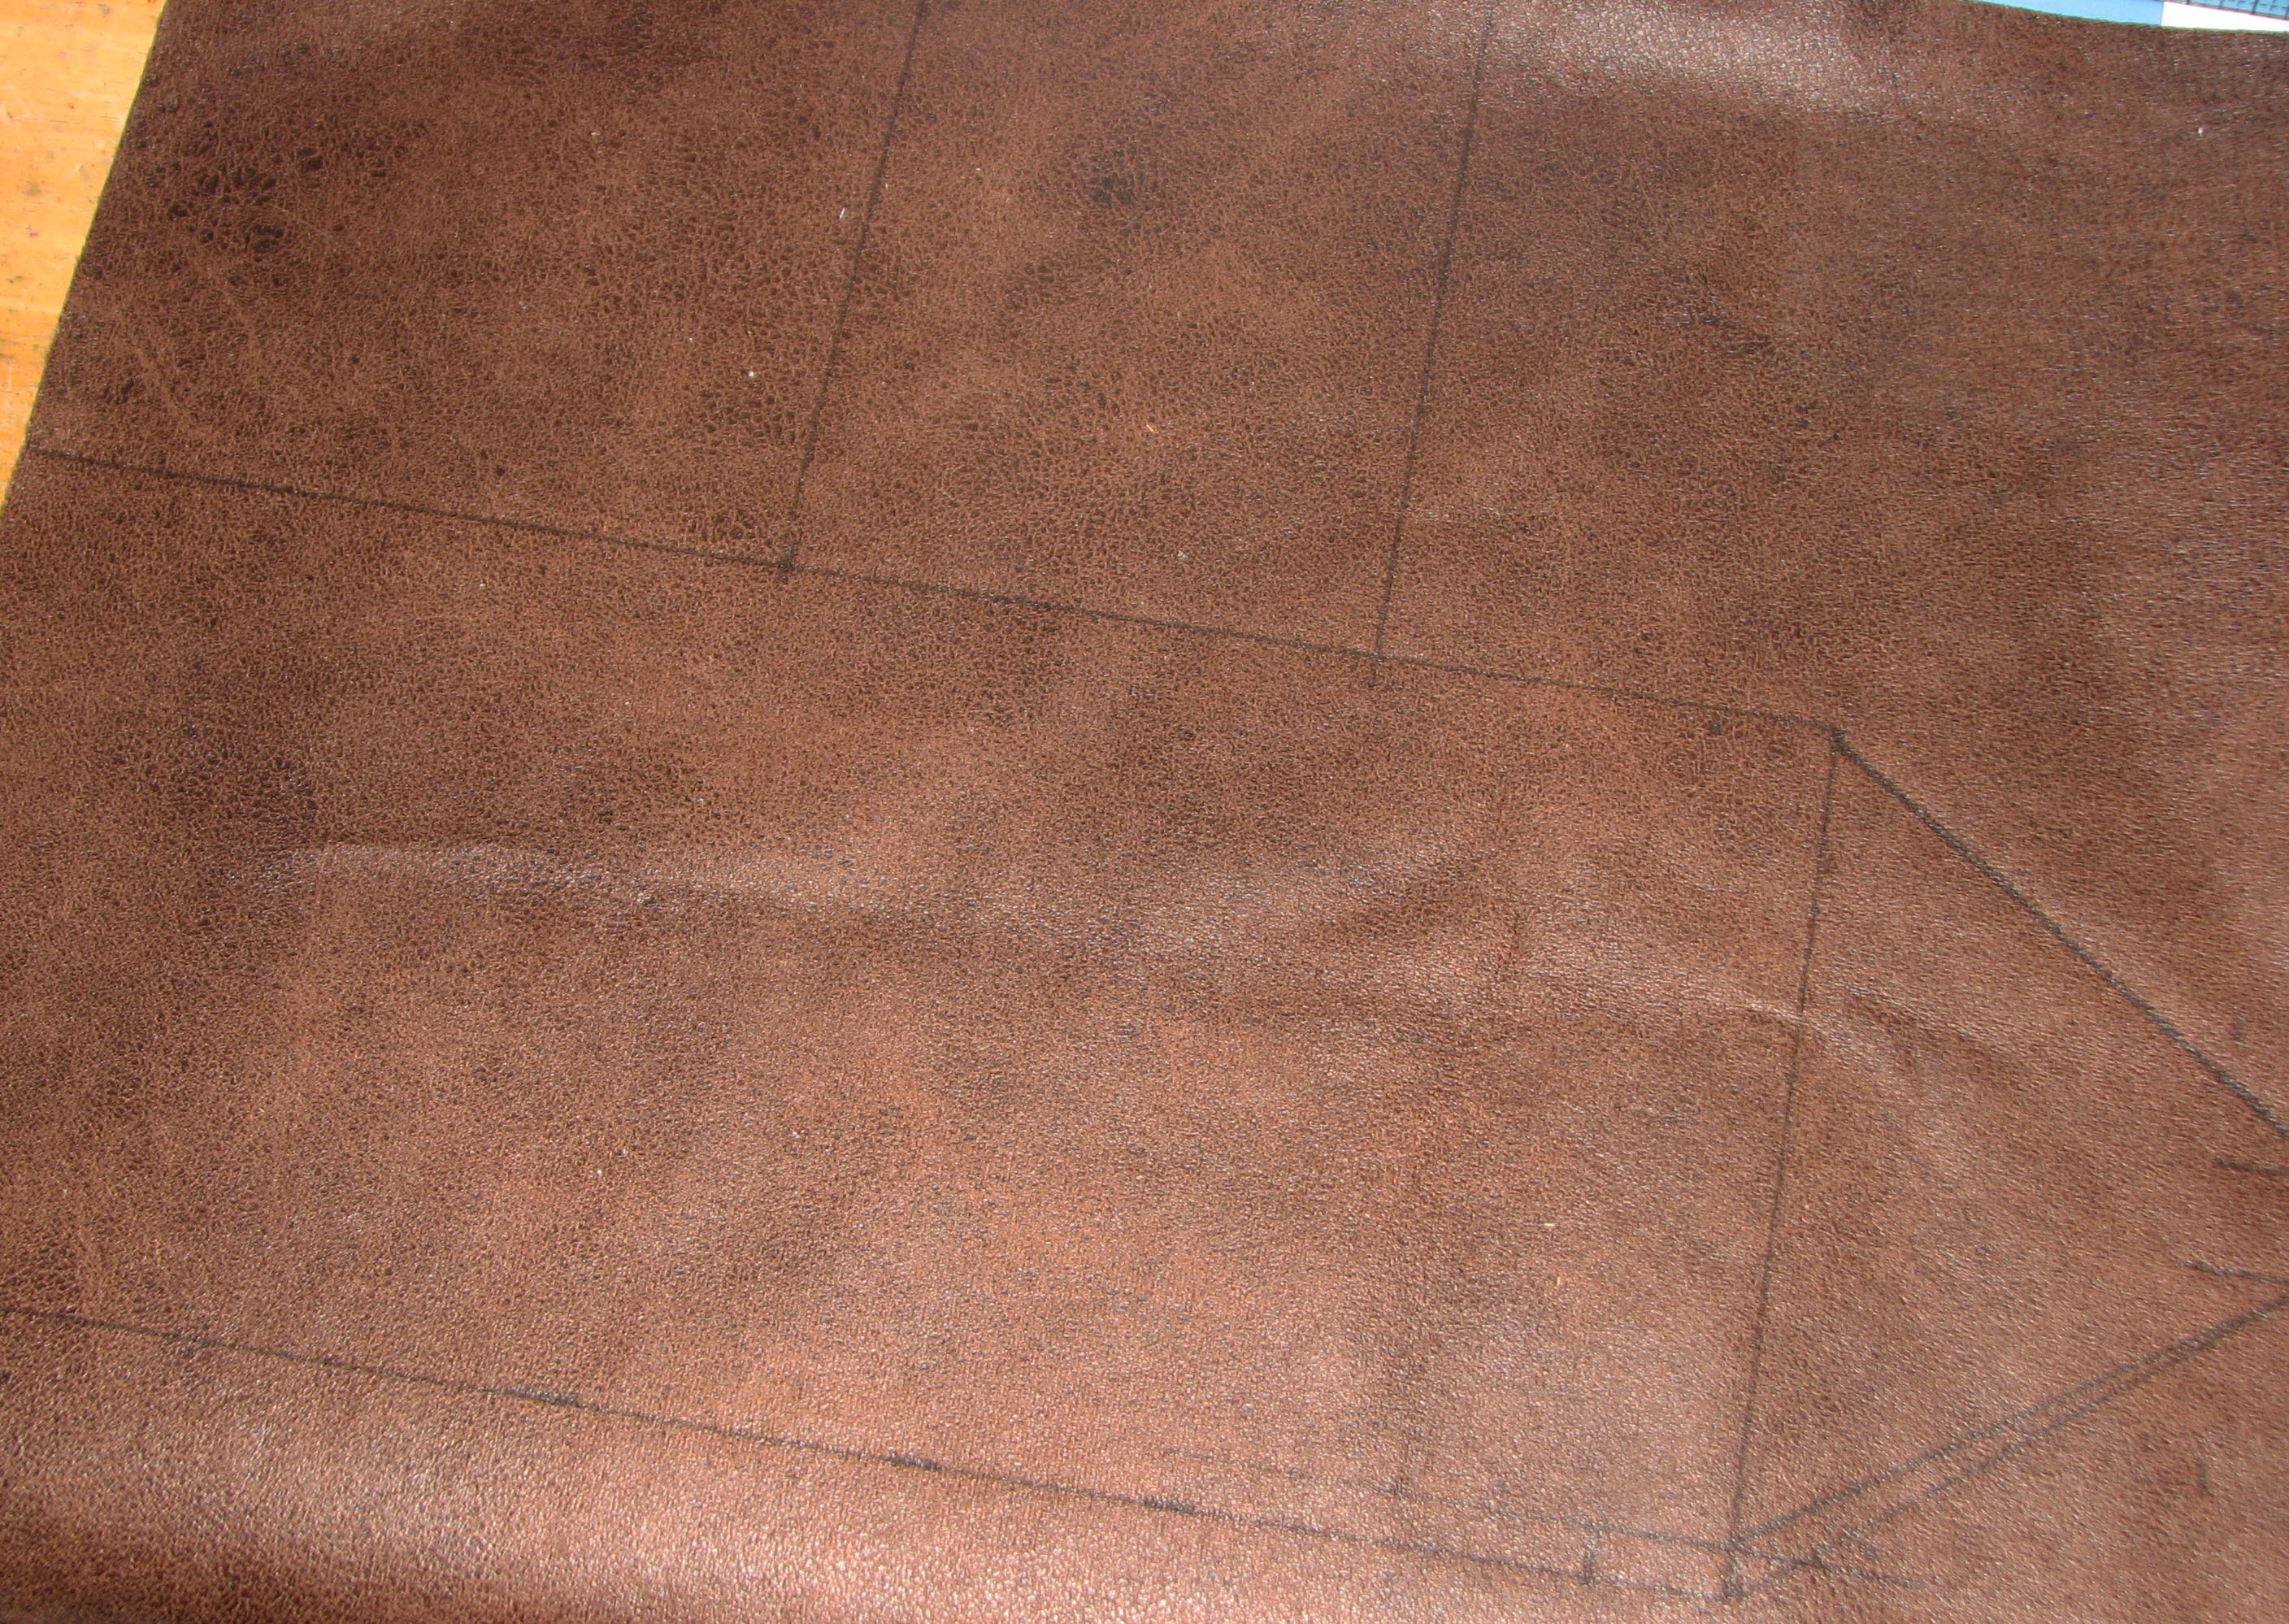
1. Decide a cover style that will fit your needs. Trace desired design onto a suede remnant and cut away excess material.
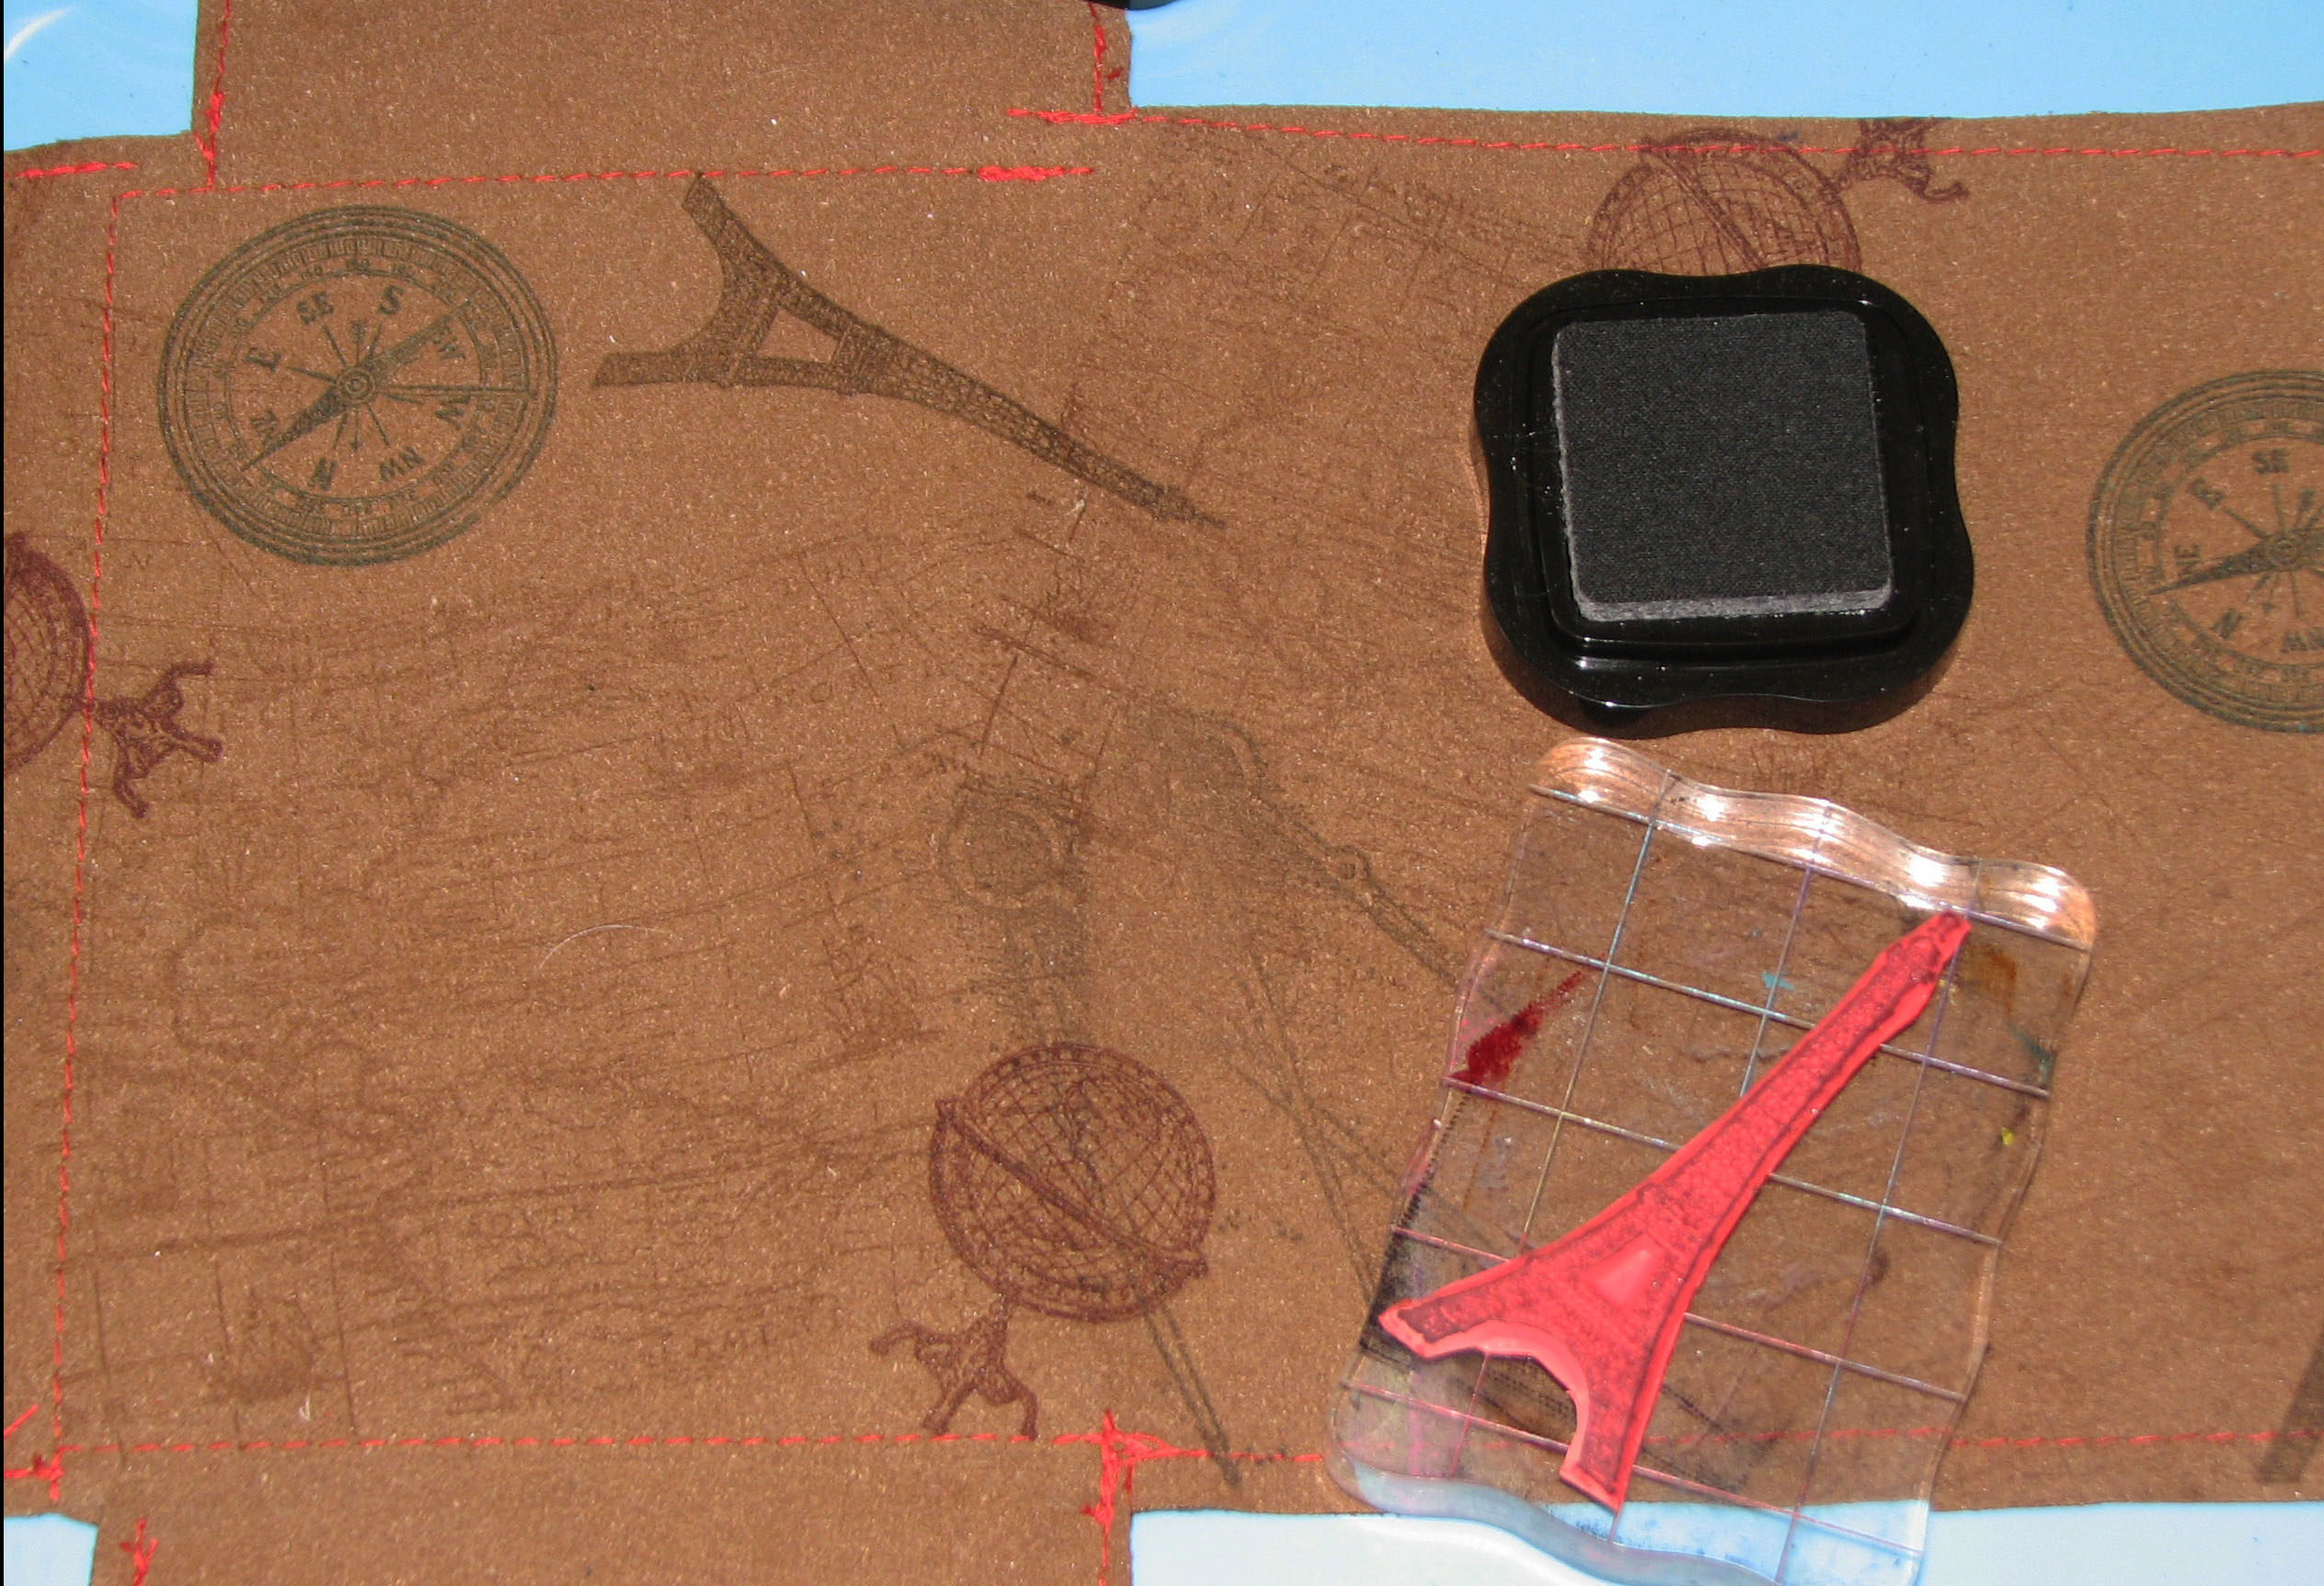
2. Randomly stamp desired images onto the suede side of the leather using StazOn ink. Stamp some of the images off the edge for a natural look.

3. Once you have finished stamping the cover, use the Fabrico Real Black marker to add a bit of definition to the edge.
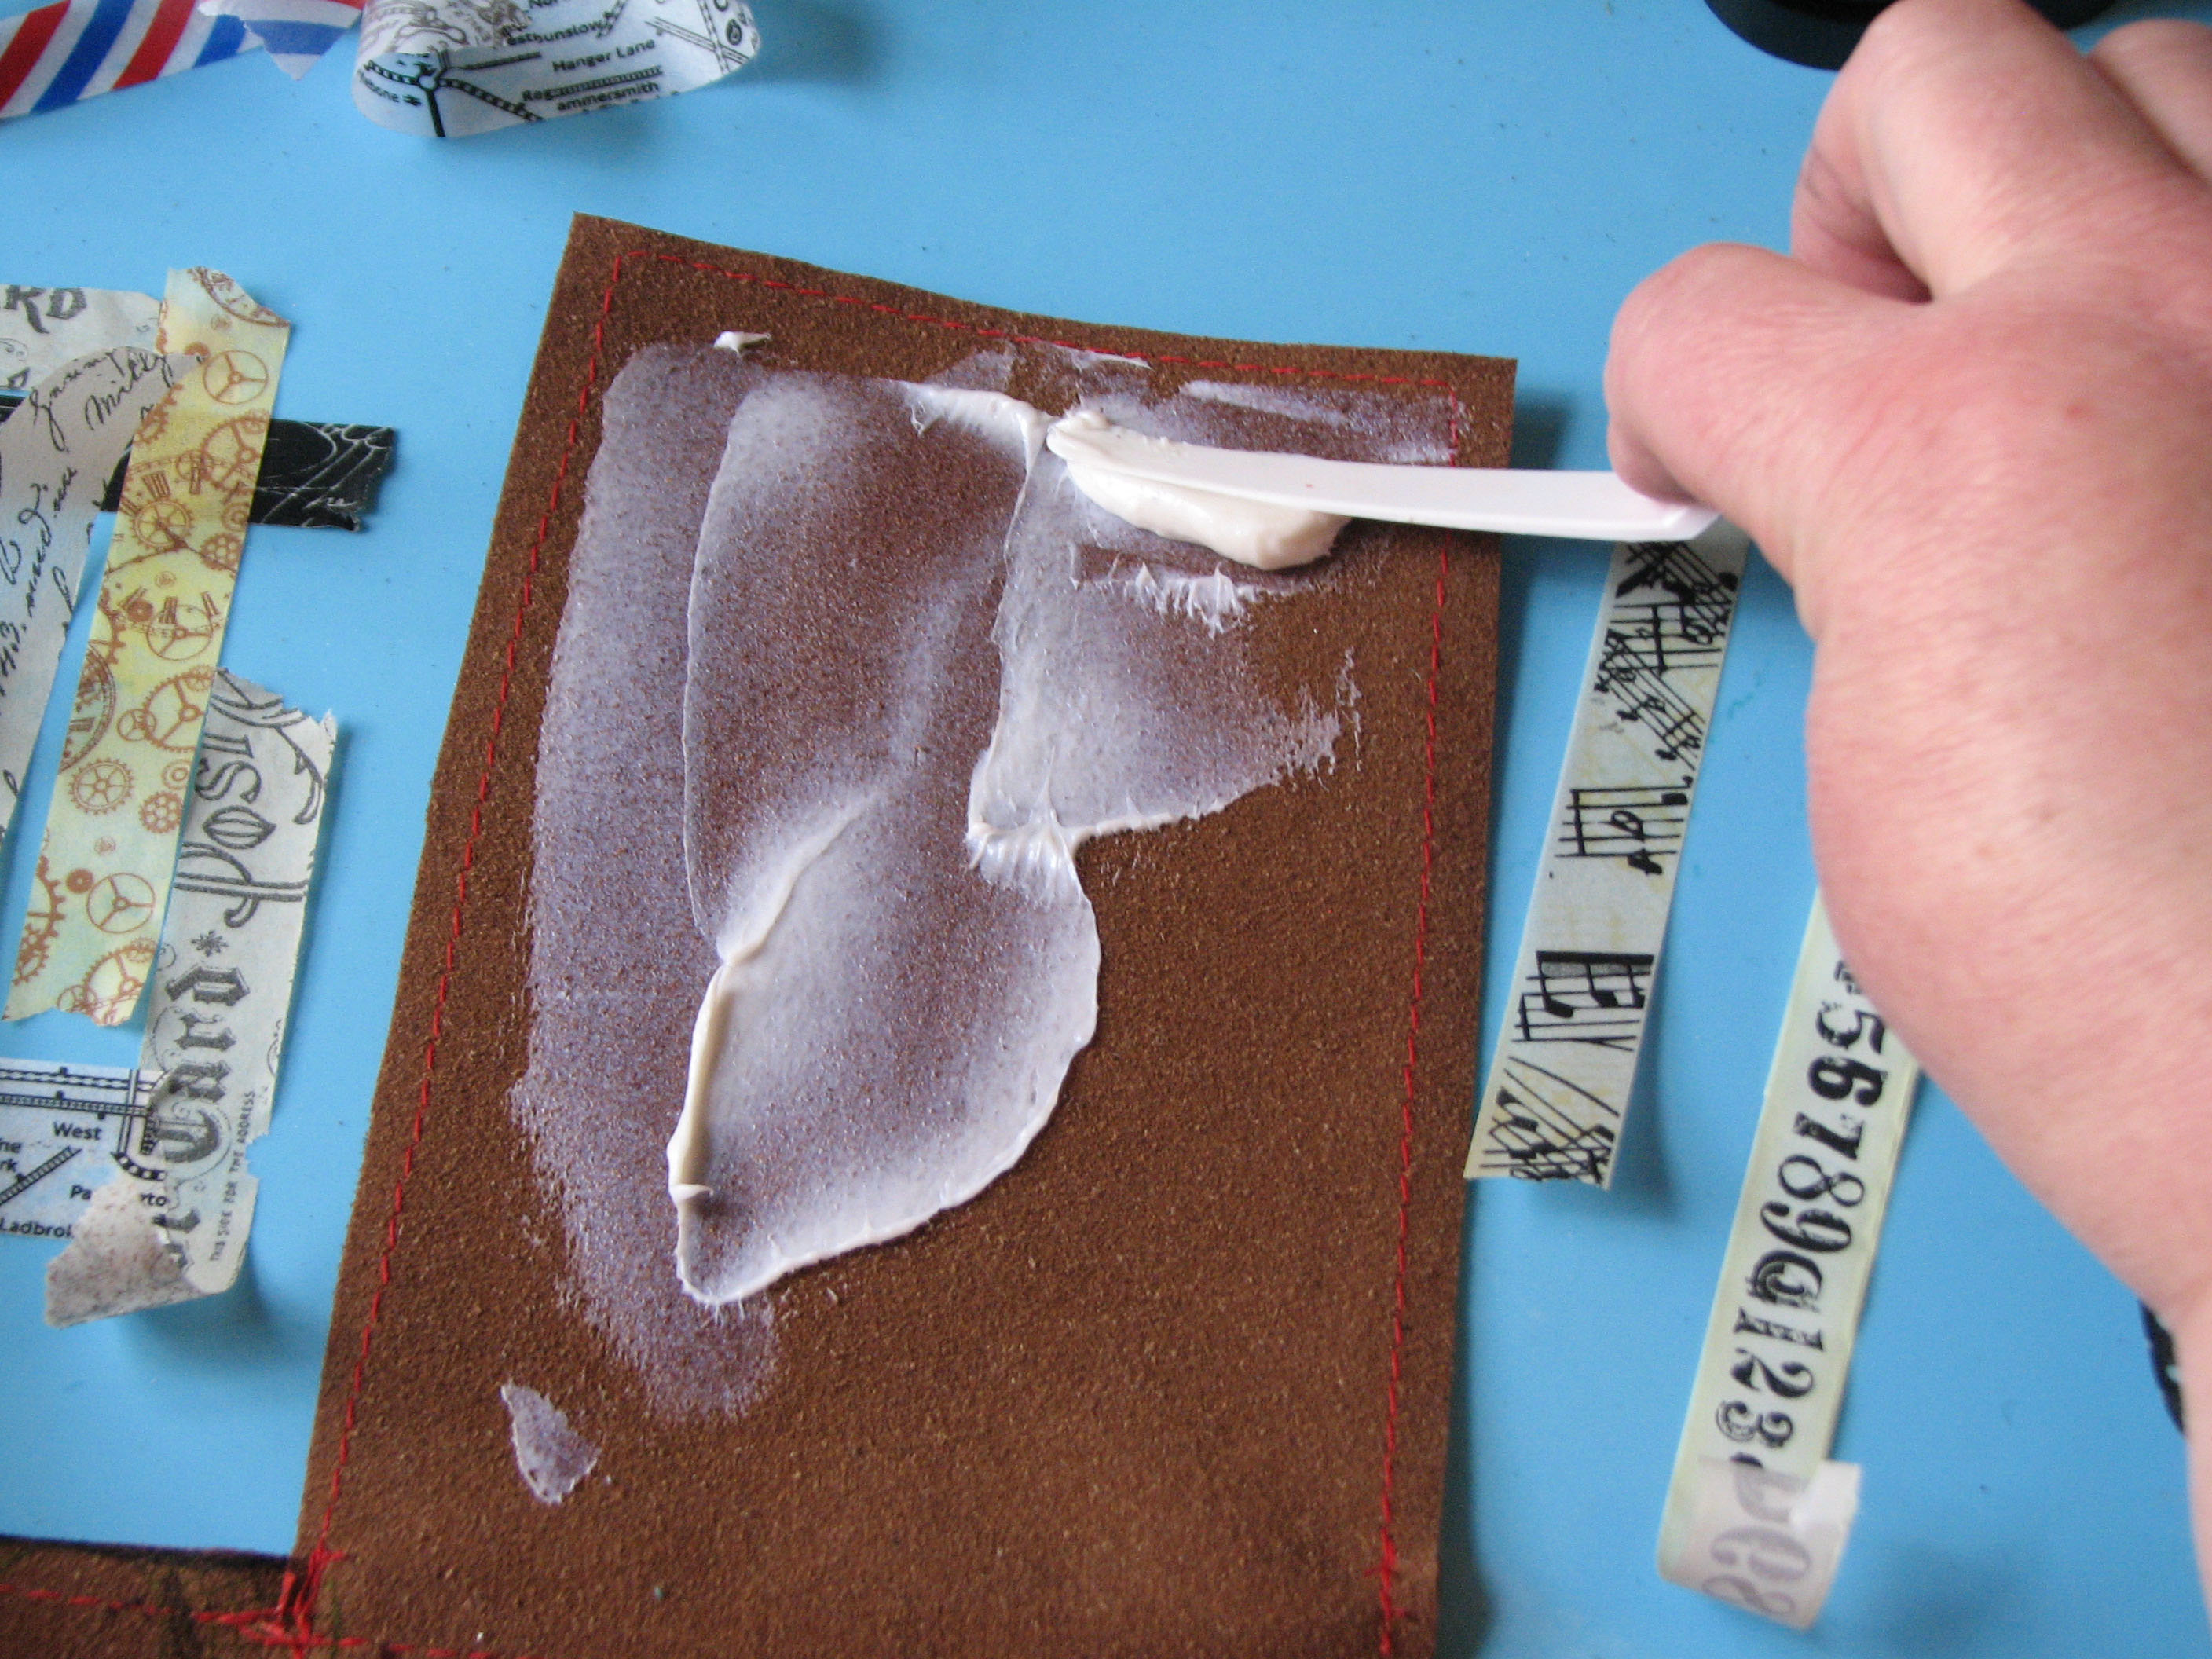
4. Decorate one of the inside flaps by applying a layer of Iridescent Blue Creative Medium using a Trowel Palette Knife.
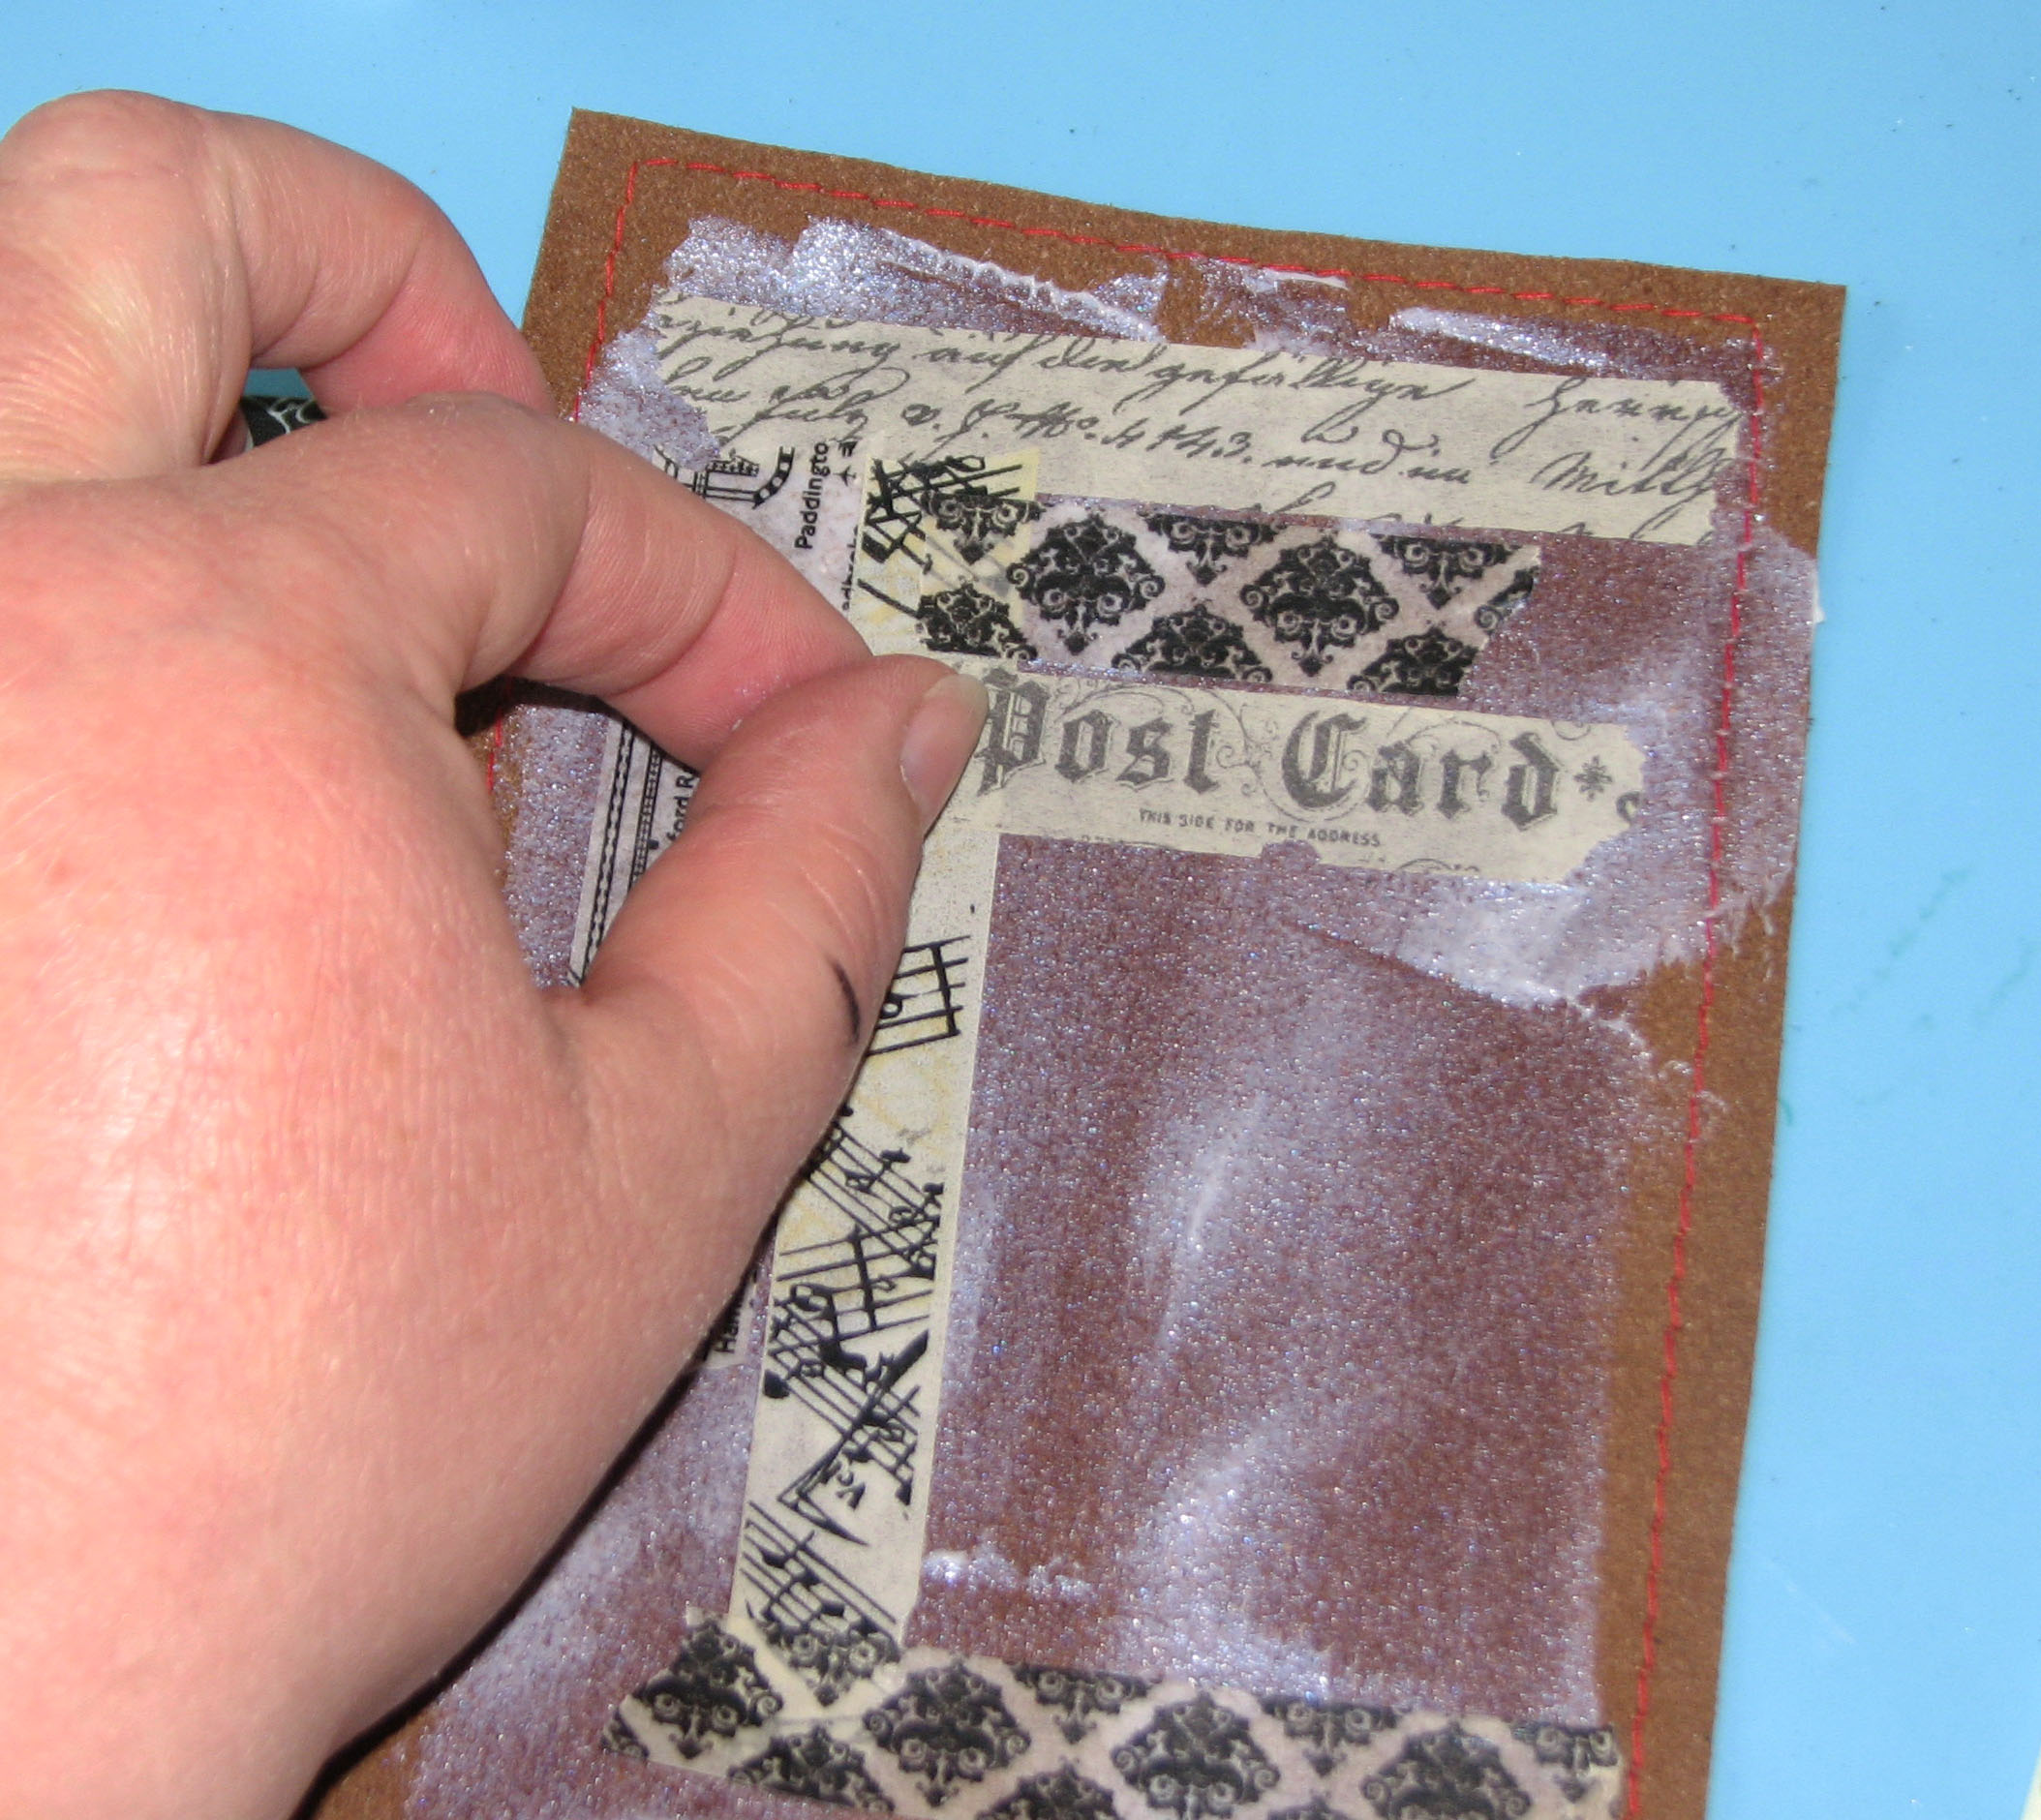
5. Tear strips of washi tape into small pieces and press into the Creative Medium while it is still wet. The Creative Medium will act as a glue to hold everything in place.
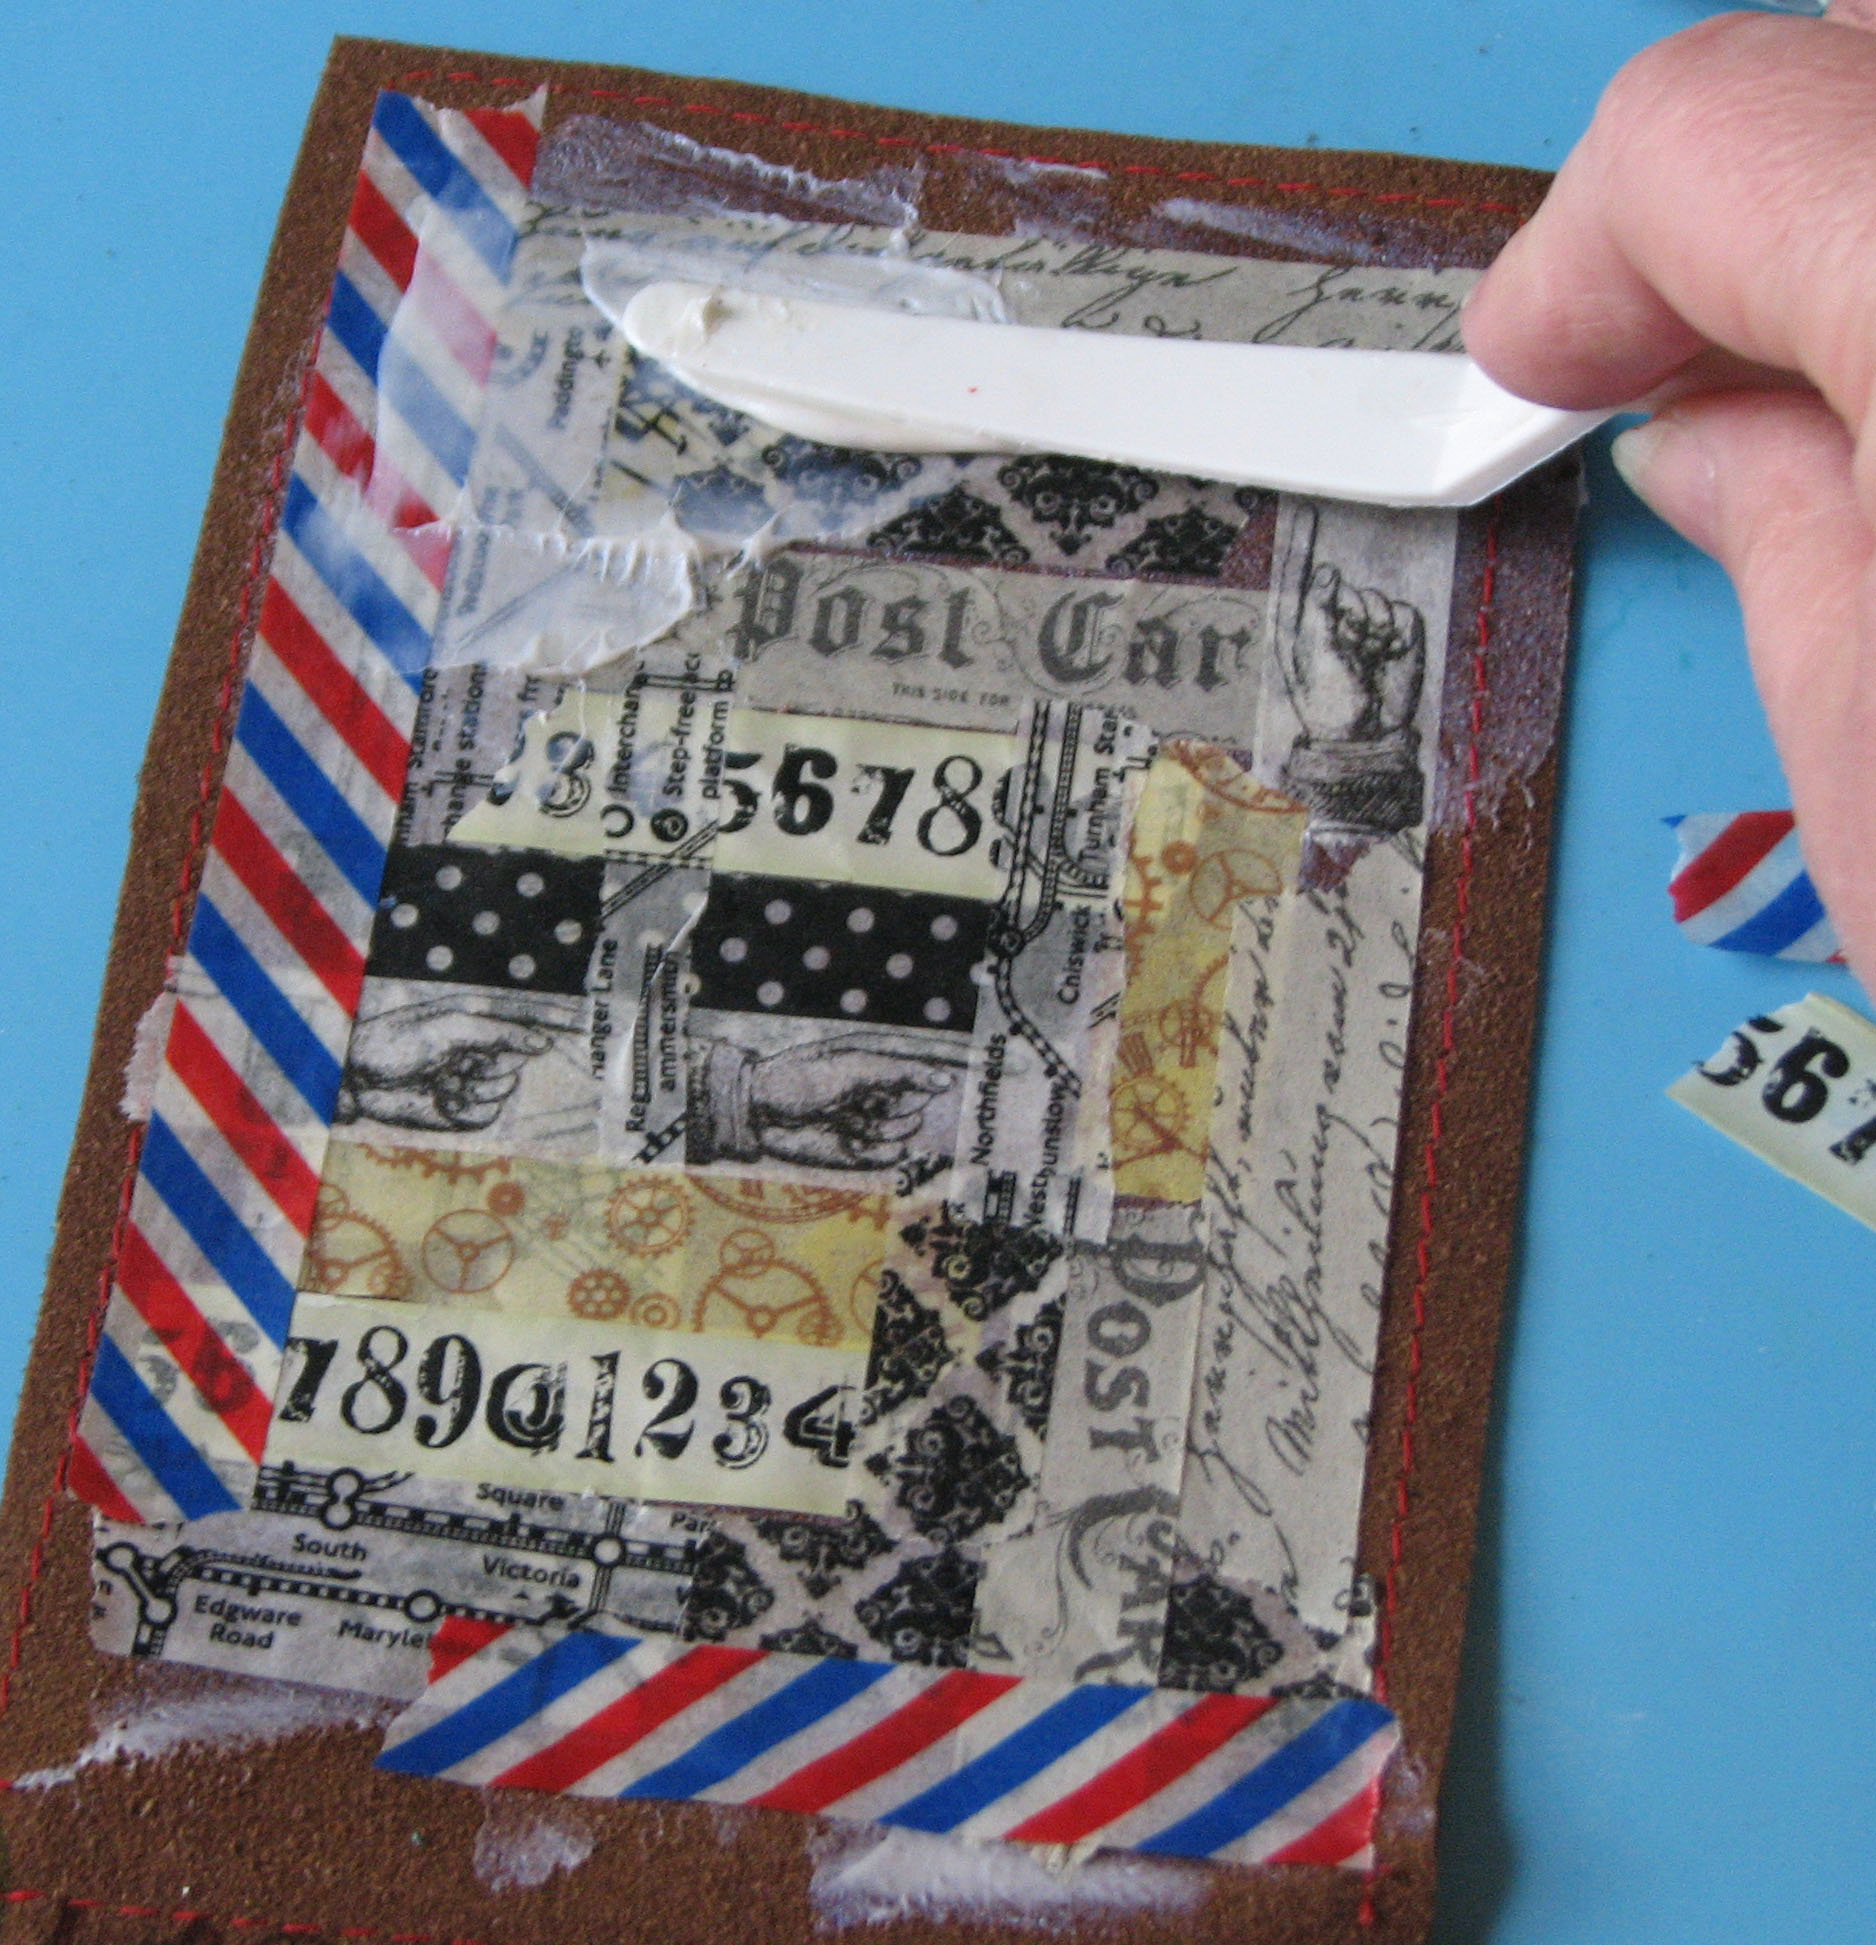
6. Apply a coat of Iridescent Blue Creative Medium over the top of the washi tape to hold any loose bits in pace and to ensure adhesion. Allow the Creative Medium to dry completely. NOTE: Once dry the Creative Medium remains flexible.
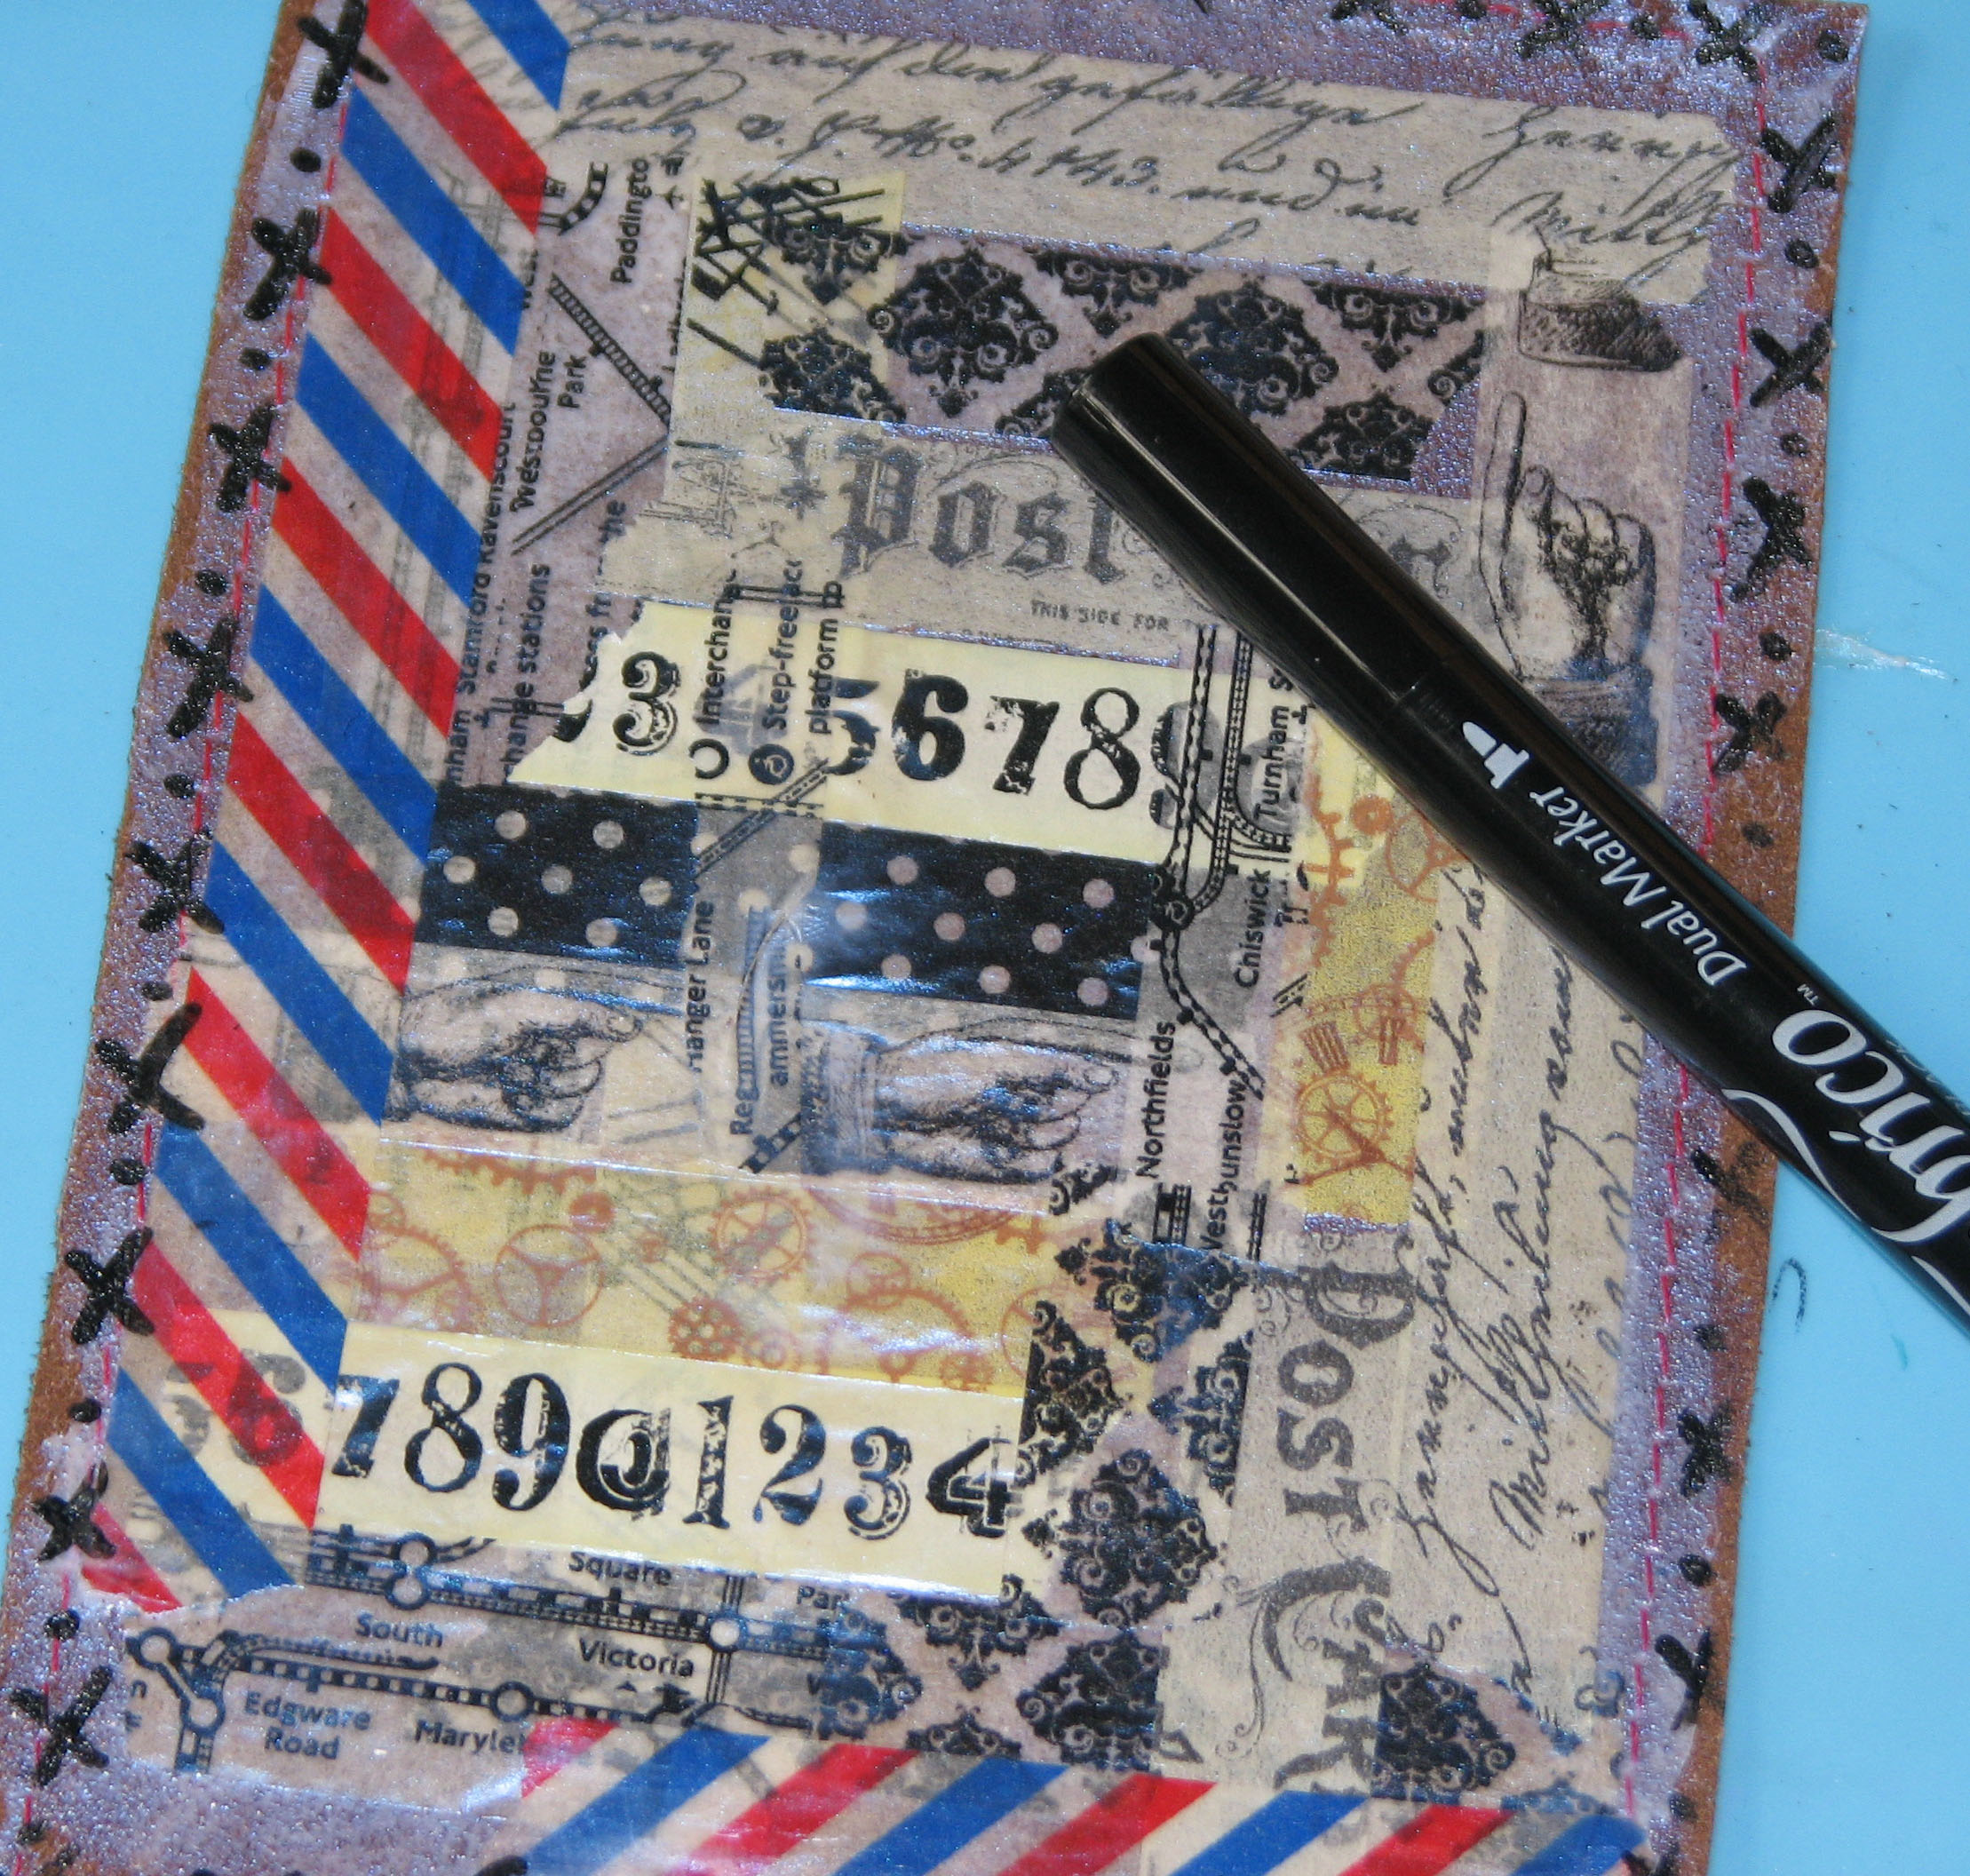
7. Add detail work along the edges of the cover using the Fabrico Real Black marker.
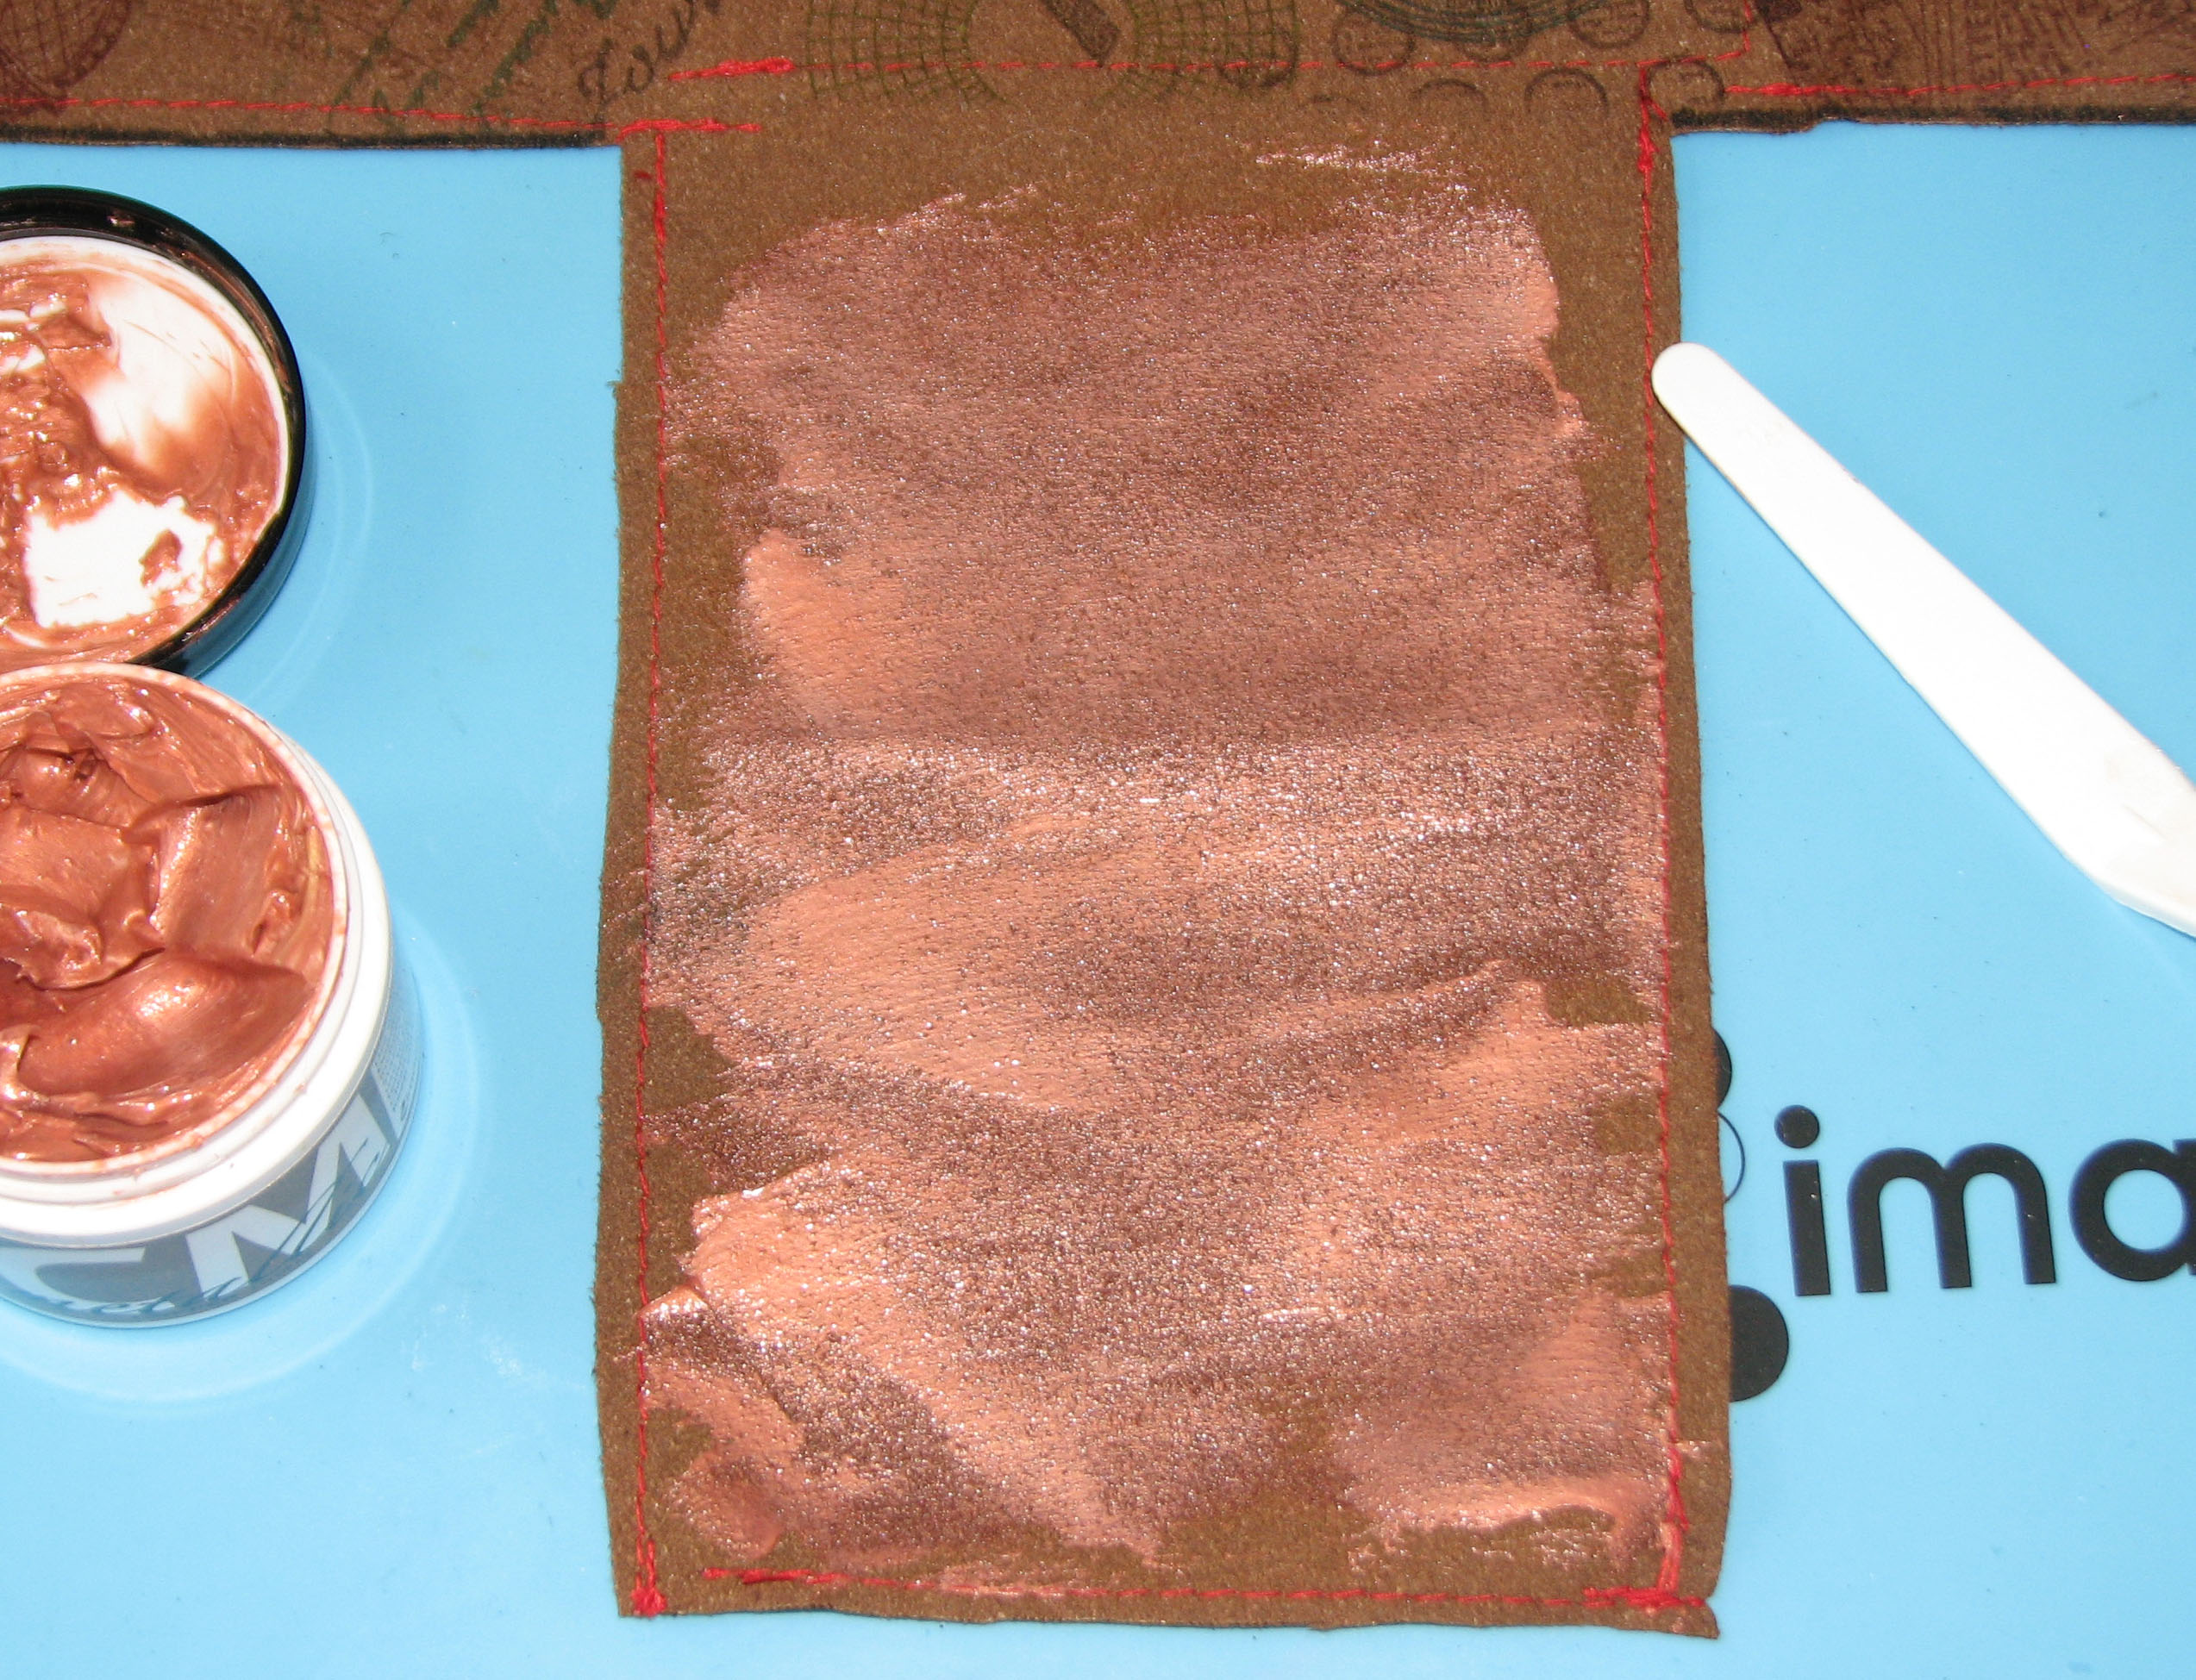
8. Apply a base coat of Metallic Copper Creative Medium to the second inside flap using the Trowel Palette Knife.
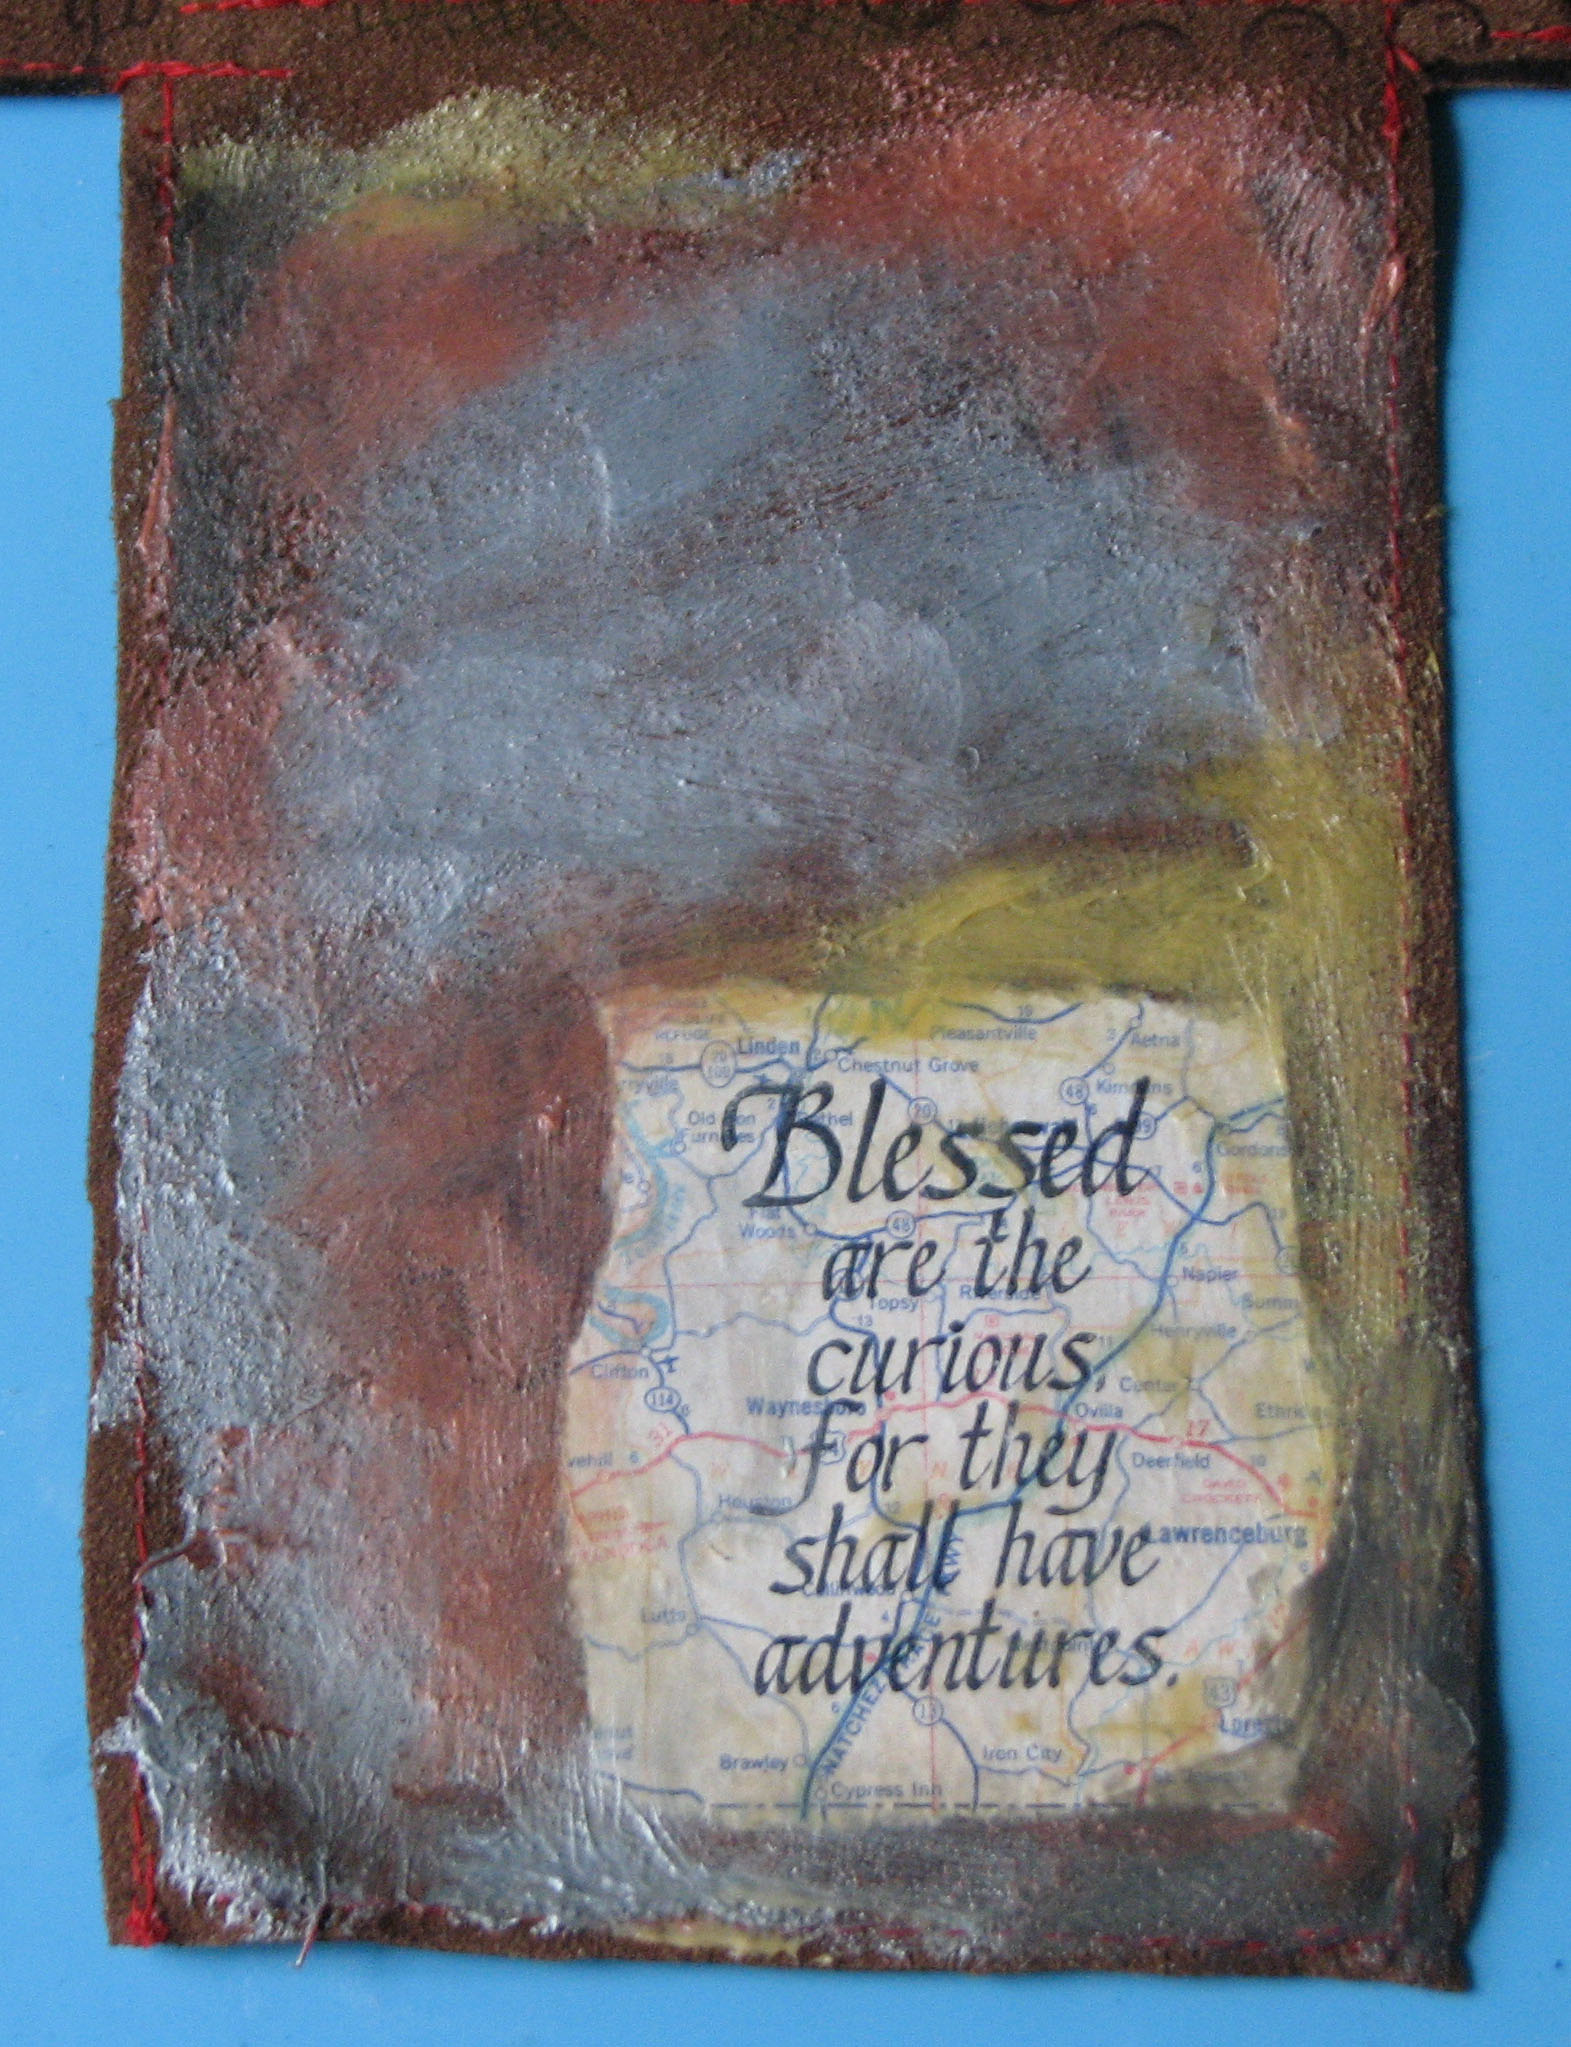
9. Stamp your choice of sentiment onto a piece of paper and then press into the wet Creative Medium. For more color and dimension, add additional colors of Creative Medium as desired. For my journal I added Metallic Bronze, Metallic Gold and Metallic Silver layered over the Metallic Copper base coat. Allow the Creative Medium to dry completely.
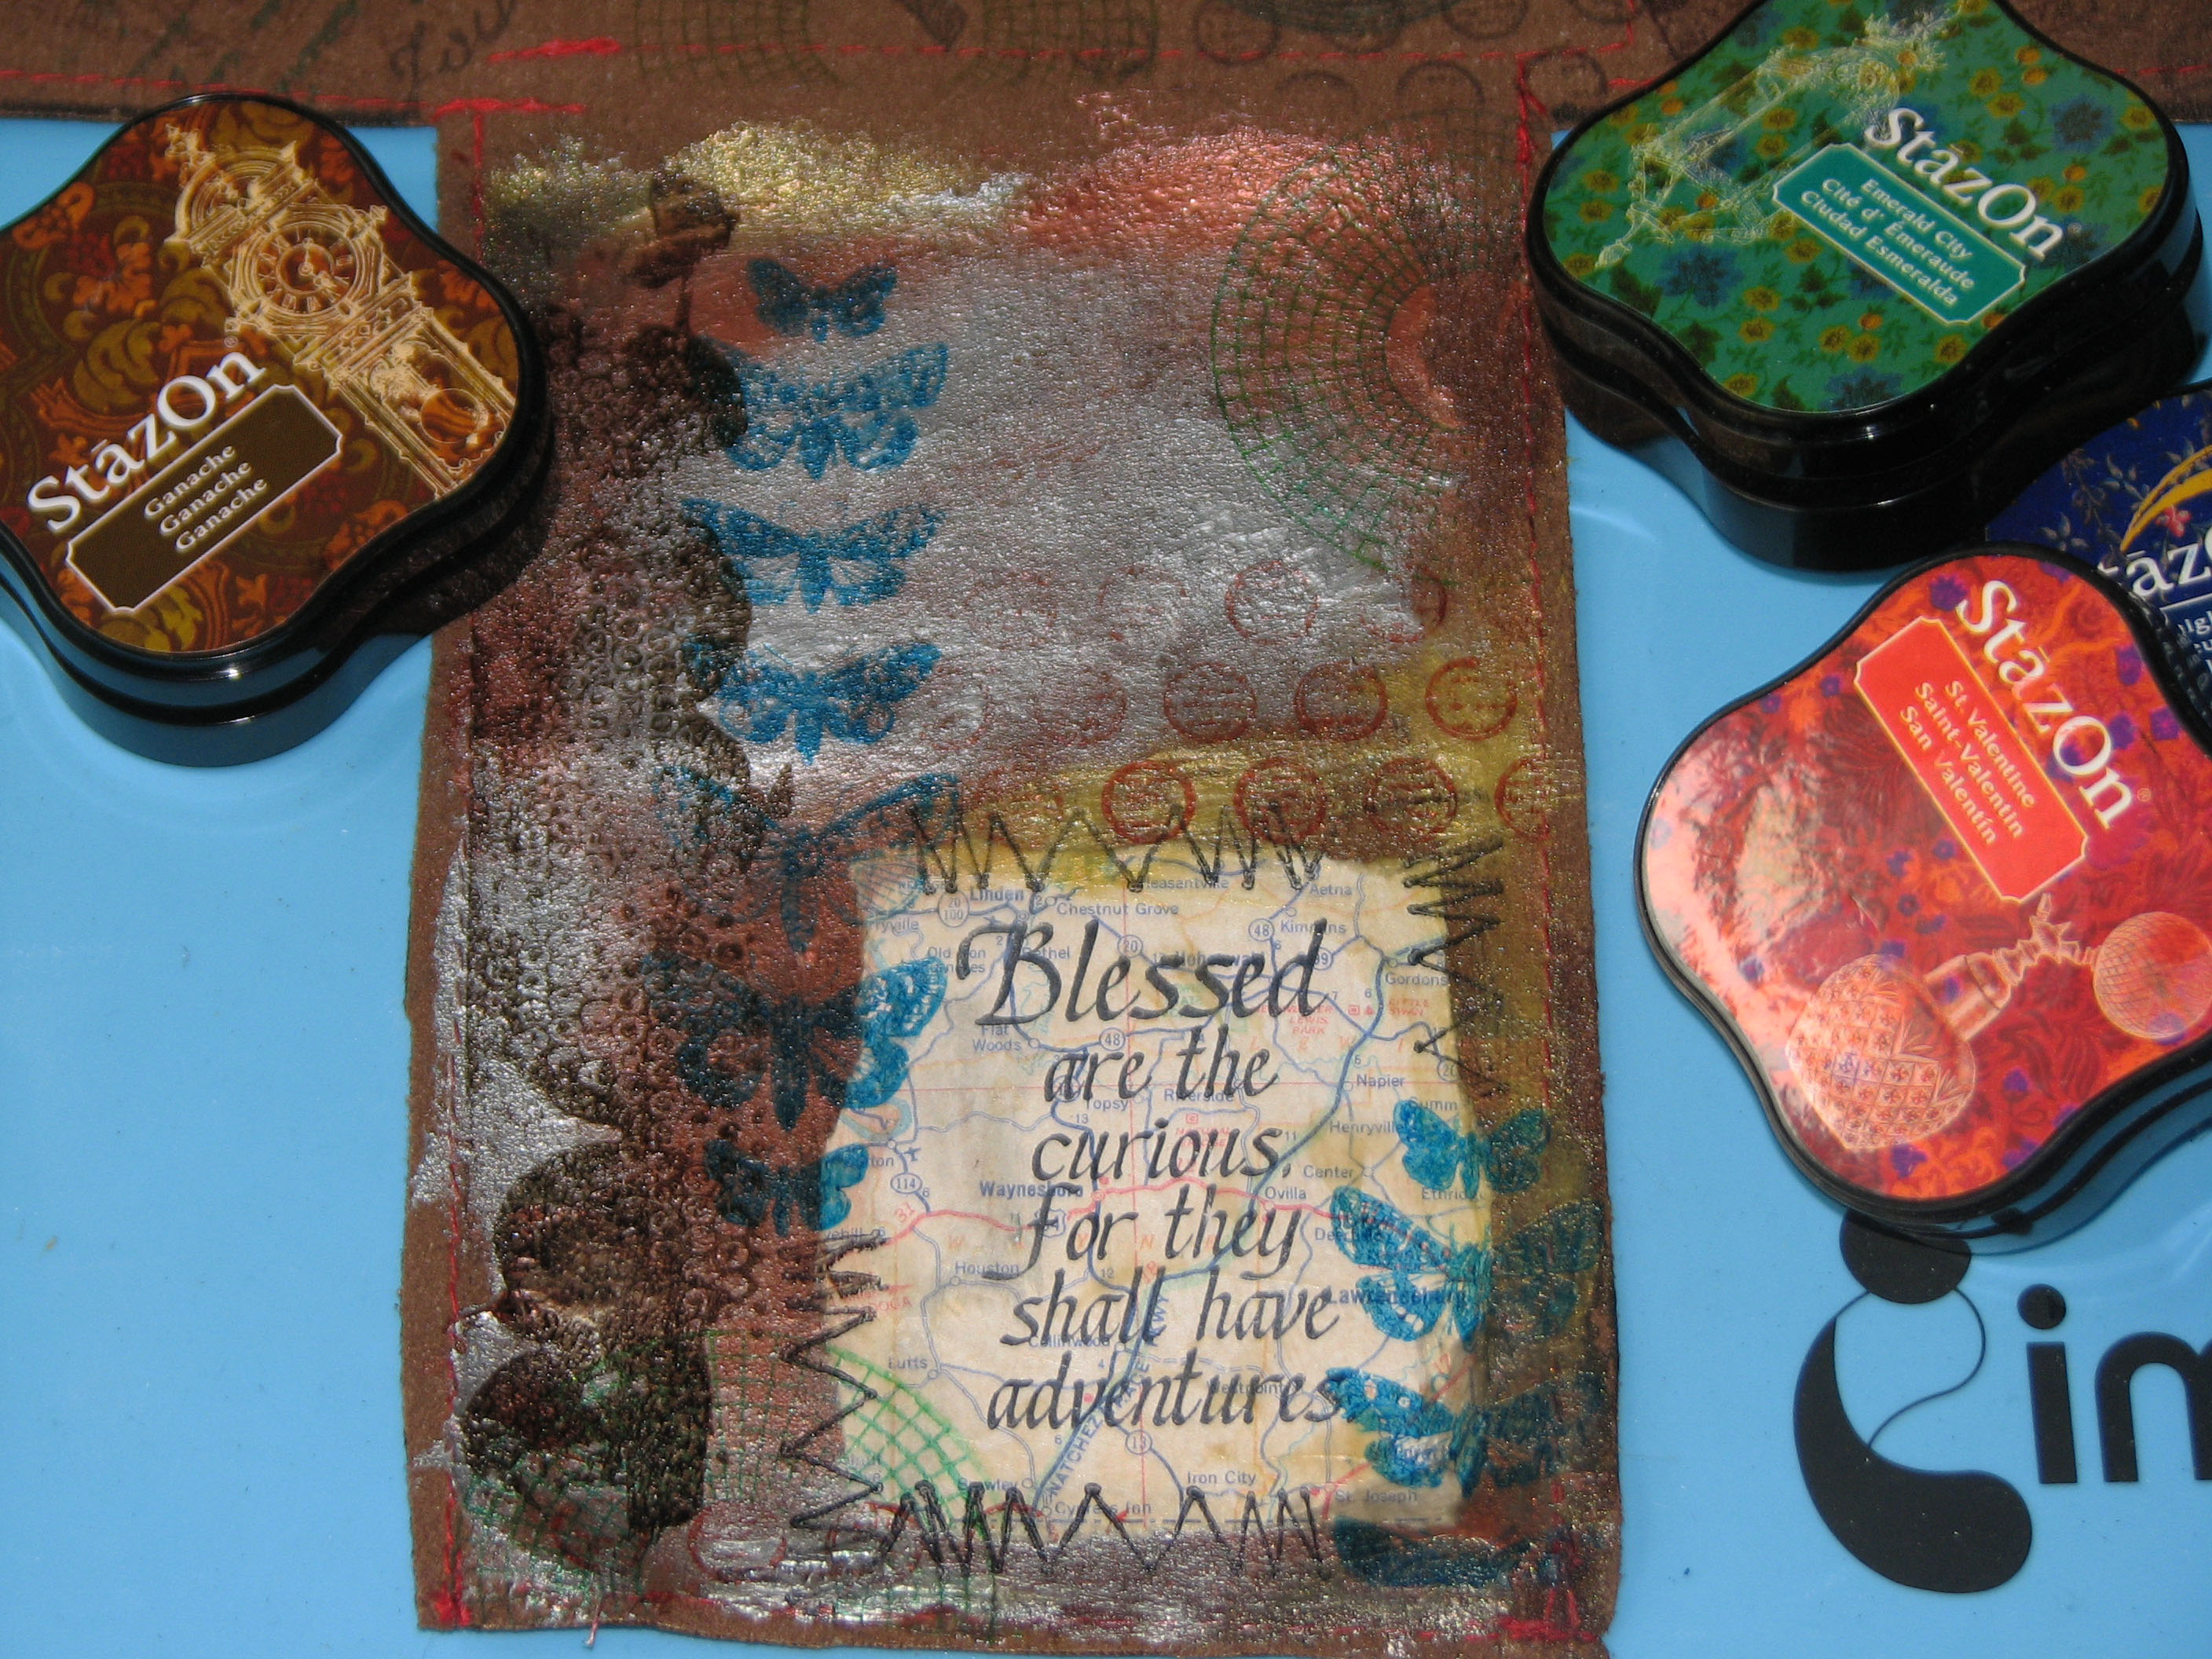
10. Stamp your choice of images onto the dried Creative Medium with StazOn inks.
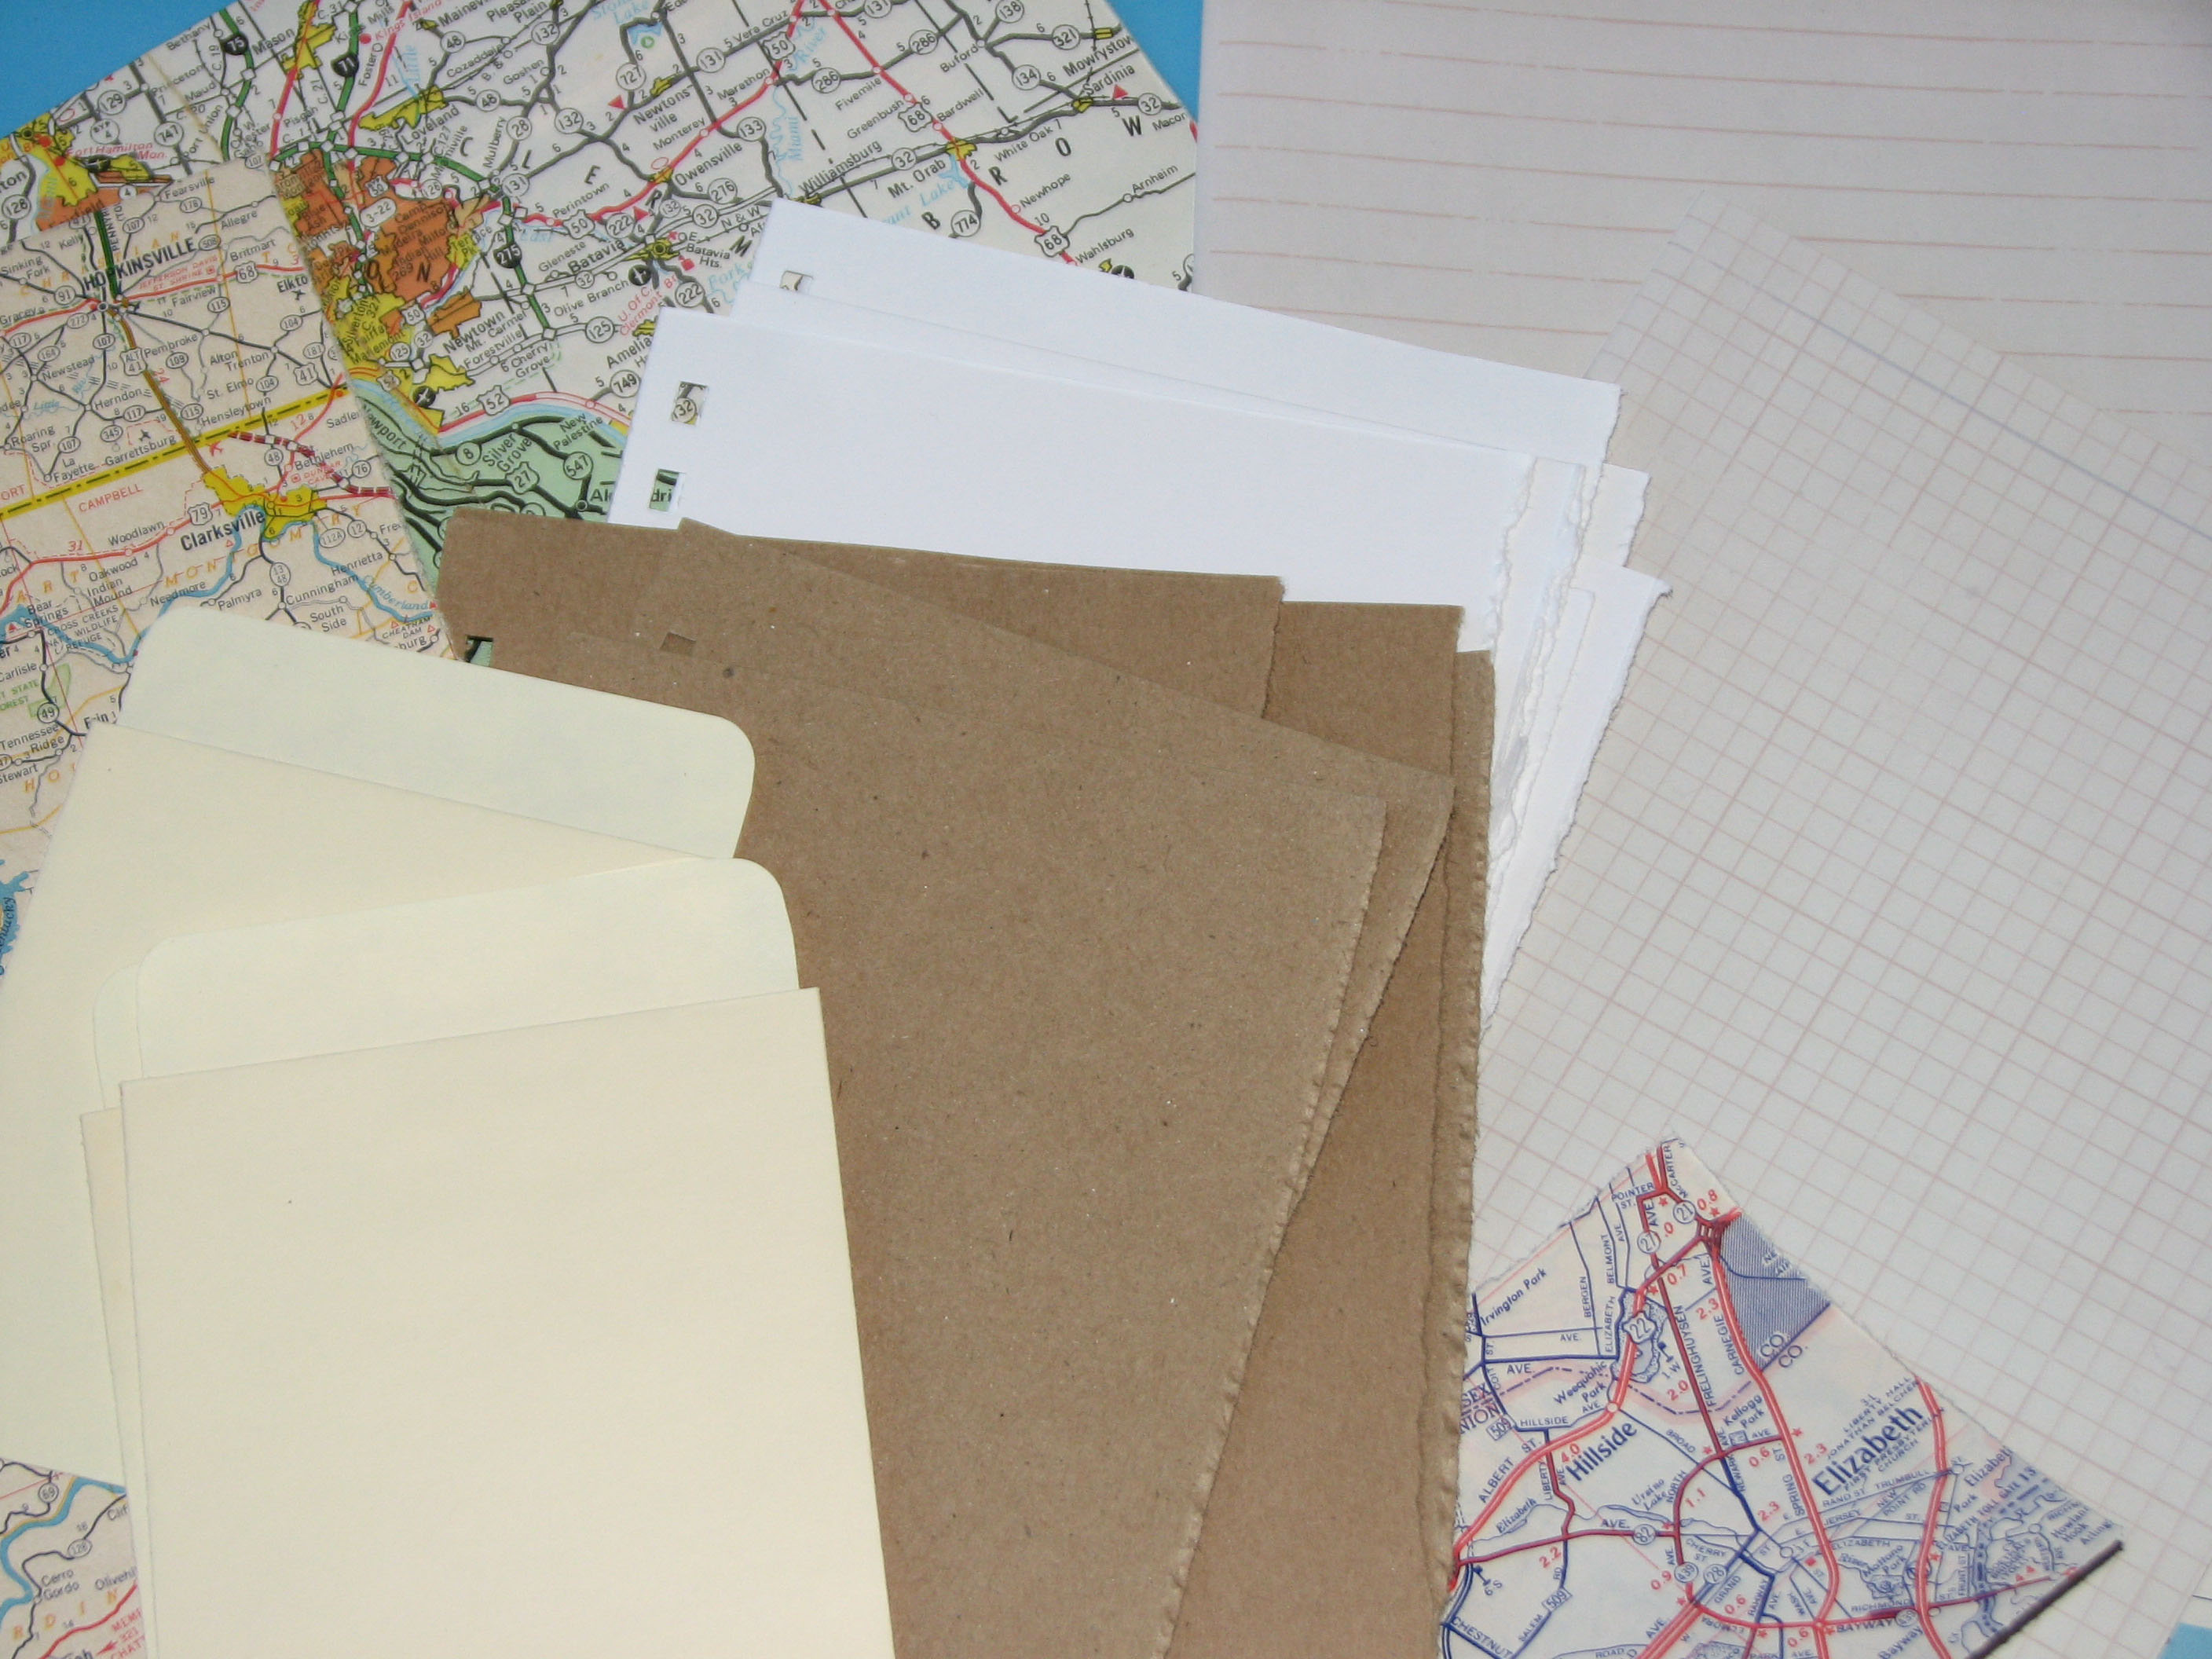
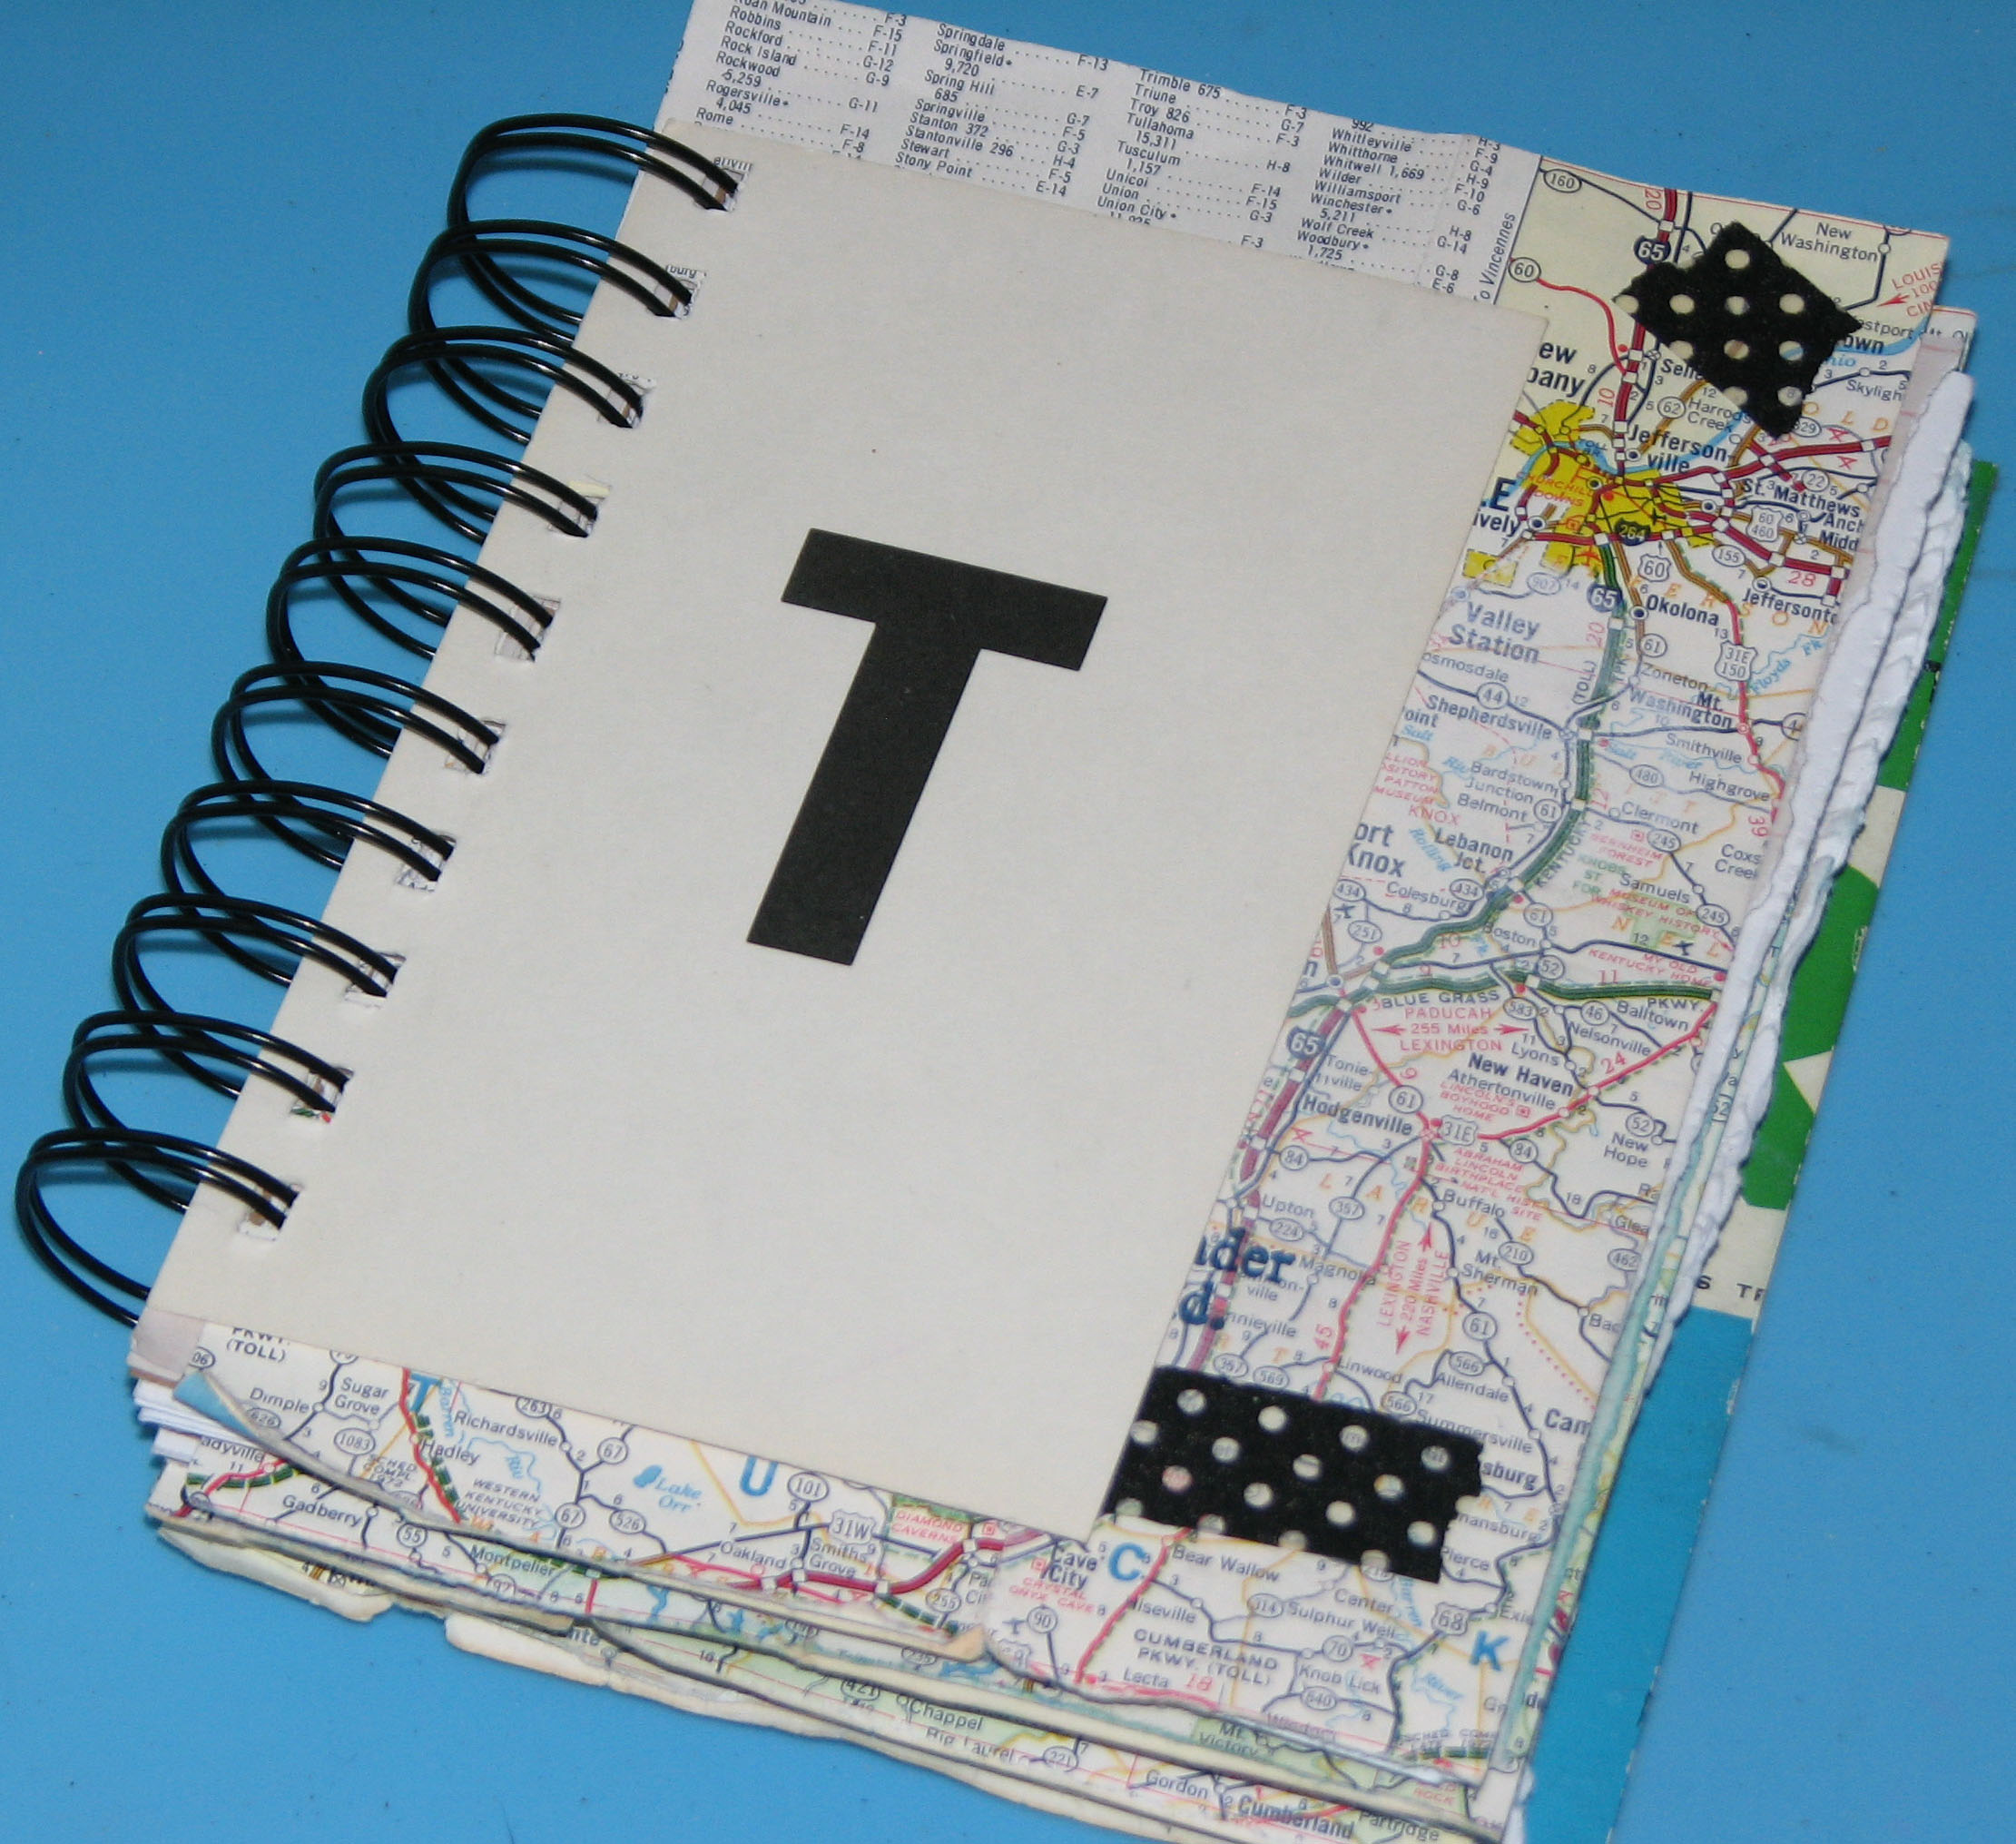
11. Cut assorted papers, ephemera, pockets, etc. to desired size for the inside pages of the book. Bind the book pages together with your favorite method. For my book, I chose to spiral bind my pages together.
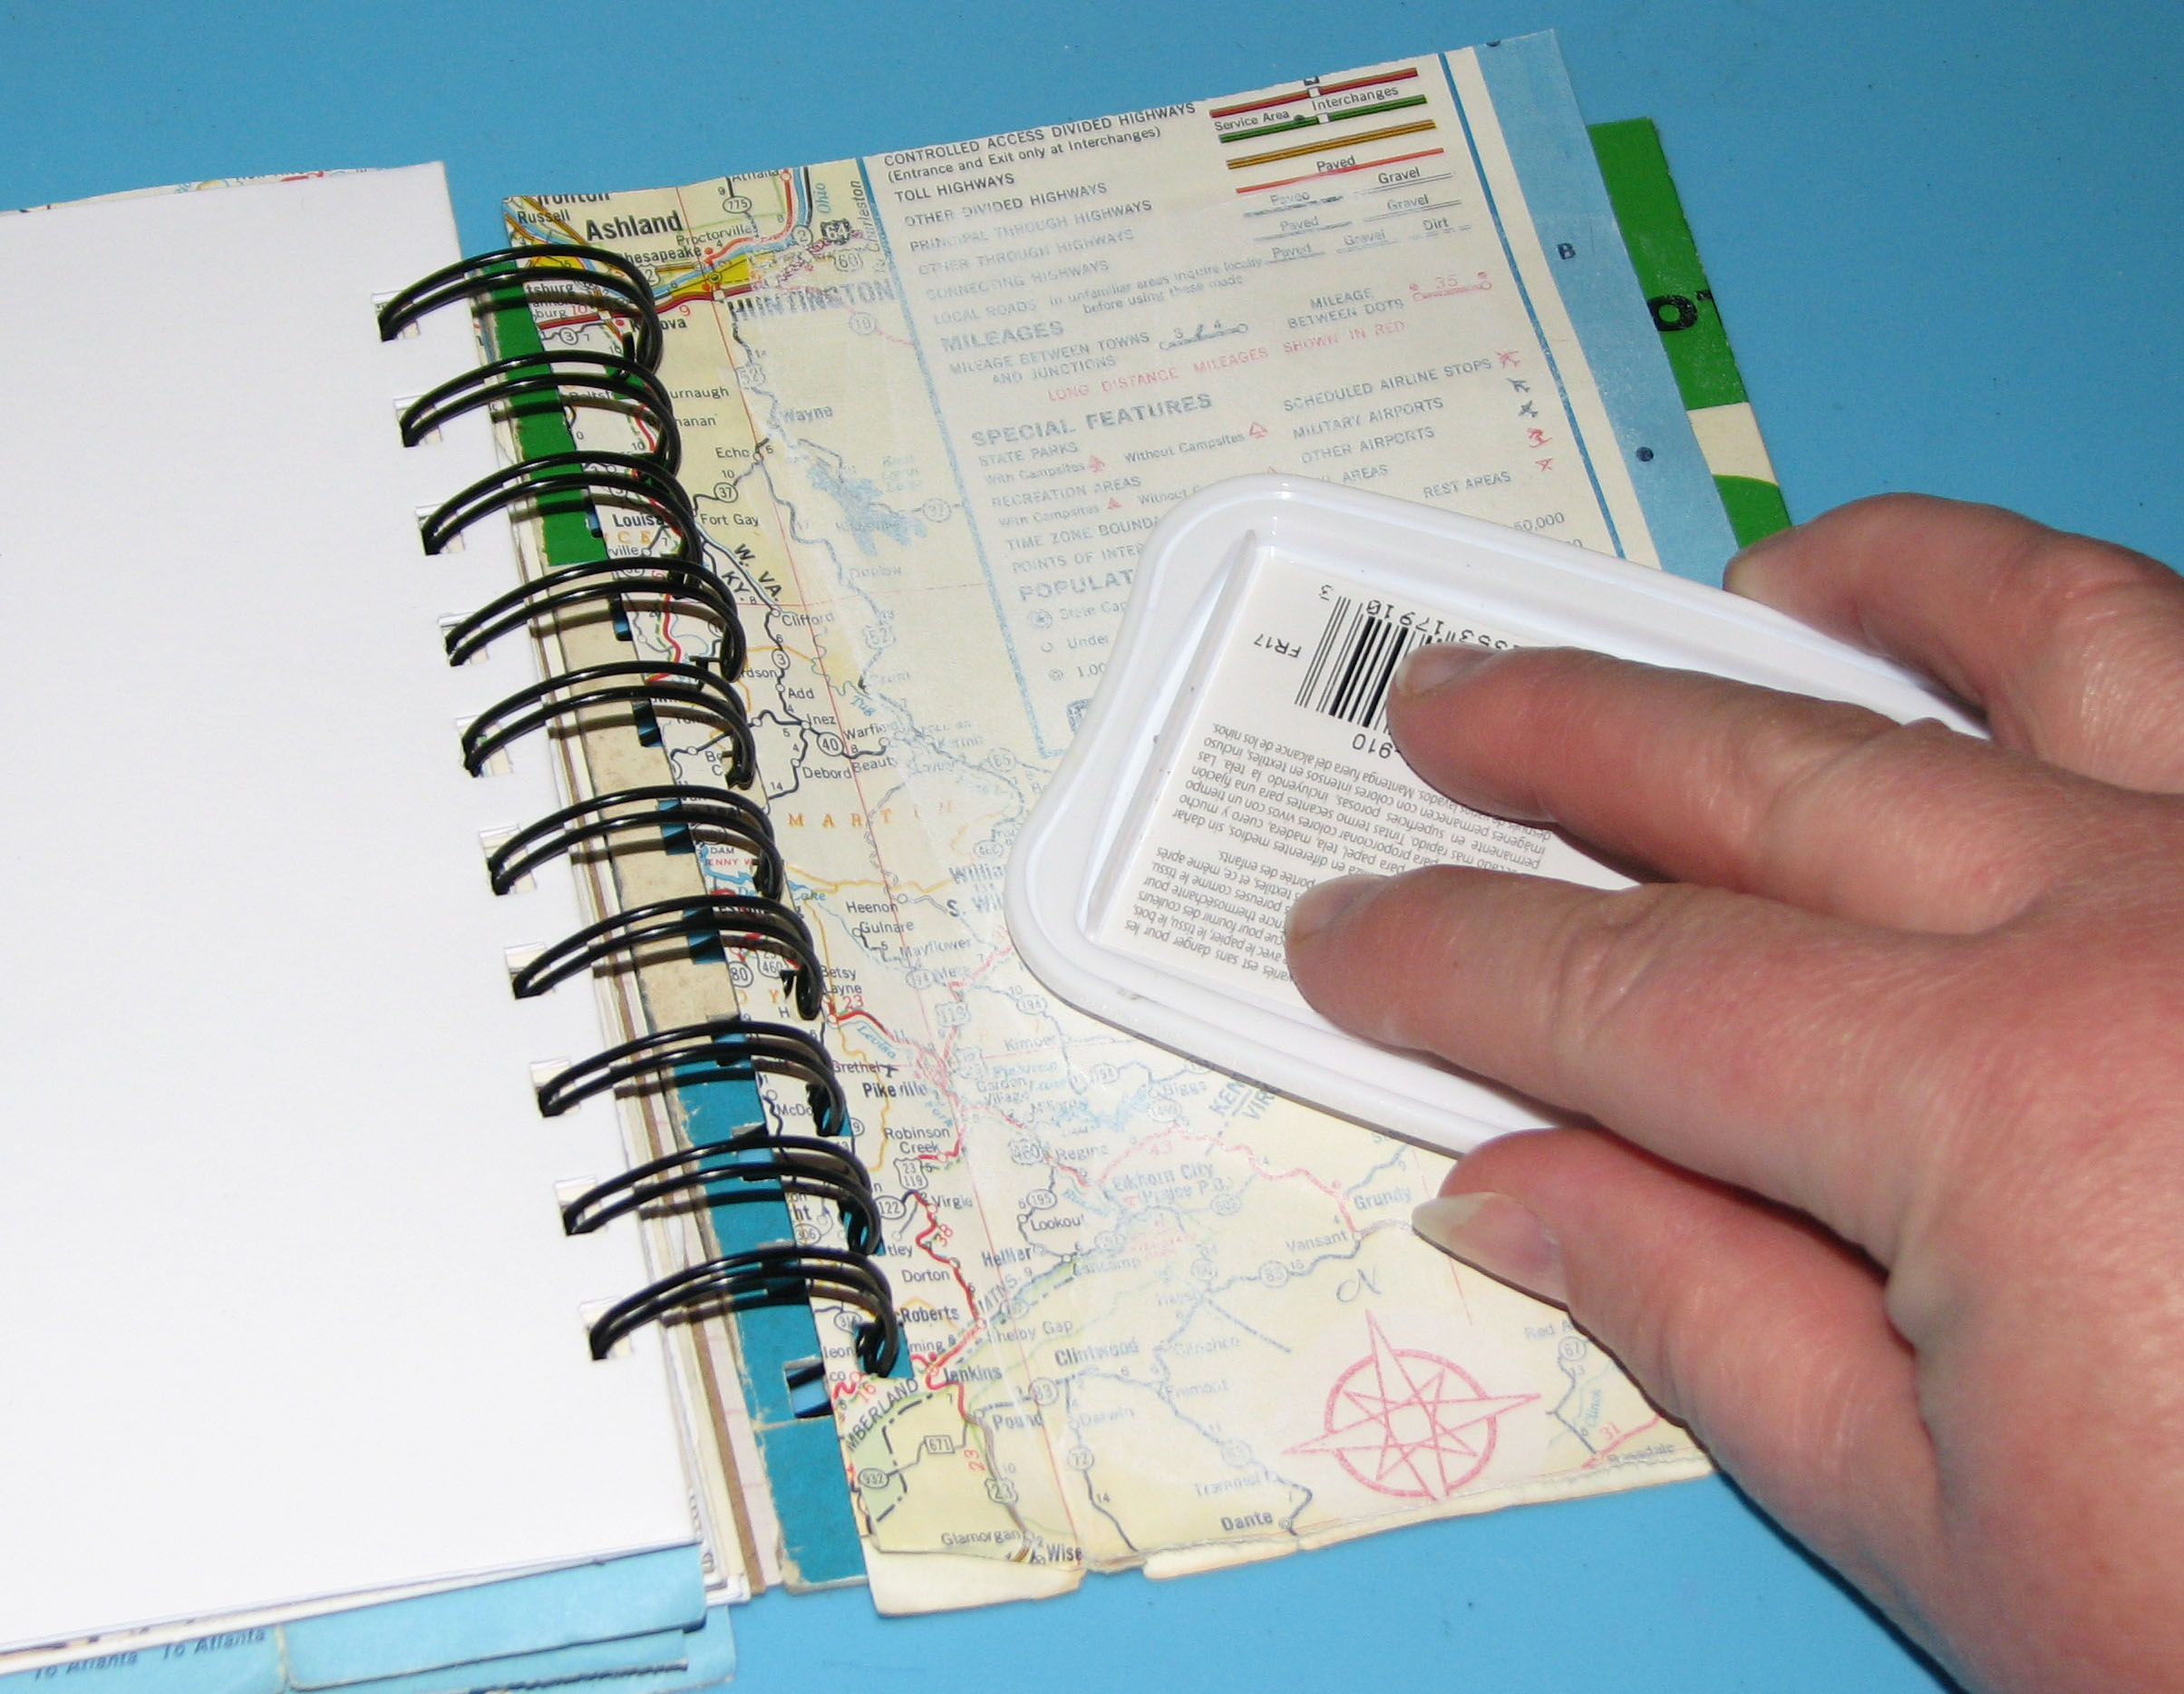
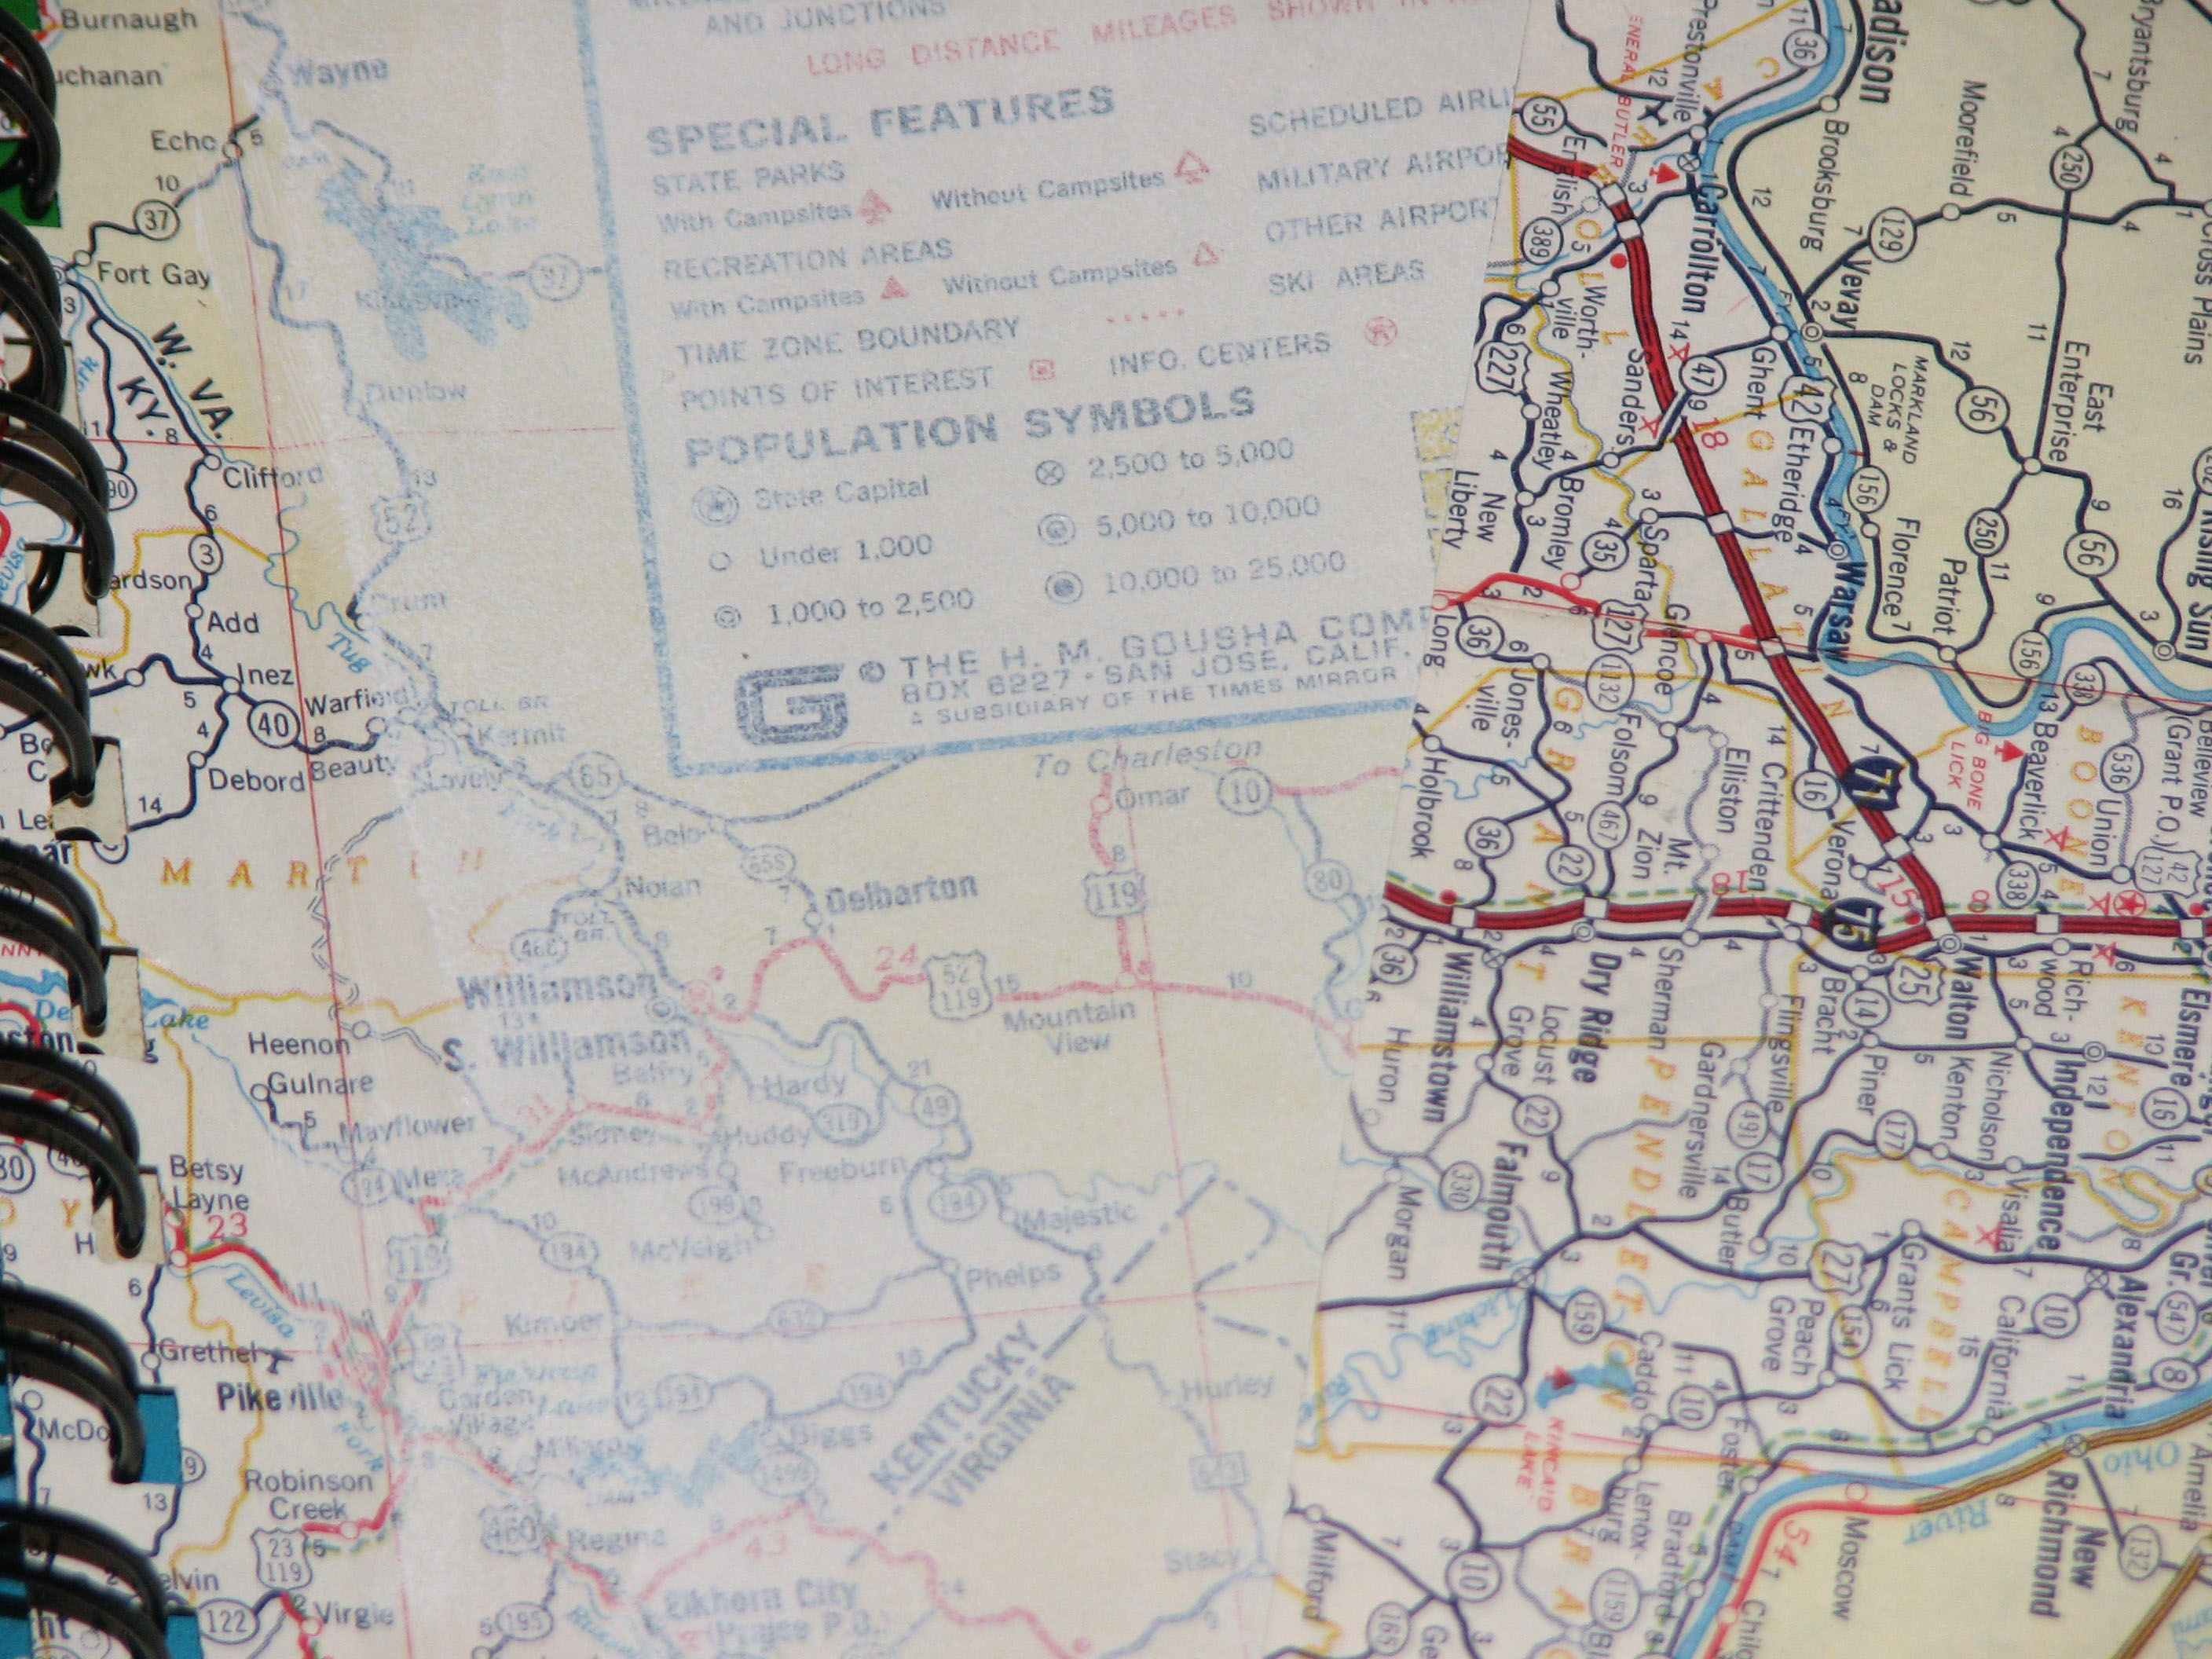
12. Apply Memento Luxe Wedding Dress ink over the ephemera to tone down the printed tex and images. This will allow you to write over the top of the ephemera without covering it completely as shown in the second photo.

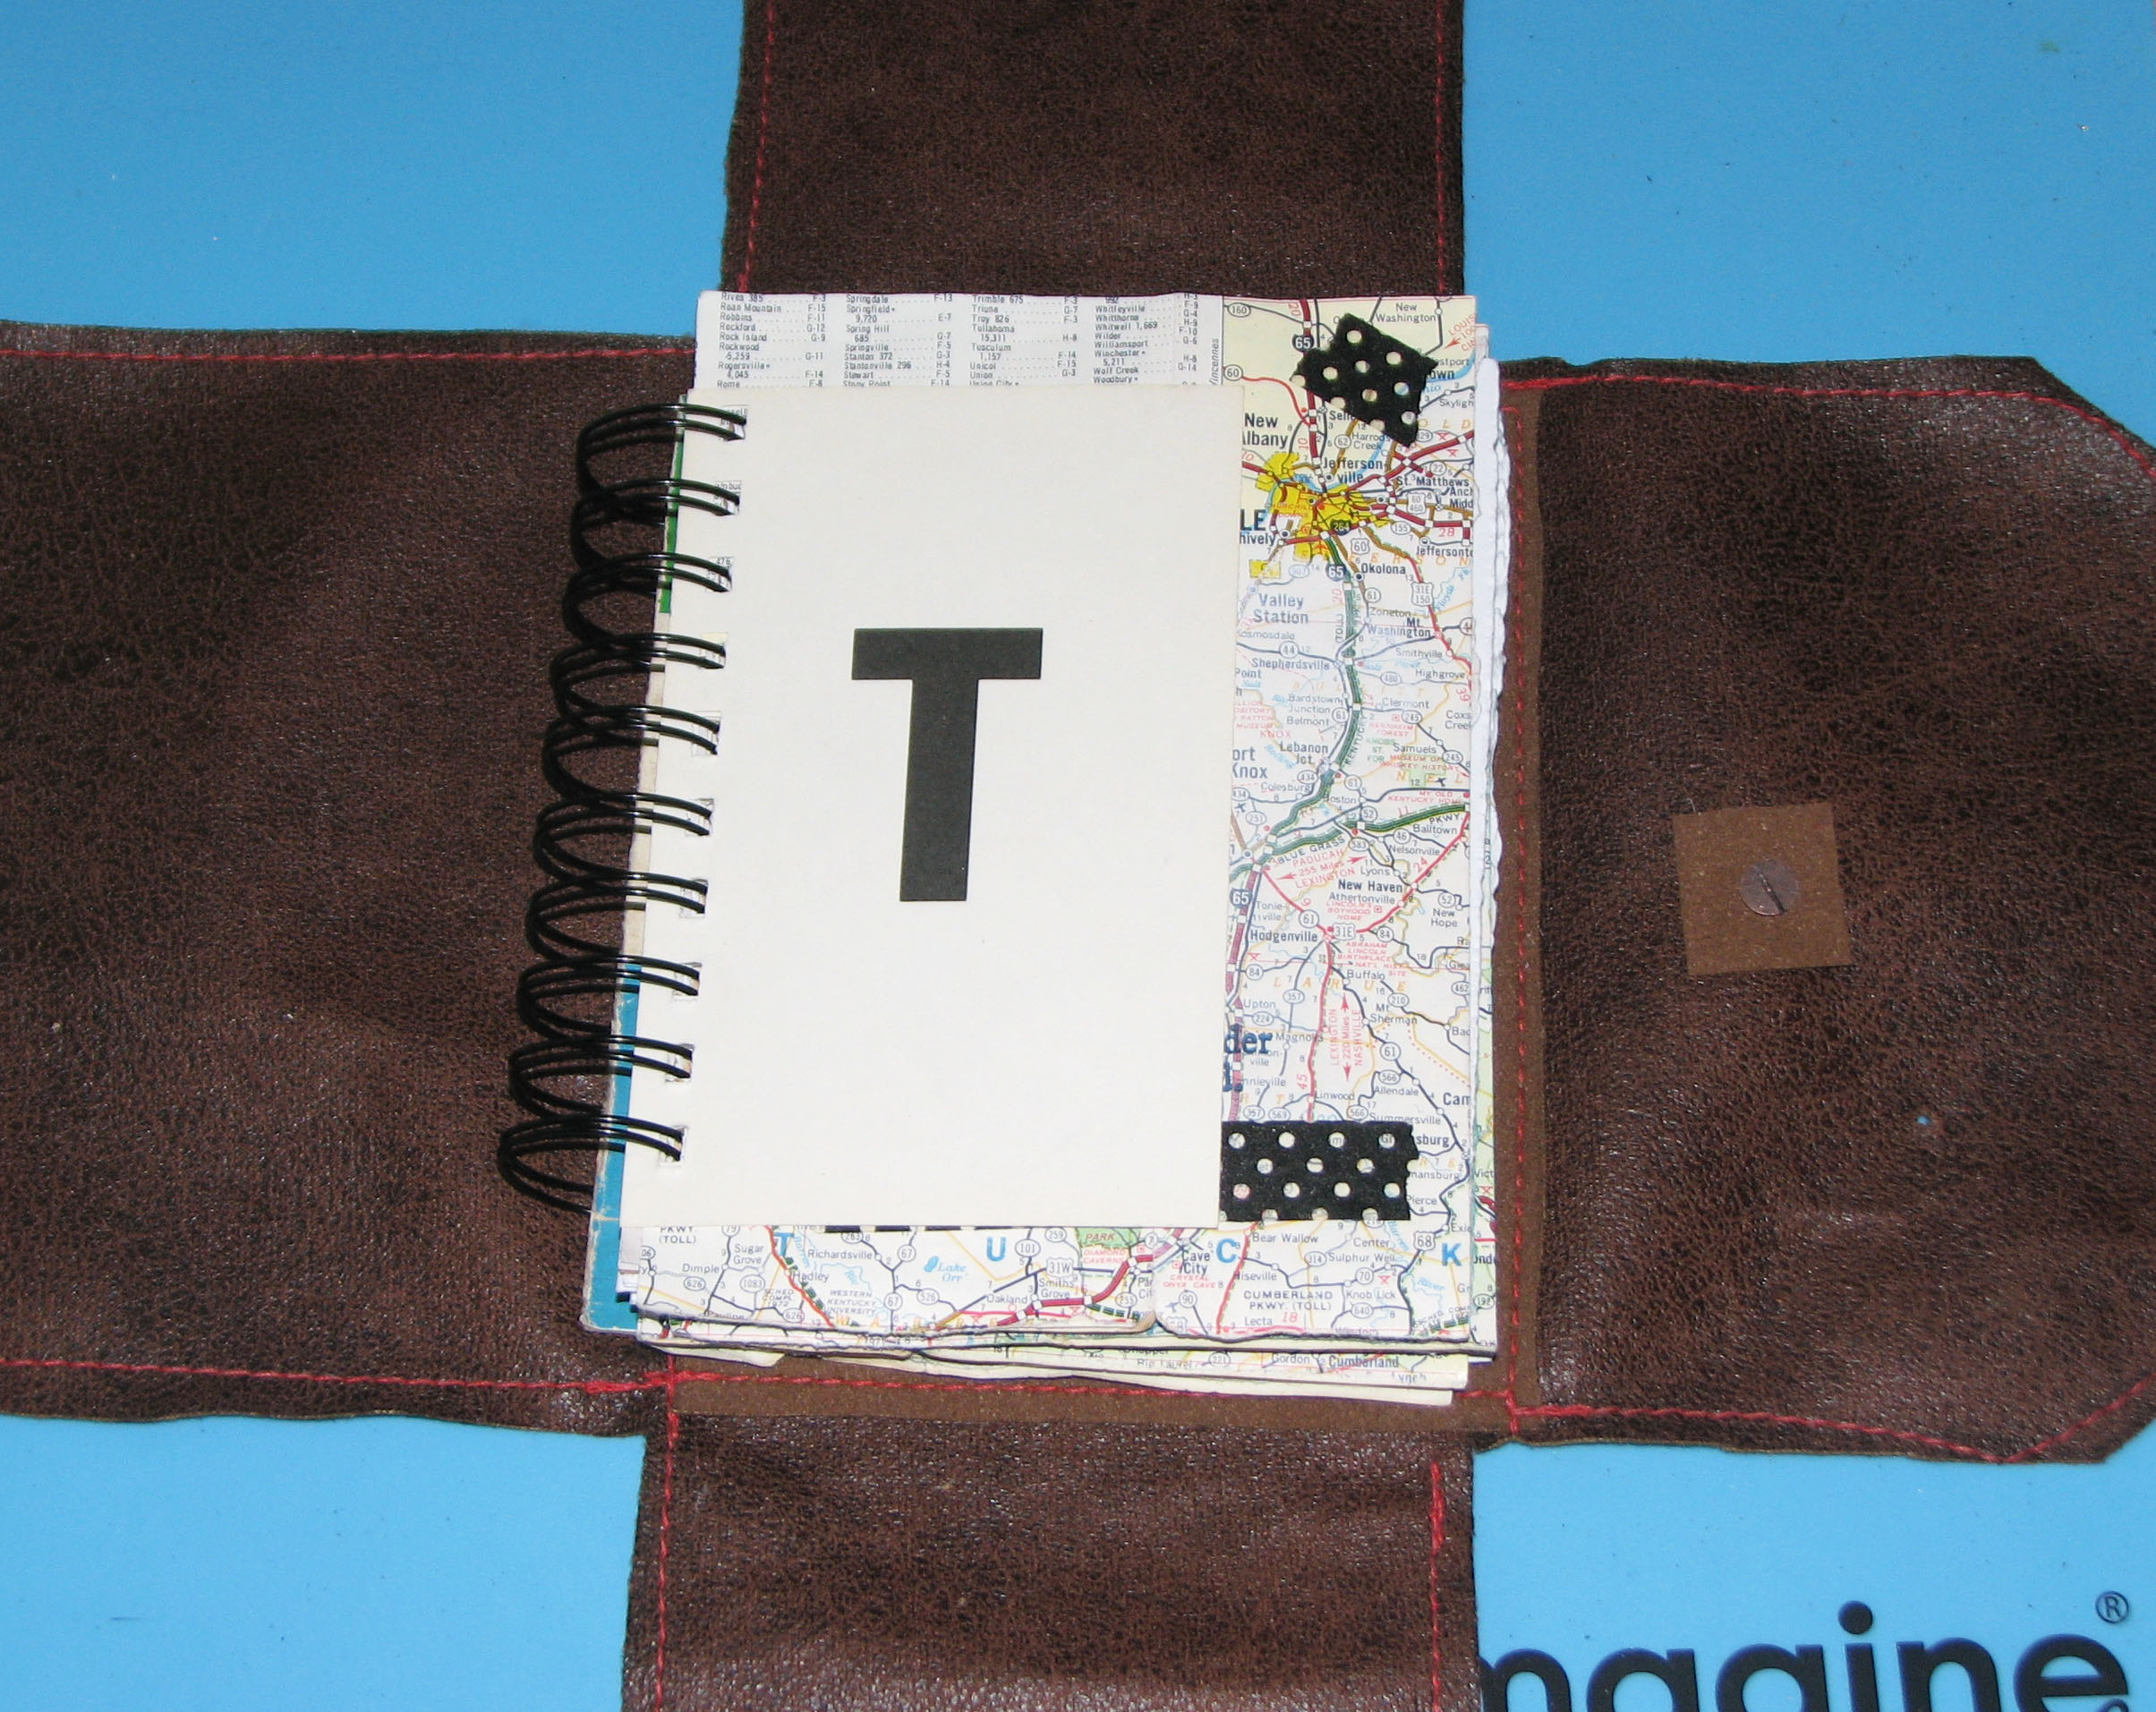
13. Slip the bound journal pages into the pocket. Fold up the flaps and close the front page of the cover and wrap around the second cover. Insert your choice of a closure to the book.
Imagine Crafts featuring Tsukineko:
Other Supplies: