
Sending a handmade card is a thoughtful practice. Give someone a Thank You when they have invited you to a special party, gathering or gave a special gift.
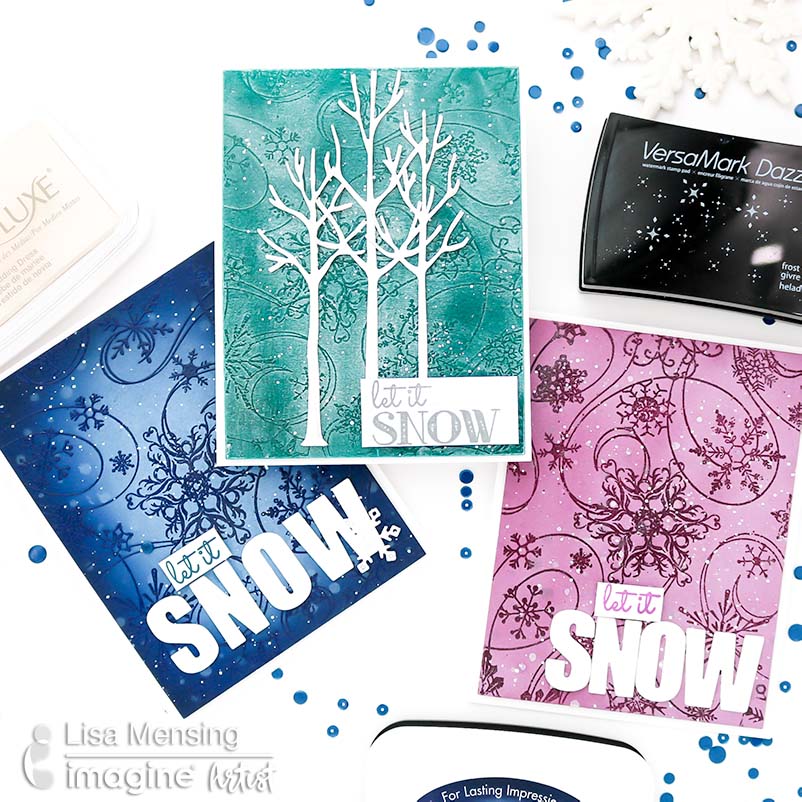
In this video, Lisa shares experimenting with pigment inks, dye inks, and watermark inks to create unique looks over heat embossed backgrounds.
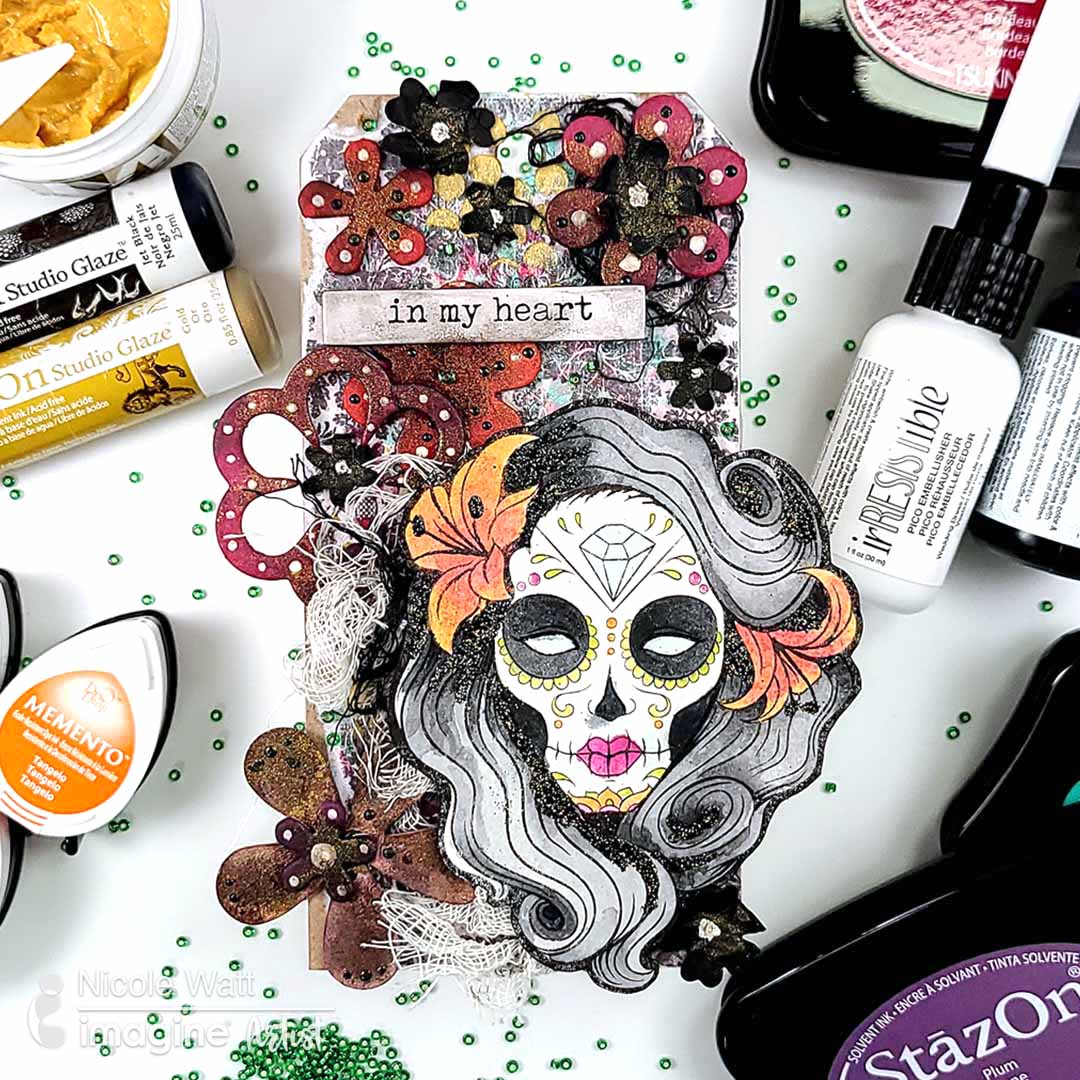
Celebrate Día de Los Muertos (Day of the Dead) with this beautiful sugar skull thick board tag decor.
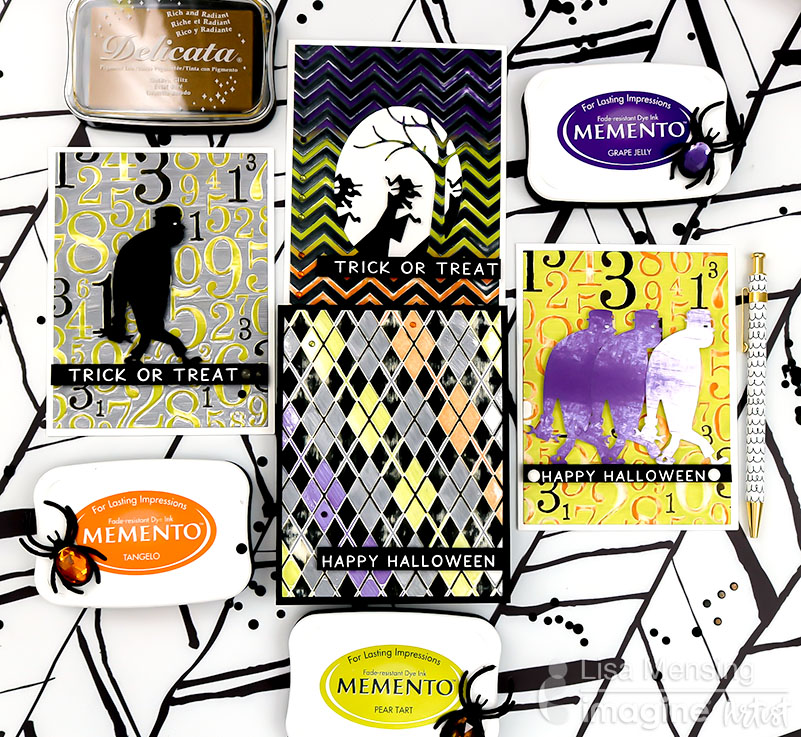
In this cardmaking tutorial, Nicole shares one of her favorite fall color combos using VersaColor inks. Nicole swatches out jewel-tone colors in dark pink with a rich true blue mixed in with a light warm splatter with Delicata.
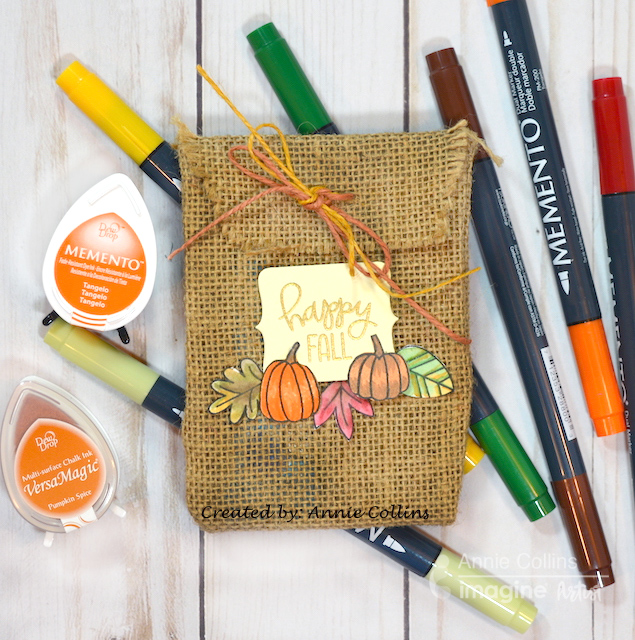
 In this crafting lesson, Annie shows you a quick and easy Halloween Trick or Treat candy bag made with burlap material, pumpkin stamps, and Memento dye inks.
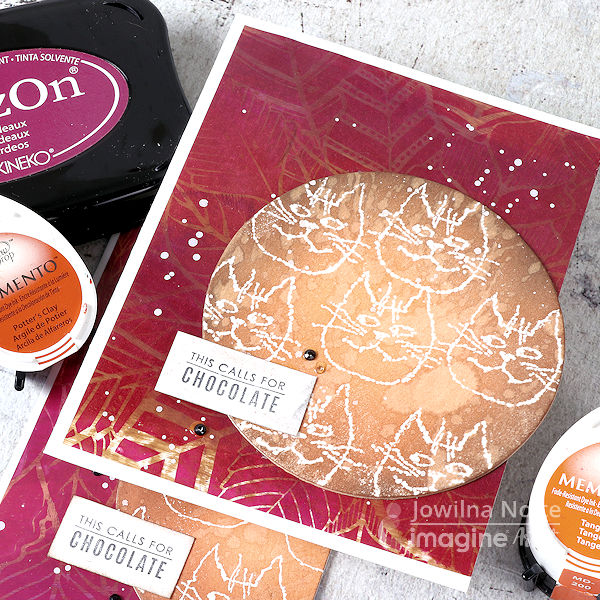
In this card making tutorial, I show you how I created an amazing bokeh background effect using StazOn ink onto glossy paper.
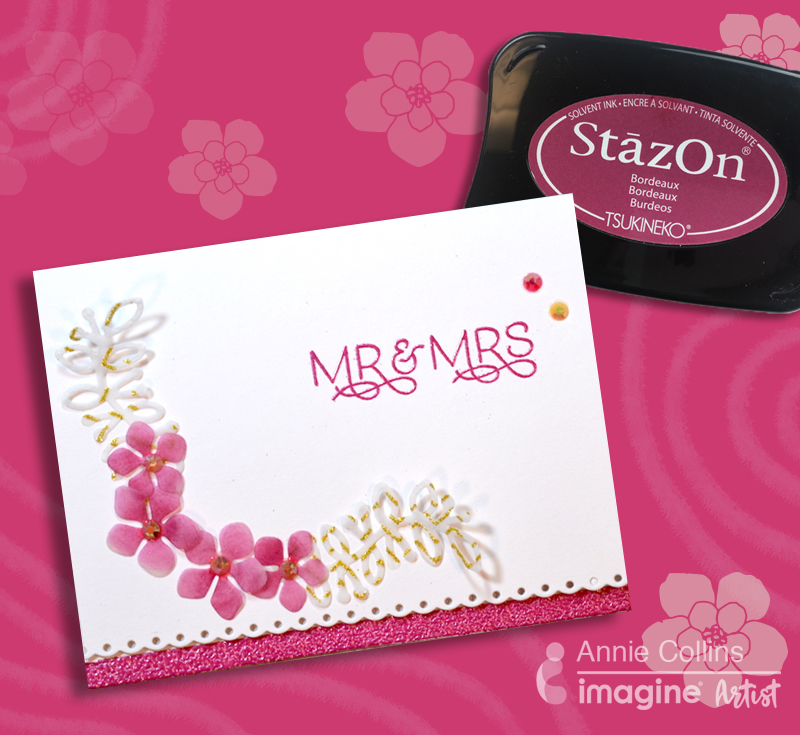
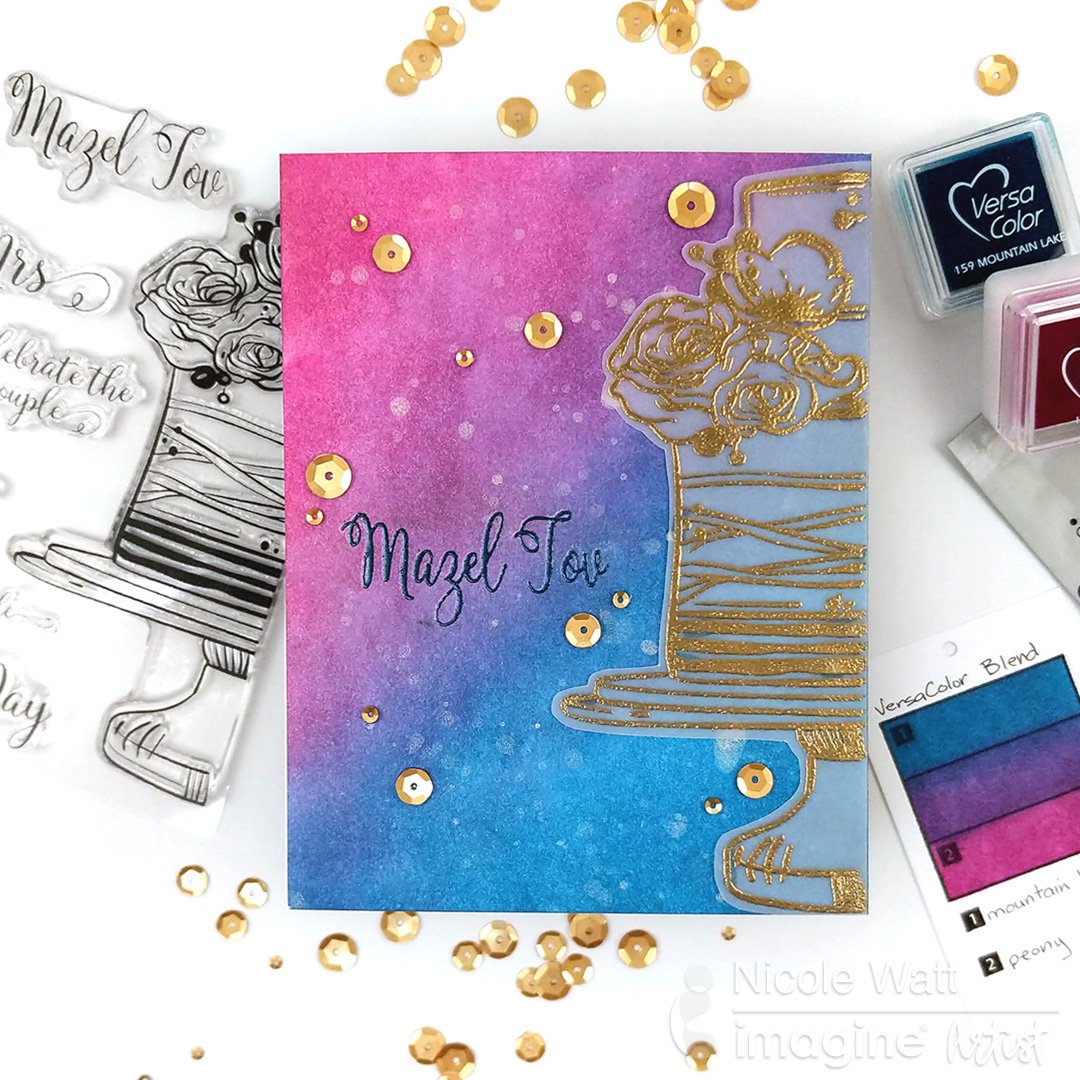
This is a quick and easy wedding card. You can create it in any color by just changing the ink and embossing powder colors. This can serve as a Congrats card or an official wedding invitation. Enjoy!
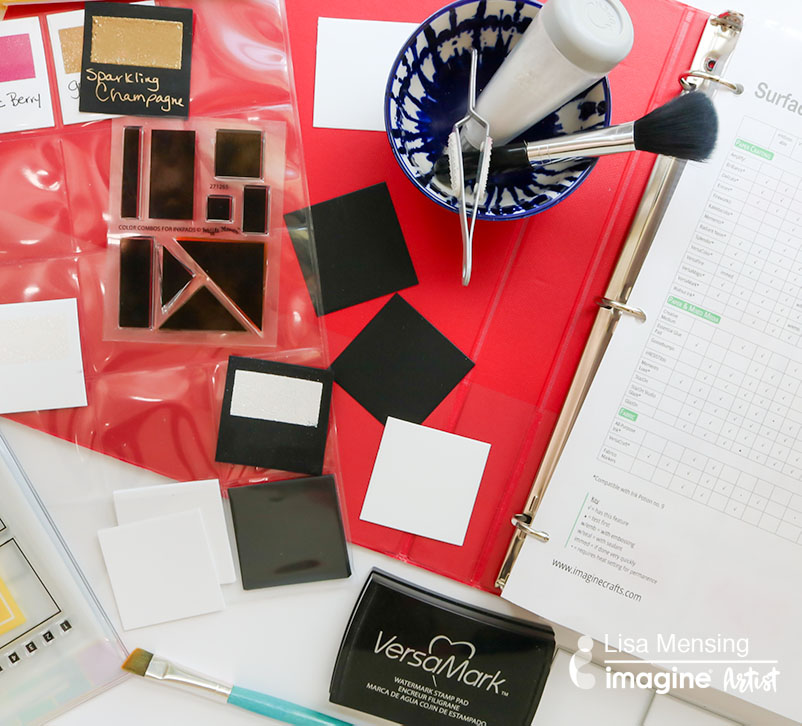
 See how Lisa organizes Mboss Swatches in her crafty collection.
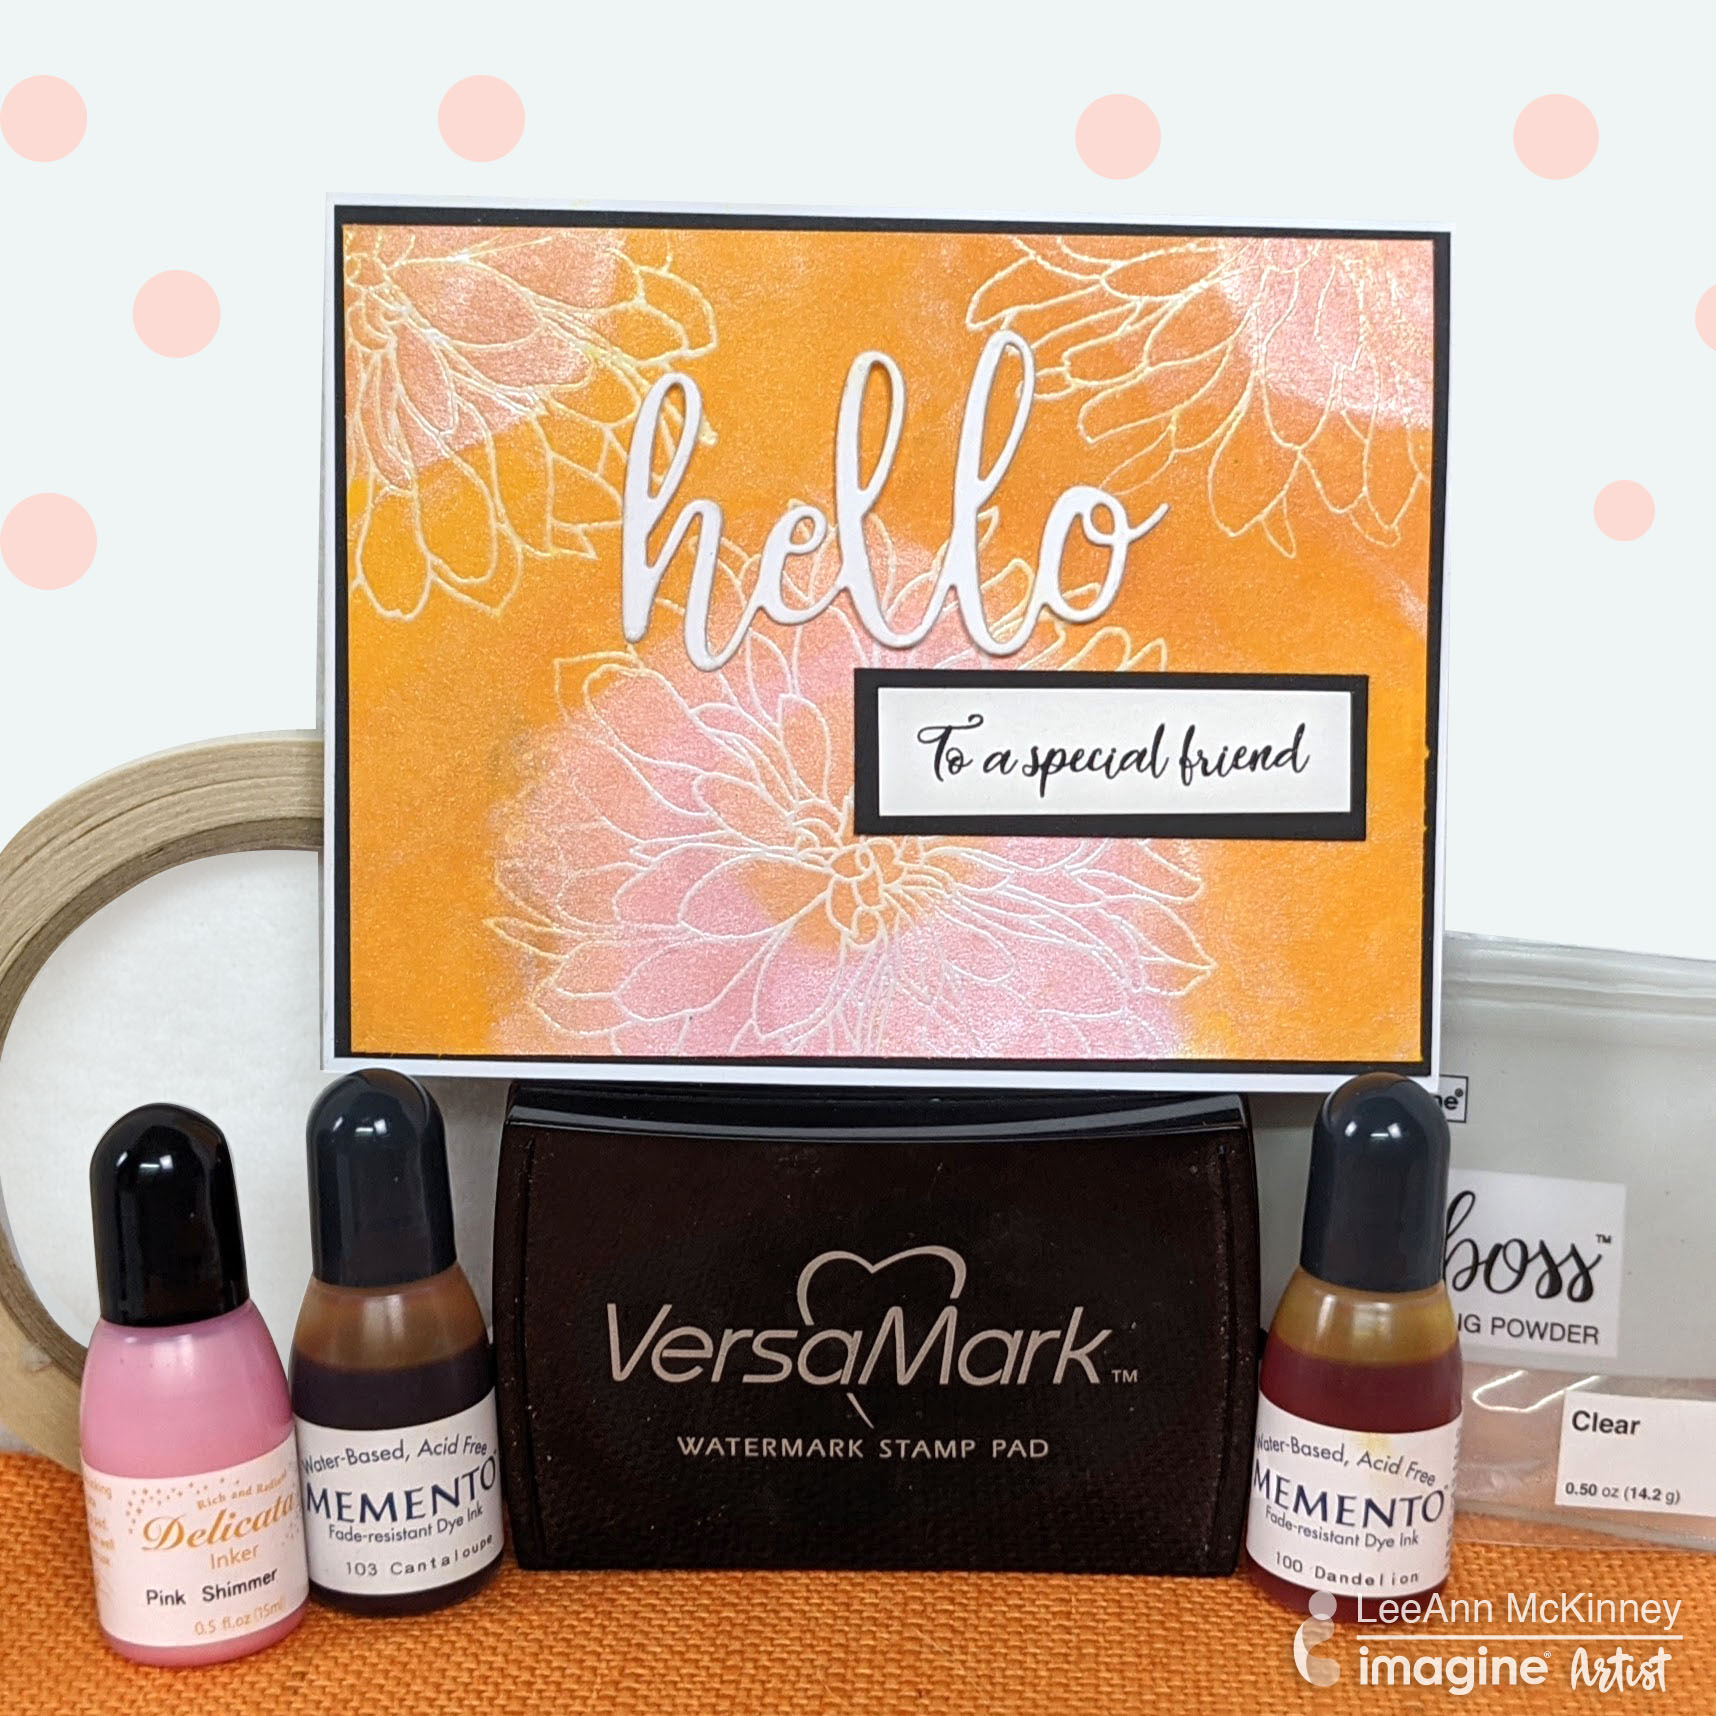
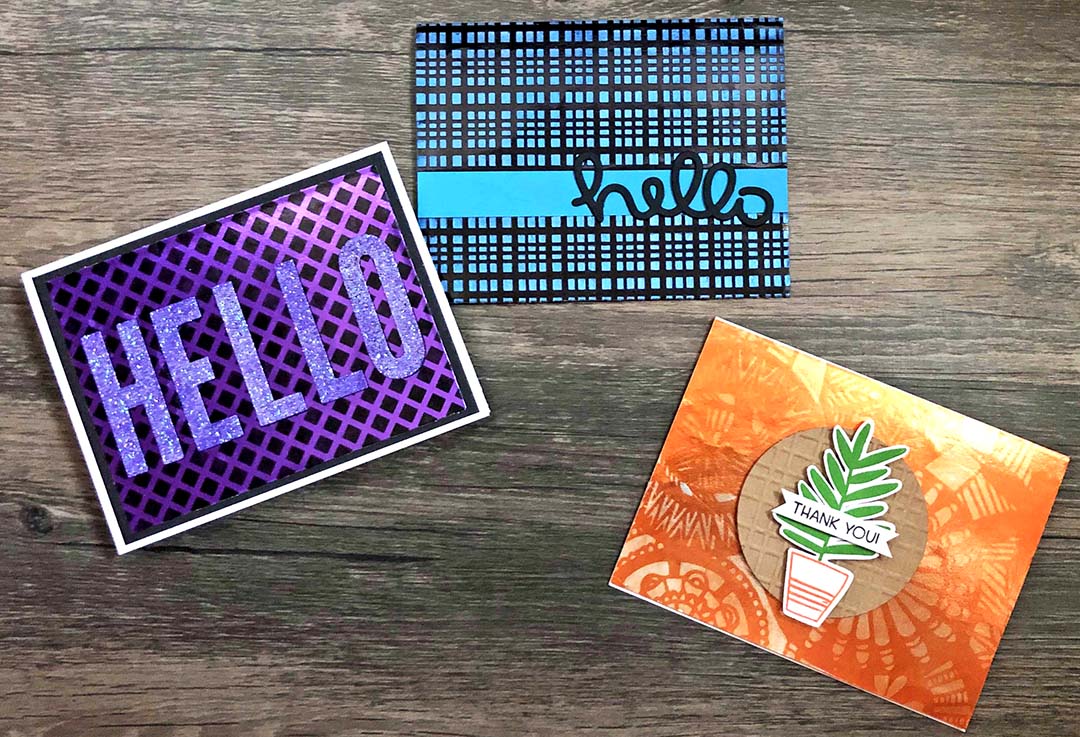
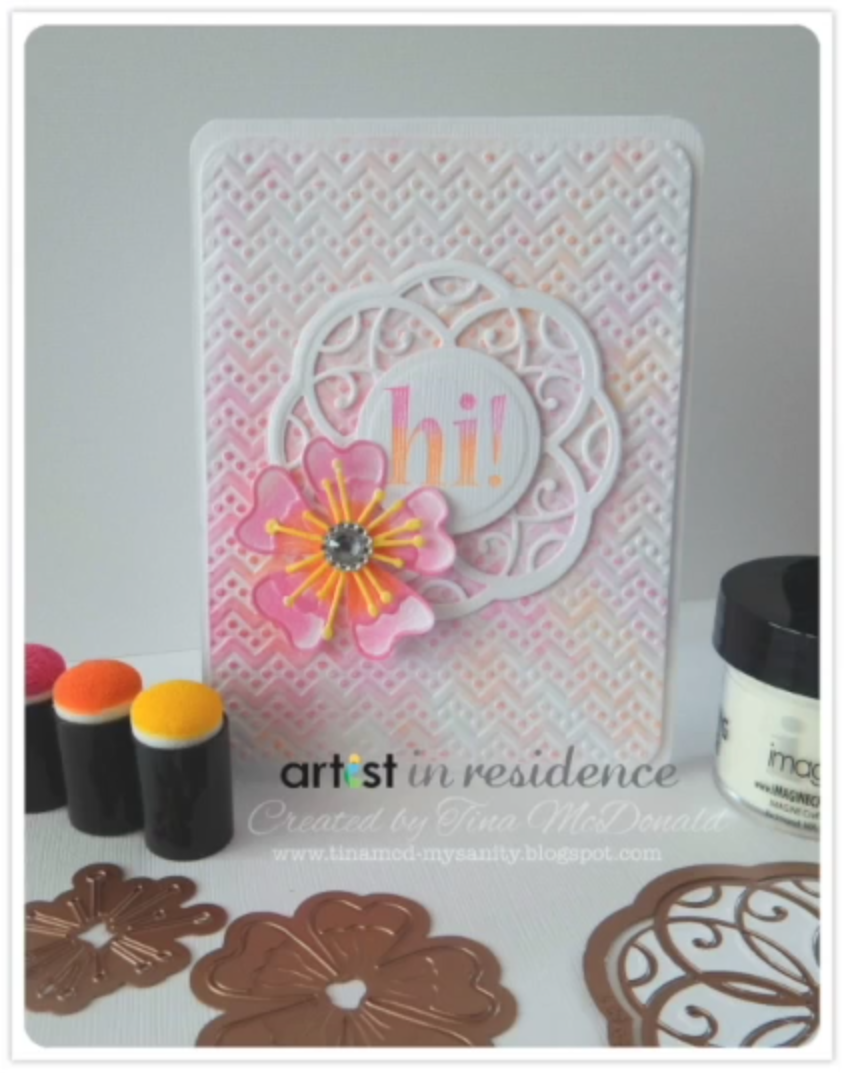
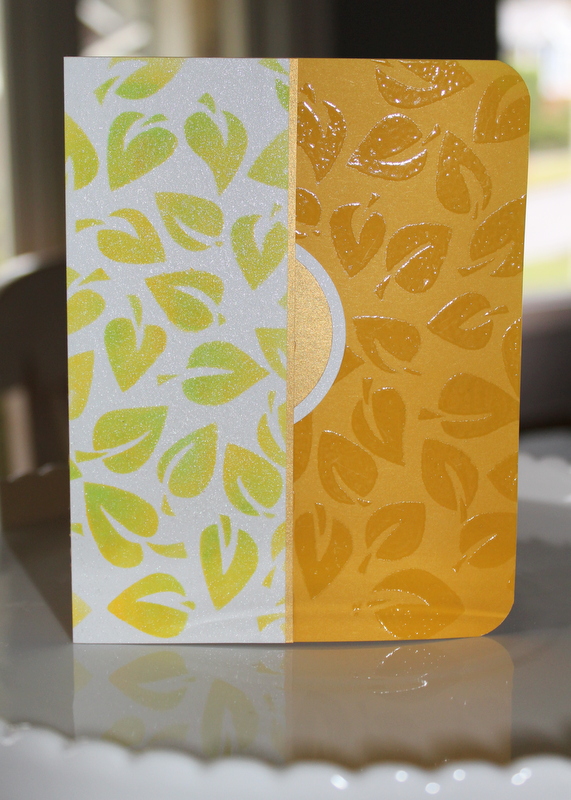
Here is a beautiful quick and easy floral themed "Hello" card. Enjoy this Emboss Resist technique with Ink Blended background card.
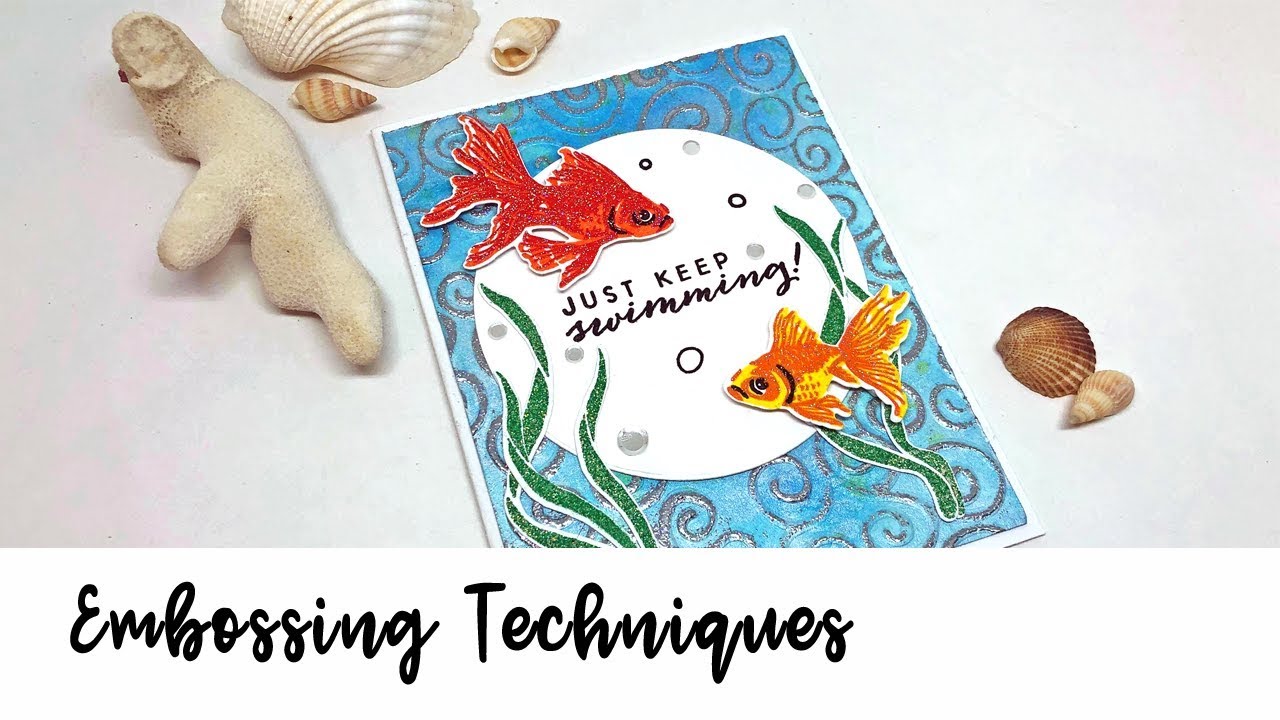
Join Lisa as she shows you how to use embossing powders with stencils plus she shares a fun tip on using the positive and negative giving two stenciled panels for the price of one!

Lisa shows you 5 techniques on heating embossing on paper.
See how to watercolor, heat emboss, and ink blend with dye inks.
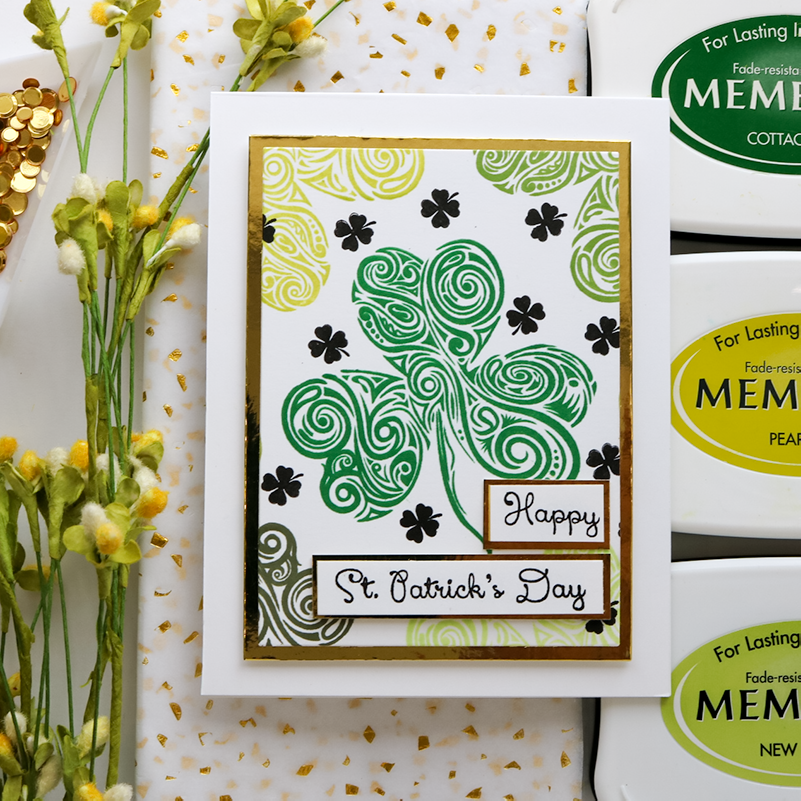
See how lovely green inks blend and stamp for St Patricks Day cards!
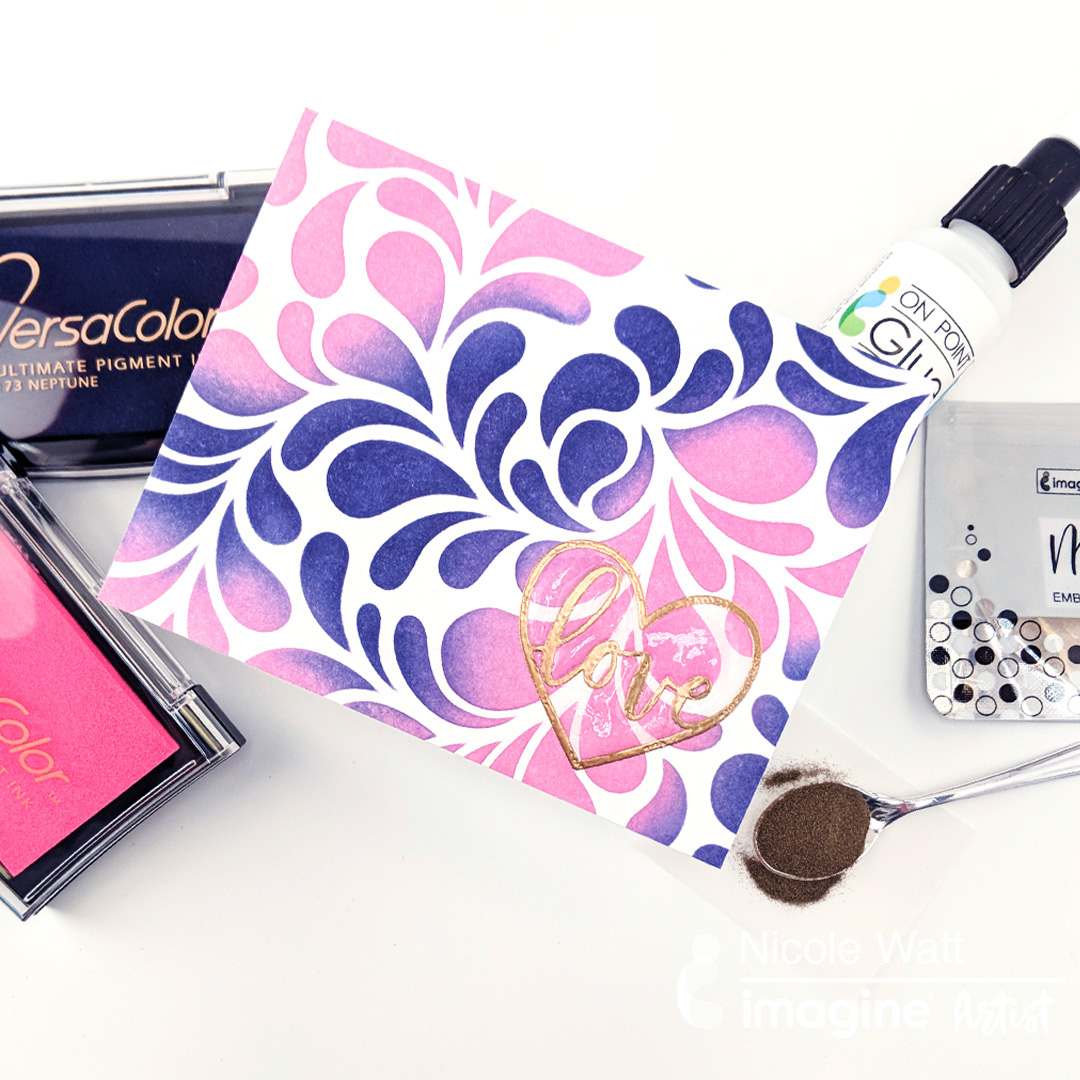
Did you know that VersaColor Pigment Inks are blendable? You can create unbelievable blends with any combination of inks.
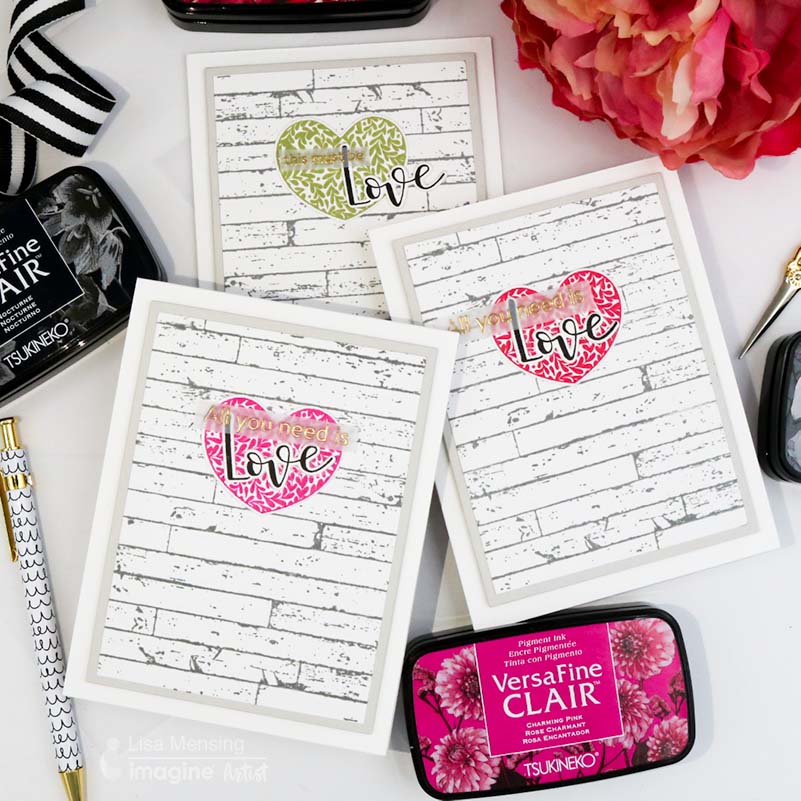
In this video, I’m sharing my version of a Farmhouse Valentine Card complete with a shiplap background stamped with Versarfine Clair Midnight Mist ink.
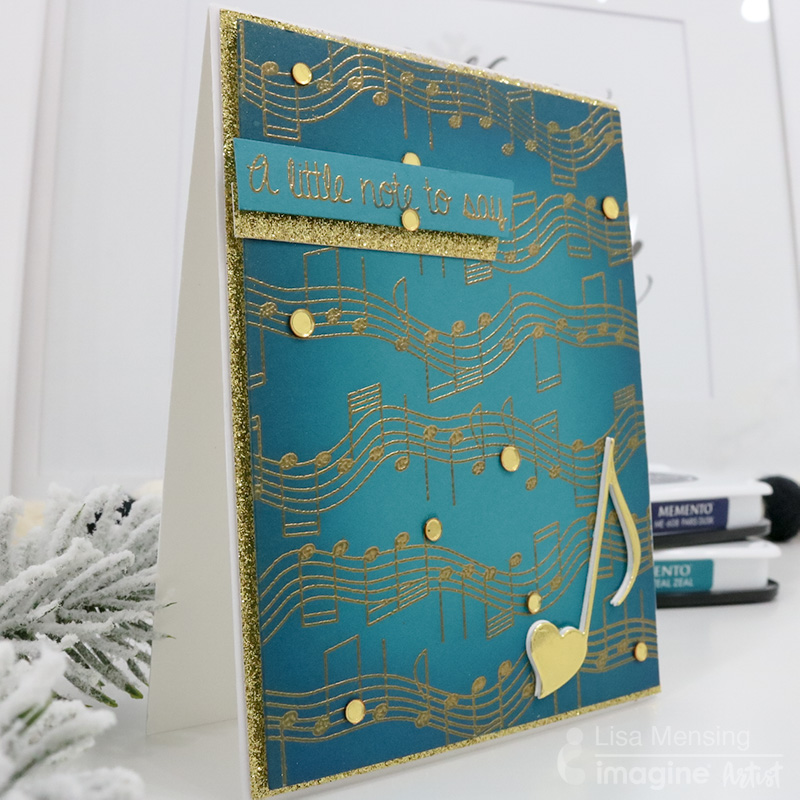
In this video, I’m heat embossing and doing a little ink blending today to create this fun take on a notecard, pun intended. Send a Note!!!
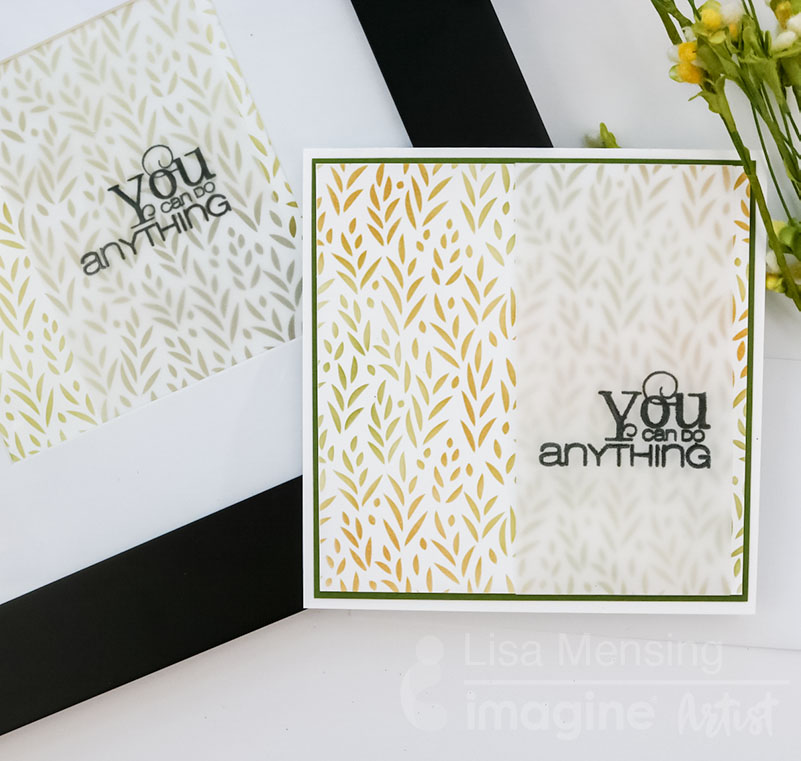
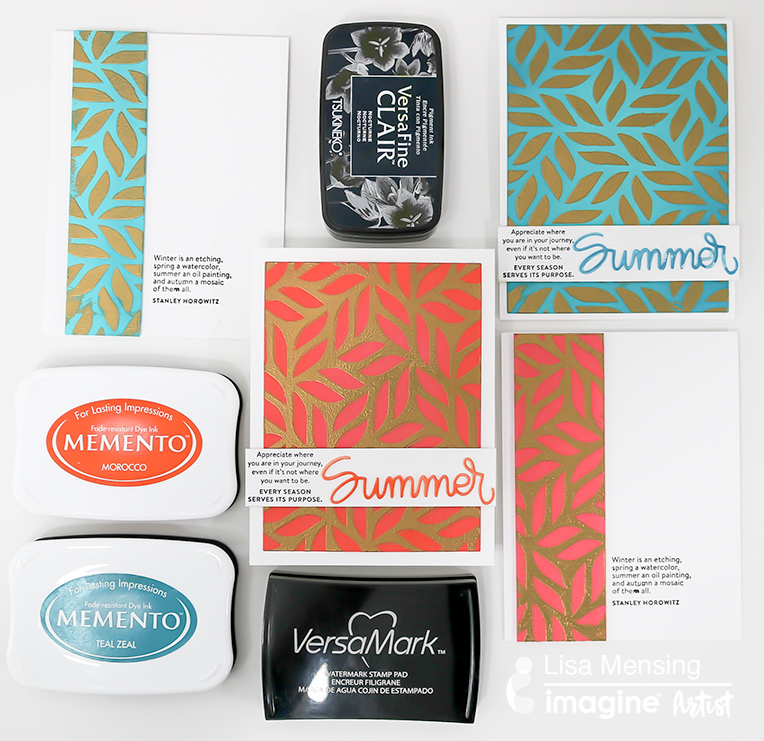
Use stencils along with a few inks to create gorgeous backgrounds wrapped in Vellum and heat embossed with inspirational quotes.
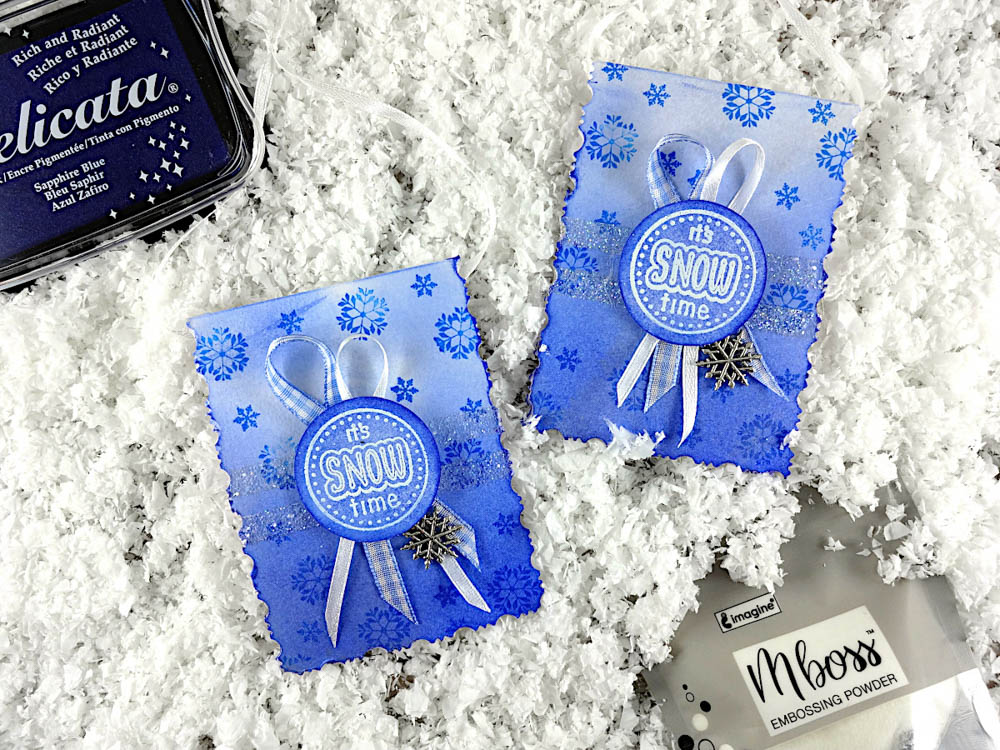
Choose Delicata Sapphire Blue for a deep, shiny color result on gift tags that can be attached to any winter gift. The Mboss white embossing powder, in contrast with the deep blue stamped snowflake, enhances the sentiment.
Kaleidacolor ink and large sponge daubers make a great pair! Especially when making a wintery, snowy background. Add in some clear matte embossing powder and VersaMark Dazzle ink and your card is complete.
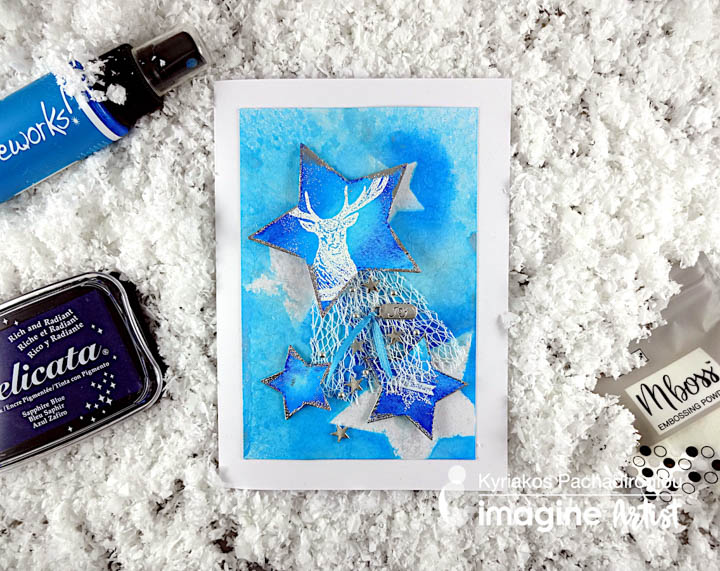
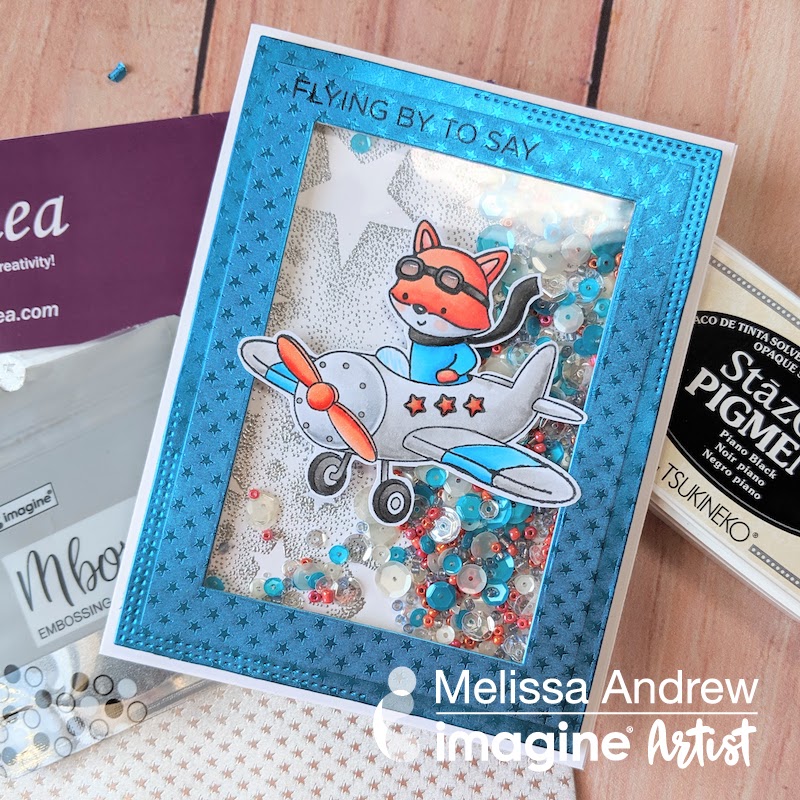
Although red, green and gold colors are the most representative ones of Christmas, the last couple of years, I am quite fun of blue that combines so nicely with the silver and contrasts the white. Stars are favorite shapes of this season and using Delicata Sapphire Blue on lighter shades of blue, using MEMENTO bahama blue, give more depth on the card.
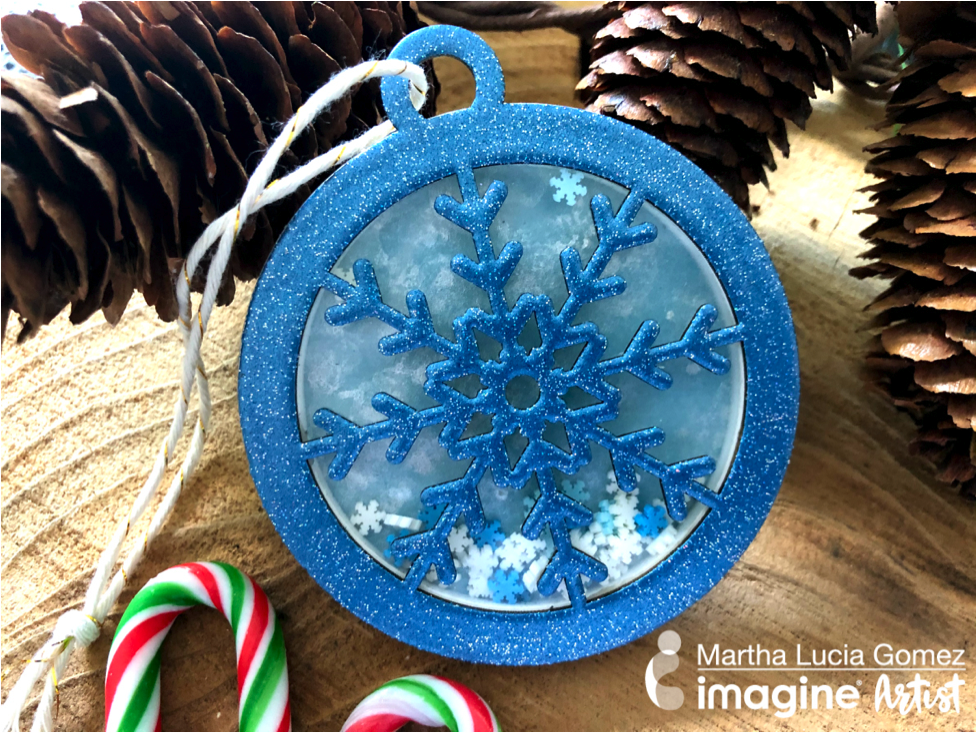
Hello crafty friends, today I am sharing a snowflake shaker ornament that you can use to decorate your gifts and/or Christmas tree. To create this, I am using a shaker dimension set with a snowflake design, VersaMark Clear Ink and Mboss Blue Icicle.
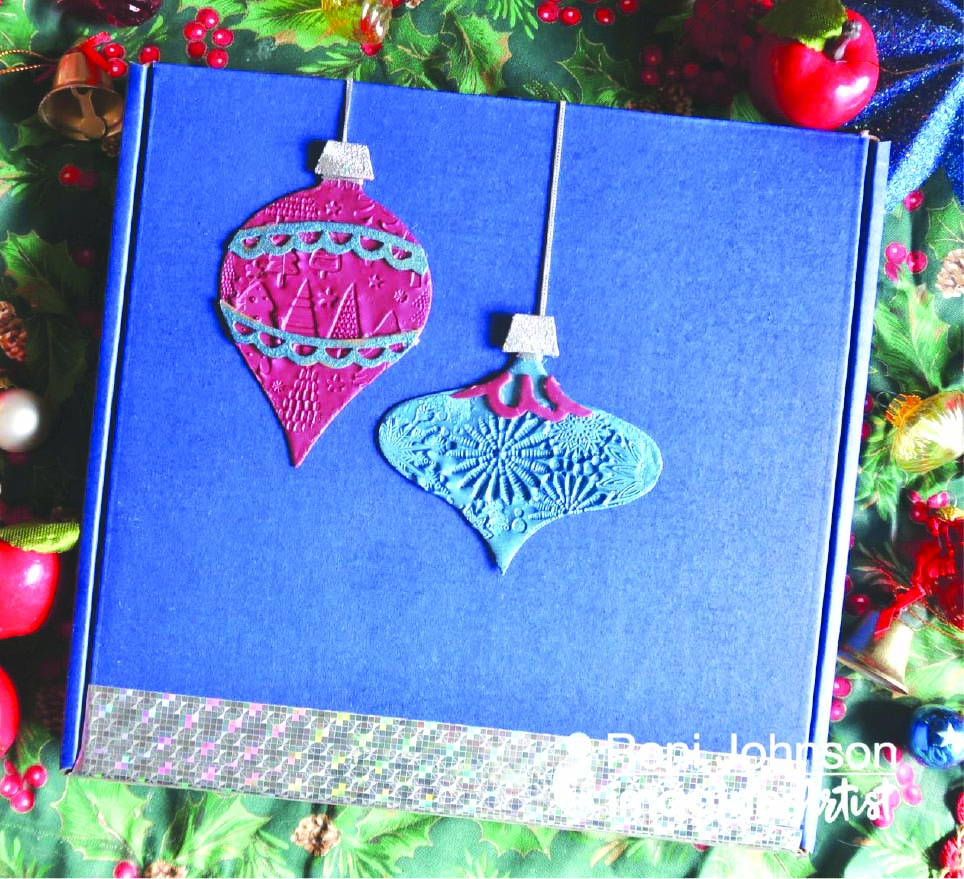
It’s that time of the year to kick making into full gear. It is easier to create when you narrow your focus and choose a color scheme to work with. This year I have chosen Berry, Blue and Silver. I knew I wanted to make some “Mail-able Ornaments” for my far away friends. MBoss embossing powders are just the ticket!
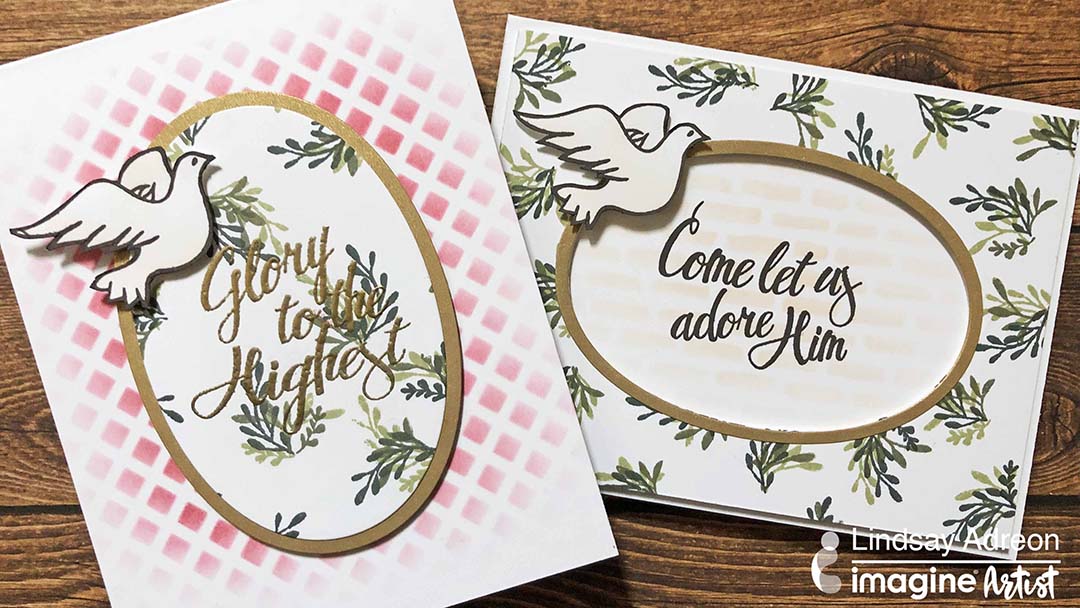
Use one stamped background for two cards with Joy Clair Stamps and Memento ink.
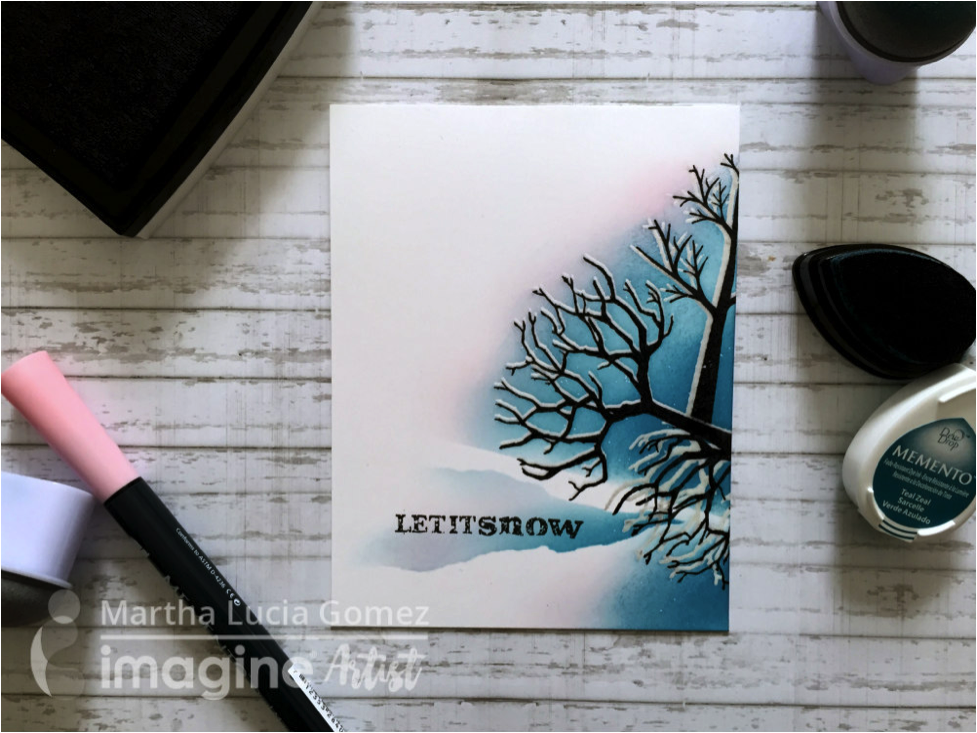
Create a snowy winter glow with Memento and inkblending.
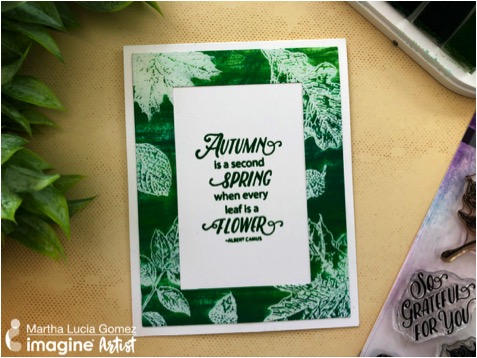
I decided to work my card using the Emboss Resist Technique with Kaleidacolor Inks and one of the most beautiful stamp sets from Joy Clair, the Hello Autumn. Download a free PDF for the tutorial.
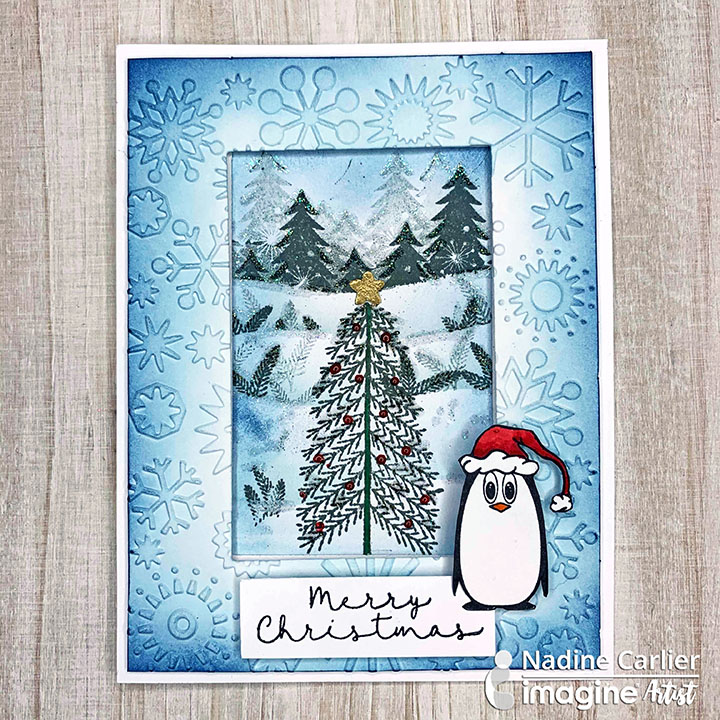
Watch my video tutorial below to see how I used Memento Inks and a mask to create a wintery Christmas scene. Enjoy!
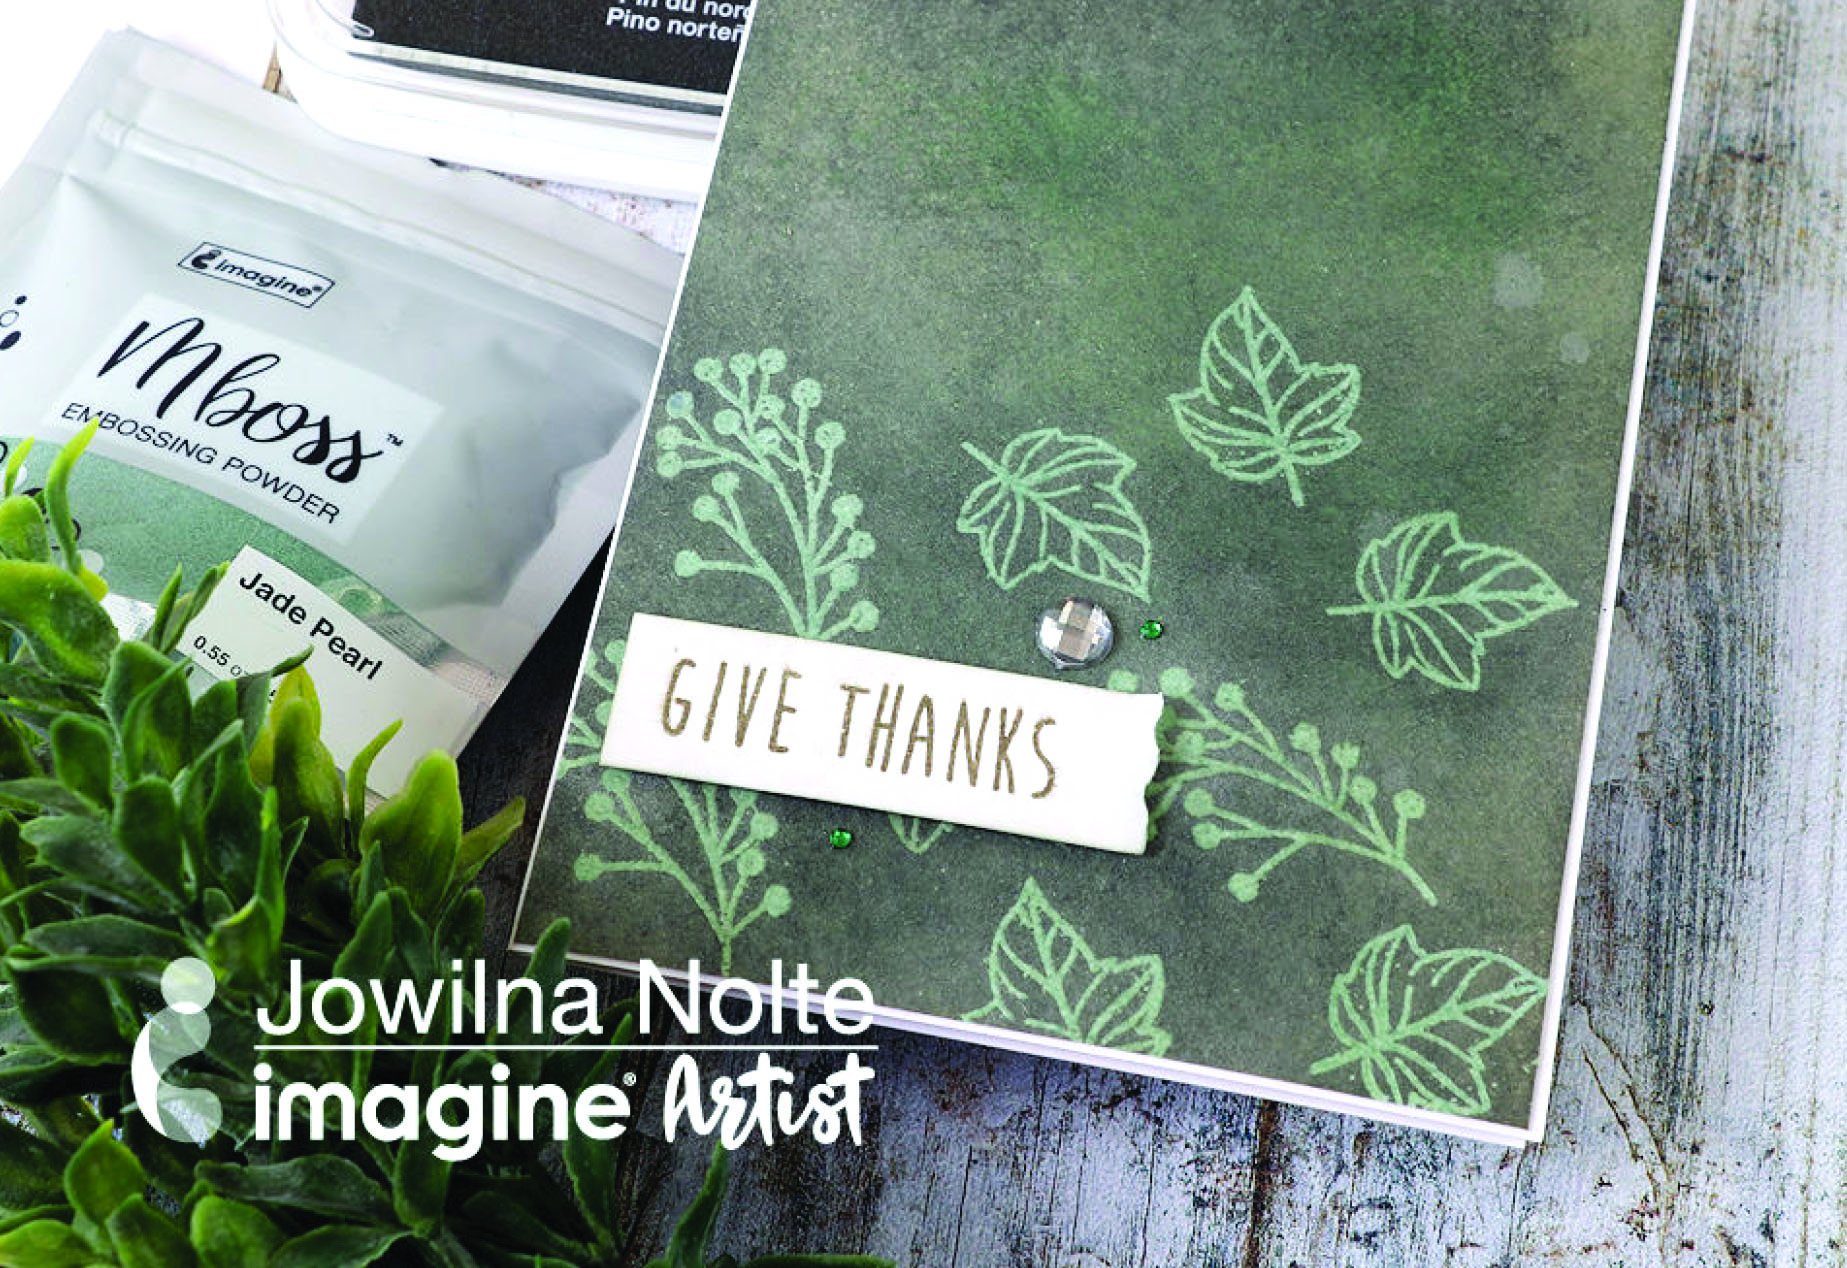
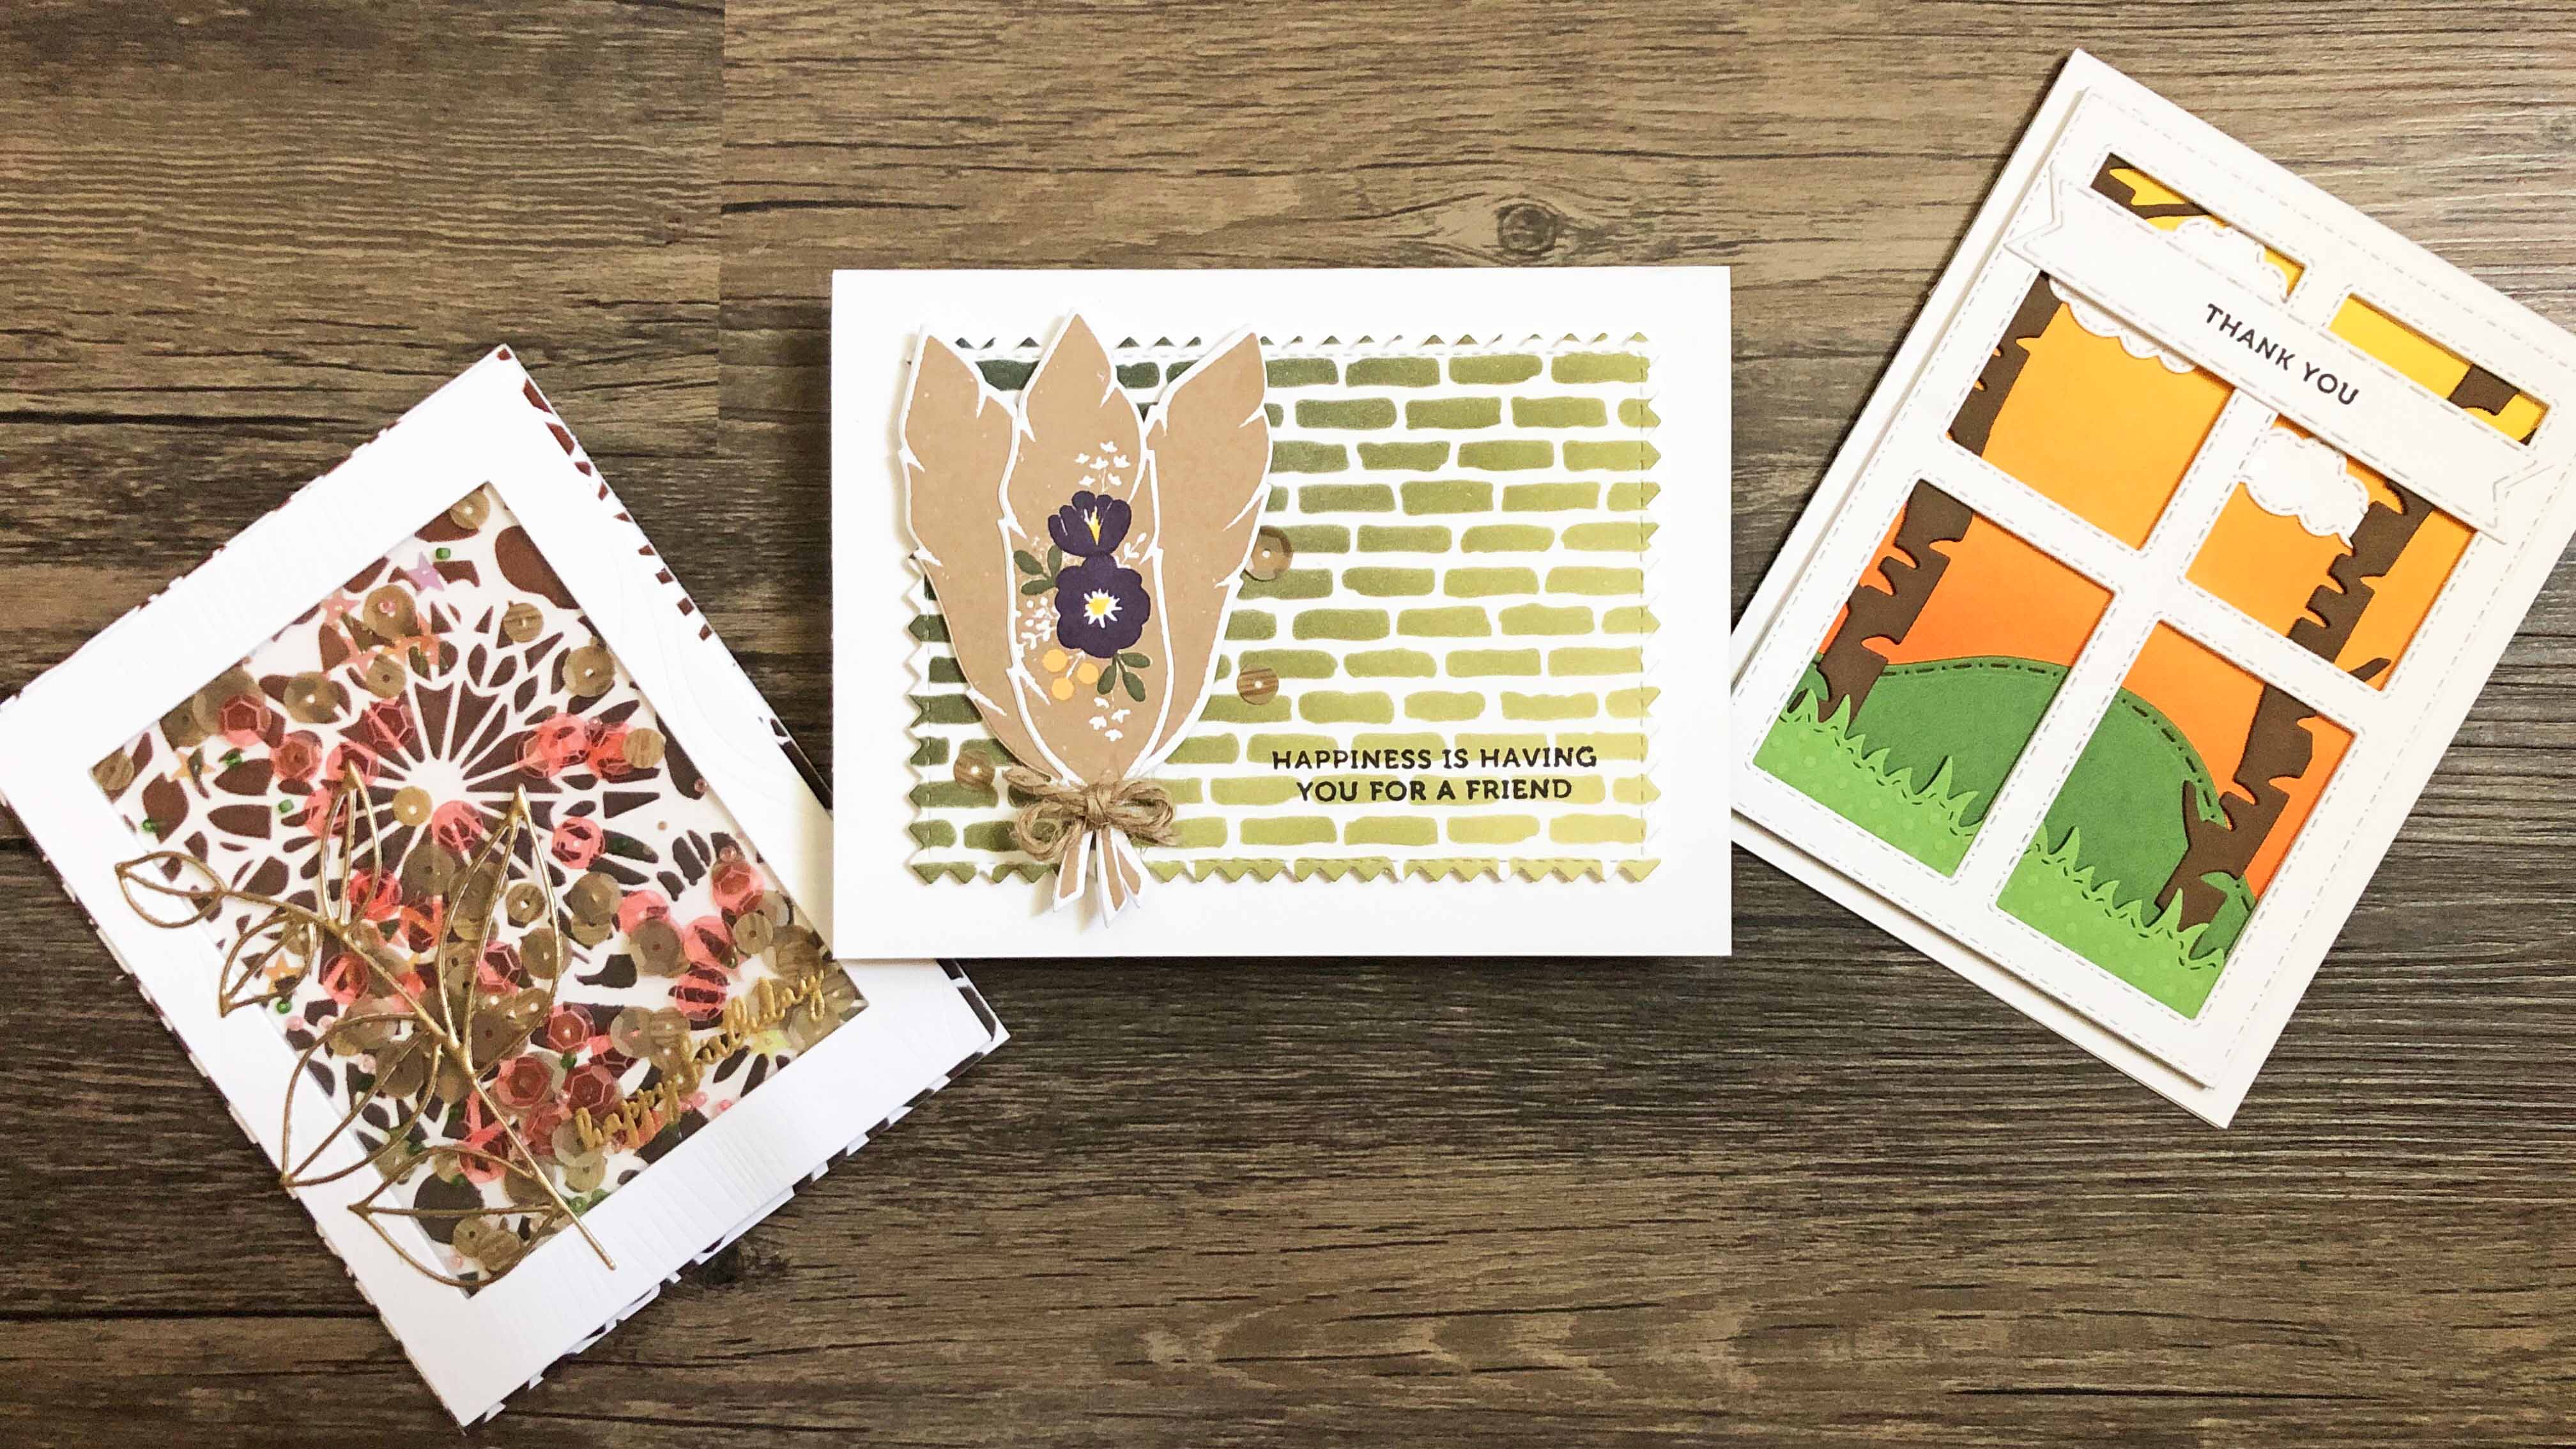
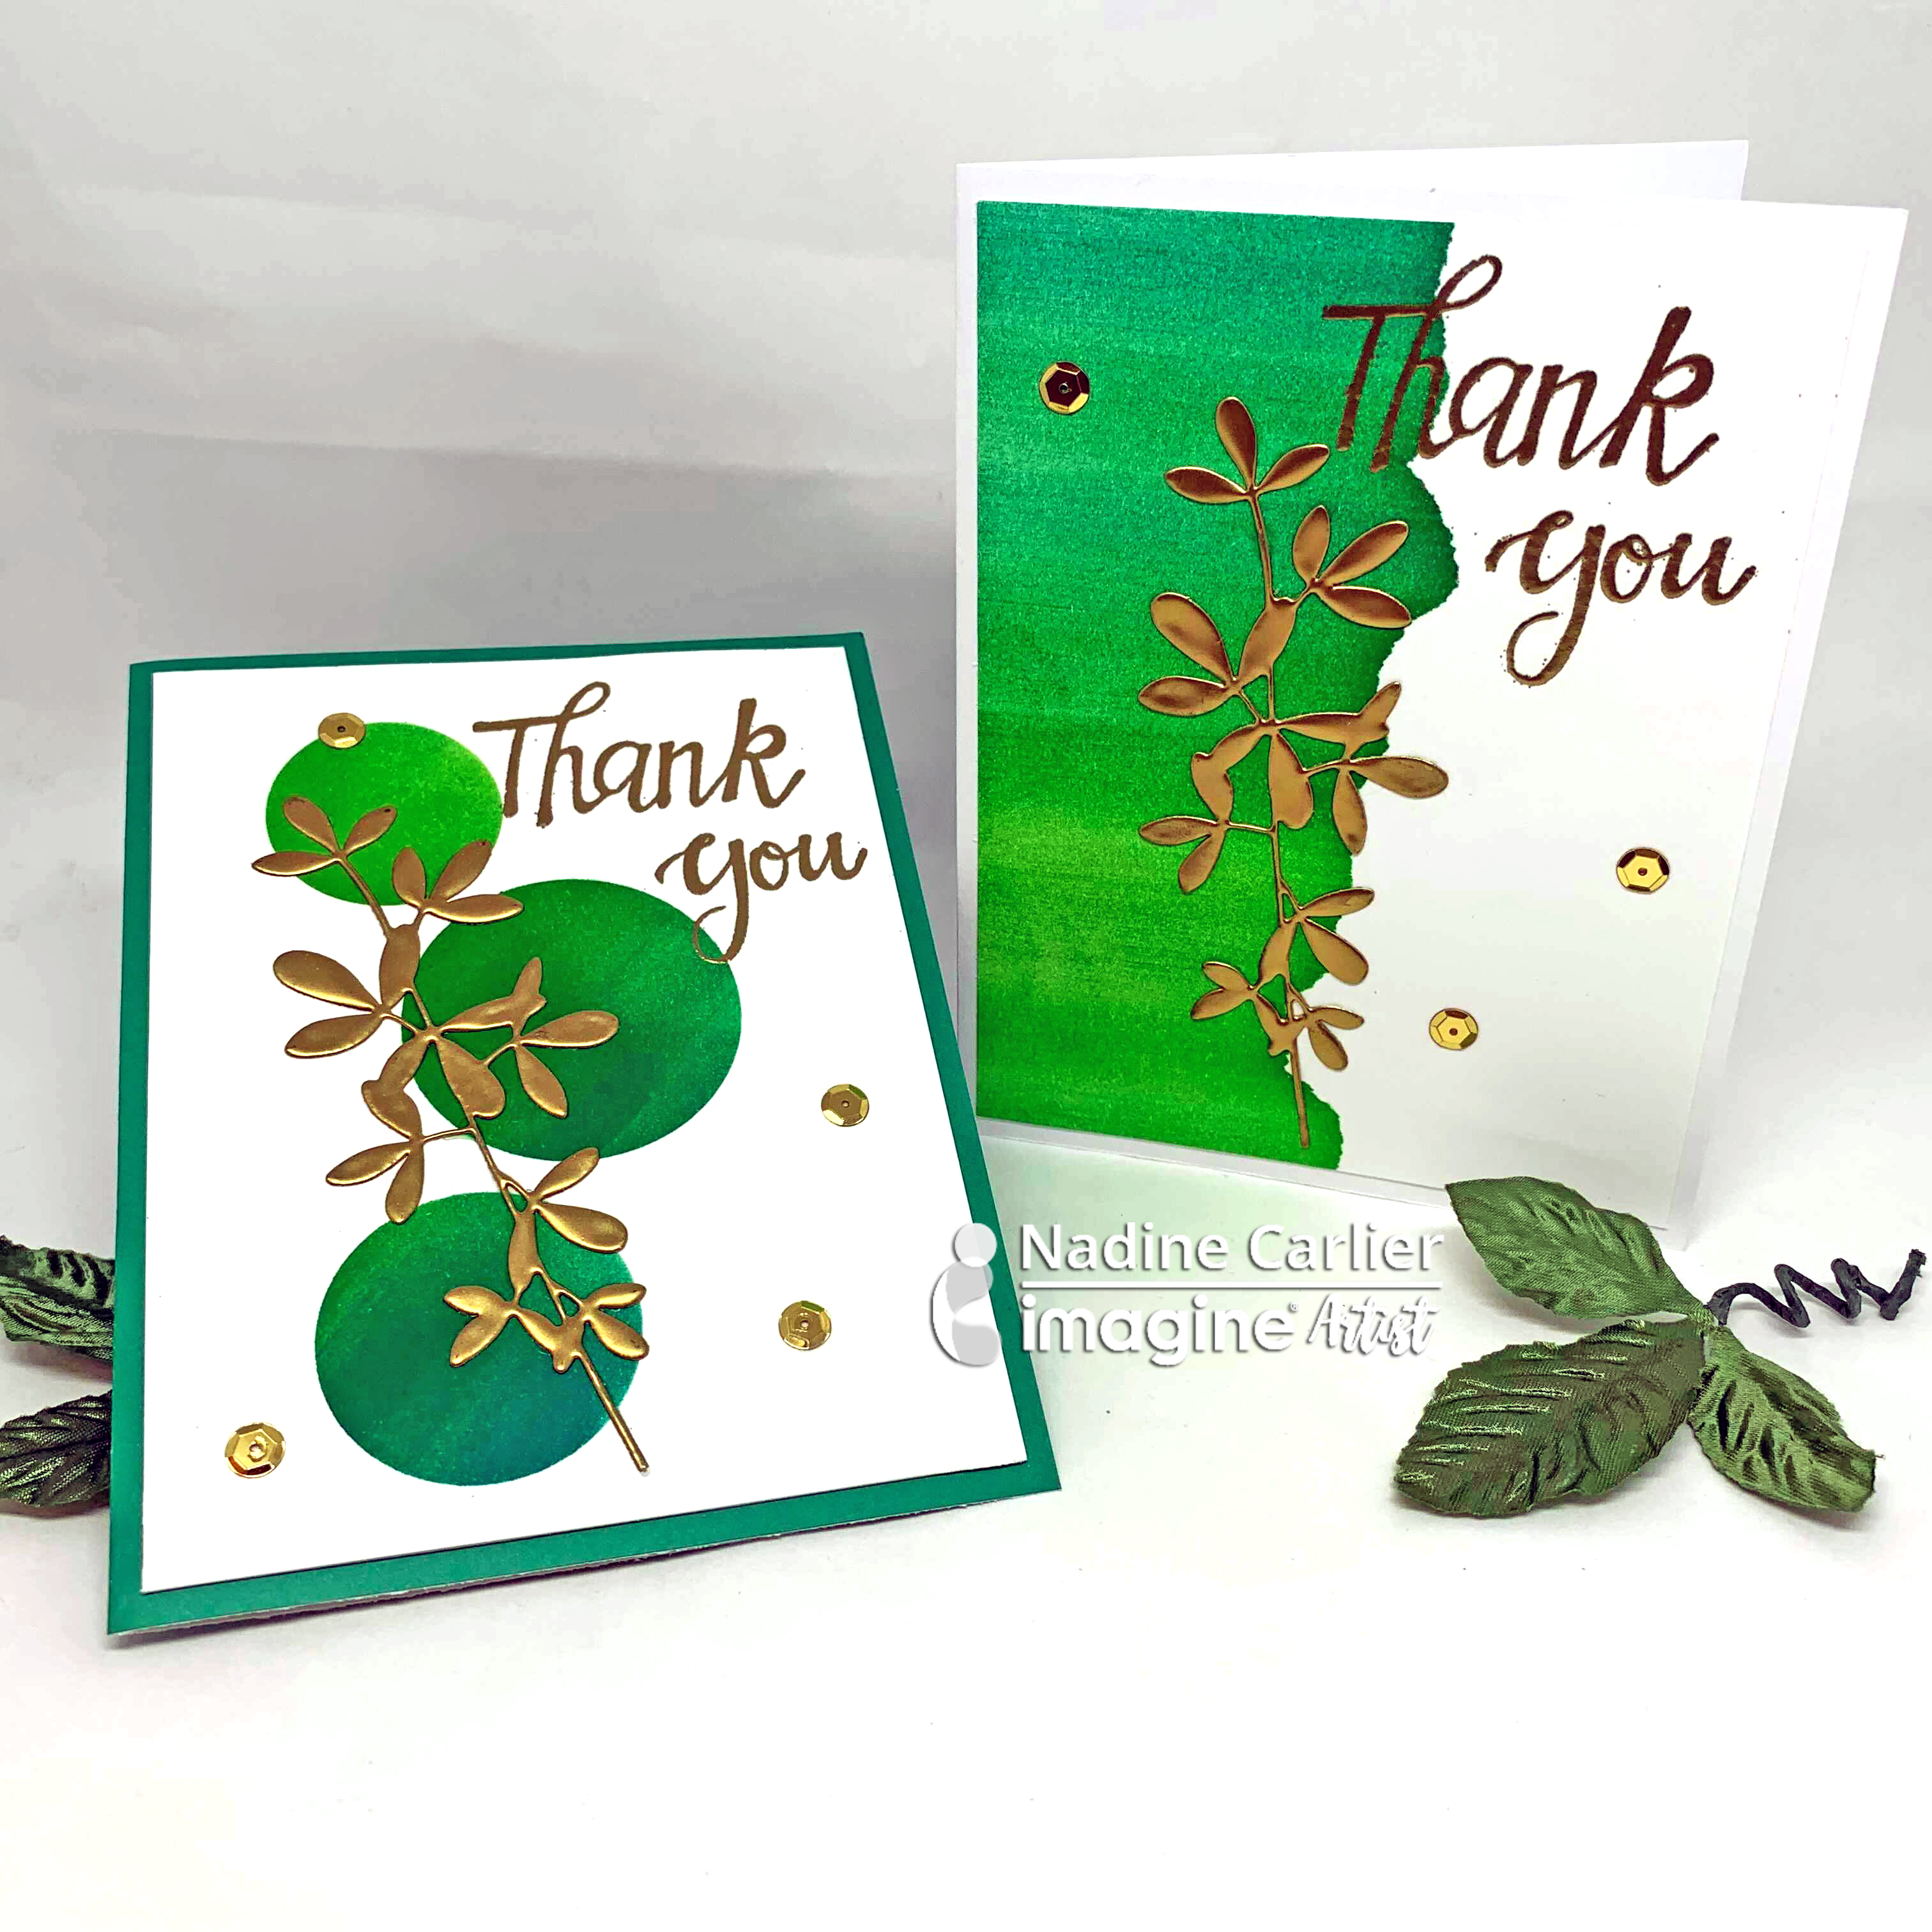
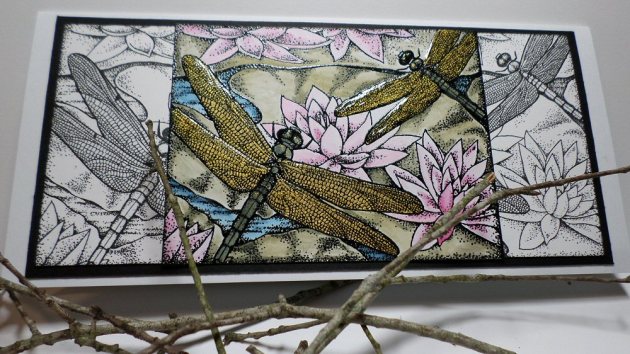
I am not normally a fan of green, but layered together with some shimmer this color is a real neutral gem. Use it for Thanks Giving and Christmas or all through the year celebrating mother nature.
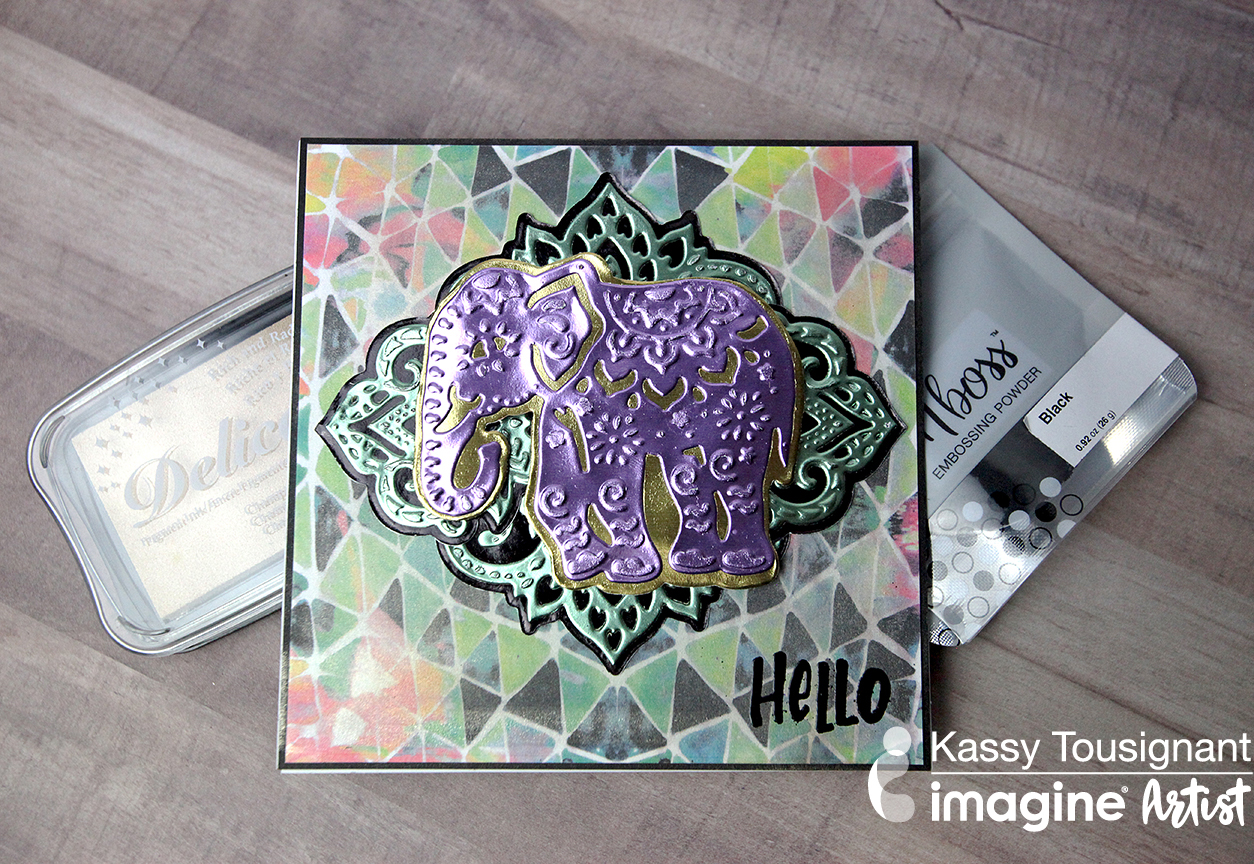
The sparkle of the Delicata ink on the patterned paper background helps to make the Rinea foiled paper die-cut pieces really pop off the card! See how I make this purple elephant themed card.
I made a fun shaker card using a number of fabulous Imagine products including the new Mboss Embossing Powder in my new favorite color Silver! In addition, I'm adding some beautiful shiny Rinea paper. Join me in today's fun paper crafting tutorial.
Rinea foil is a fun product to work with, but because it is a nonporous surface it can be a bit tricky to stencil on. I am sharing three different ways to add stenciling to your foiled projects in my video tutorial today! They're all different and have different results, so everyone can find something that works for them!
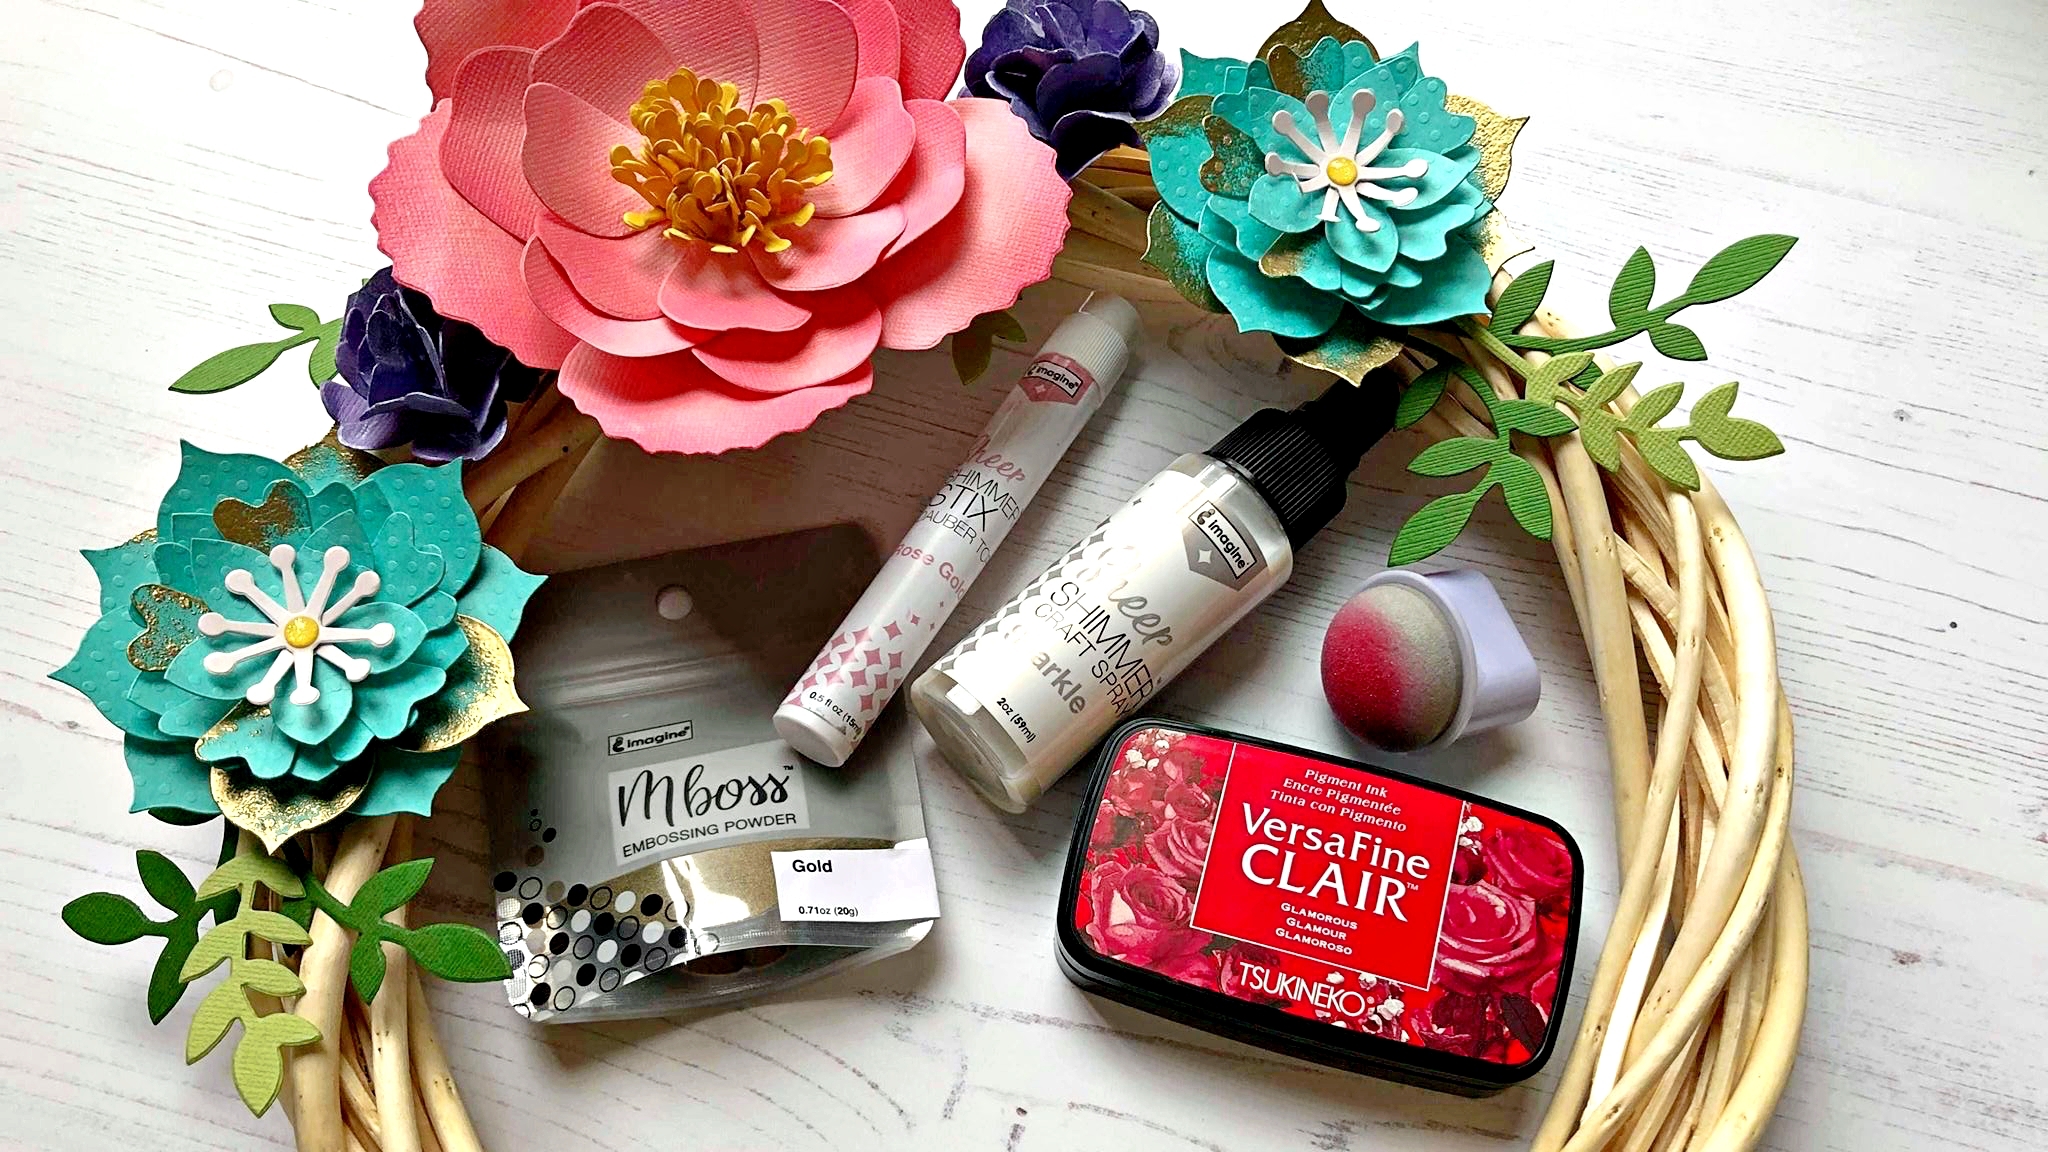
I have a floral wreath project to share with you. Besides showing how you can assemble your own paper flowers, I'm also teaching you 3 ways to transform your die cuts! The before and after is as different as night and day and the extra steps definitely bring the flowers to life. Be sure to check out the video and see it for yourself!
Ink blending is a technique I use on so many of my cards and creating ombre backgrounds is something I use quite often to create backgrounds, especially scenes. I'm sharing tips and tricks to create ombre ink blended backgrounds in today's video! I hope you enjoy it!
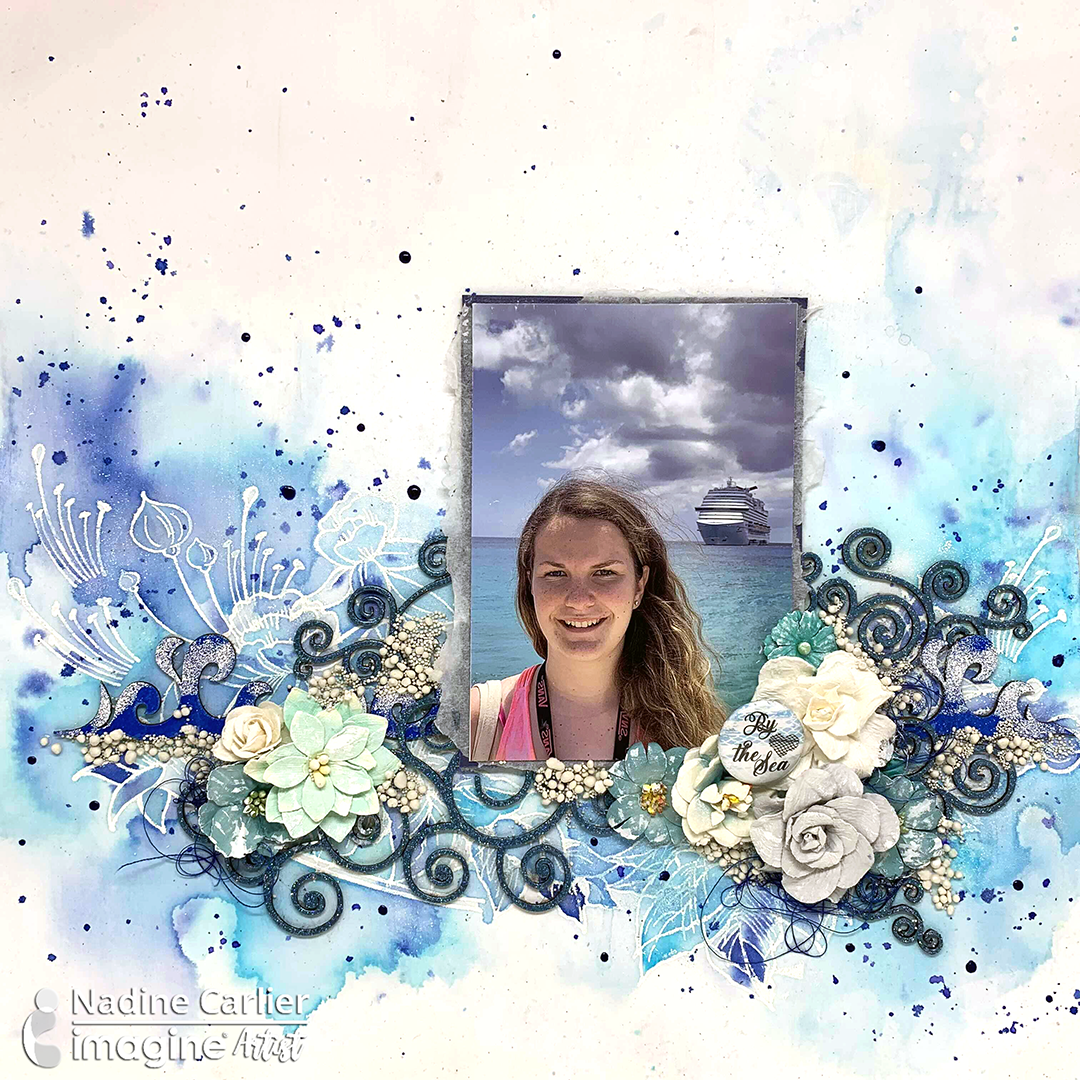
I used several different colors of the new Mboss Embossing Powder on some my layout along with some blue Fireworks! Sprays to create a beautiful by the sea mixed media scrapbook layout. Watch my video below to see how I did it. Enjoy!
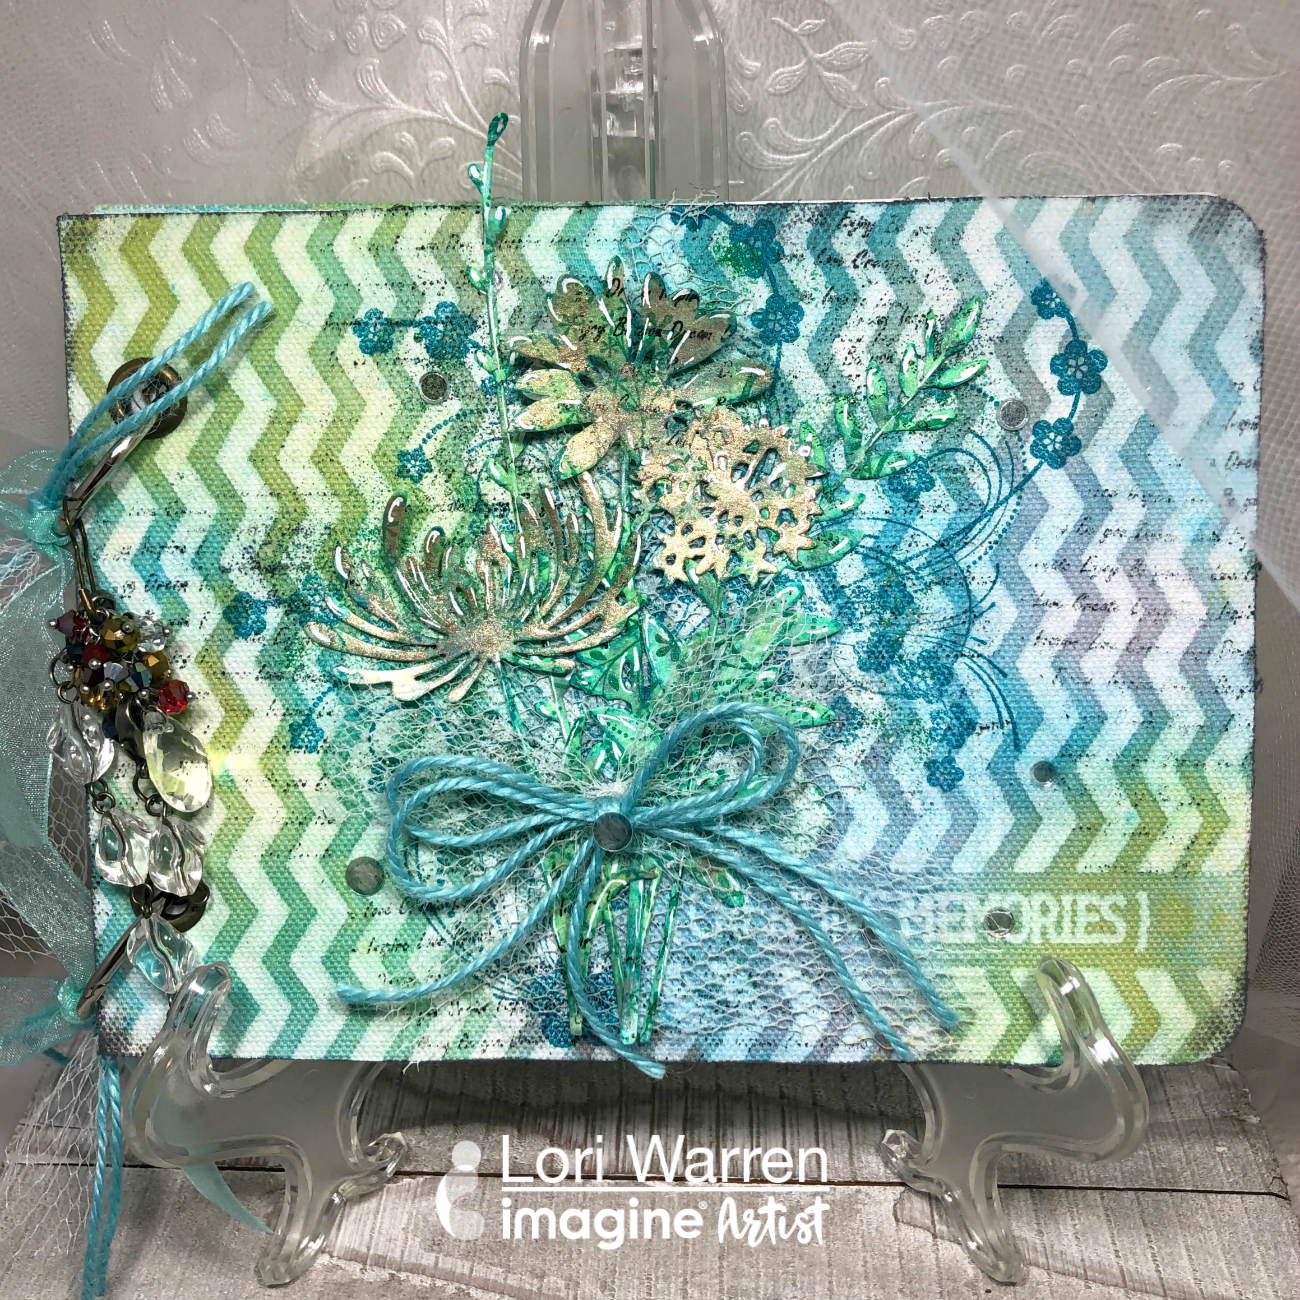
Interested is slowing down and being more mindful? A Daily Journal to document artsy ideas and creative thoughts might be just what is needed.
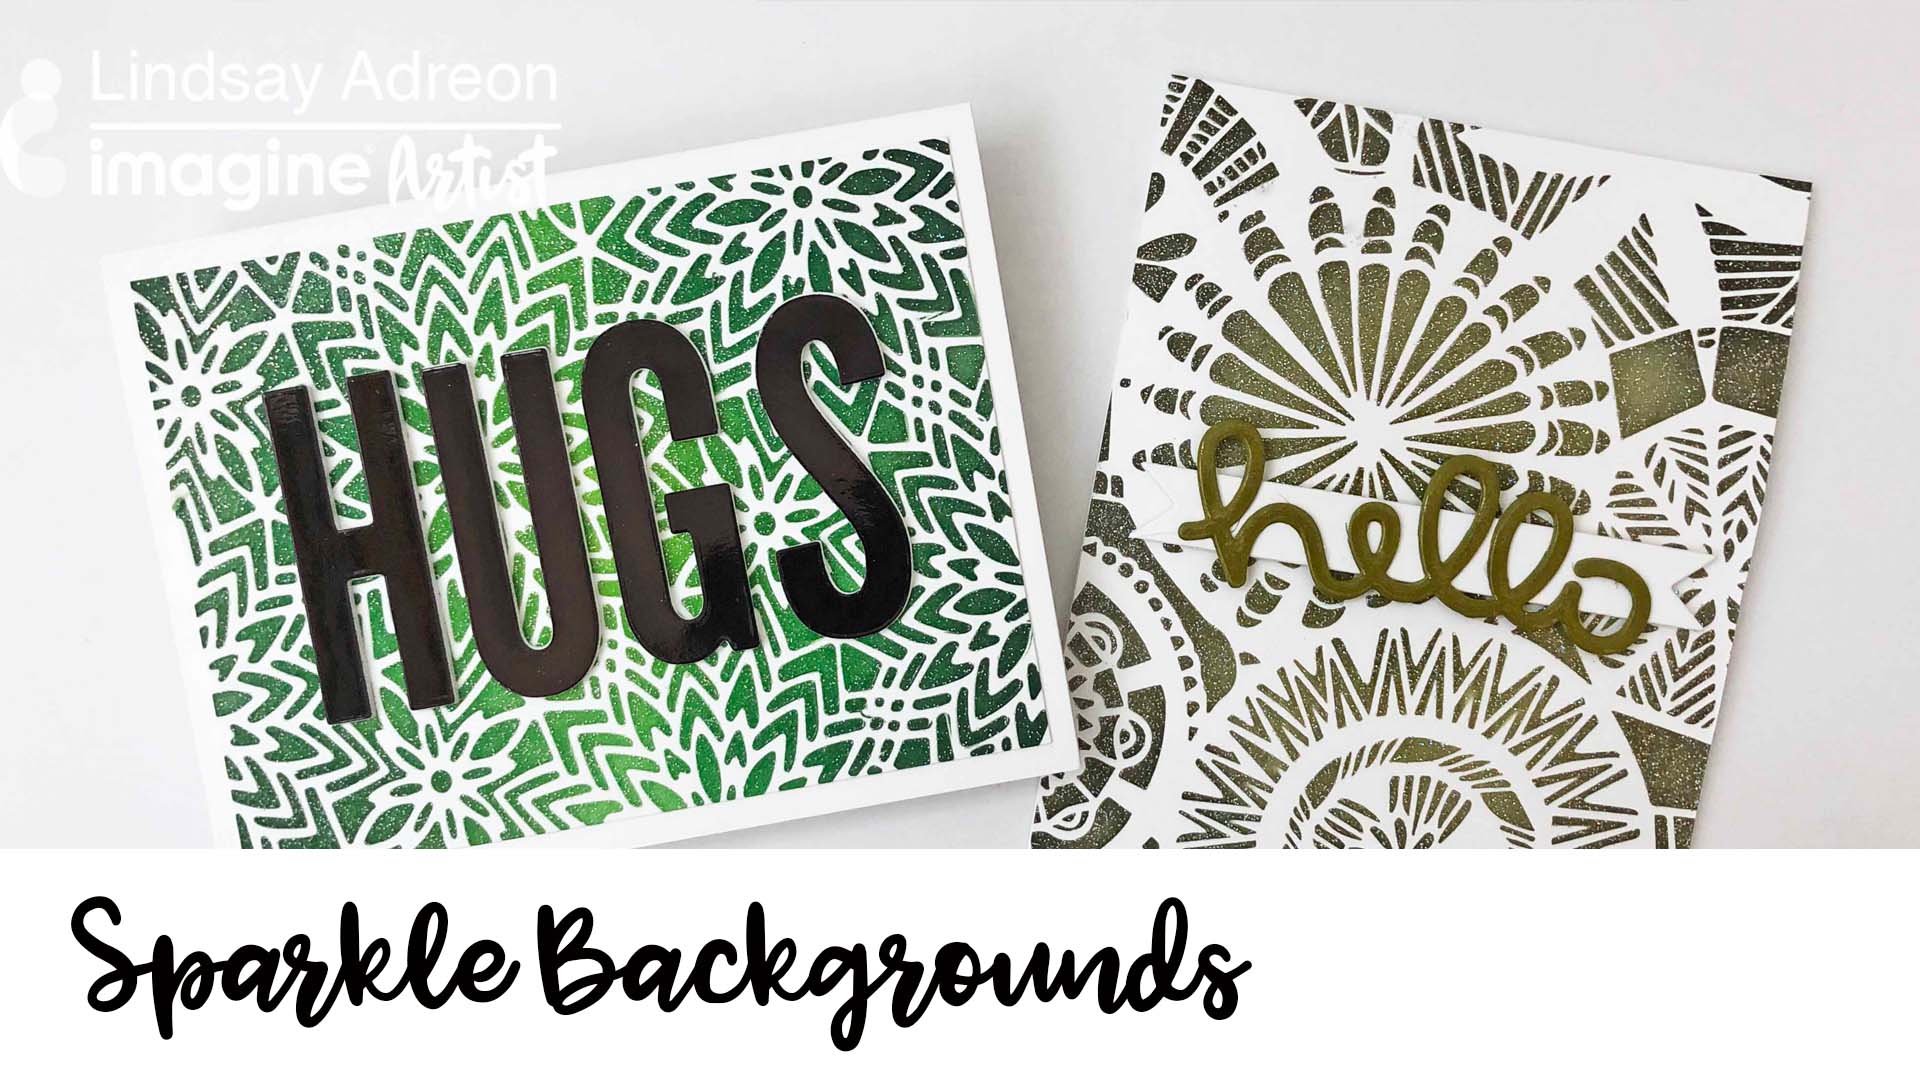
Glittery backgrounds are the best backgrounds! I love anything glittery and the Sparkle MBoss is quickly becoming one of my favorite new embossing powders. It is a clear embossing powder with holographic glitter mixed into it. It's perfect to add over any backgrounds because it doesn't add any color, just shine and sparkle! Watch the video tutorial!
I used some simple masking techniques with some Kaleidcolor Ink to create an ombre effect on these cards. To see just how easy it was to do, watch my video below to see how I did it. Enjoy!
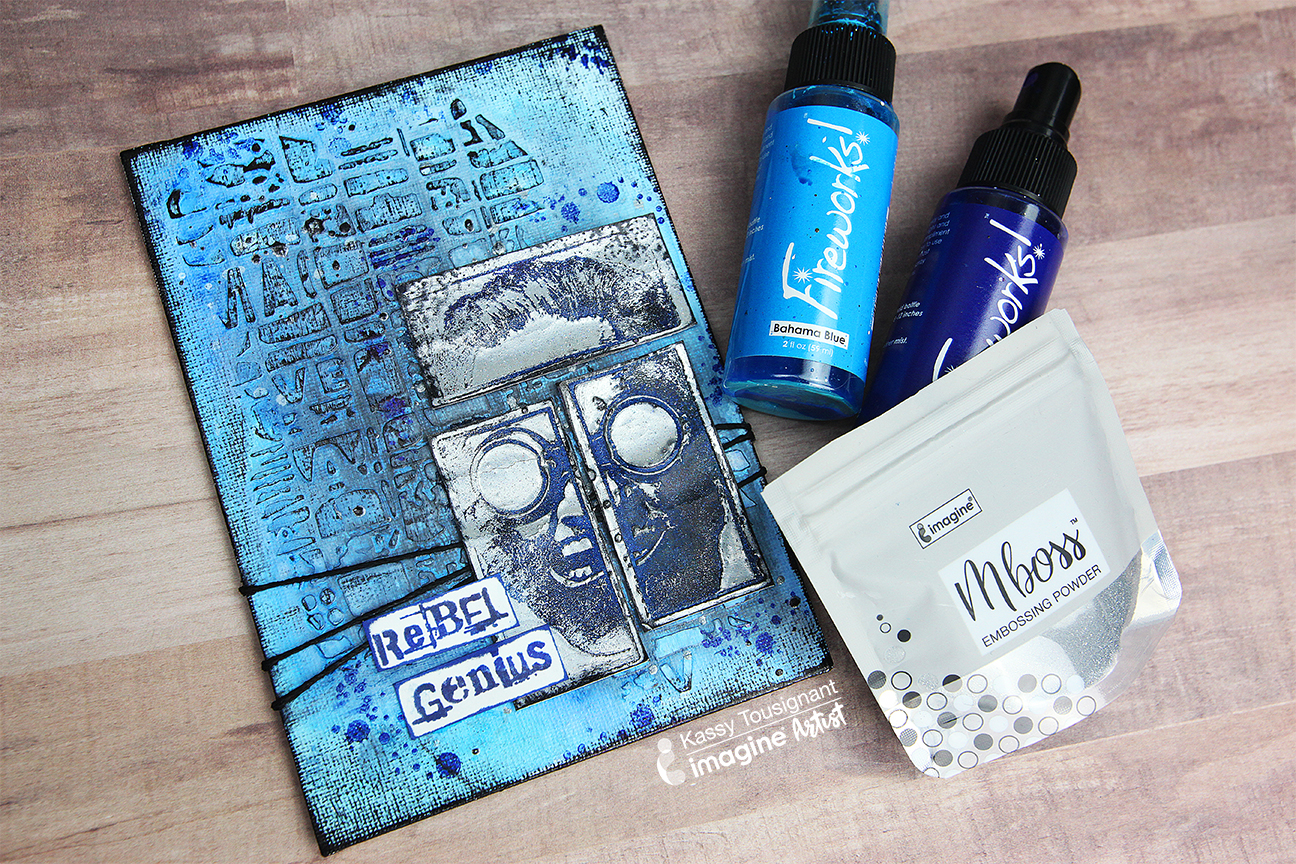
To create this cool Rebel Canvas I used the new MBoss Hologram embossing powder with a fun, classic technique to create a stamped impression in the embossing powder. The new Hologram embossing powder is soooo gorgeous and fun to use. I love that the new MBoss packaging allows for precision application and easy cleanup!
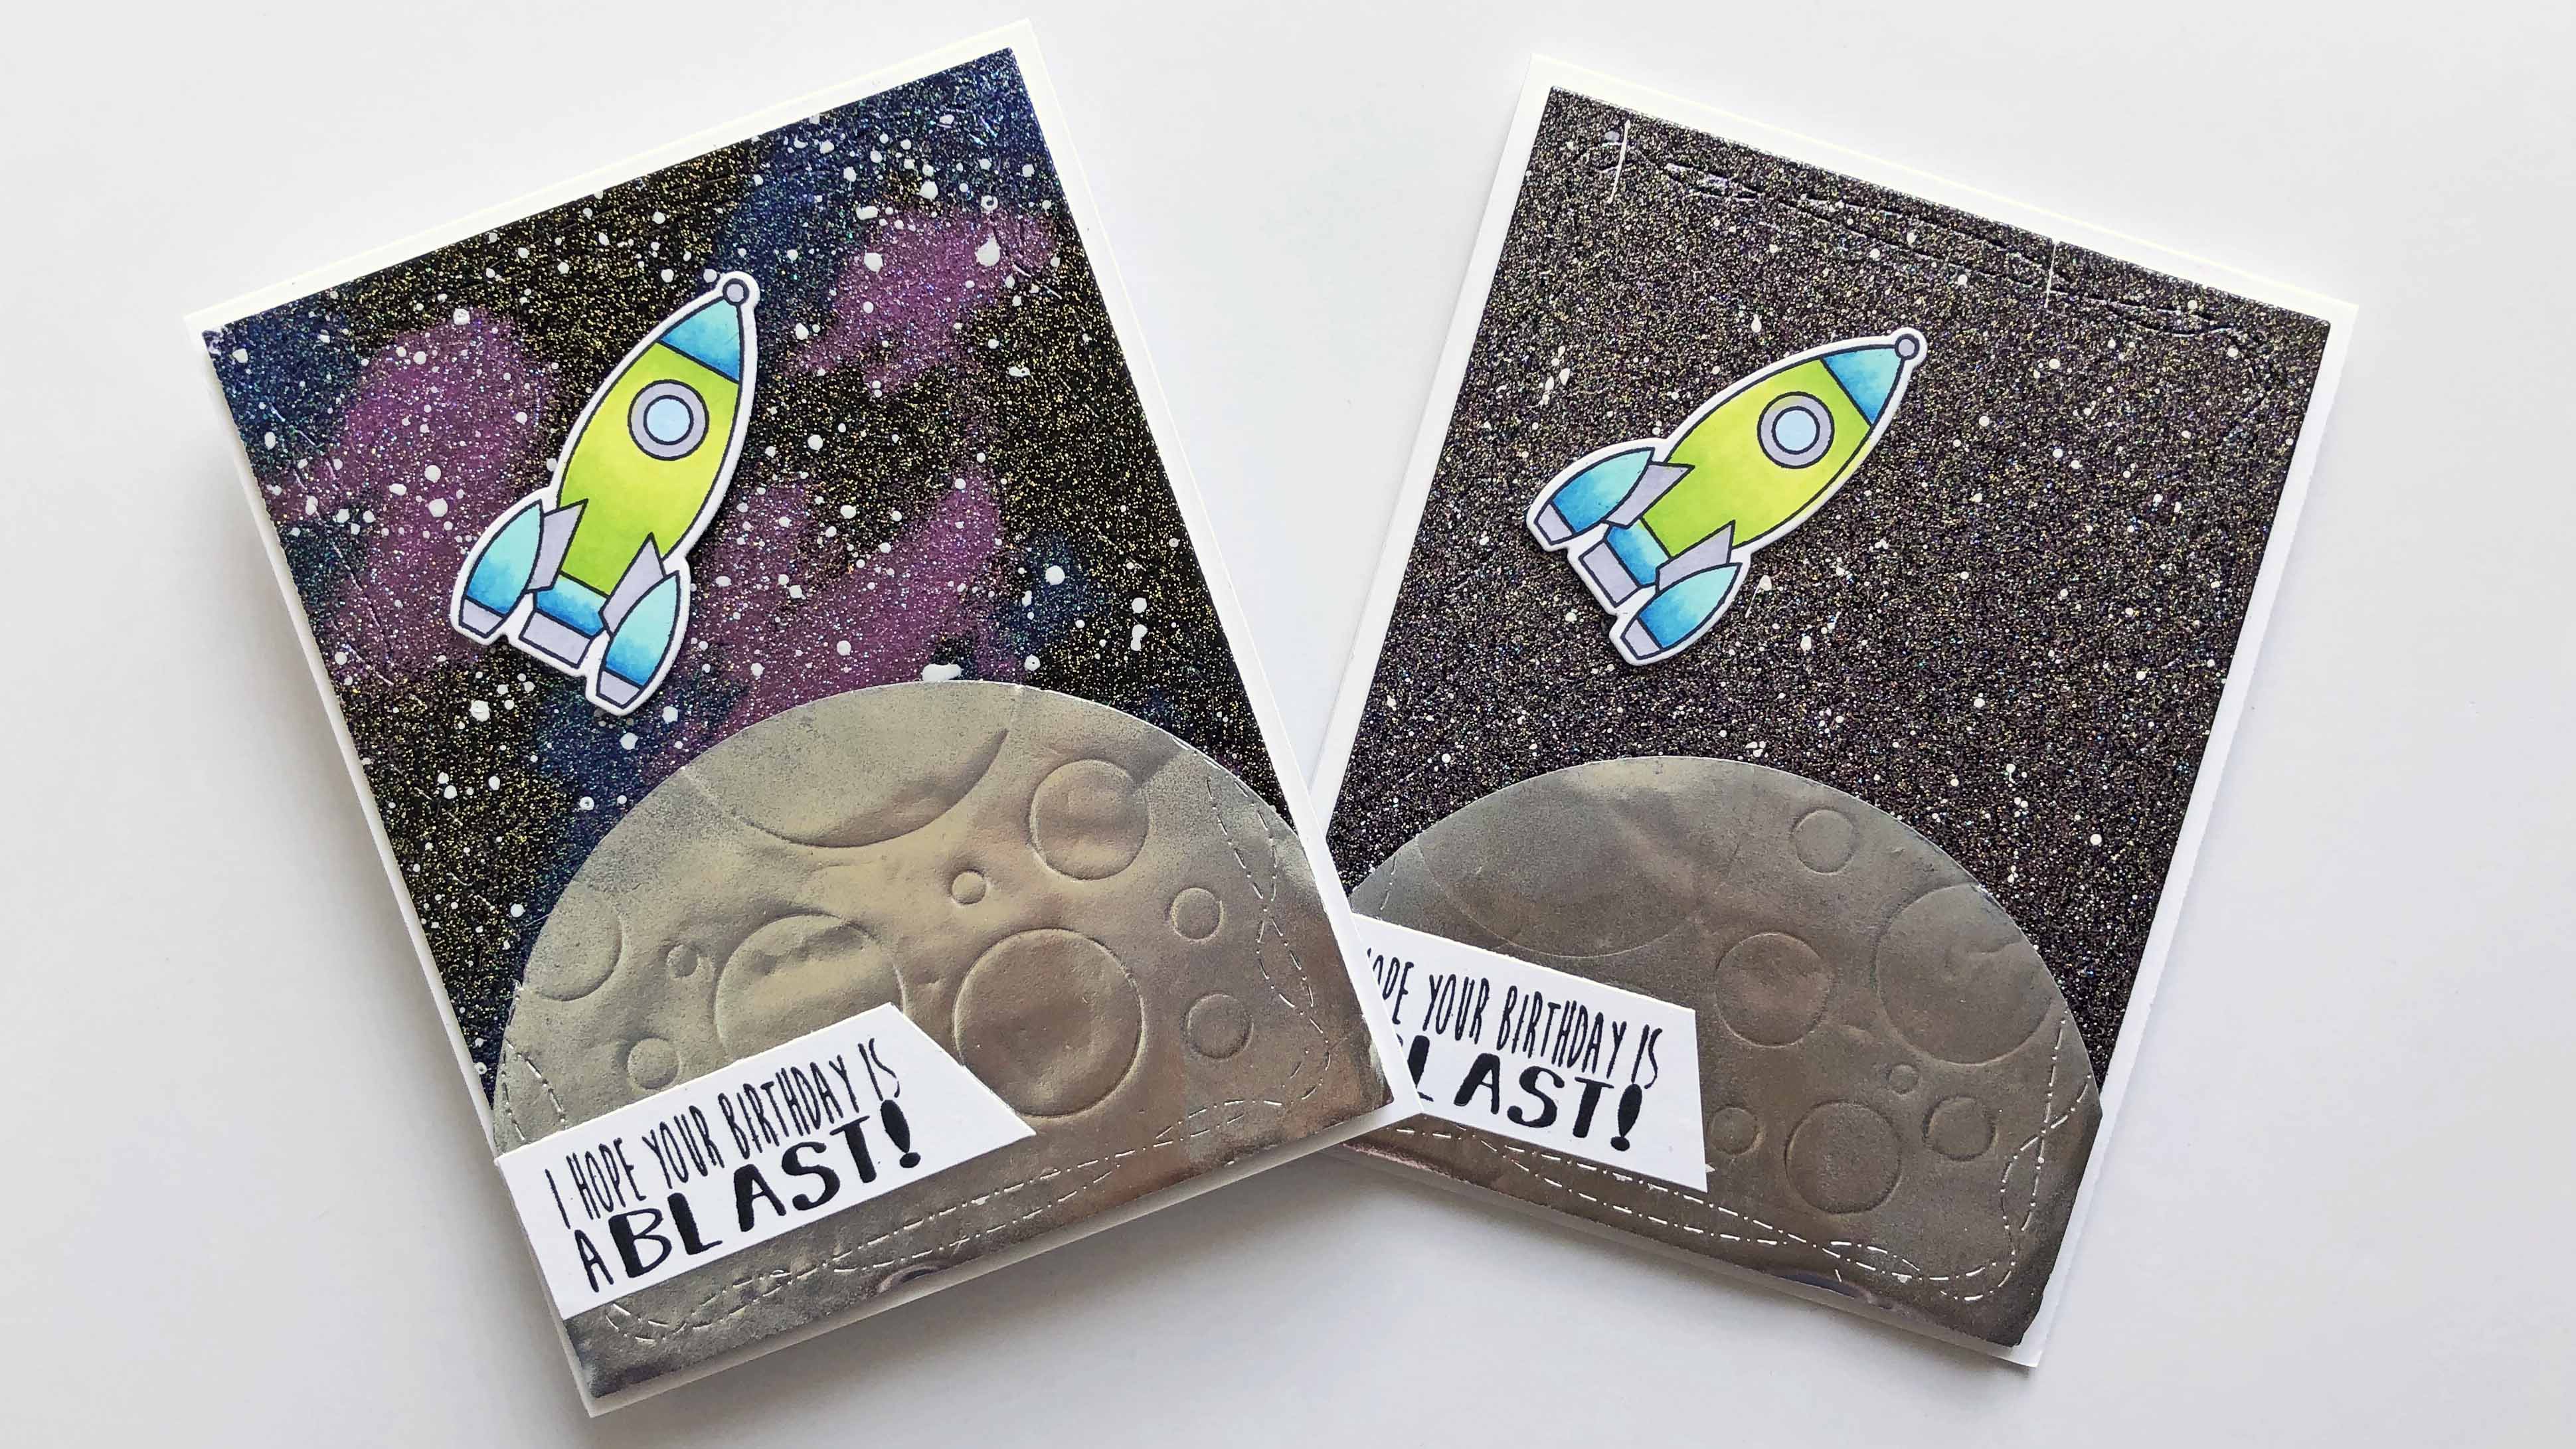
There are many ways to create galaxy/night sky backgrounds for your cards. You can use ink blending, watercolor, ink smooshing, braying, and so much more. But did you know you can create galaxy and night sky backgrounds with embossing powder? Take a look!
 Learn How to Emboss in this Beginner Lesson.
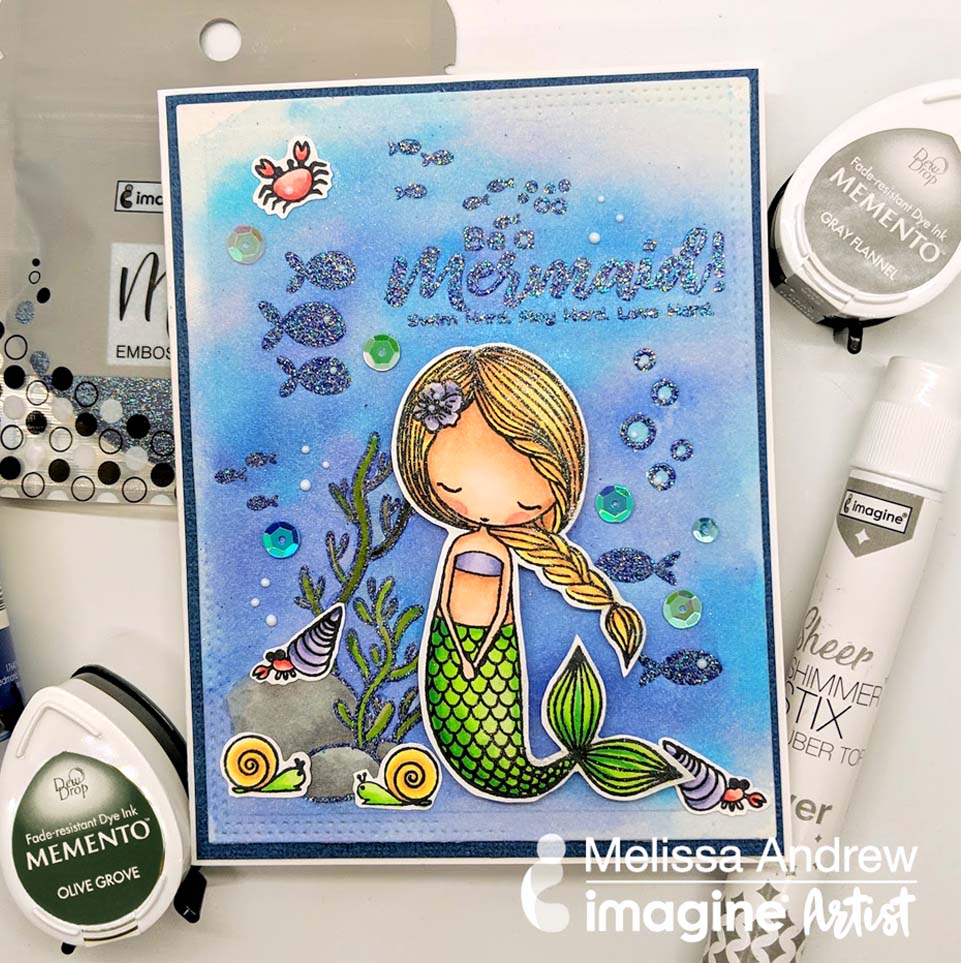
In this video I show you how to use your Mboss embossing powder in Shimmering Night Sky to create an underwater scene. Together with Fireworks spray and Memento ink you can create a gorgeous card straight from a mermaid's home, complete with sea critters.
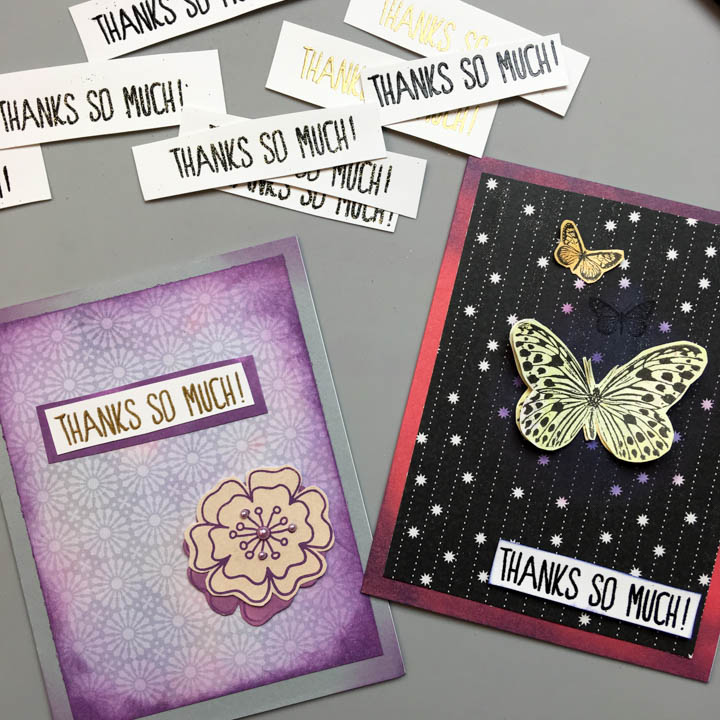
This card is dressed with the new Mboss Embossing Powder from top to bottom. Watch my video below to see the different techniques I used to create my card. Enjoy!
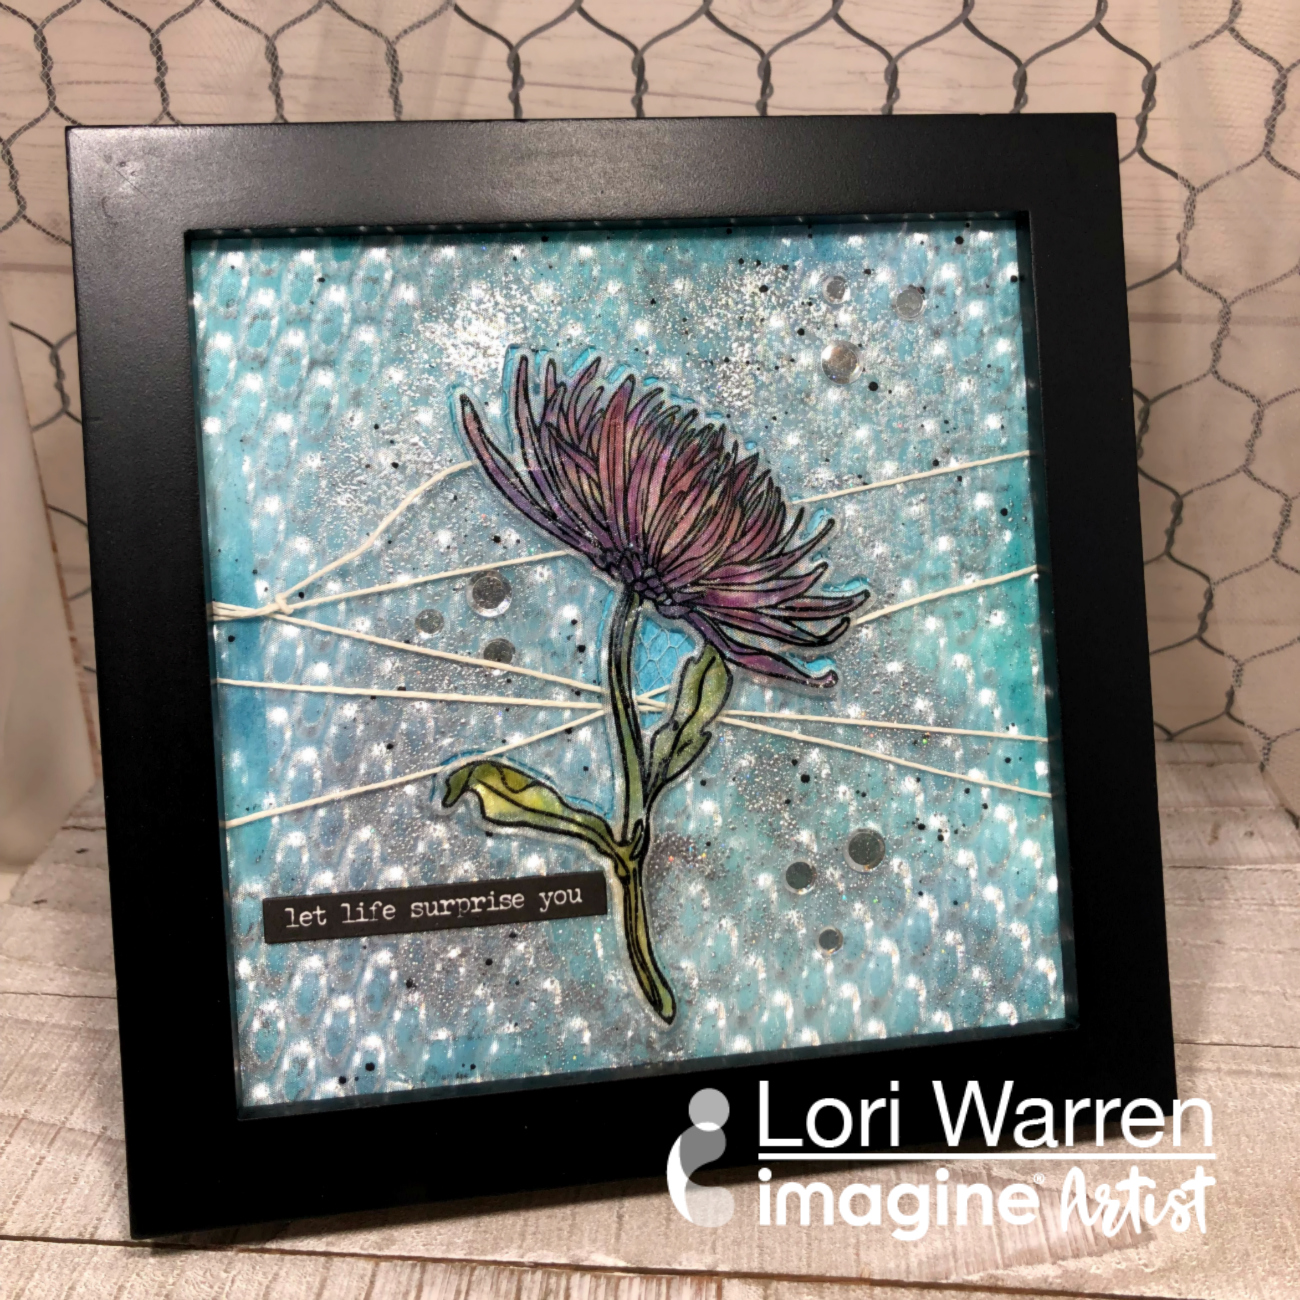
There is nothing better than using your crafting skills to create a gift for someone. That is what I did for this mum, or chrysanthemum, flower project—a gift for my mom. I used Vertigo in Prism and Mboss Embossing Powder in Hologram. See the video slideshow!
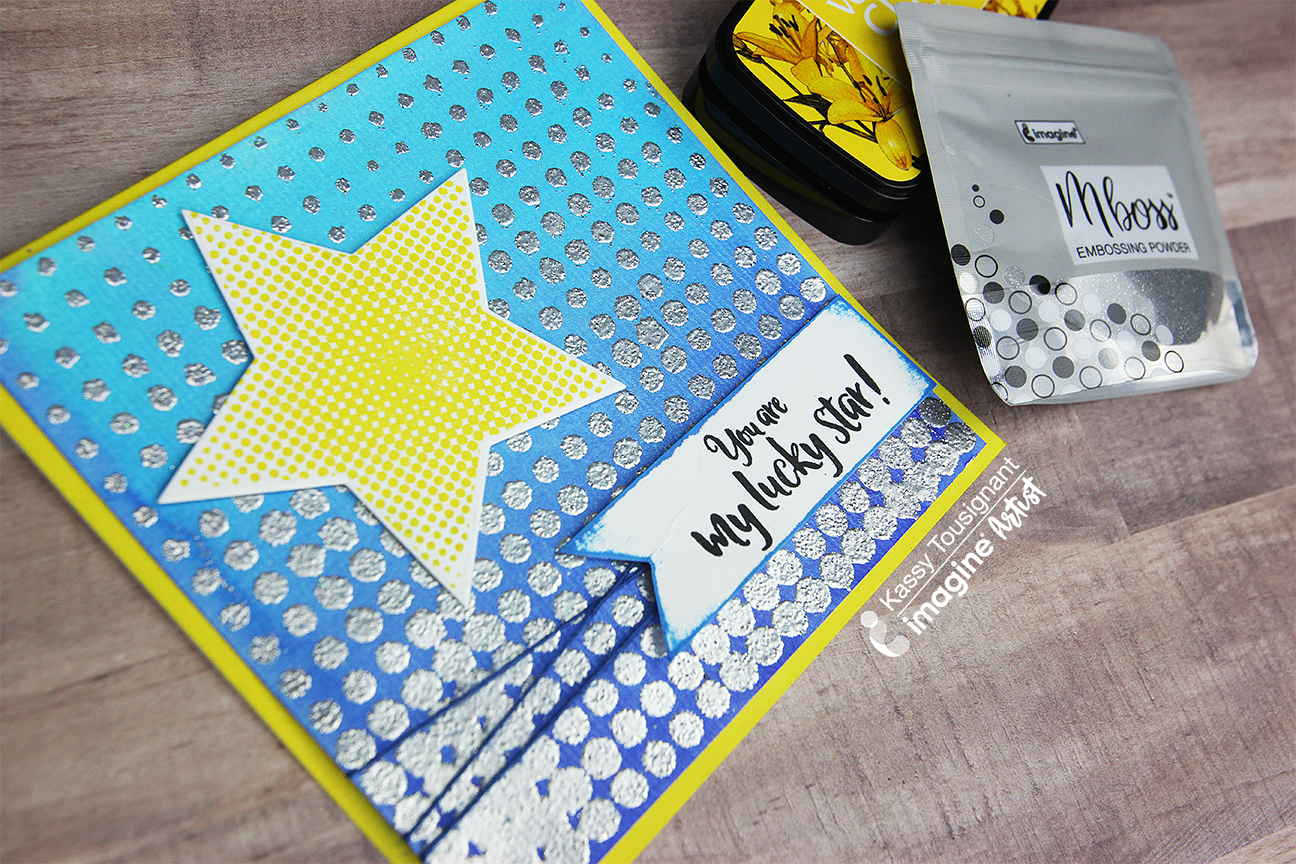
Mboss embossing powder is sold in a resealable bag and it is so easy to use and clean up after. The gusseted bottom allows it to stand independently on your surface and won't tip over easily. The fact that you can pinch the bag while you are pouring the powder onto your project allows for greater accuracy too. I used the Hologram MBoss powder on this star card and it really makes the focal point pop!
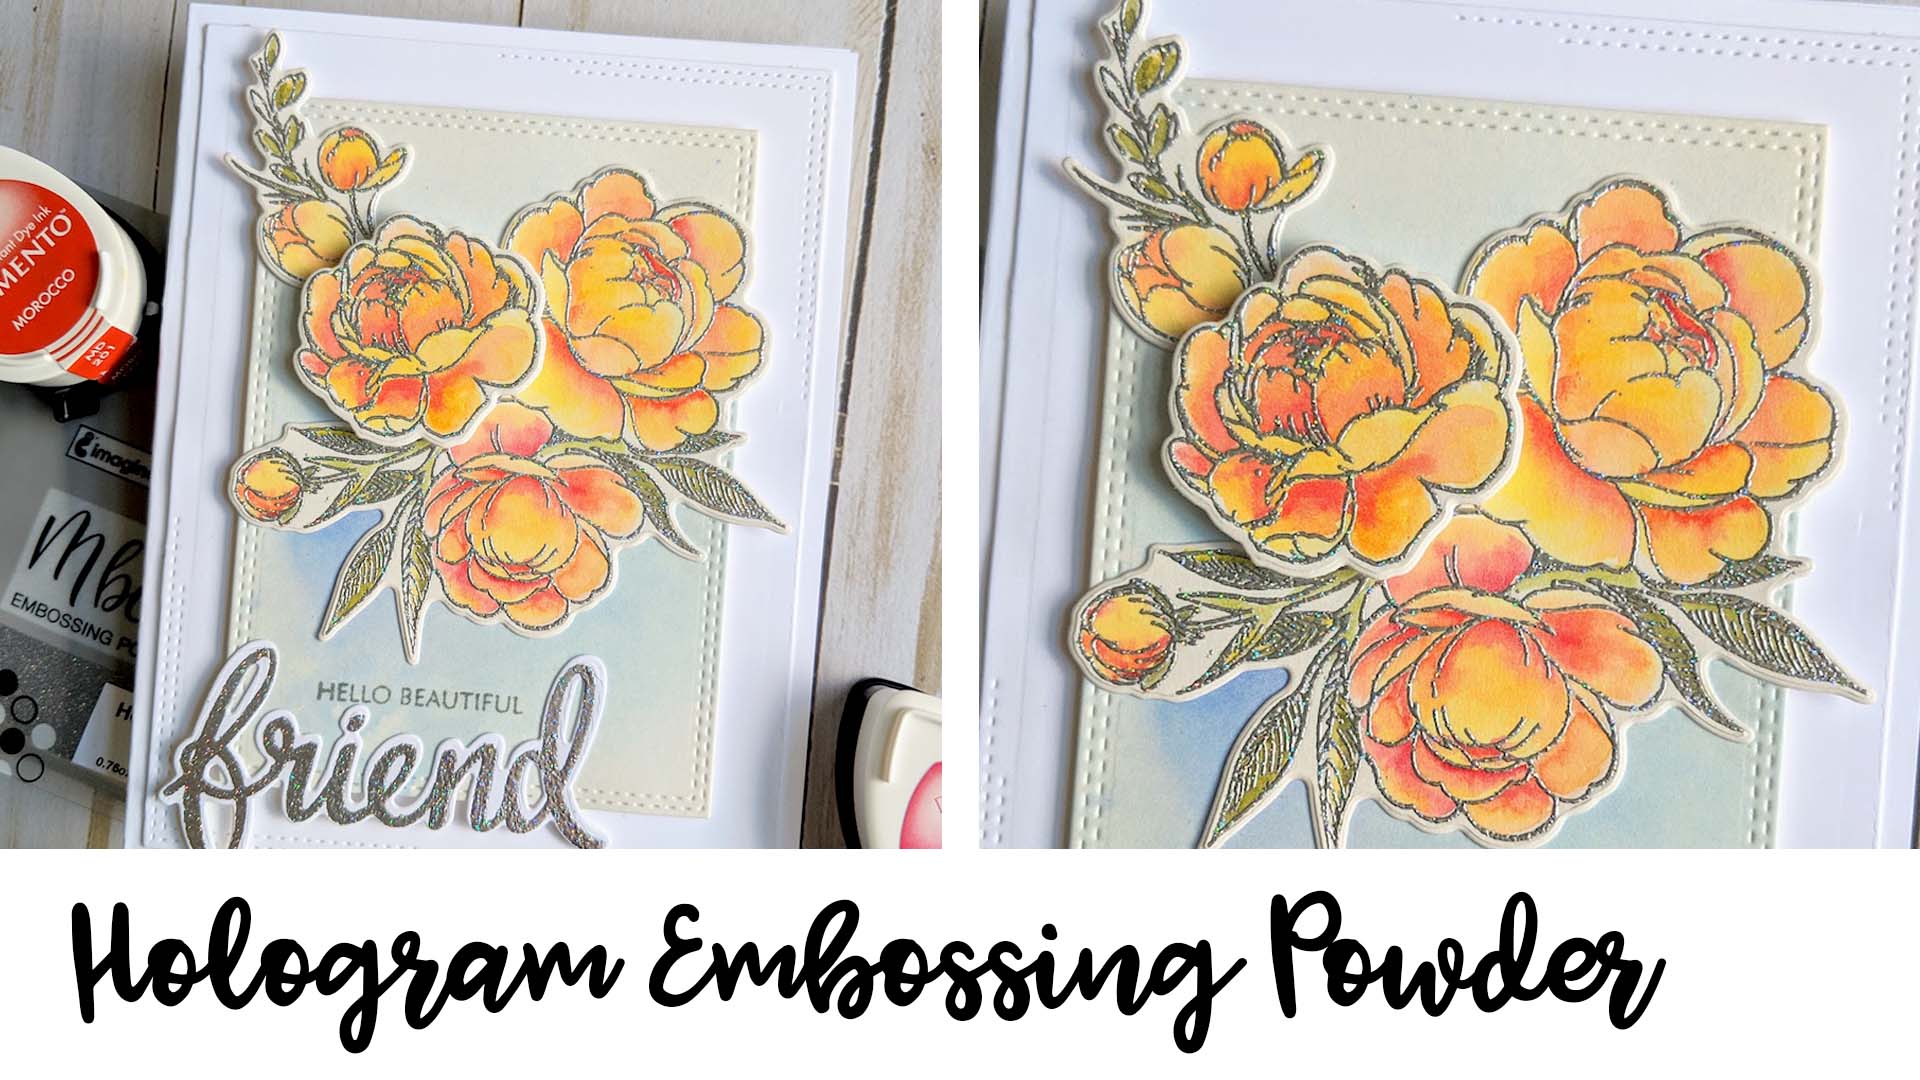
I wanted to use Hologram Mboss embossing powder from Imagine in a unique way. This fabulous embossing powder is fine for detailed stamping but also sparkles with colors of the rainbow. In this video, I show you how to stamp, emboss and fill in with a watercolor technique.
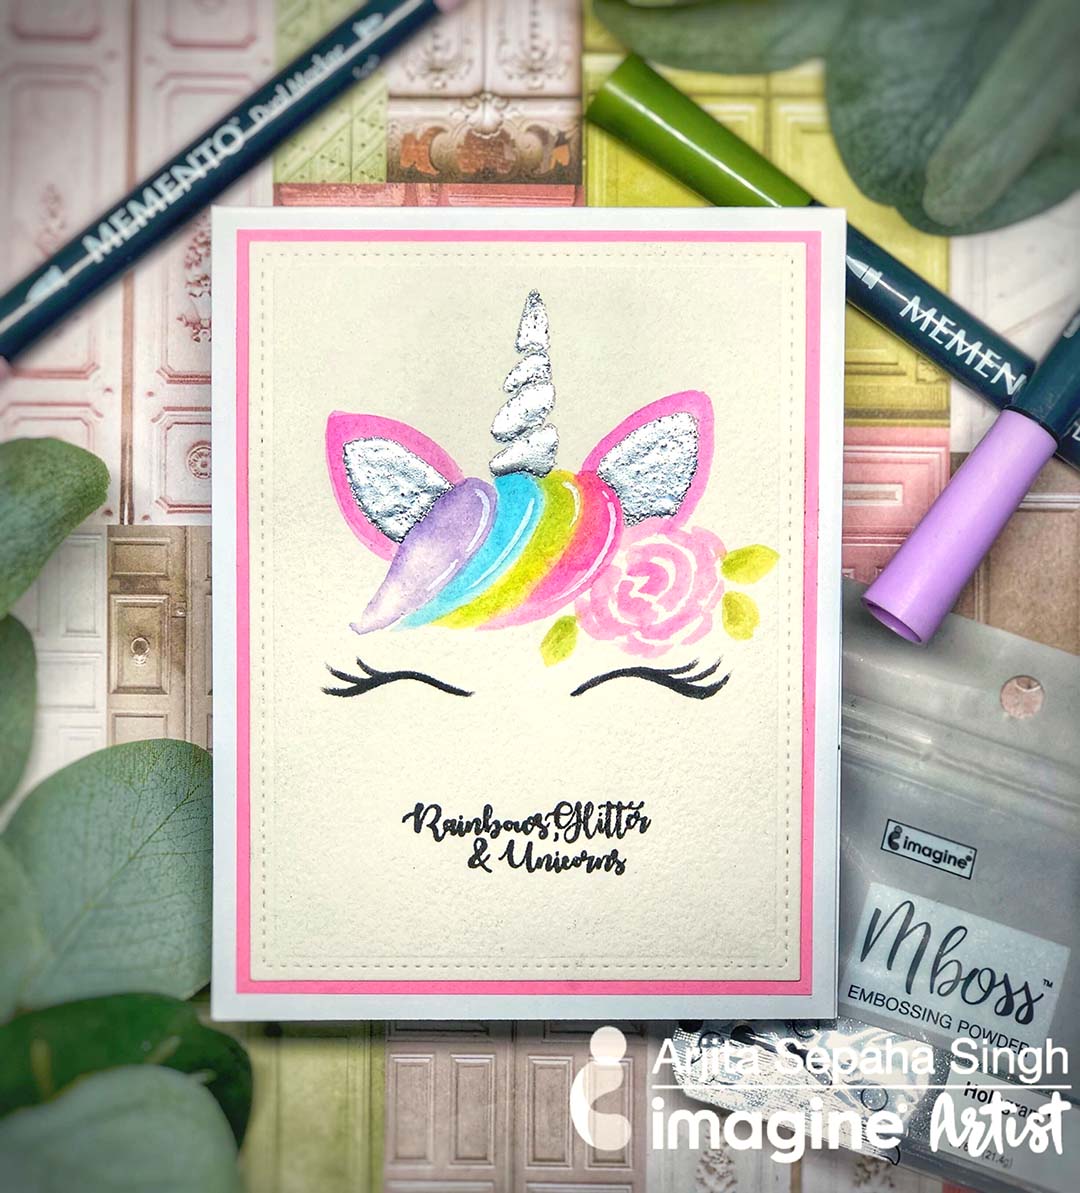
For this card I used a few Memento Dual-tip Markers and the gorgeous Mboss Embossing powder by Imagine.
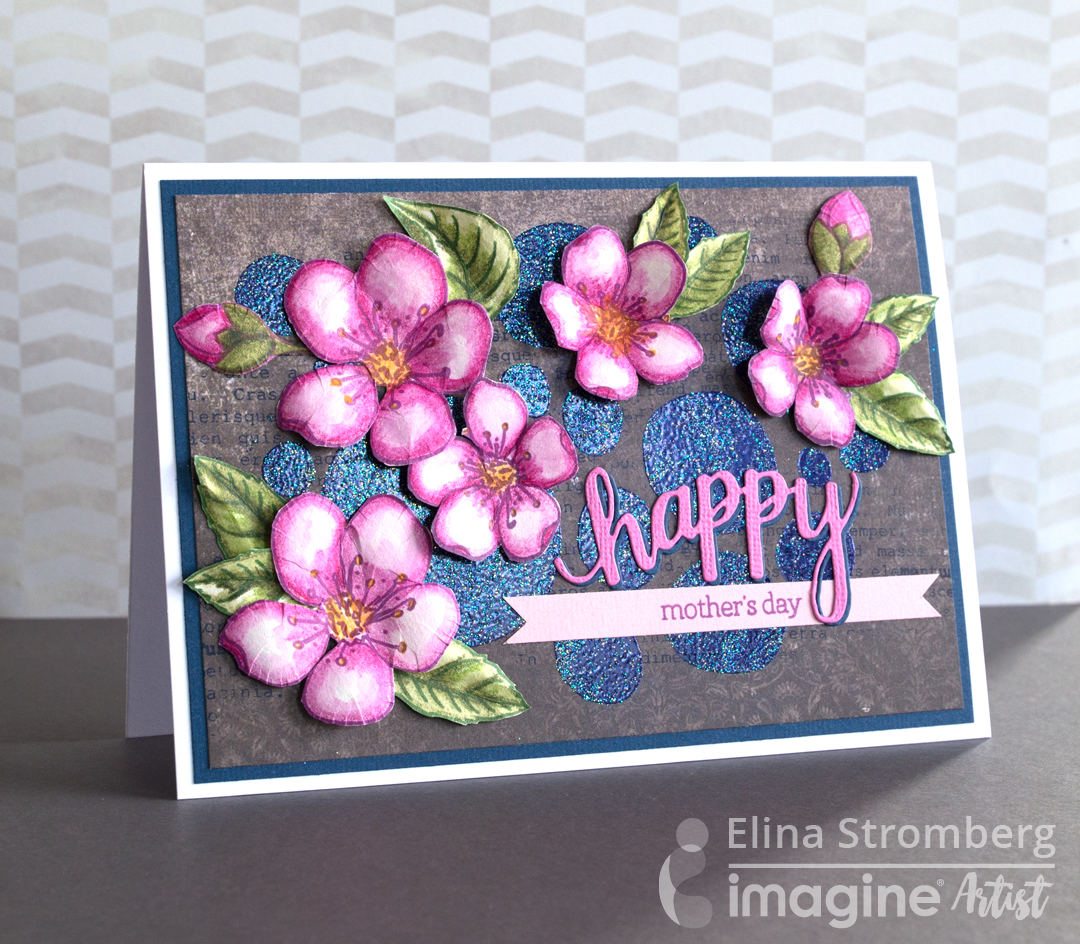
Mboss powders come in several gorgeous shimmering glitter versions that are perfect for creating self-made paper embellishments and beautiful card backgrounds! I've done just that in this unique floral greeting for Mom to celebrate her properly.
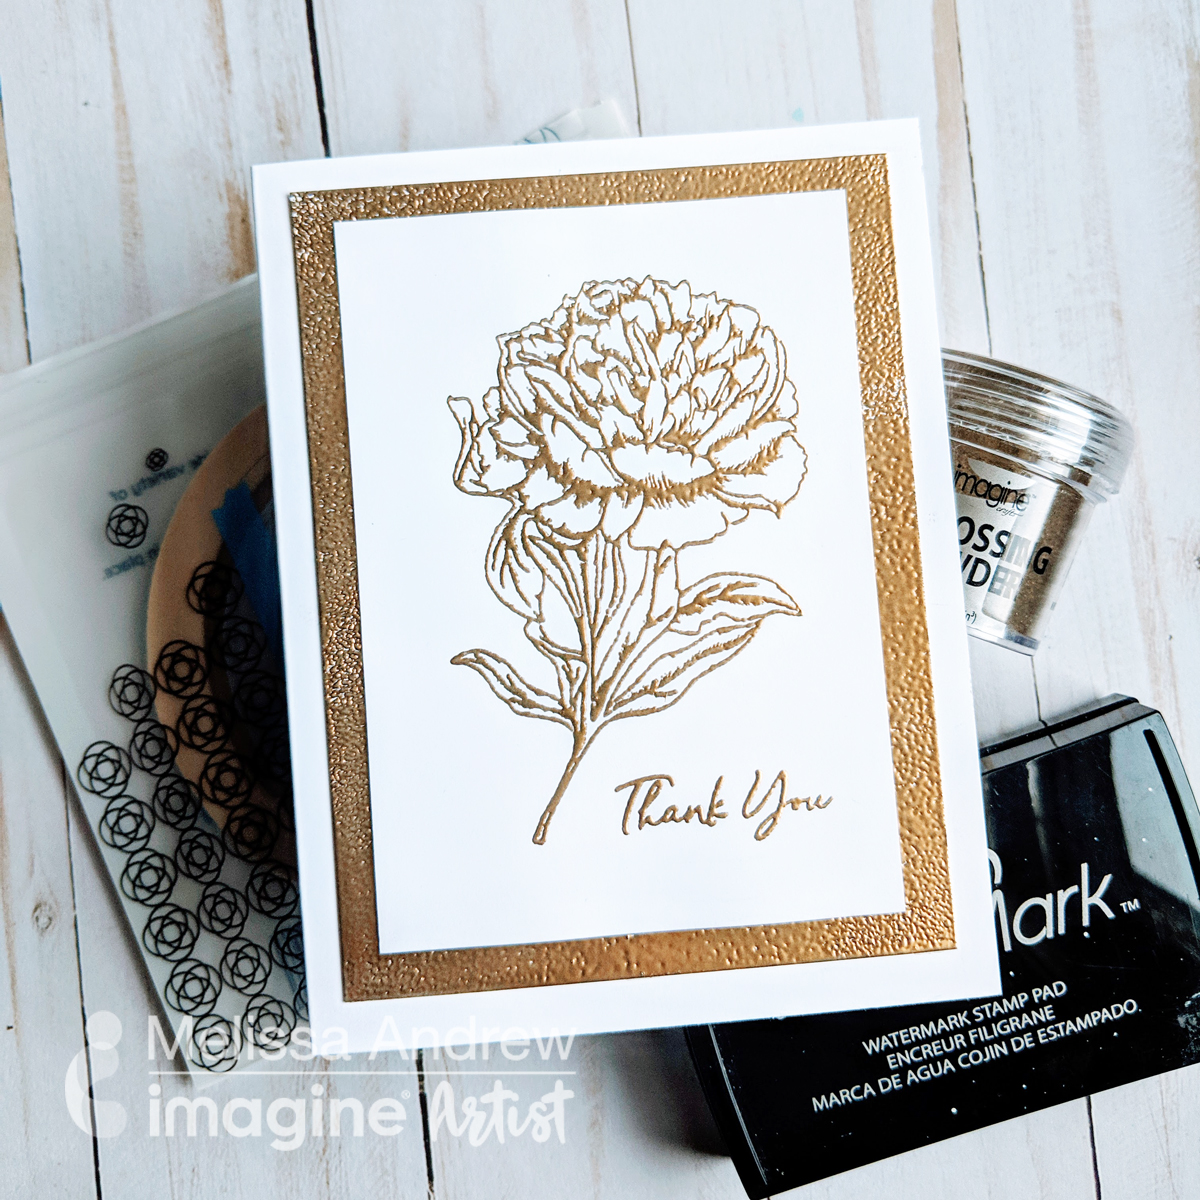
For this easy DIY project, I show you how to create simple, elegant wedding Thank You notes. It's always important to thank your guests and making your own beautiful thank you notes adds an extra special touch.
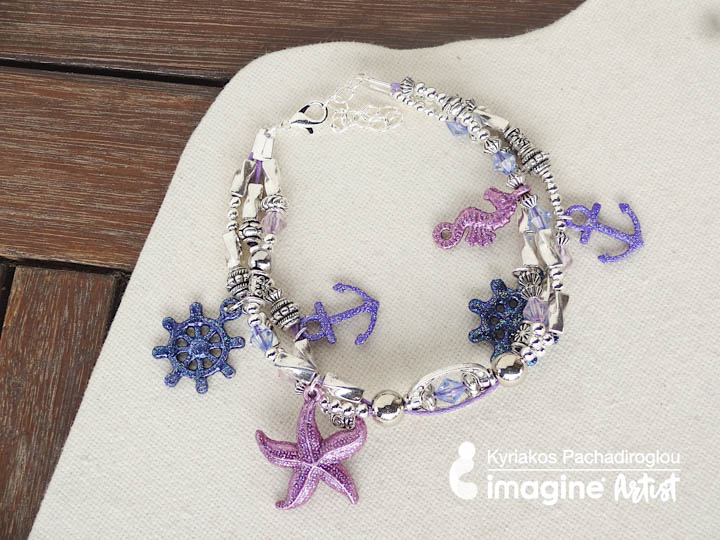
With summer being just around the corner, be ready by making a sea-themed bracelet for your vacation swag. Use the Mboss embossing powders to cover metallic charms, such as starfish, seahorses, and anchors, to add color to them.
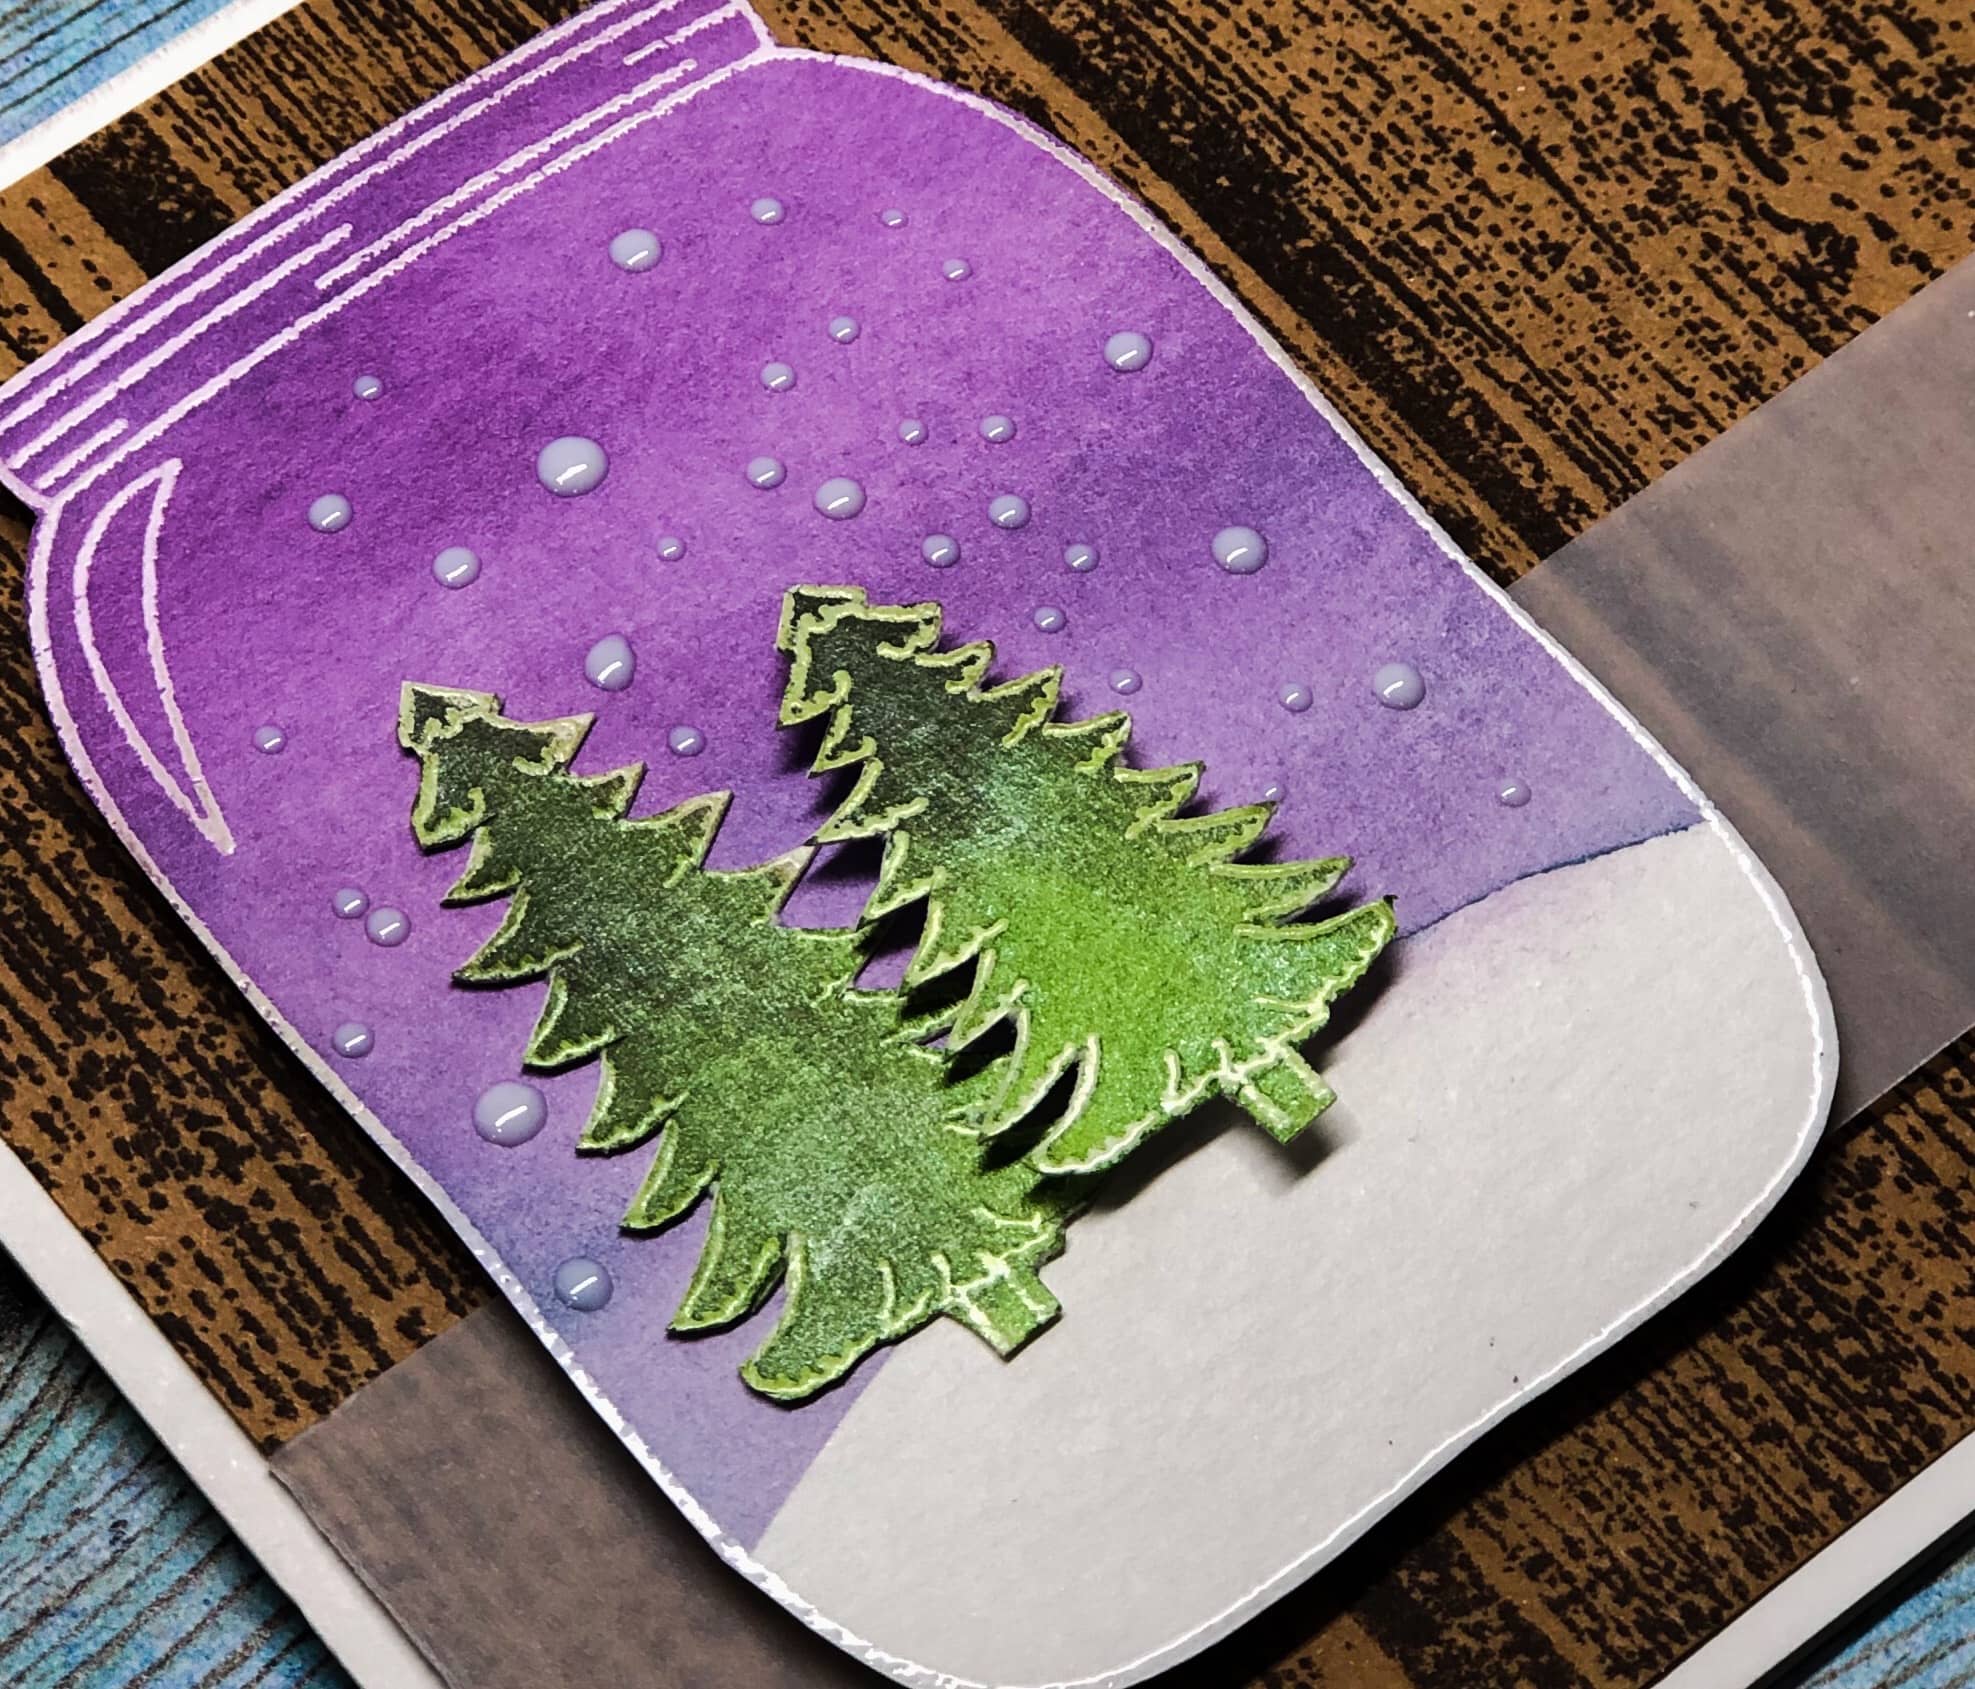
Create a Warm Wishes Holiday Card with a Mason Jar element.
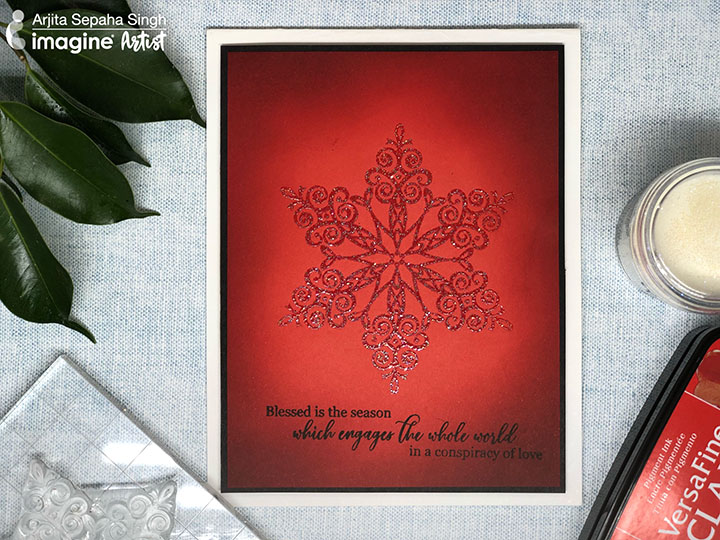
For today’s card, I used the Sparkle Embossing Powder to create the beautiful snowflake on a bright red cardstock. This is a perfect project to be mass-produced for your Christmas cards.
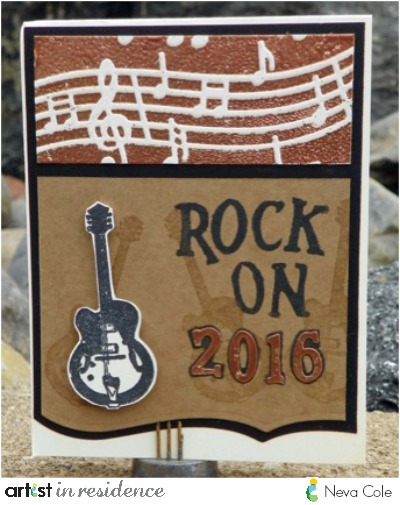
It is time to head into a brand New Year, and with this card we can celebrated 2016. Edit to the upcoming year for a fantastic way to bring in a fresh new energy. There are only two inks used for this card, VersaMark Watermark and Memento Tuxedo Black. Enjoy!
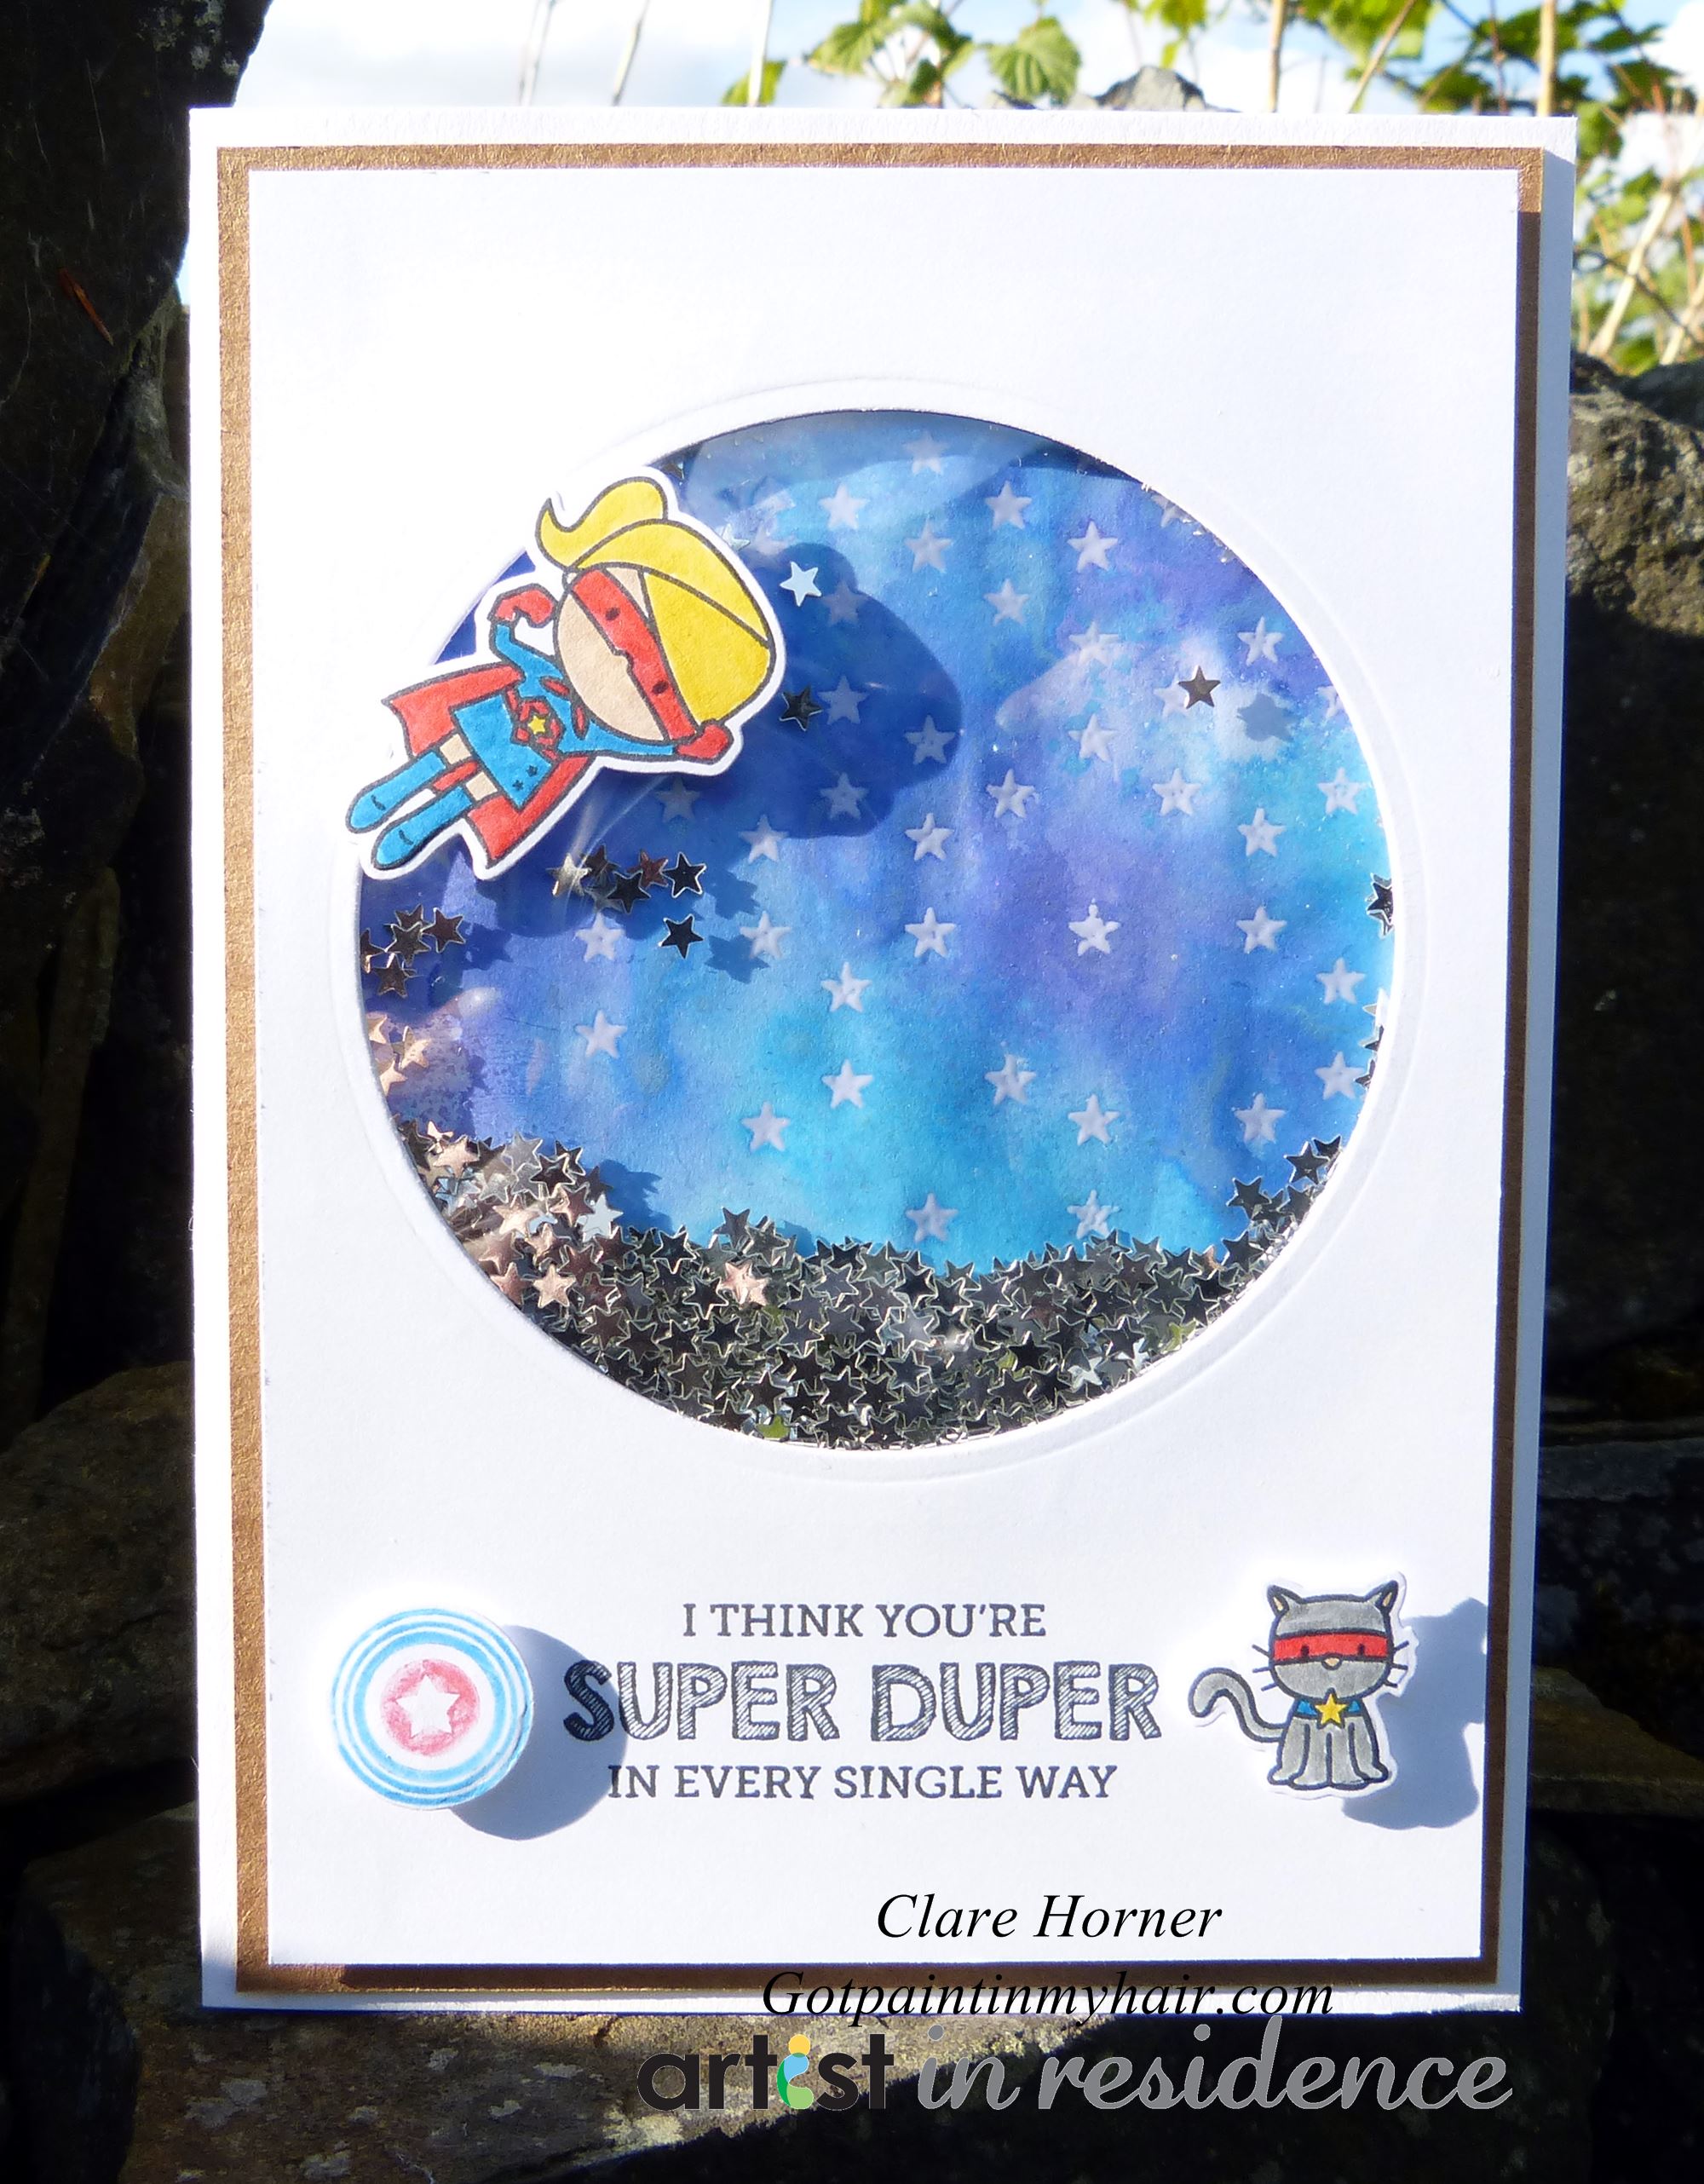
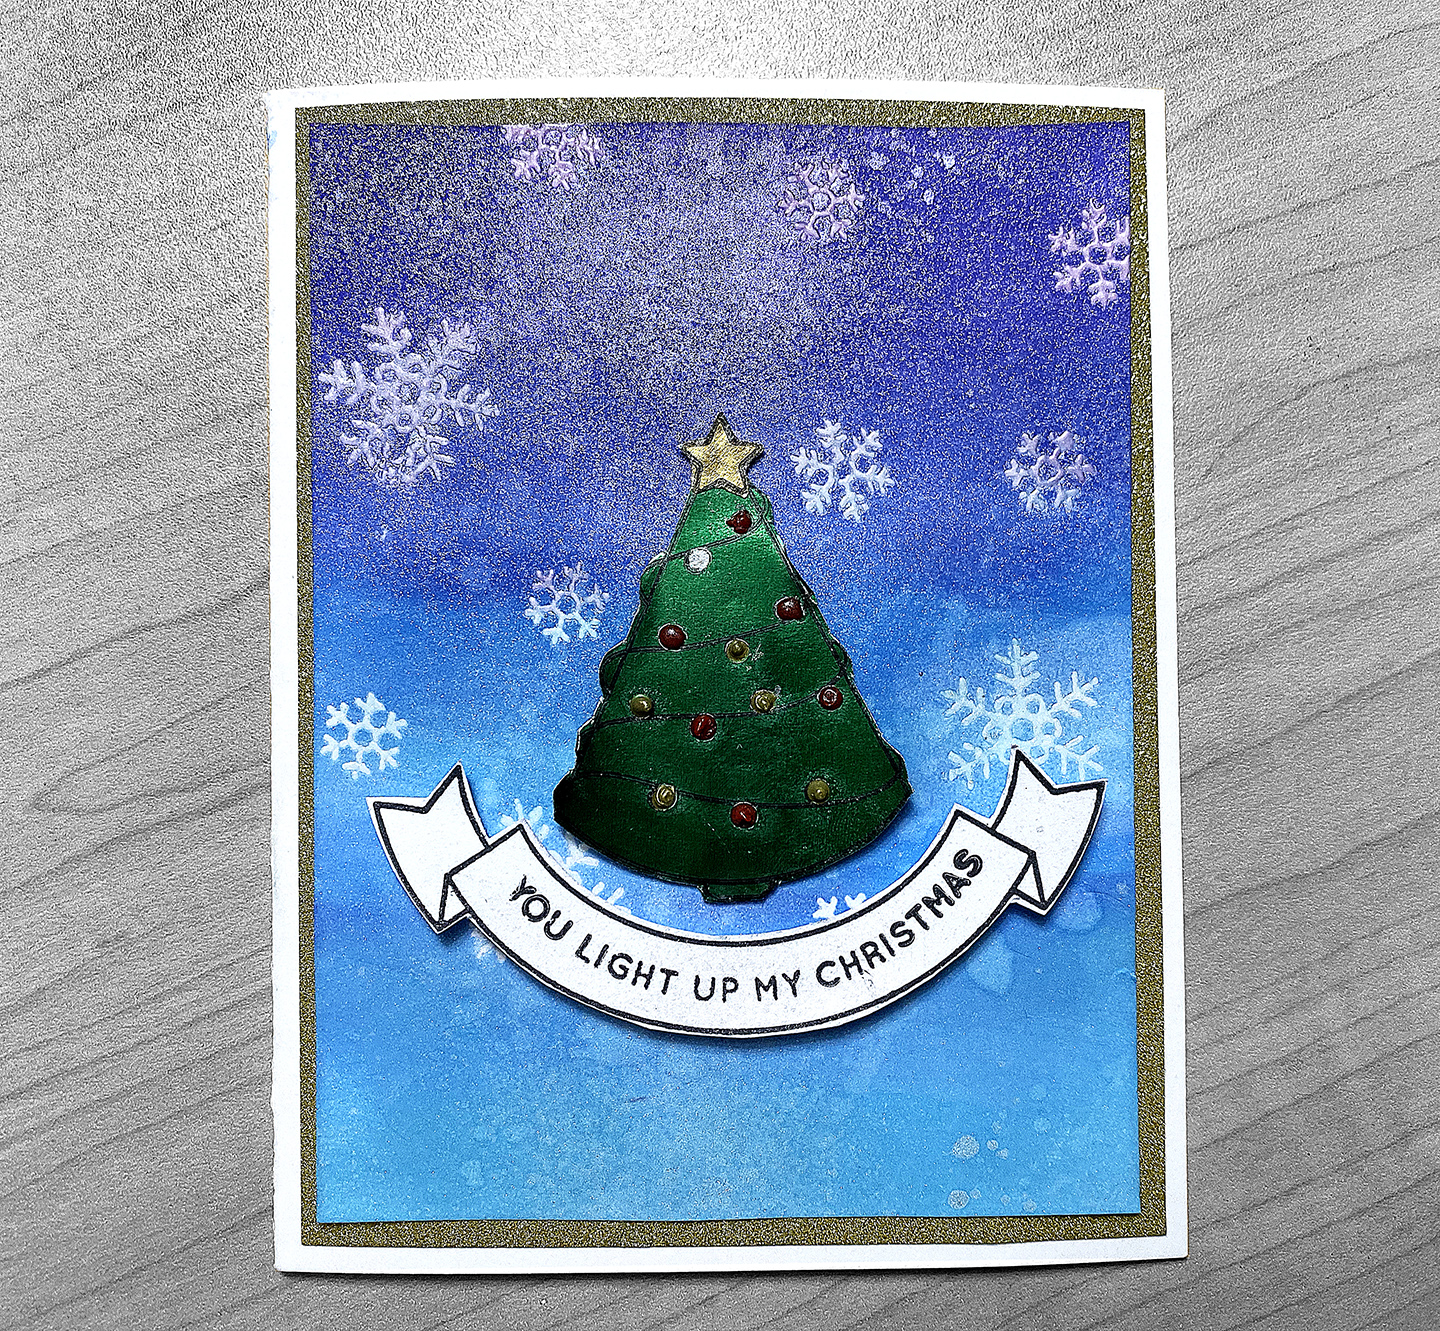
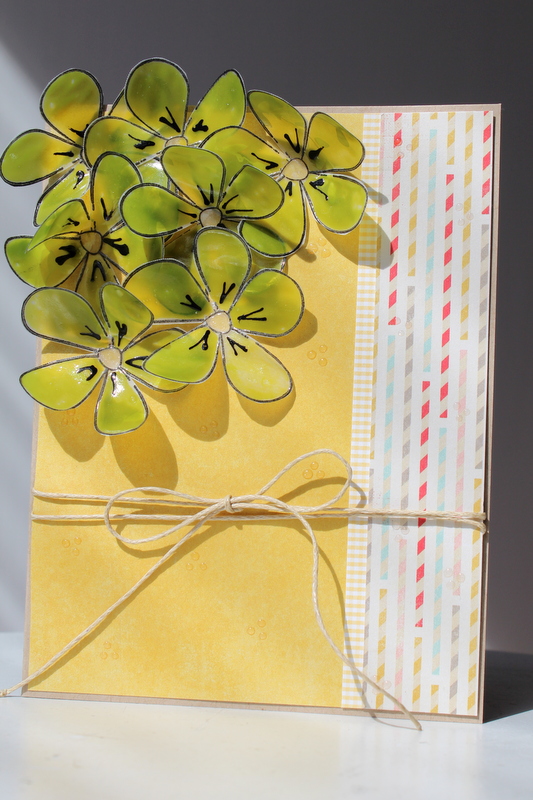
I really adore how this card came out, especially when I took it outside to photograph, the 3D elements cast wonderful shadows over the front of the stark white card stock giving it a completely different look to what I had imagined when I first thought of what to create.
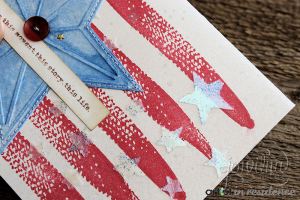
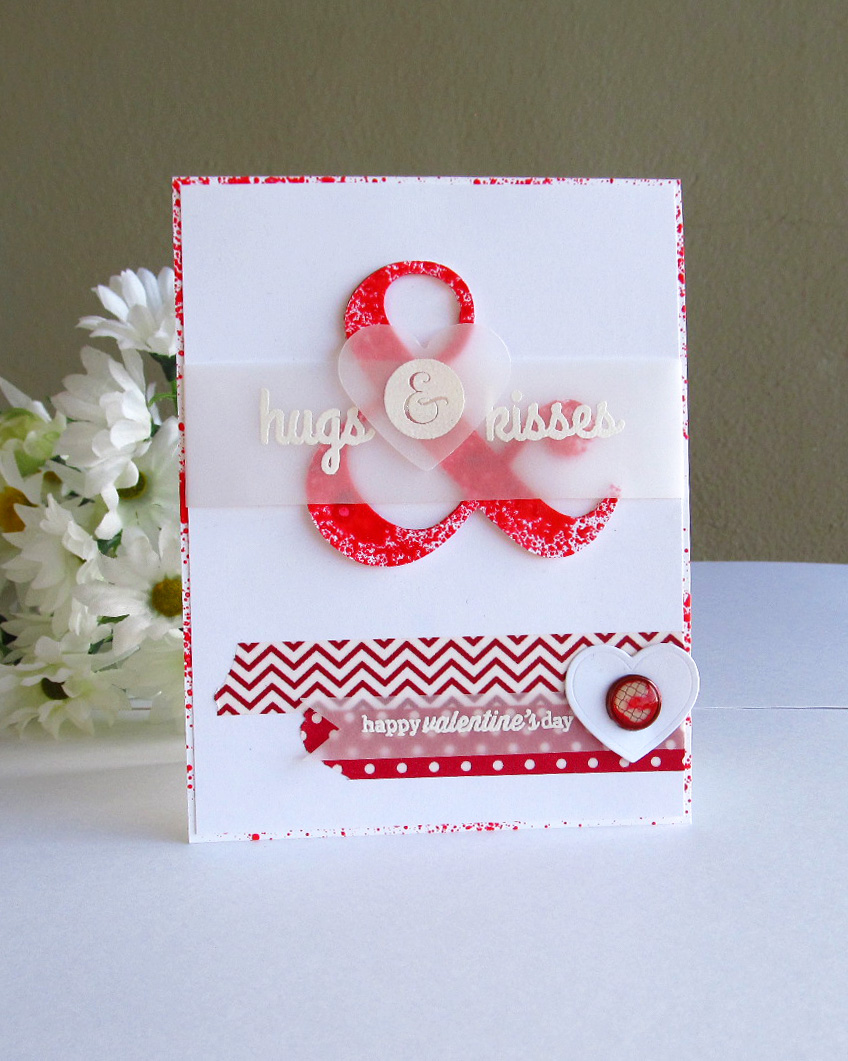
I love red and blue, I love America - so when I have the chance to create something that is so close to my heart I really am in crafting heaven. This card celebrates my love for this amazing country and some real crafting goodness all thrown into one gorgeous themed card.
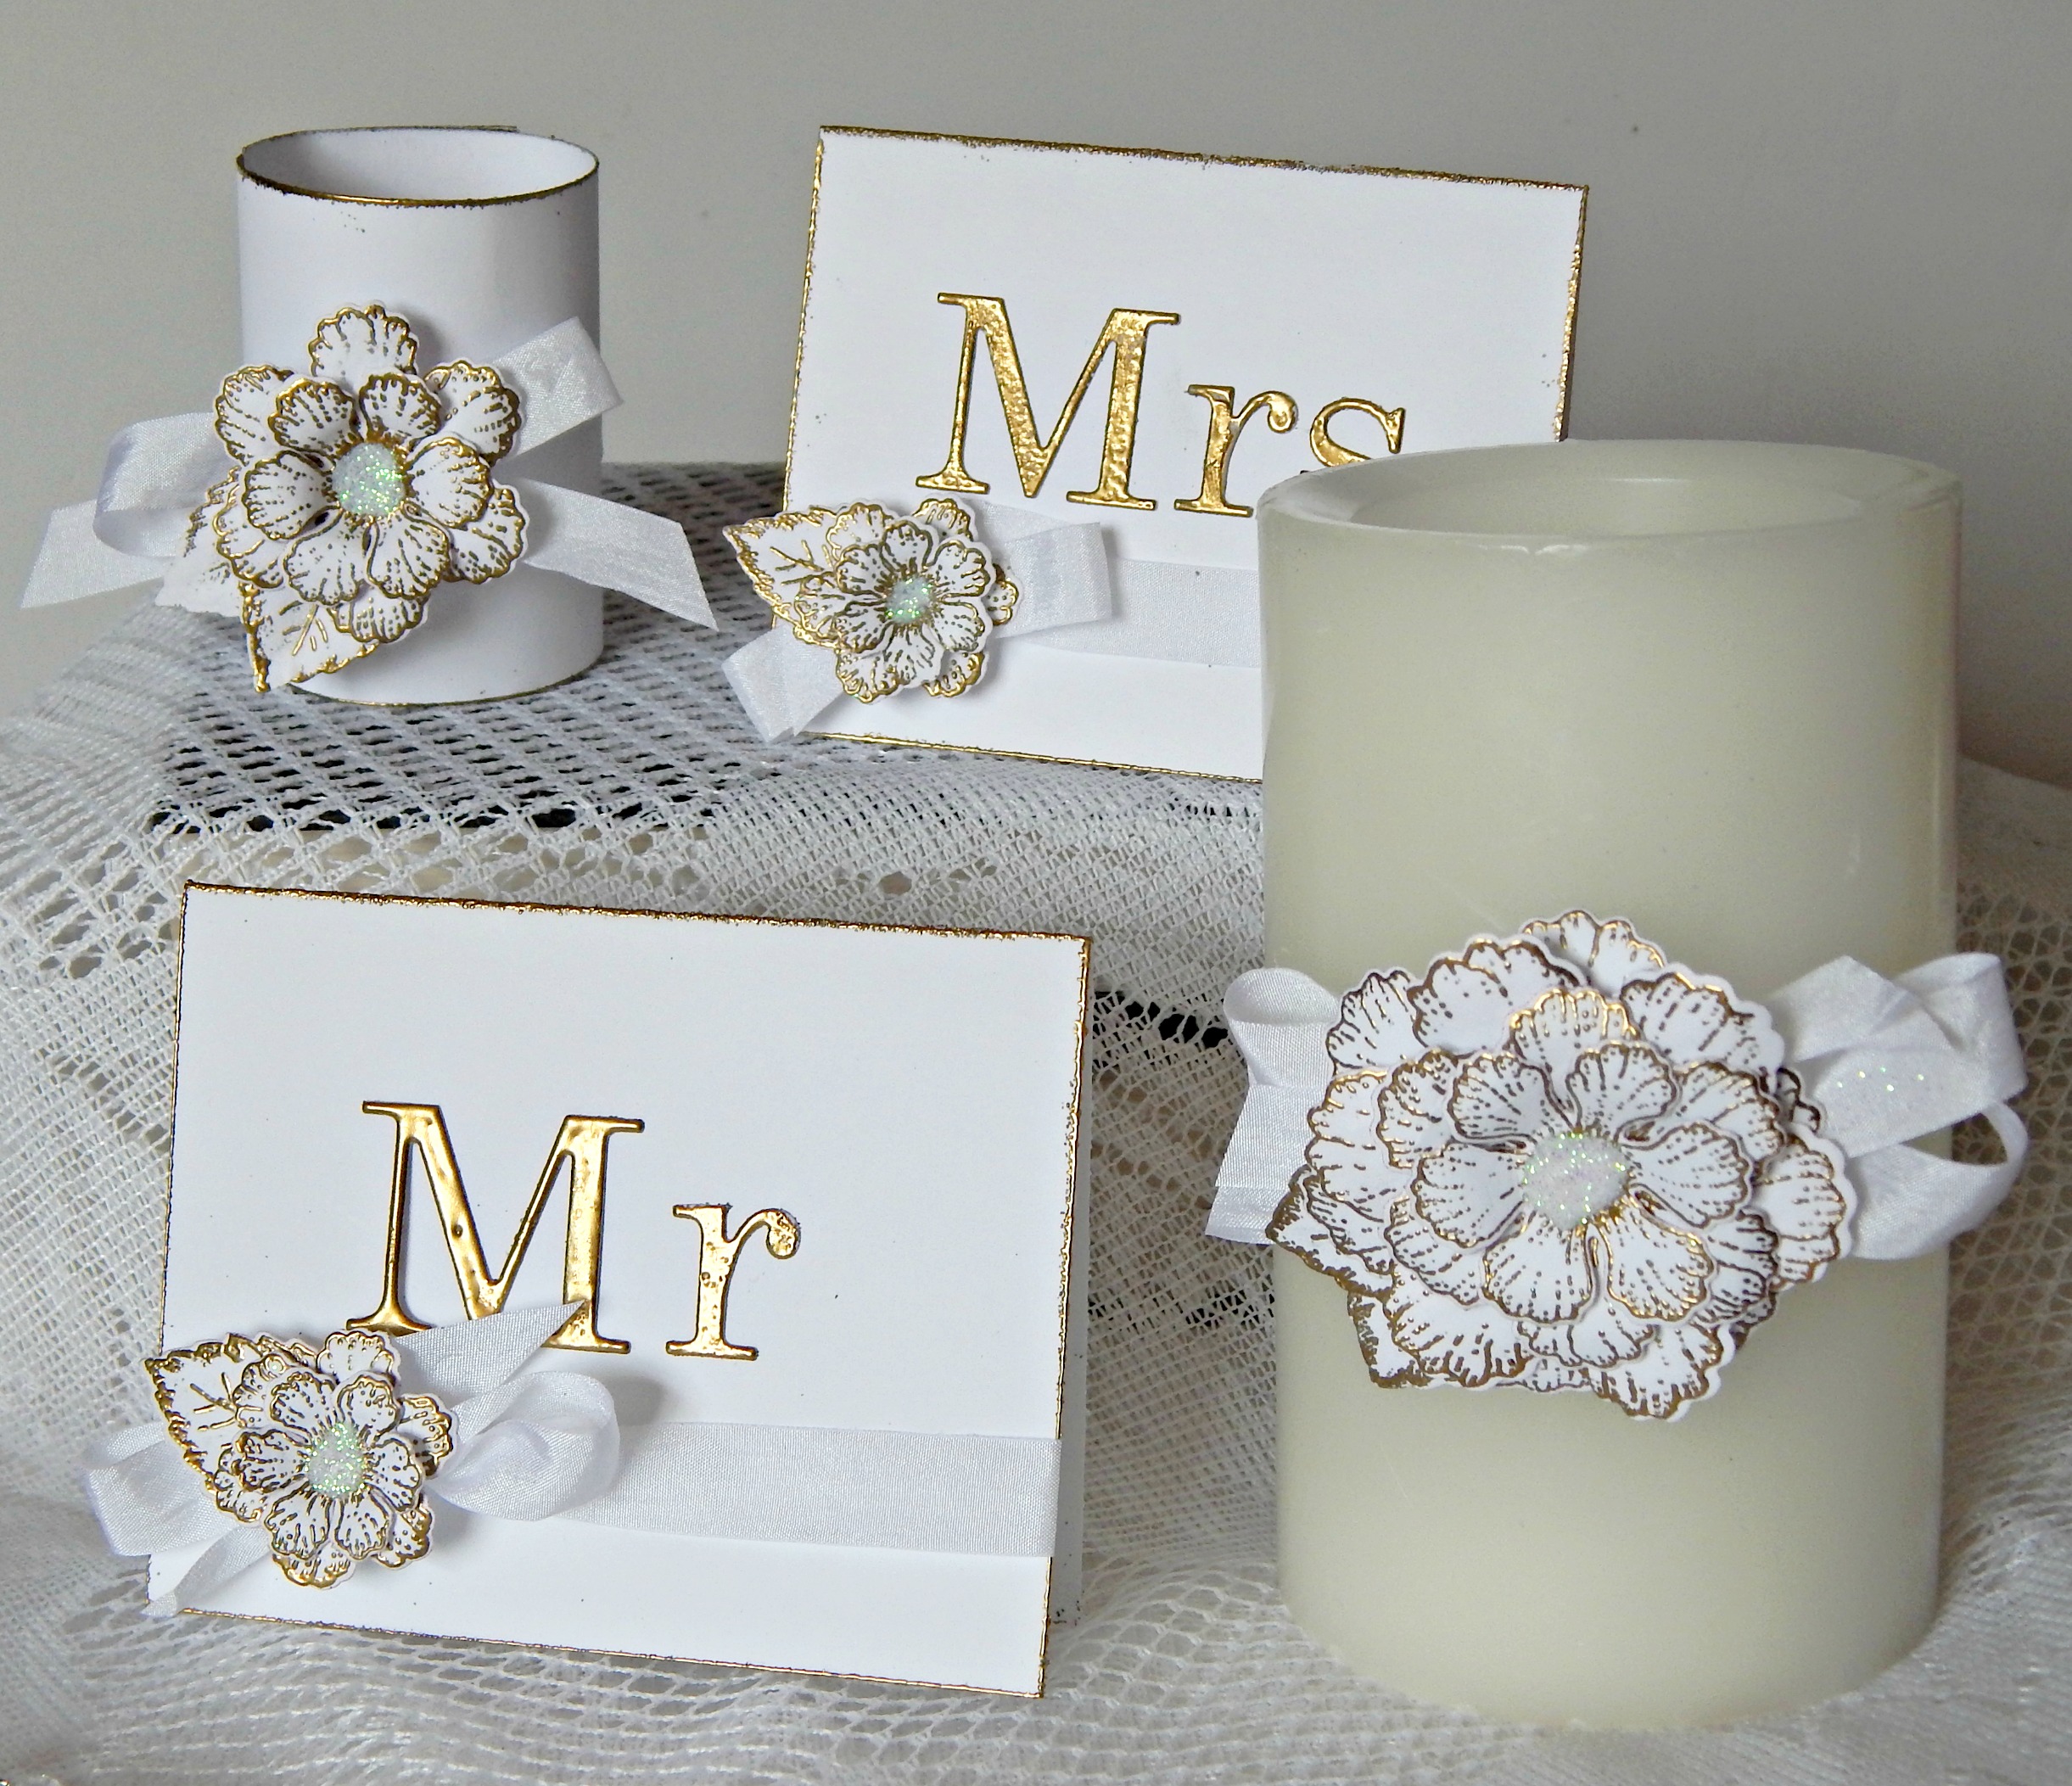
Tina McDonald shows you how easy it is to make beautiful wedding decor using Versamark and Embossing Powder. Who says you have to spend a fortune to have your special day look like like a million bucks?
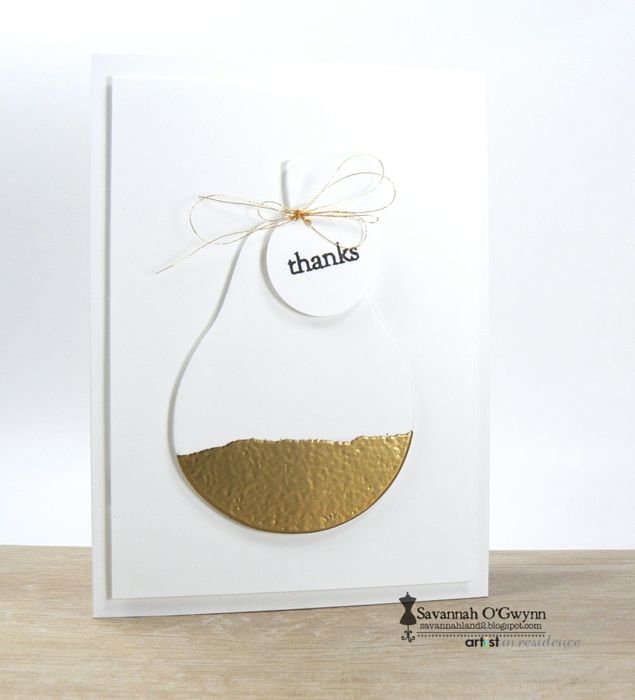
Savannah O'Gwynn adds a little bit of VersaMark ink, a touch of embossing powder and some heat setting to take simple greetings to the next level.

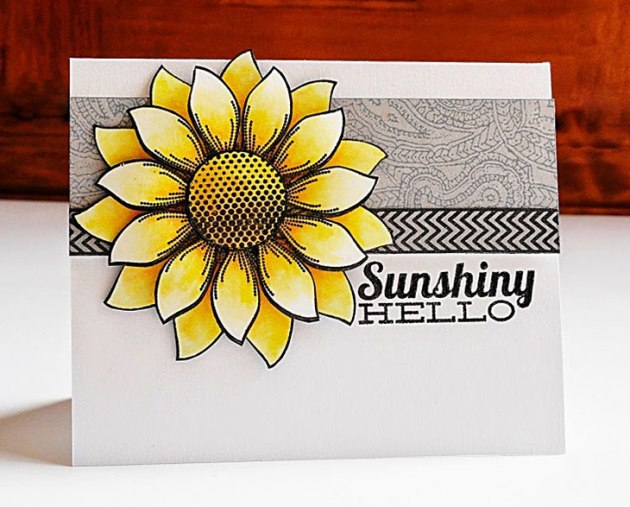
Shimmery highlights make this summer themed card special.
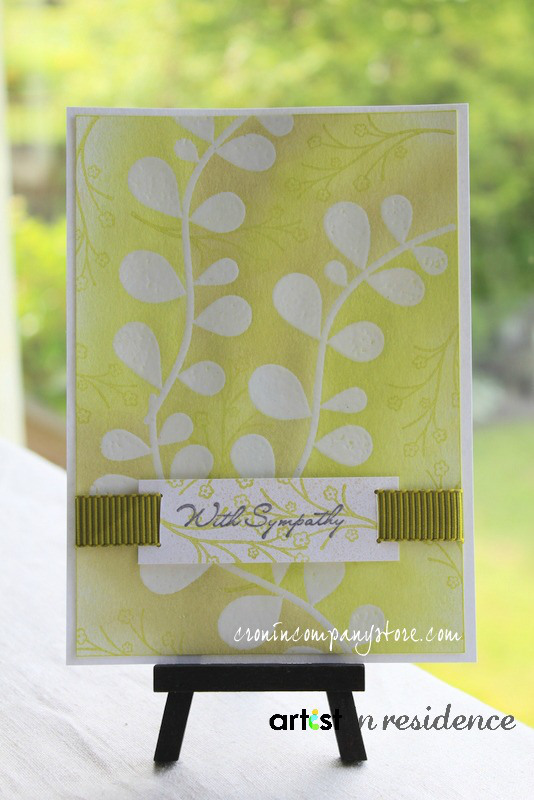
A CAS card made with VersaMark, Gold Embossing Powder and Dreamweaver Stencils.

Evoke a festive fall air with this card incorporating Vertigo and heat embossing.
Understated grays and blacks contrast with Radiant Neon inks for an elegant card.
Create this stunning card that is perfect for almost any occassion.
Learn how to make vellum stand out on your next project by using the irRESISTible Pico Embellisher!
Fun and bright, this card can be used for both spring and fall.
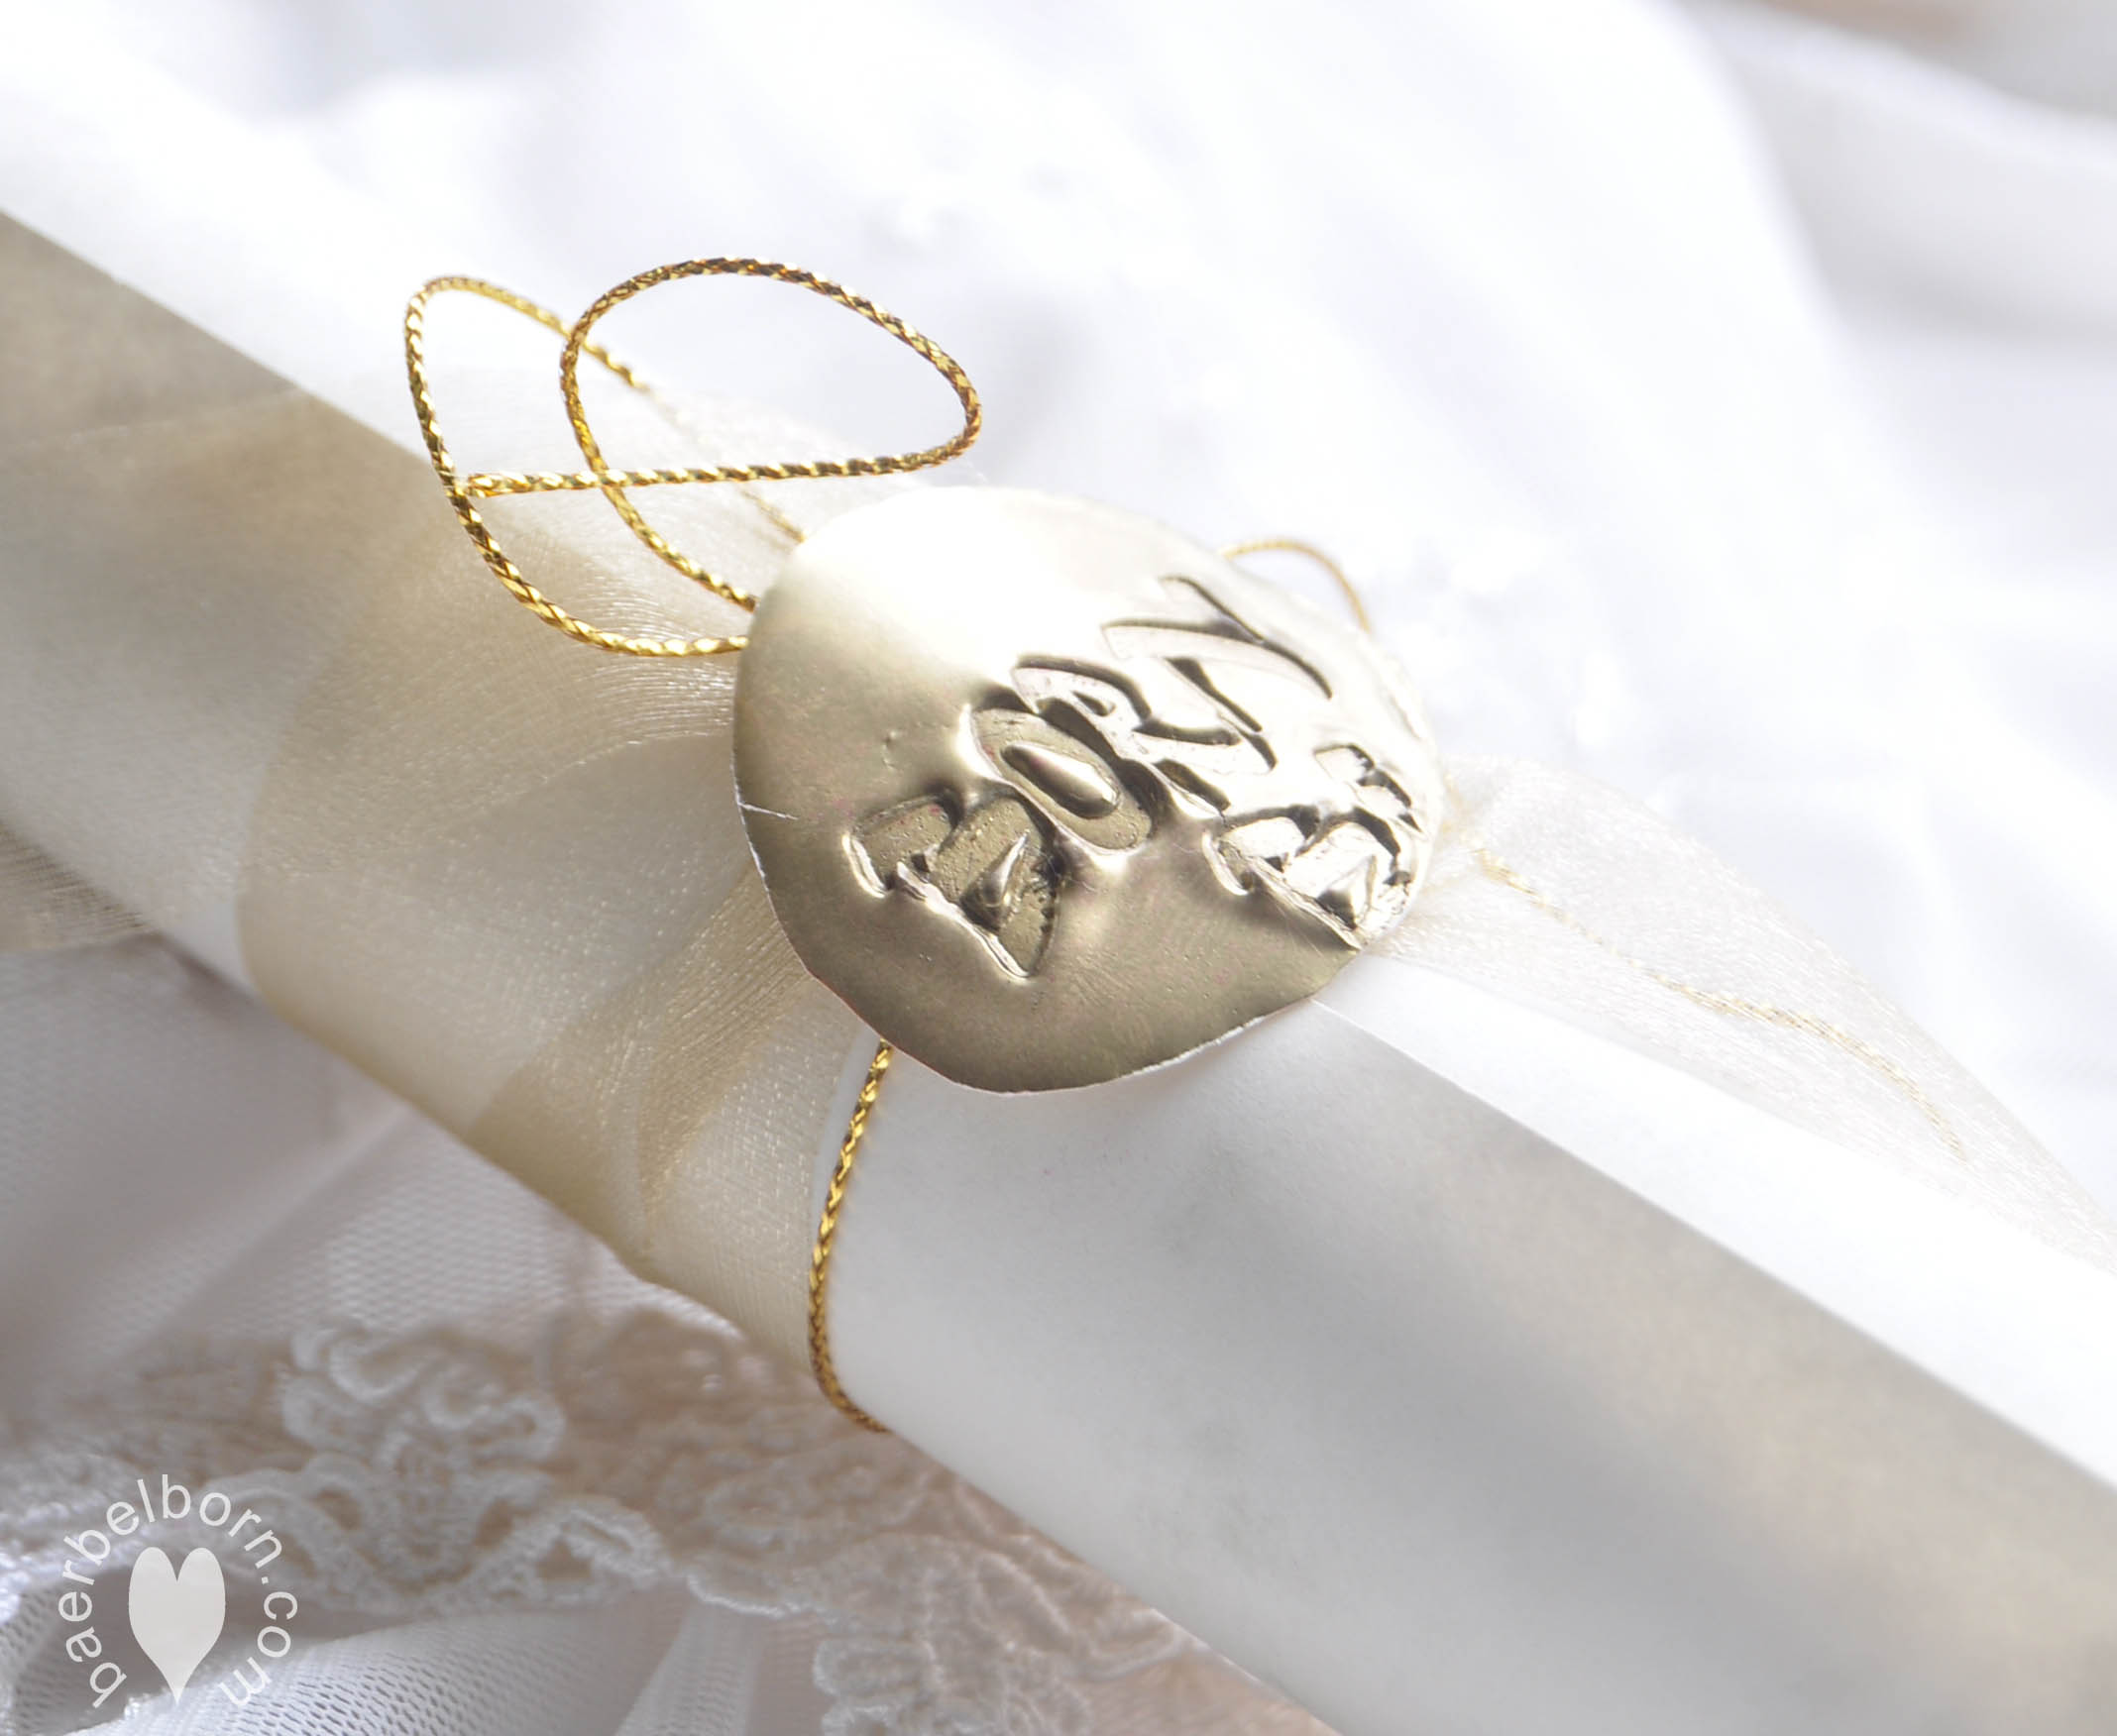
Create elegant, faux wax seals using embossing powder and rubber stamps in this video tutorial. These make the perfect embellishments for projects and gifts.
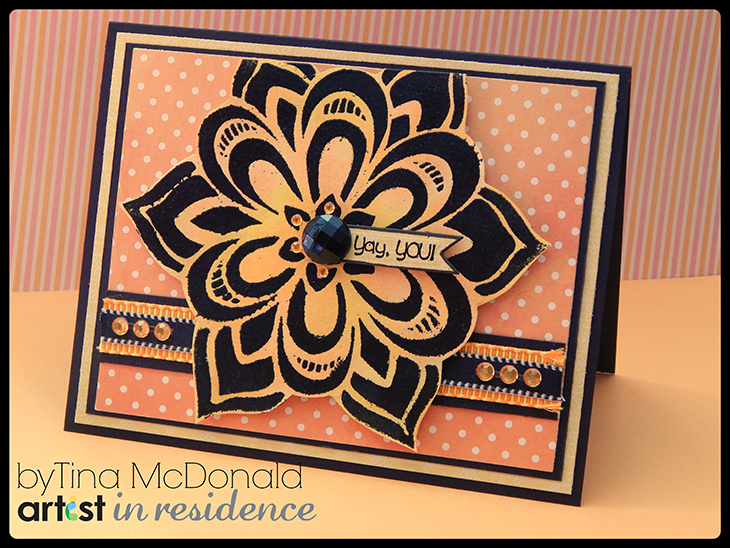
Create this fun card made with VersaMark and Black Embossing Powder then colored with Radiant Neon inks. This card is sure to be cherished!
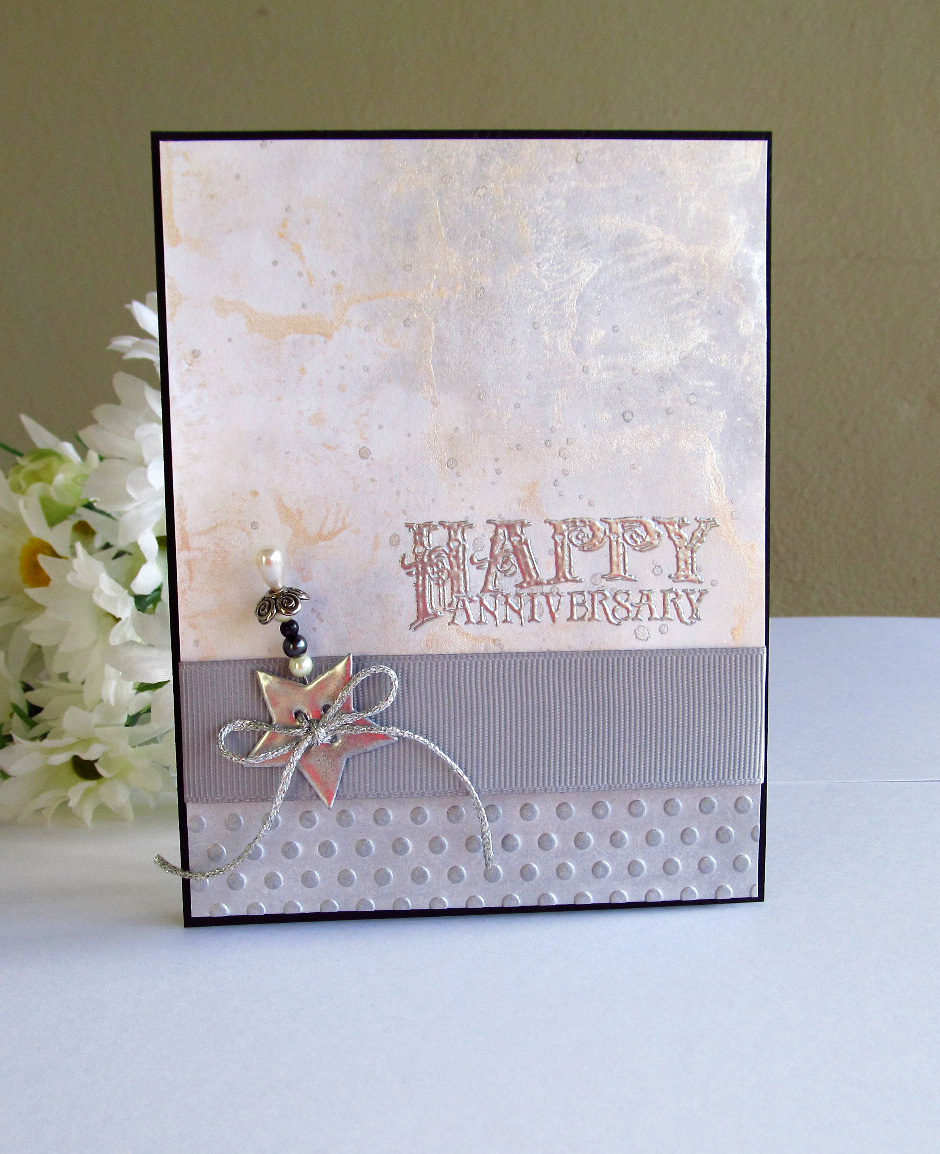
Celebrate this special milestone with beautiful silver highlights.
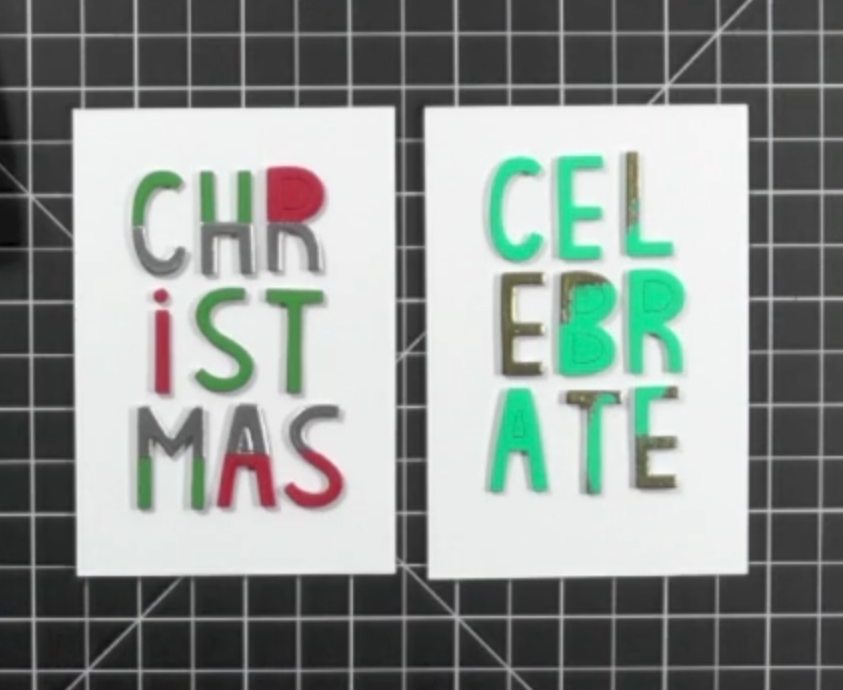
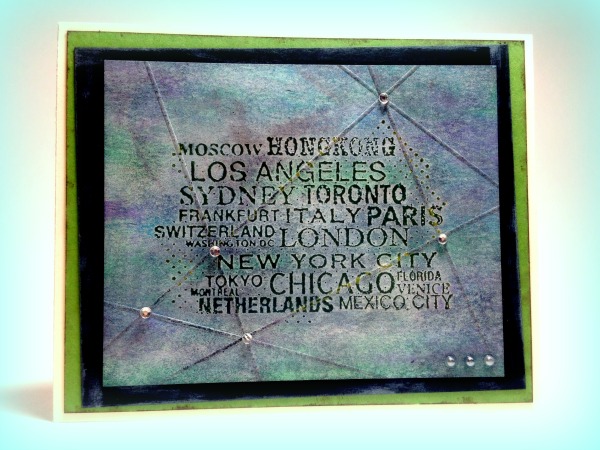
Let typography be the focus on your next card.
This layered and textured background is perfect for any creative project.
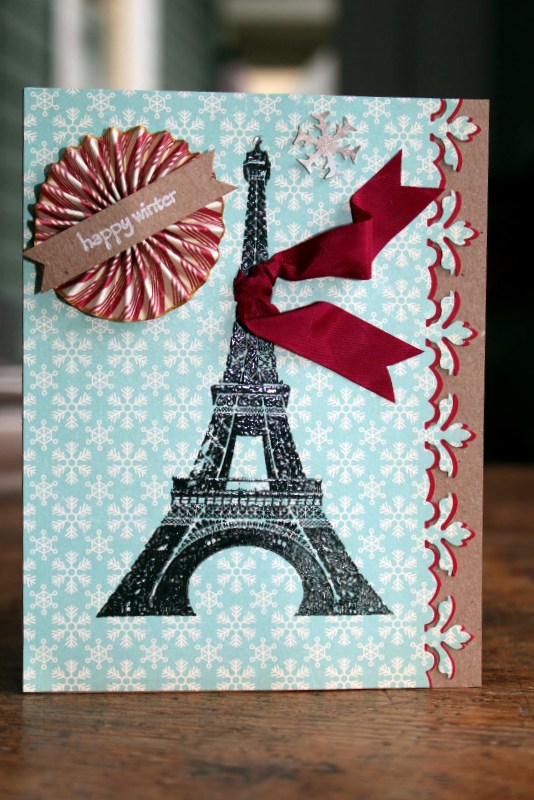
An Eiffel-tower themed winter card.