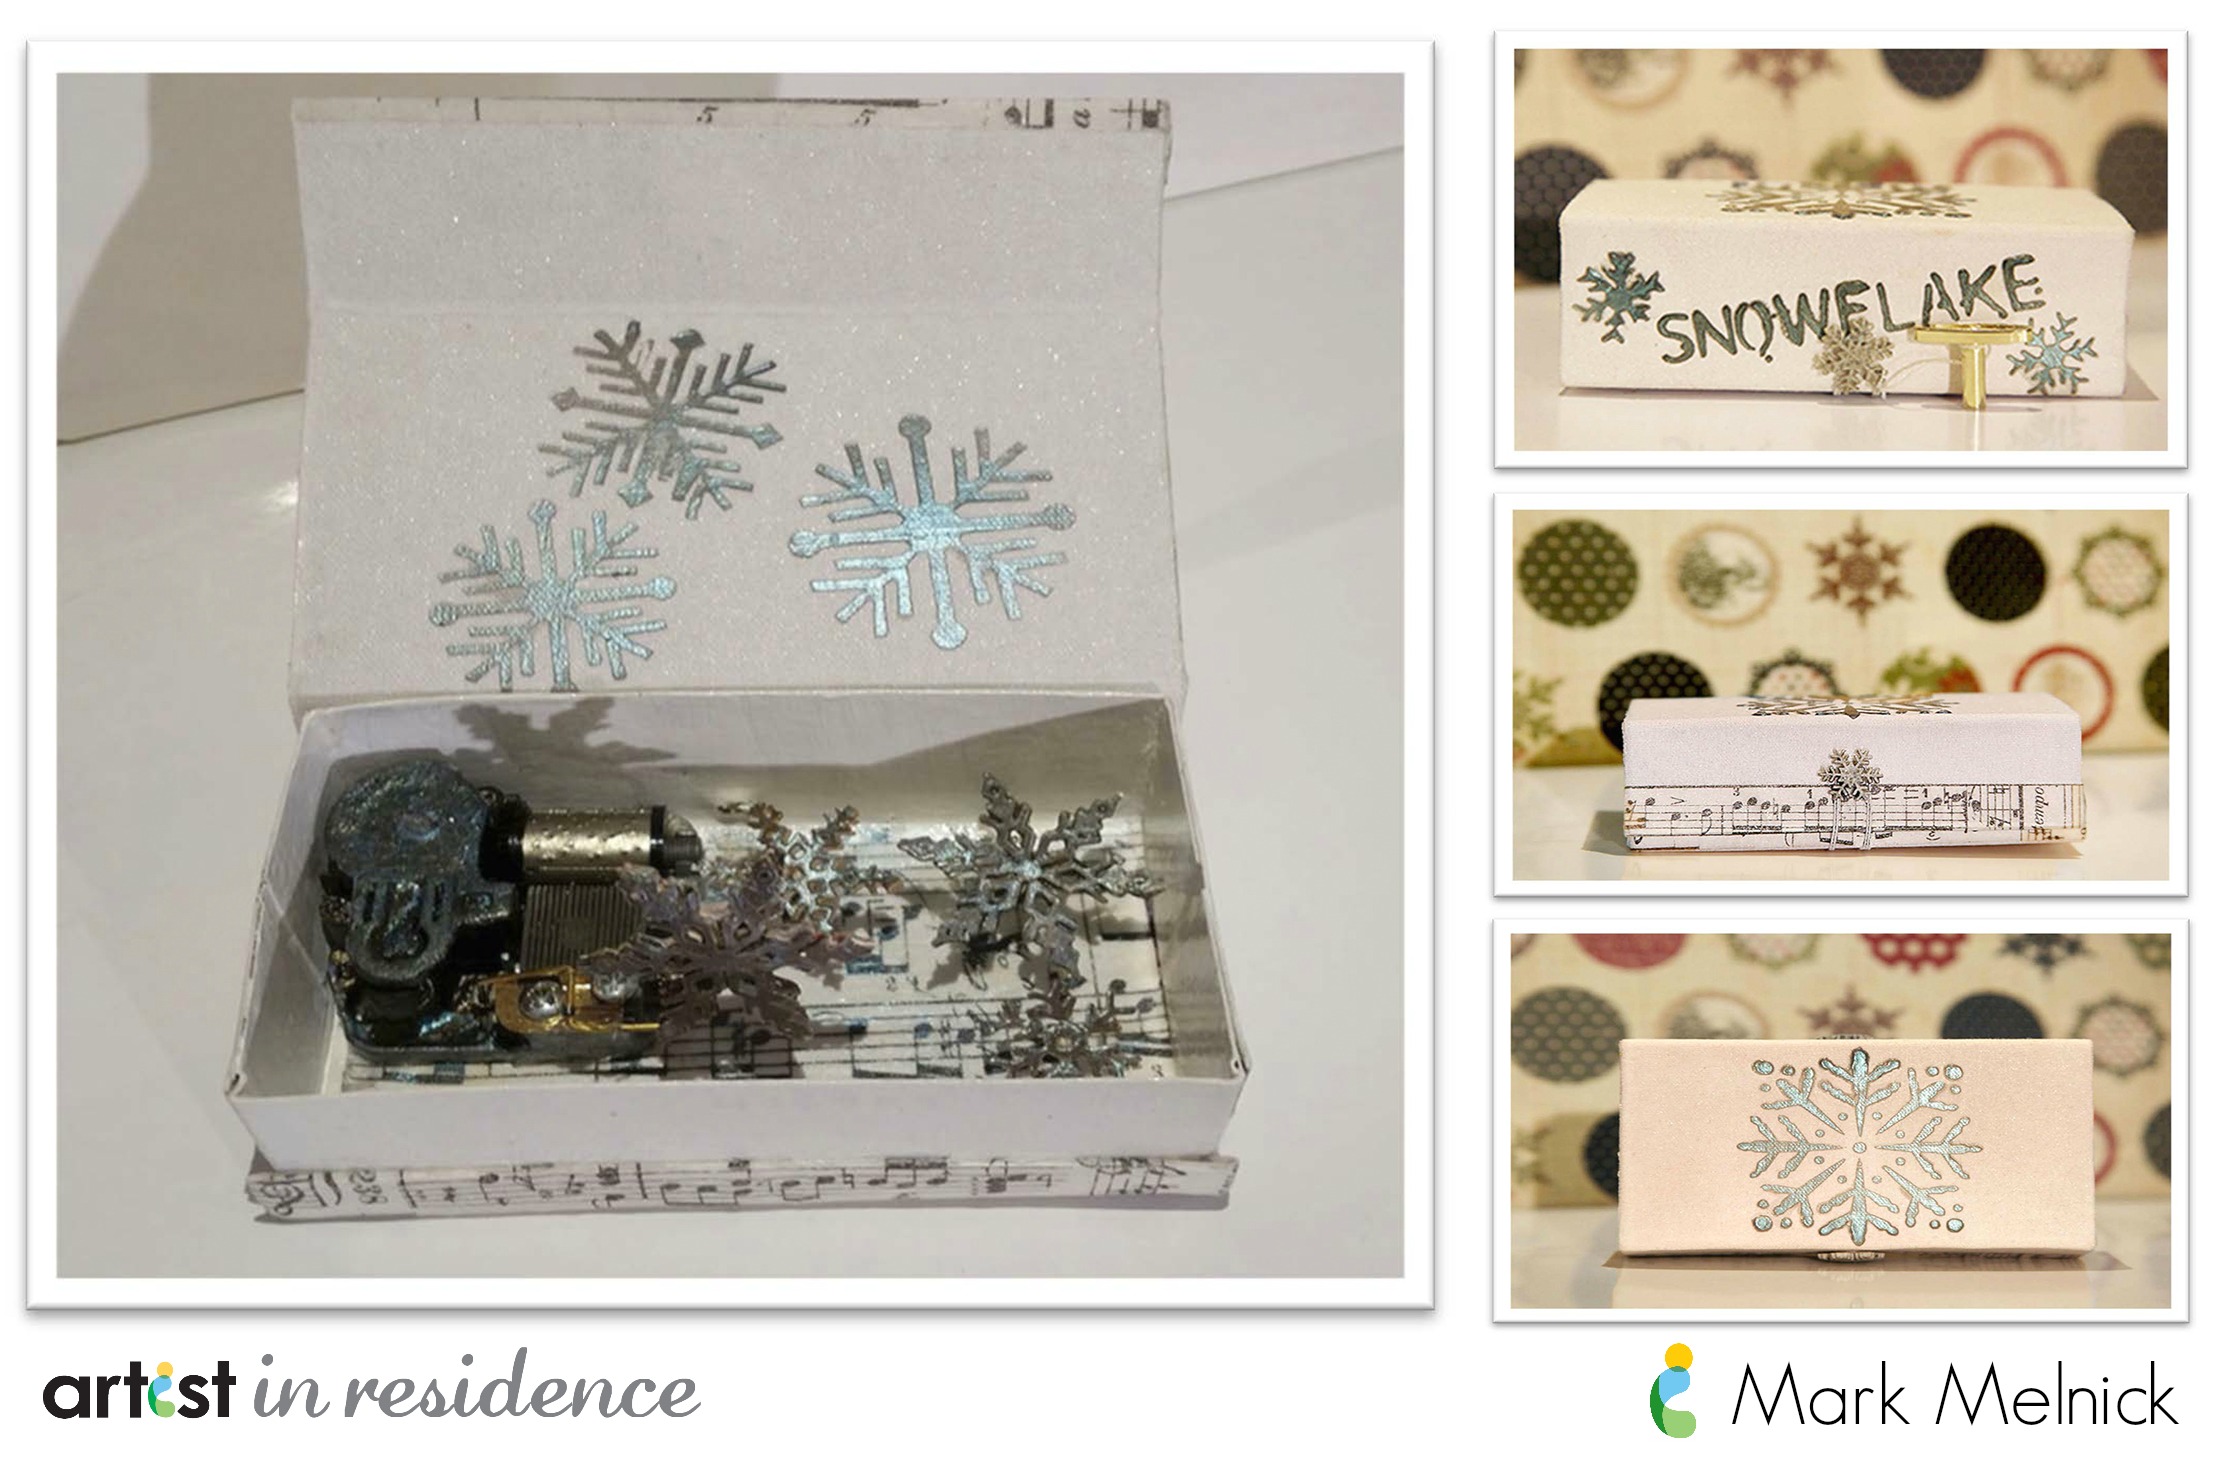
This tutorial is about Creative Medium and using it to produce amazingly textured designs. This box is Christmas-themed but these keepsake gifts can be made for any occasion..
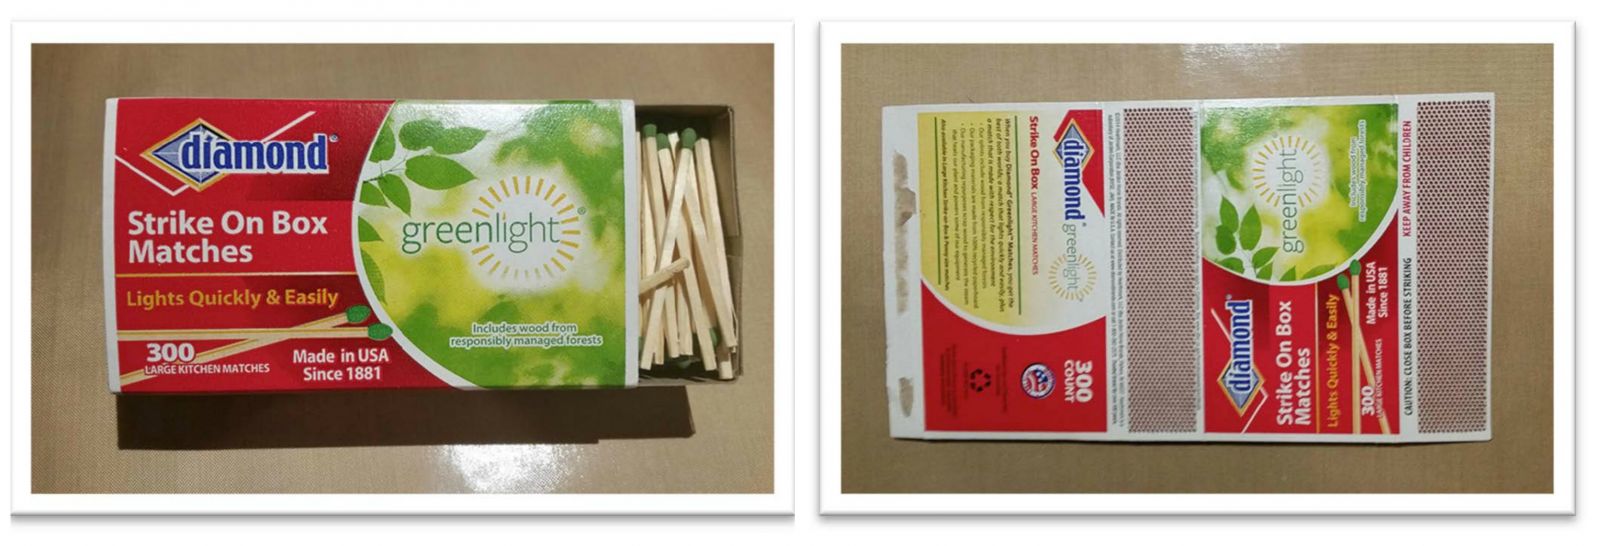
Take a large matchbox and carefully dismantle the top piece
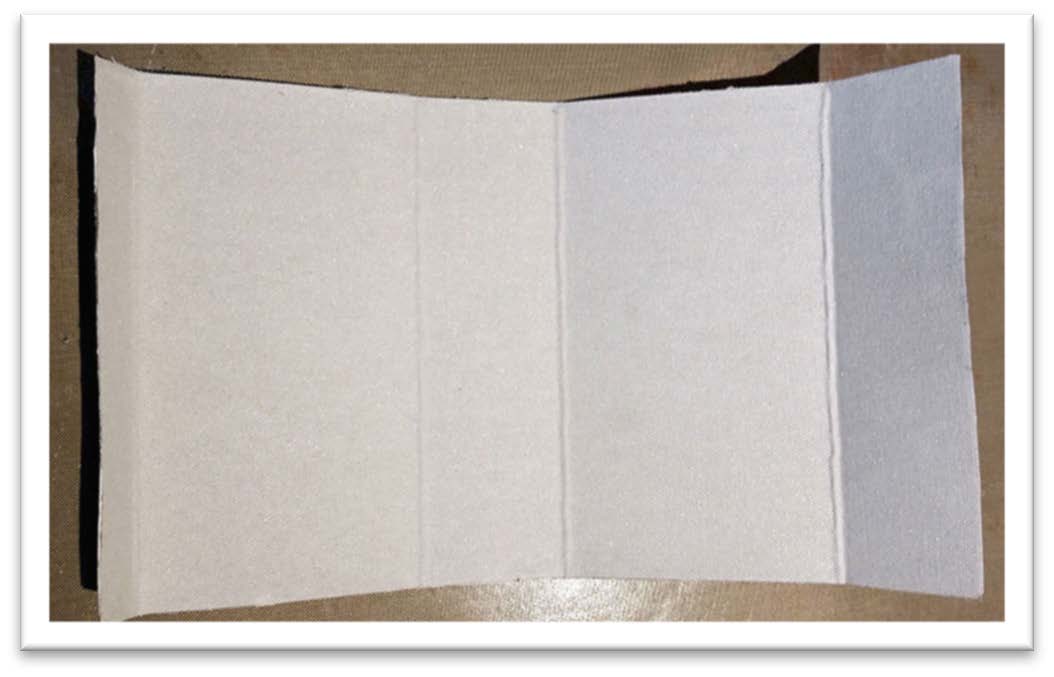
Paint both top and bottom surface with Gesso [Black or white work best.] It may takemore than one coat to cover design to your satisfaction. Cover dried box top with fabric – I used White Sticky Back Canvas. Make sure to paint Gesso along the edges to prevent fraying.
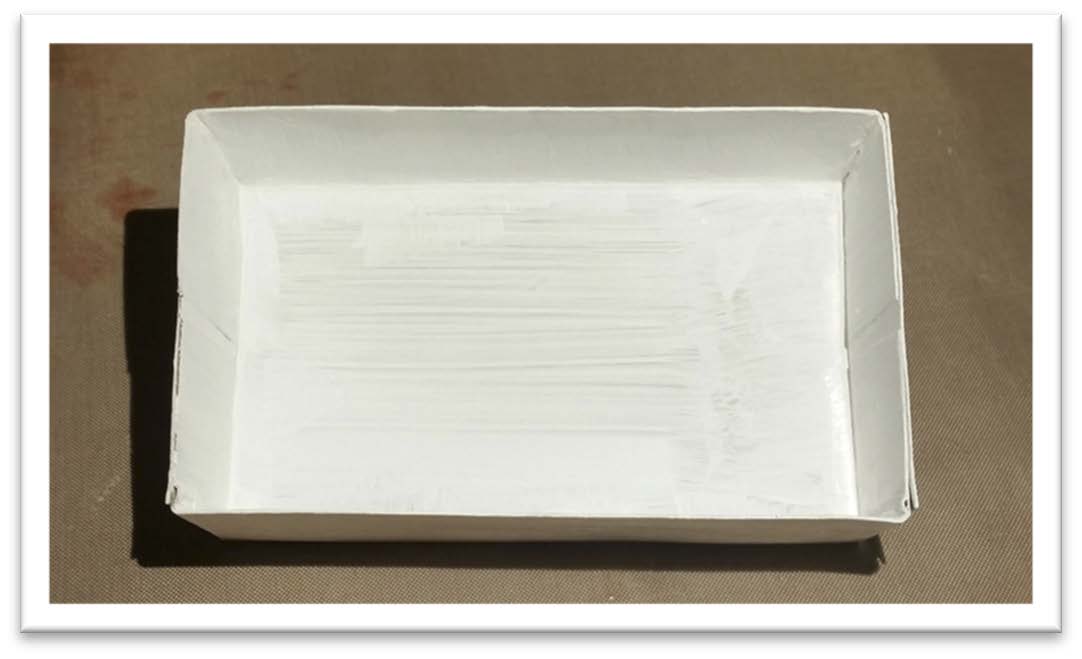
Now take the box and apply white Gesso. *Optional step: Apply a water-base Clear Varnish. This creates wonderful reflections of the inside of the box.
Take Music Box movement and place it in the left hand corner of the box. Mark the point where the ‘key turn’ touches the box. Take box top and wrap around box bottom and mark the same point. Make a hole in these two places – an eyelet setting tool is ideal for this task. Take a piece of patterned paper and line bottom of box. Apply a thin coating of the Creative Medium to paper using a sponge brush. Apply decorative trim of choice to both ends of the music box top.

Take Snowflake Stencils and Creative Medium colors to create a design on the box top both inside and outside, as desired.
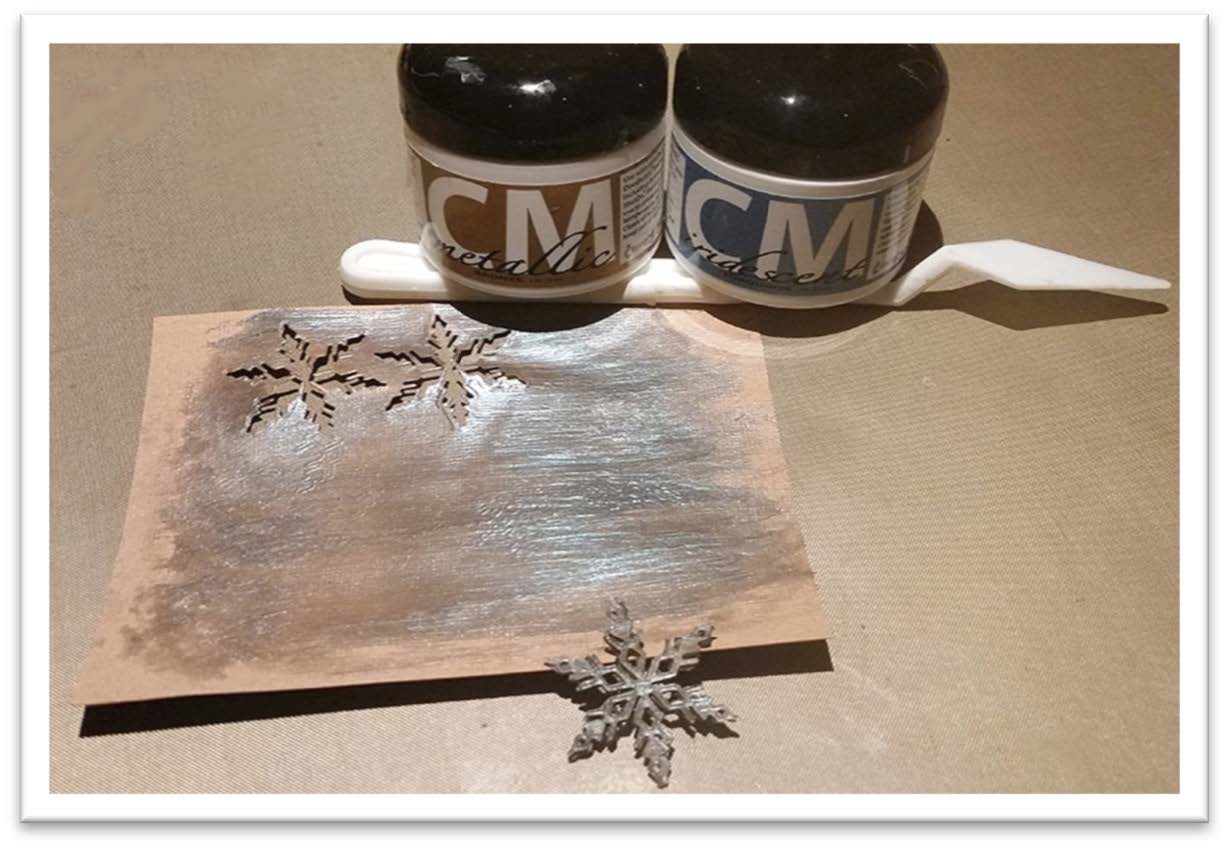
Take Creative Medium color[s] and spread onto heavy cardstock, watercolor paper or heavy Kraft paper. Allow medium to dry. Take different Snowflake die and cut numerous snowflakes from this piece of coated paper. These Snowflakes will become the decoration for the inside of the music box.
NOTE: Each snowflake should consist of at least two layer to give them strength and substance.
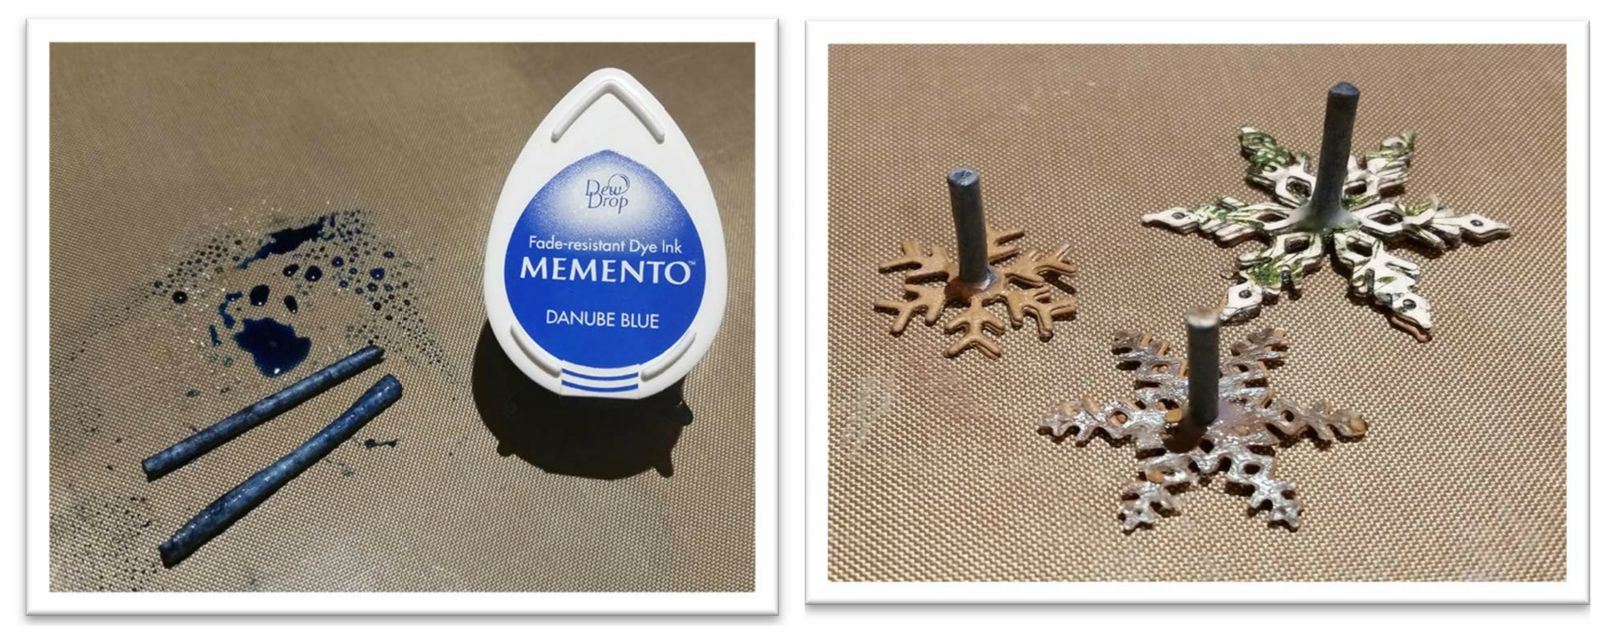
Take two Q-Tips and cut off cotton tops. Rub each paper stick in Memento Danube Blue ink mixed with a small amount of water. Let dry. Take some Creative Medium with your fingers and rub onto paper sticks. Cut sticks to different lengths and attach Snowflakes to the ends with glue.
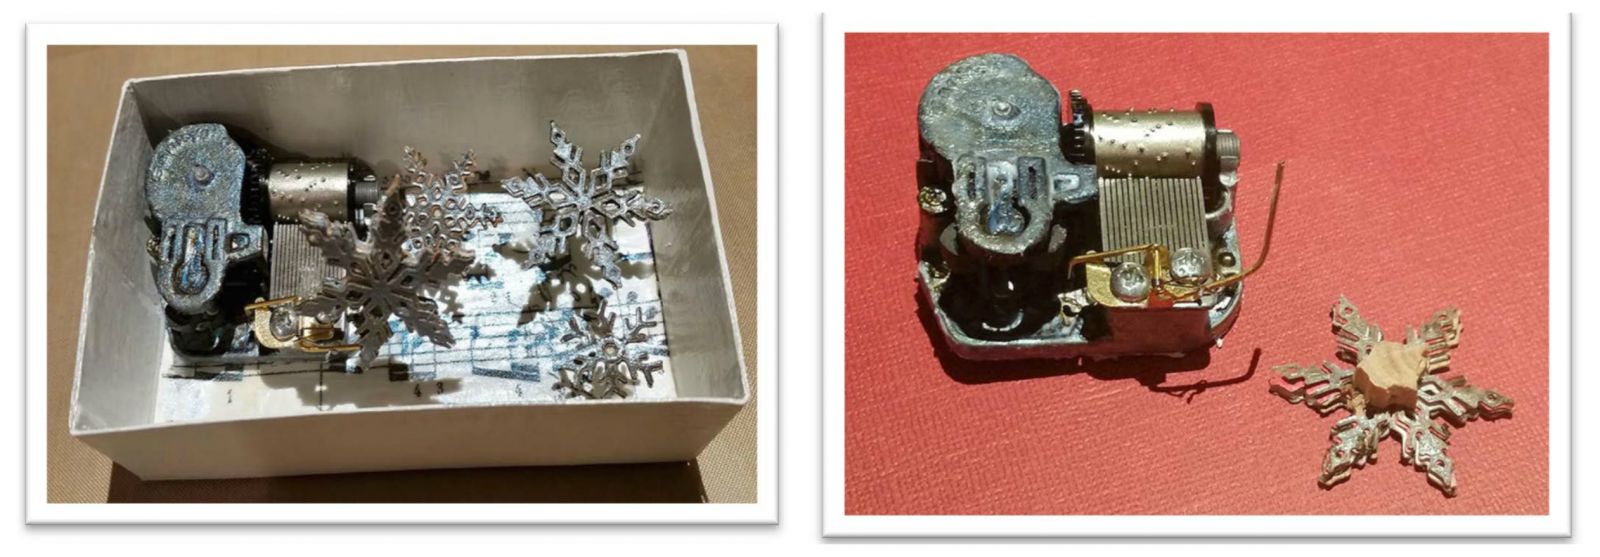
Take Music Box movement and align the key turn to the hole you made. Glue movement to the bottom of box. Apply Creative Medium to the movement itself being careful not to paint the roller. This will help make it blend better into the whole design. Then glue bottom end of Snowflake sticks into the box, as desired.
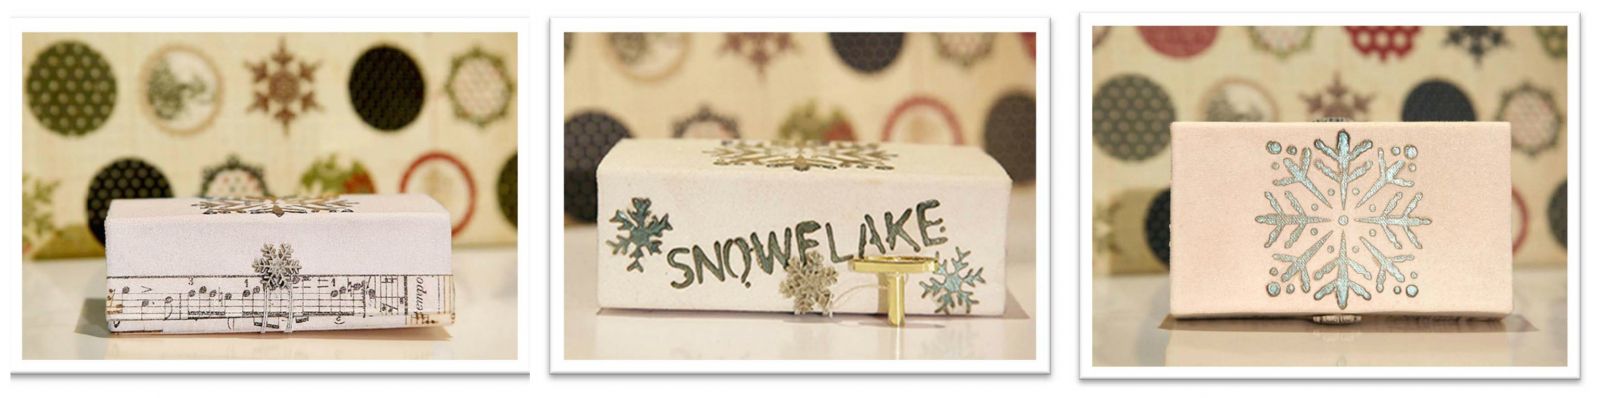
Take top piece and wrap around the box and glue both pieces together with strong glue.
To finish, decide which type of closure you’re going to use. I used two Snowflakeshaped buttons painted with Creative Medium Iridescent Turquoise. I attached one button to the front of the box and one to the back. A piece of metallic cord is strung from the front button closure to the back to keep the box closed tightly so the music doesn’t play until the box is opened. The key to the musical movement is attached to the back closure with another piece of elastic cord so it doesn’t get lost.
Imagine Crafts Featuring Tsukineko:
Other