Array ( [0] => 280 [ID] => 280 [1] => 1 [TYPEID] => 1 [2] => 0 [SECTIONID] => 0 [3] => project-details [MOD_NAME] => project-details [4] => [TITLE] => [5] => Project Details [META_TITLE] => Create an Aged Metal Effect with Amplify! [6] => [META_DESCRIPTION] => Create an Aged Metal Effect with Amplify! [7] => [META_KEYWORDS] => [8] => [BUTTON_TITLE] => [9] => [BODY] => [10] => [BODY_SIDE] => [11] => [MODULE_PROCESSING] => [12] => [MODULE_META] => [13] => project-details-head.php [MODULE_HEAD] => project-details-head.php [14] => project-details-body.php [MODULE_BODY] => project-details-body.php [15] => [MODULE_SIDE] => [16] => 0 [TOP_ORDER] => 0 [17] => 0 [HITS_UNIQUE] => 0 [18] => 0 [HITS_REPEAT] => 0 [19] => 0 [ROBOT_HITS] => 0 [20] => 0000-00-00 00:00:00 [LASTVIEWED] => 0000-00-00 00:00:00 [21] => 0000-00-00 00:00:00 [ROBOT_LASTVIEWED] => 0000-00-00 00:00:00 [22] => 0.70 [PRIORITY] => 0.70 [23] => 1 [SITEMAP] => 1 [24] => 1 [ACTIVE] => 1 [25] => 1 [DISPLAY_TITLE] => 1 [26] => 0 [SSL_MODE] => 0 [27] => 0 [EDITABLE] => 0 [28] => 0 [DELETABLE] => 0 [29] => 2013-11-05 00:00:00 [LASTUPDATED] => 2013-11-05 00:00:00 [30] => 2013-11-05 00:00:00 [CREATED] => 2013-11-05 00:00:00 )
Imagine Crafts
LearnMakeCommunityShop

Create an Aged Metal Effect with Amplify!

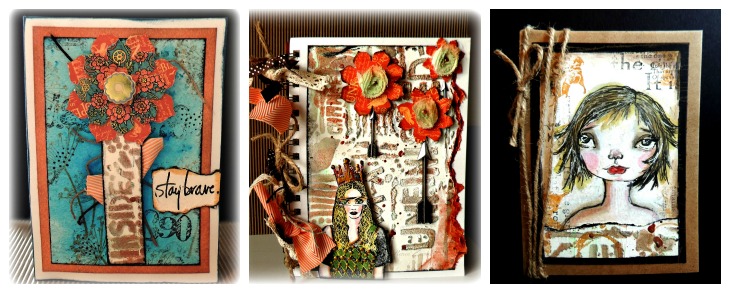
Amplify! is such a versatile product. It is fun to heat it and watch it puff up but more importantly it can be used to give dimension and texture to whatever you're crafting. 


Create an Aged Metal Effect with Amplify!

Directions:

Step One: 
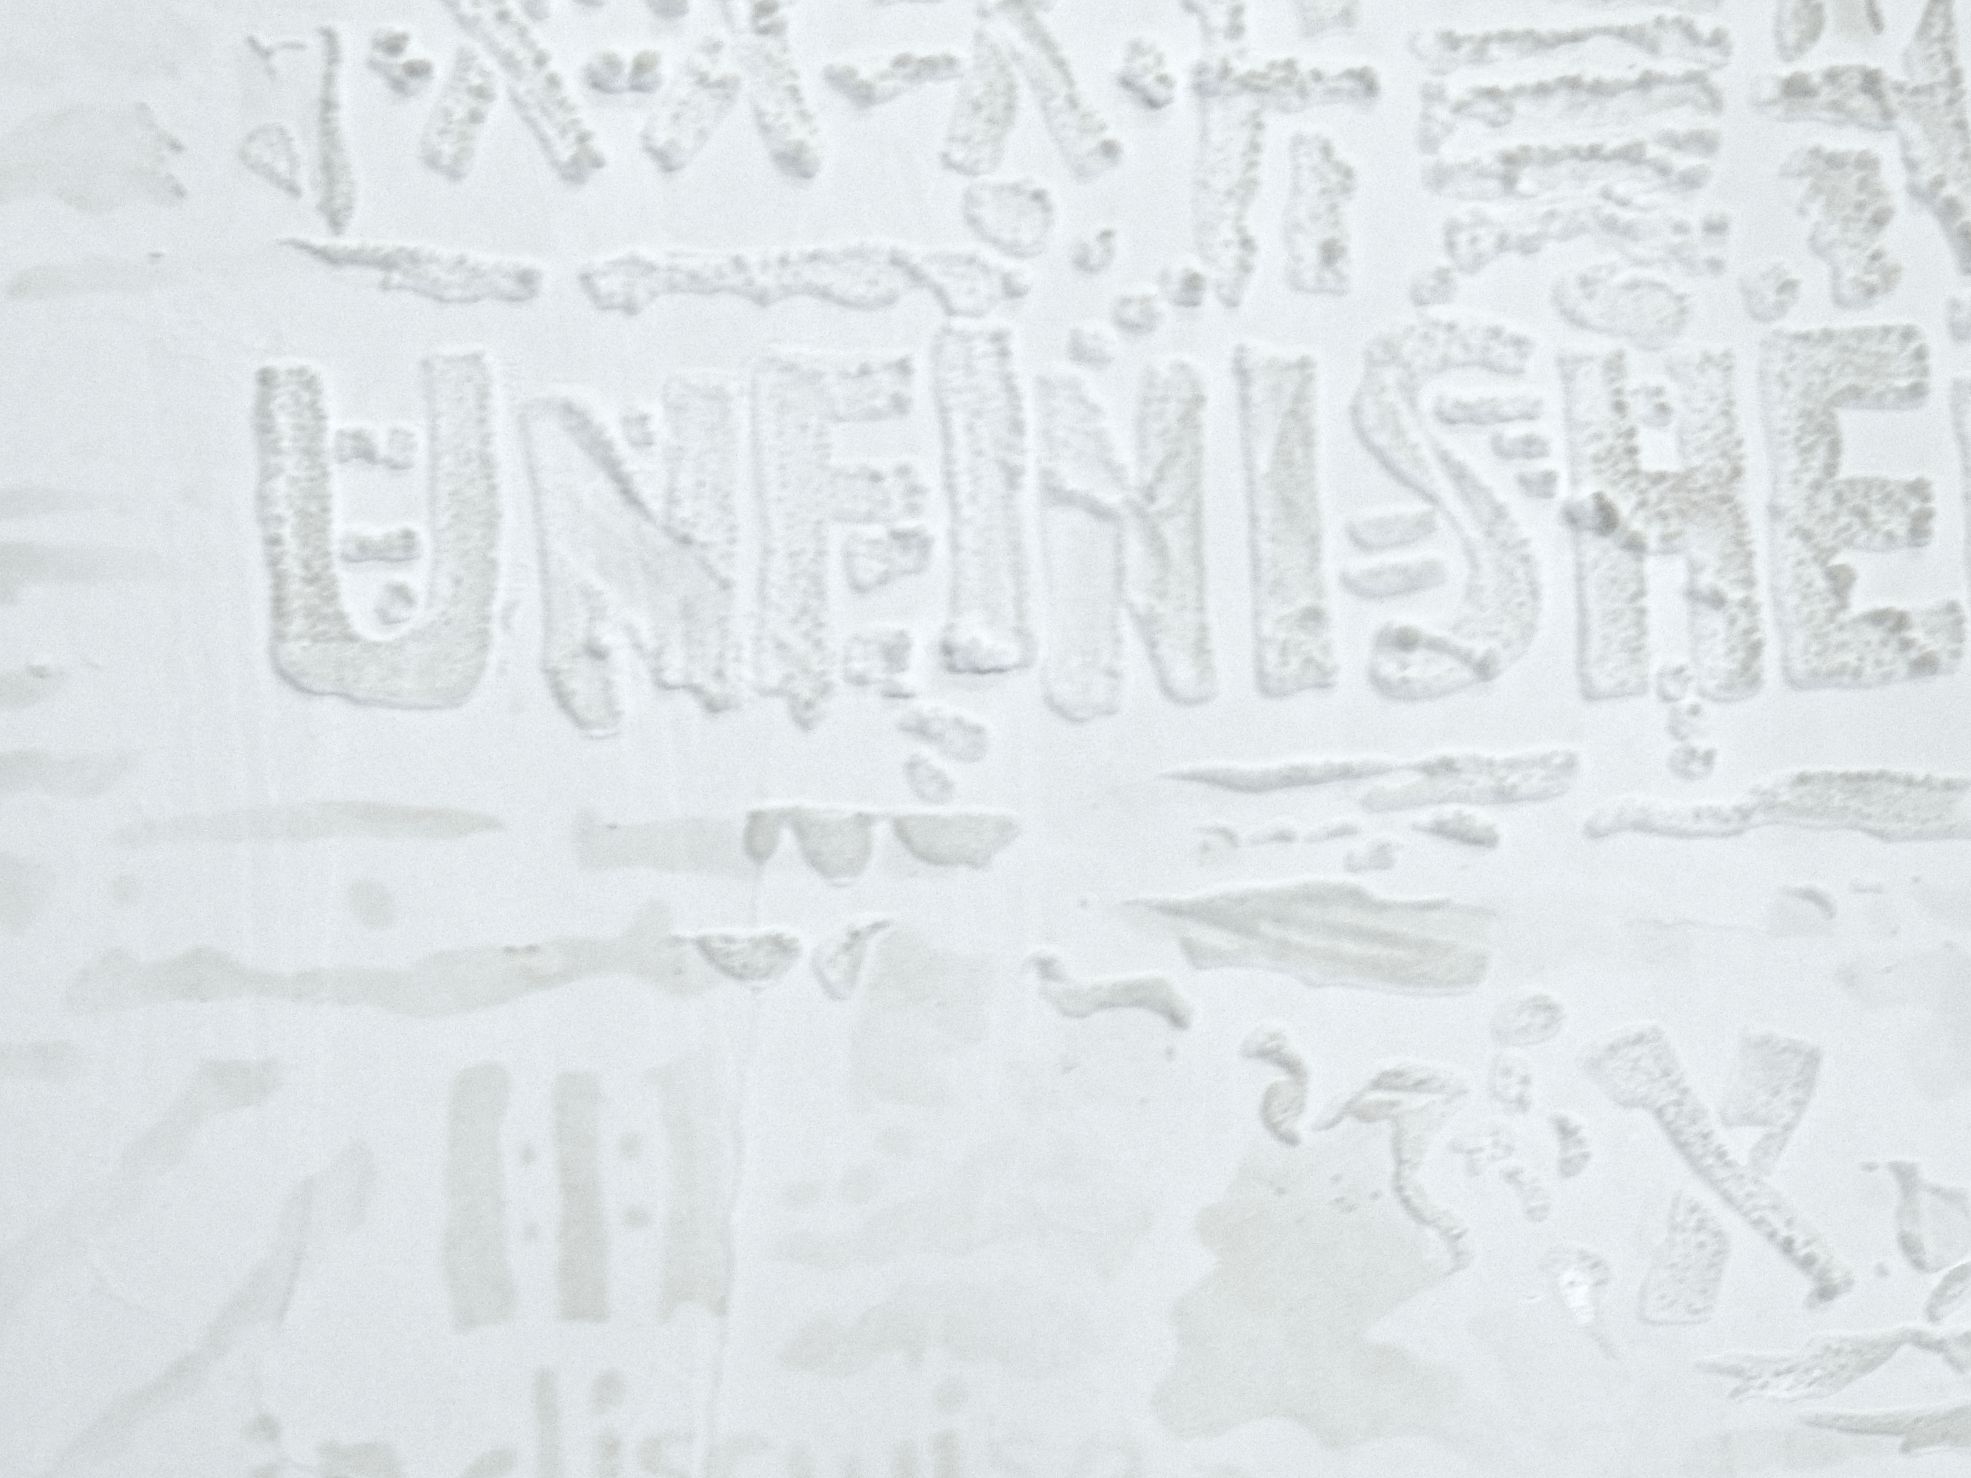
Place stencil on a piece of 140# water color paper, using a palette knife, apply a thin layer of white Amplify! Heat the Amplify with heating tool, it will puff up; allow to cool completely before proceeding.

2015_Oct_RZ_Amplifymetaltech_step1

Step Two:   
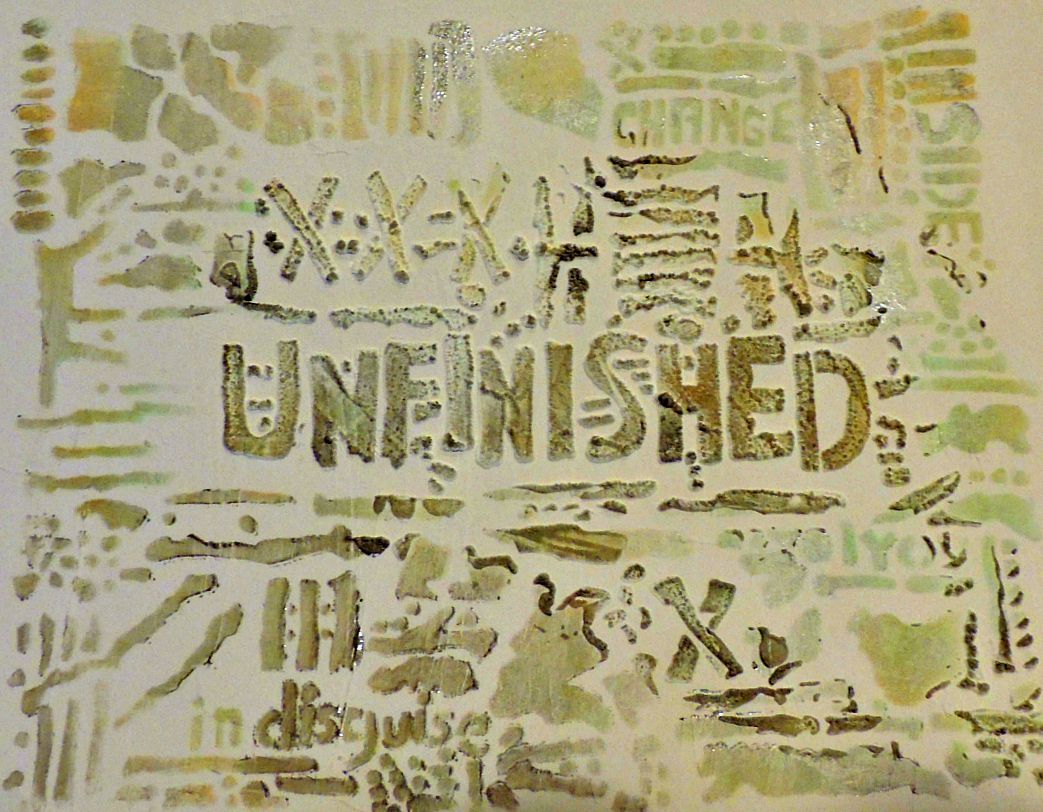
Begin applying inks to surface of Amplify!  Using an InkBlusher sponge applicator, begin dabbing Neon Orange, and then apply Neon Green on top of that.  When these colors are dry start applying the metallic inks beginning with Silver, Gold, and then Bronze.  Try not to put too much of the same color all over the piece, allow the green and orange to peek through.

2015_Oct_RZ_Amplifymetaltechnique.step2

Step Three: 
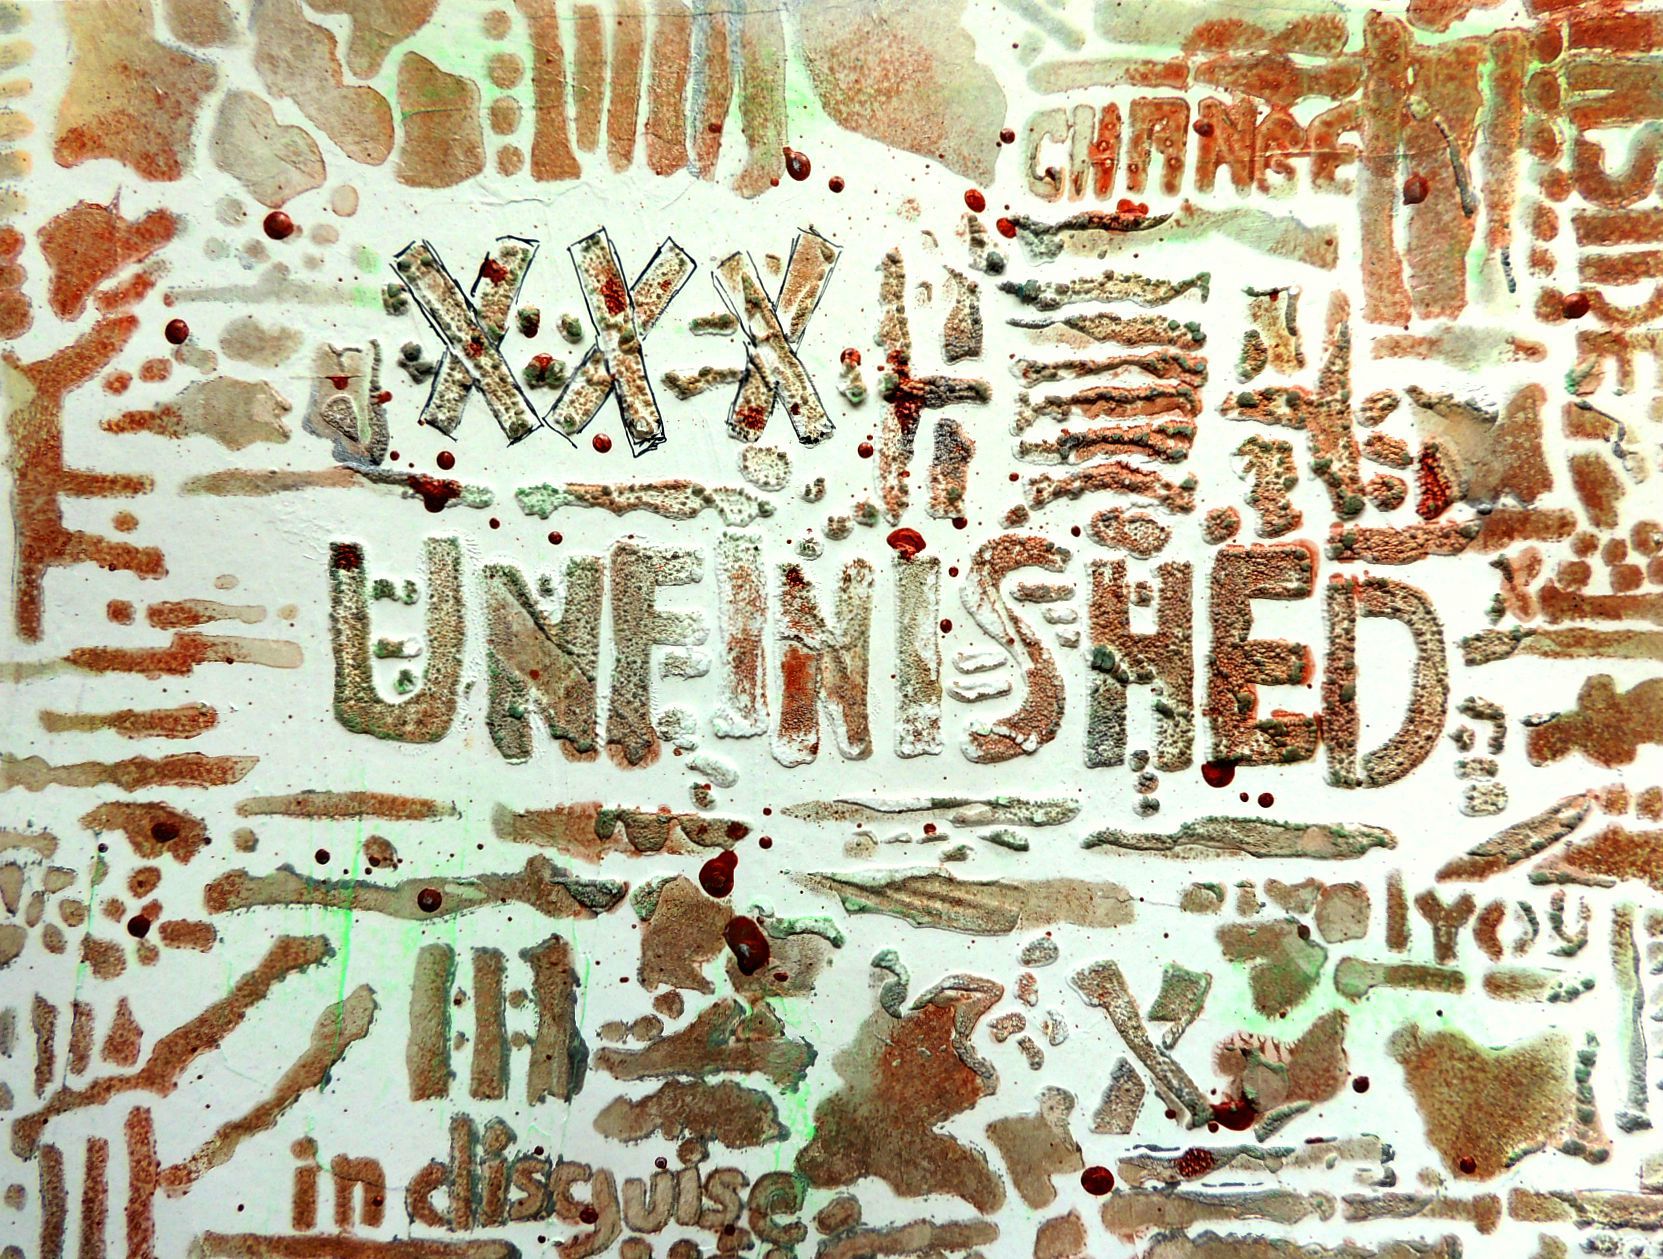
Apply Delicata Celestial Copper ink on top of the mixture of metallic inks.  Remove the wand from a bottle of irRESISTible Pico Embellisher in the Copper color and use it to flick the copper liquid all over the page.  Flicking can be controlled by hitting the wand against your finger so small amounts are flicked at one time.  Allow to dry completely.

2015_Oct_RZ_Amplifymetaltech_stepthree

Step Four: 
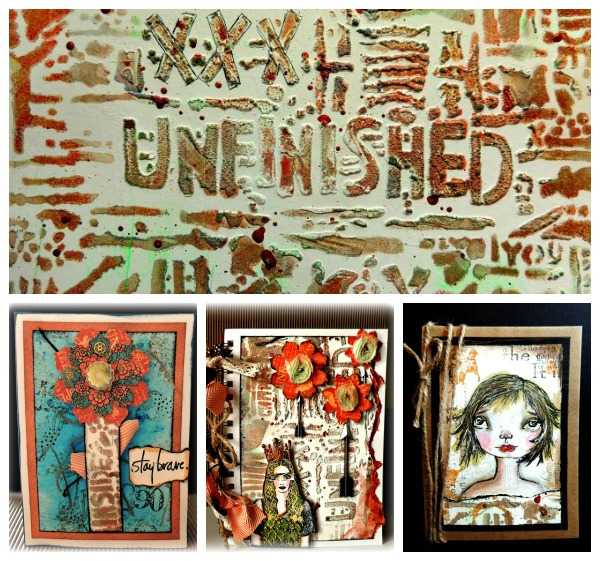
The finished sheet can be cut up and used as a master board for projects or glued into an Art Journal (see below for more inspiration)

123

by Renee Zarate

Difficulty

Beginner - Intermediate

Time

1/2 hour + dry time

Materials Needed

Imagine Crafts featuring Tsukineko:

Other Supplies:

  • Stencil Girl “Unfinished” stencil by Seth Apter
  • Miscellaneous:  140# water color paper, paper trimmer, heat gun


Sign up for our newsletter
Facebook Pinterest Twitter YouTube Vimeo