Array ( [0] => 280 [ID] => 280 [1] => 1 [TYPEID] => 1 [2] => 0 [SECTIONID] => 0 [3] => project-details [MOD_NAME] => project-details [4] => [TITLE] => [5] => Project Details [META_TITLE] => A Masculine SMILE Card with Iridescent Blue Creative Medium [6] => [META_DESCRIPTION] => A Masculine SMILE Card with Iridescent Blue Creative Medium [7] => [META_KEYWORDS] => [8] => [BUTTON_TITLE] => [9] => [BODY] => [10] => [BODY_SIDE] => [11] => [MODULE_PROCESSING] => [12] => [MODULE_META] => [13] => project-details-head.php [MODULE_HEAD] => project-details-head.php [14] => project-details-body.php [MODULE_BODY] => project-details-body.php [15] => [MODULE_SIDE] => [16] => 0 [TOP_ORDER] => 0 [17] => 0 [HITS_UNIQUE] => 0 [18] => 0 [HITS_REPEAT] => 0 [19] => 0 [ROBOT_HITS] => 0 [20] => 0000-00-00 00:00:00 [LASTVIEWED] => 0000-00-00 00:00:00 [21] => 0000-00-00 00:00:00 [ROBOT_LASTVIEWED] => 0000-00-00 00:00:00 [22] => 0.70 [PRIORITY] => 0.70 [23] => 1 [SITEMAP] => 1 [24] => 1 [ACTIVE] => 1 [25] => 1 [DISPLAY_TITLE] => 1 [26] => 0 [SSL_MODE] => 0 [27] => 0 [EDITABLE] => 0 [28] => 0 [DELETABLE] => 0 [29] => 2013-11-05 00:00:00 [LASTUPDATED] => 2013-11-05 00:00:00 [30] => 2013-11-05 00:00:00 [CREATED] => 2013-11-05 00:00:00 )
Imagine Crafts
LearnMakeCommunityShop

A Masculine SMILE Card with Iridescent Blue Creative Medium

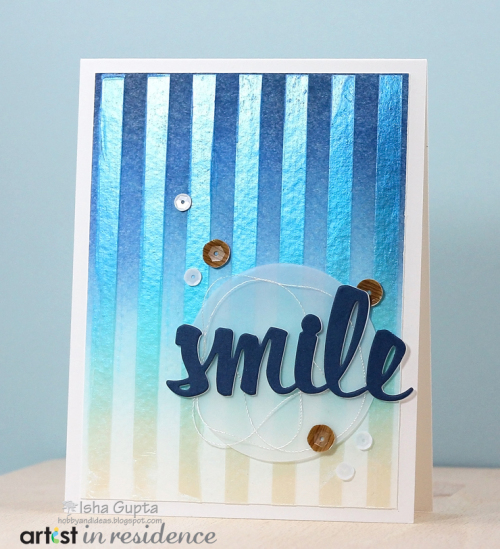
What happens after sponging with Memento inks and adding some iridescent Creative Medium? A striking gradation effect which can be used for cards, mixed media projects and many more! Take a peek!


A Masculine SMILE Card with Iridescent Blue Creative Medium


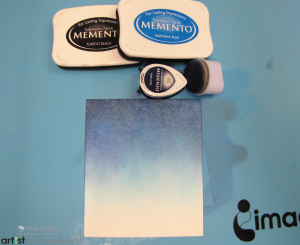
1. Cut a watercolor paper panel of 3¾˝x 5˝. Sponge the inks onto the panel using a Jumbo Dauber.

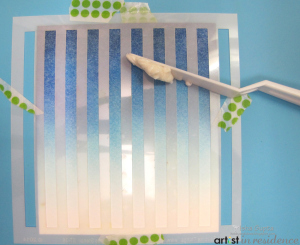
2. Lay stencil over the colored background and fix with washi tape.

3. Apply Creative Medium Iridescent Blue using the Trowel Palette Knife.

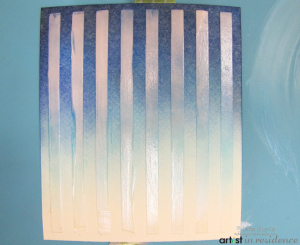
4. Let the Creative Medium air dry completely. Note that the thicker you apply the Creative Medium, the longer it will take for it to air dry.

5. Cut/score card base to a finished size of 4¼˝ x 5½˝ from white cardstock. Adhere the background to the card base.

6. Die cut a vellum circle and attach floss onto it using small dots of glue.

7. To finish, adhere "smile" die with some sequins.

by Isha Gupta

Difficulty

Beginner

Time

½ hour + drying time

Materials Needed

Imagine Crafts featuring Tsukineko:

Other Supplies:

  • Lil'Inker Designs: "smile" die
  • Spellbinders: circle die
  • My Favorite Things: stripes stencil
  • Bazzill: Vellum
  • Canson: watercolor paper
  • Papertrey Ink: Enchanted Evening and White cardstock
  • Studio Callico: sequins
  • Miscellaneous: embroidery floss


Sign up for our newsletter
Facebook Pinterest Twitter YouTube Vimeo