Array ( [0] => 280 [ID] => 280 [1] => 1 [TYPEID] => 1 [2] => 0 [SECTIONID] => 0 [3] => project-details [MOD_NAME] => project-details [4] => [TITLE] => [5] => Project Details [META_TITLE] => Amplify and Creative Medium for a You Are My Sunshine Card [6] => [META_DESCRIPTION] => Amplify and Creative Medium for a You Are My Sunshine Card [7] => [META_KEYWORDS] => [8] => [BUTTON_TITLE] => [9] => [BODY] => [10] => [BODY_SIDE] => [11] => [MODULE_PROCESSING] => [12] => [MODULE_META] => [13] => project-details-head.php [MODULE_HEAD] => project-details-head.php [14] => project-details-body.php [MODULE_BODY] => project-details-body.php [15] => [MODULE_SIDE] => [16] => 0 [TOP_ORDER] => 0 [17] => 0 [HITS_UNIQUE] => 0 [18] => 0 [HITS_REPEAT] => 0 [19] => 0 [ROBOT_HITS] => 0 [20] => 0000-00-00 00:00:00 [LASTVIEWED] => 0000-00-00 00:00:00 [21] => 0000-00-00 00:00:00 [ROBOT_LASTVIEWED] => 0000-00-00 00:00:00 [22] => 0.70 [PRIORITY] => 0.70 [23] => 1 [SITEMAP] => 1 [24] => 1 [ACTIVE] => 1 [25] => 1 [DISPLAY_TITLE] => 1 [26] => 0 [SSL_MODE] => 0 [27] => 0 [EDITABLE] => 0 [28] => 0 [DELETABLE] => 0 [29] => 2013-11-05 00:00:00 [LASTUPDATED] => 2013-11-05 00:00:00 [30] => 2013-11-05 00:00:00 [CREATED] => 2013-11-05 00:00:00 )
Imagine Crafts
LearnMakeCommunityShop

Amplify and Creative Medium for a You Are My Sunshine Card

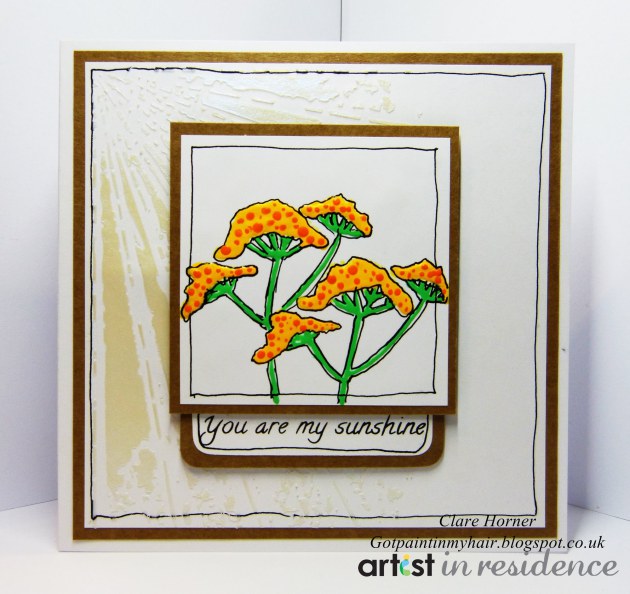
I adore the new Imagine Crafts Creative Medium!  It is so easy to use and clean up, you will find it hard to go wrong. It dries relatively quickly and does not have an offensive smell, two things that are very important to me in a product. When I created my tester pieces I fell instantly in love with the Blue so had to use it on a proper project first, what better than a background for a spring inspired card.


Amplify and Creative Medium for a You Are My Sunshine Card

1. Cut kraft cardsotck to 5 3/4 inch square and 3 1/4 inch square.

2. Cut white card to 5 1/2 inch square and 3 inch square.

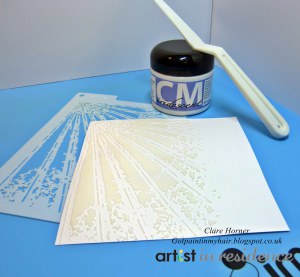
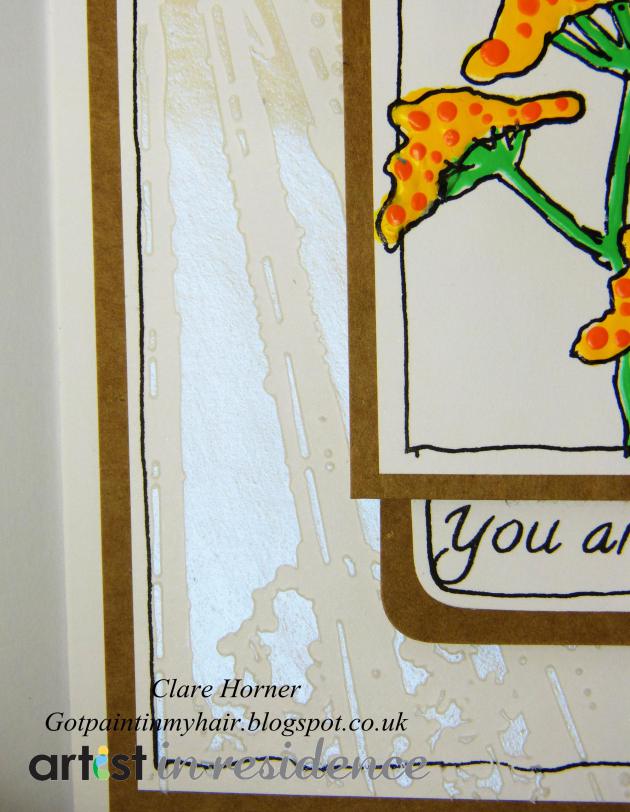
3. Swipe Creative Medium Iridescent Blue through the Memory Box stencil with a palette knife on the large white square.

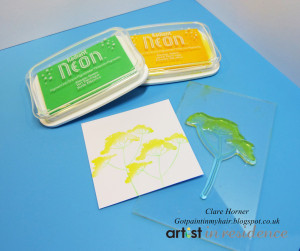
4. Ink up the flowers with Radiant Neon Electric Yellow and the stems with Electric Green and stamp onto small white square.

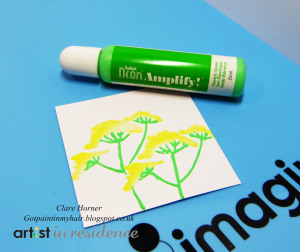
5. Freehand draw in the green stems with Radiant Neon Amplify Electric Green

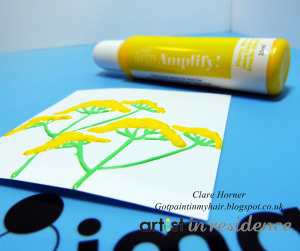
6. Freehand draw in the top of the flower with Radiant Neon Electric Yellow. Allow to dry completely.

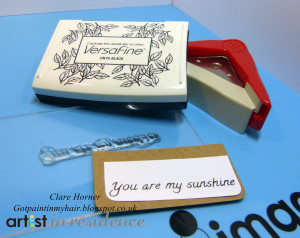
7. Cut a scrap piece of white cardstock to 2 3/4inch wide and then round the corners. Stamp sentiment in Versafine Onyx Black

8. Cut a scrap piece of kraft cardstock to 3 inches wide and round the corners.

9 Doodle around the flowers and stems with a black, permenant marker. Next freehand draw a border around the edge of all pieces of white cardstock.

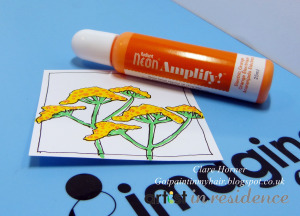
10. Add dots to the yellow flowers (once dry) with Radiant Neon Electric Orange.

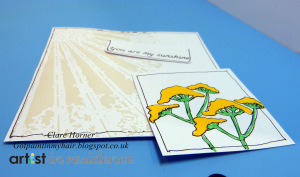
11. Mount all pieces onto their respective kraft layering pieces.

12. Glue the largest square flat to the card base, then attach the small square and sentiment to the background with 3D foam pads


by Clare Horner

Difficulty

Intermediate

Time

Less than an hour

Materials Needed

Imagine Crafts featuring Tsukiniko:

Other Supplies:

  • Woodware Stamps: Plant a Meadow mini, Sunflower Doodles
  • Memory Box Stencil: Shine
  • Miscellaneous: kraft cardstock cardbase cut/scored to 6 inches square, paper trimmer, acrylic block, small corner rounder, white and kraft cardstock, foam pads, permenant fine tipped black marker


Sign up for our newsletter
Facebook Pinterest Twitter YouTube Vimeo