make / by medium / a smile is...inkblended greeting card
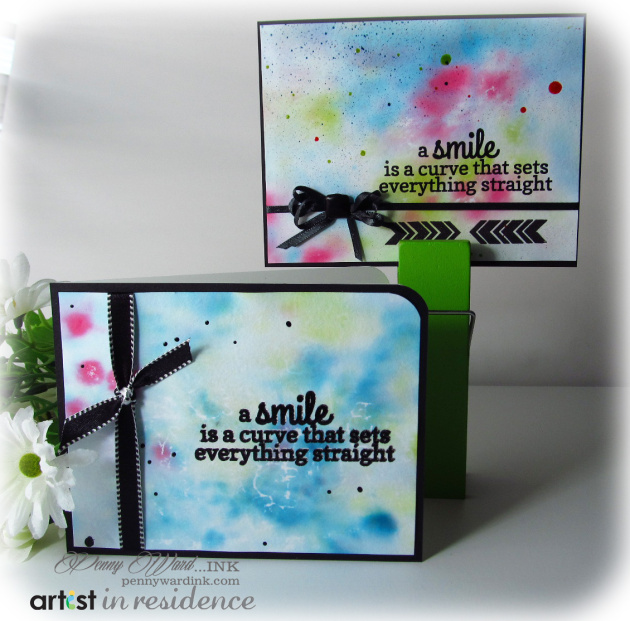
A Smile Is...Inkblended Greeting Card
This card features a blending technique for beautiful results.
-
Cut card base to measure 5½˝x 4¼˝ inches when folded from white cardstock.
-
Cut black cardstock to the same dimensions and adhere to card base.
-
Cut a layering piece of white cardstock slightly smaller than the card base.
-
Place two drops of each reinker onto the baby wipe, scrunch together, then fold flat.
-
On the Craft Mat, lay the baby wipe over a white cardstock panel and brayer over it. You may have white spots depending if your baby wipe has a pattern on it – this just adds to the interest of the card!
-
After the colored panel has completely dried, stamp and heat emboss sentiment and/or geometric shapes.
-
Spritz with irRESISTible sprays and add Tuxedo Black Pico as desired.
-
Embellish with bows, chomp corner and attach this "watercolor" panel to the base card.