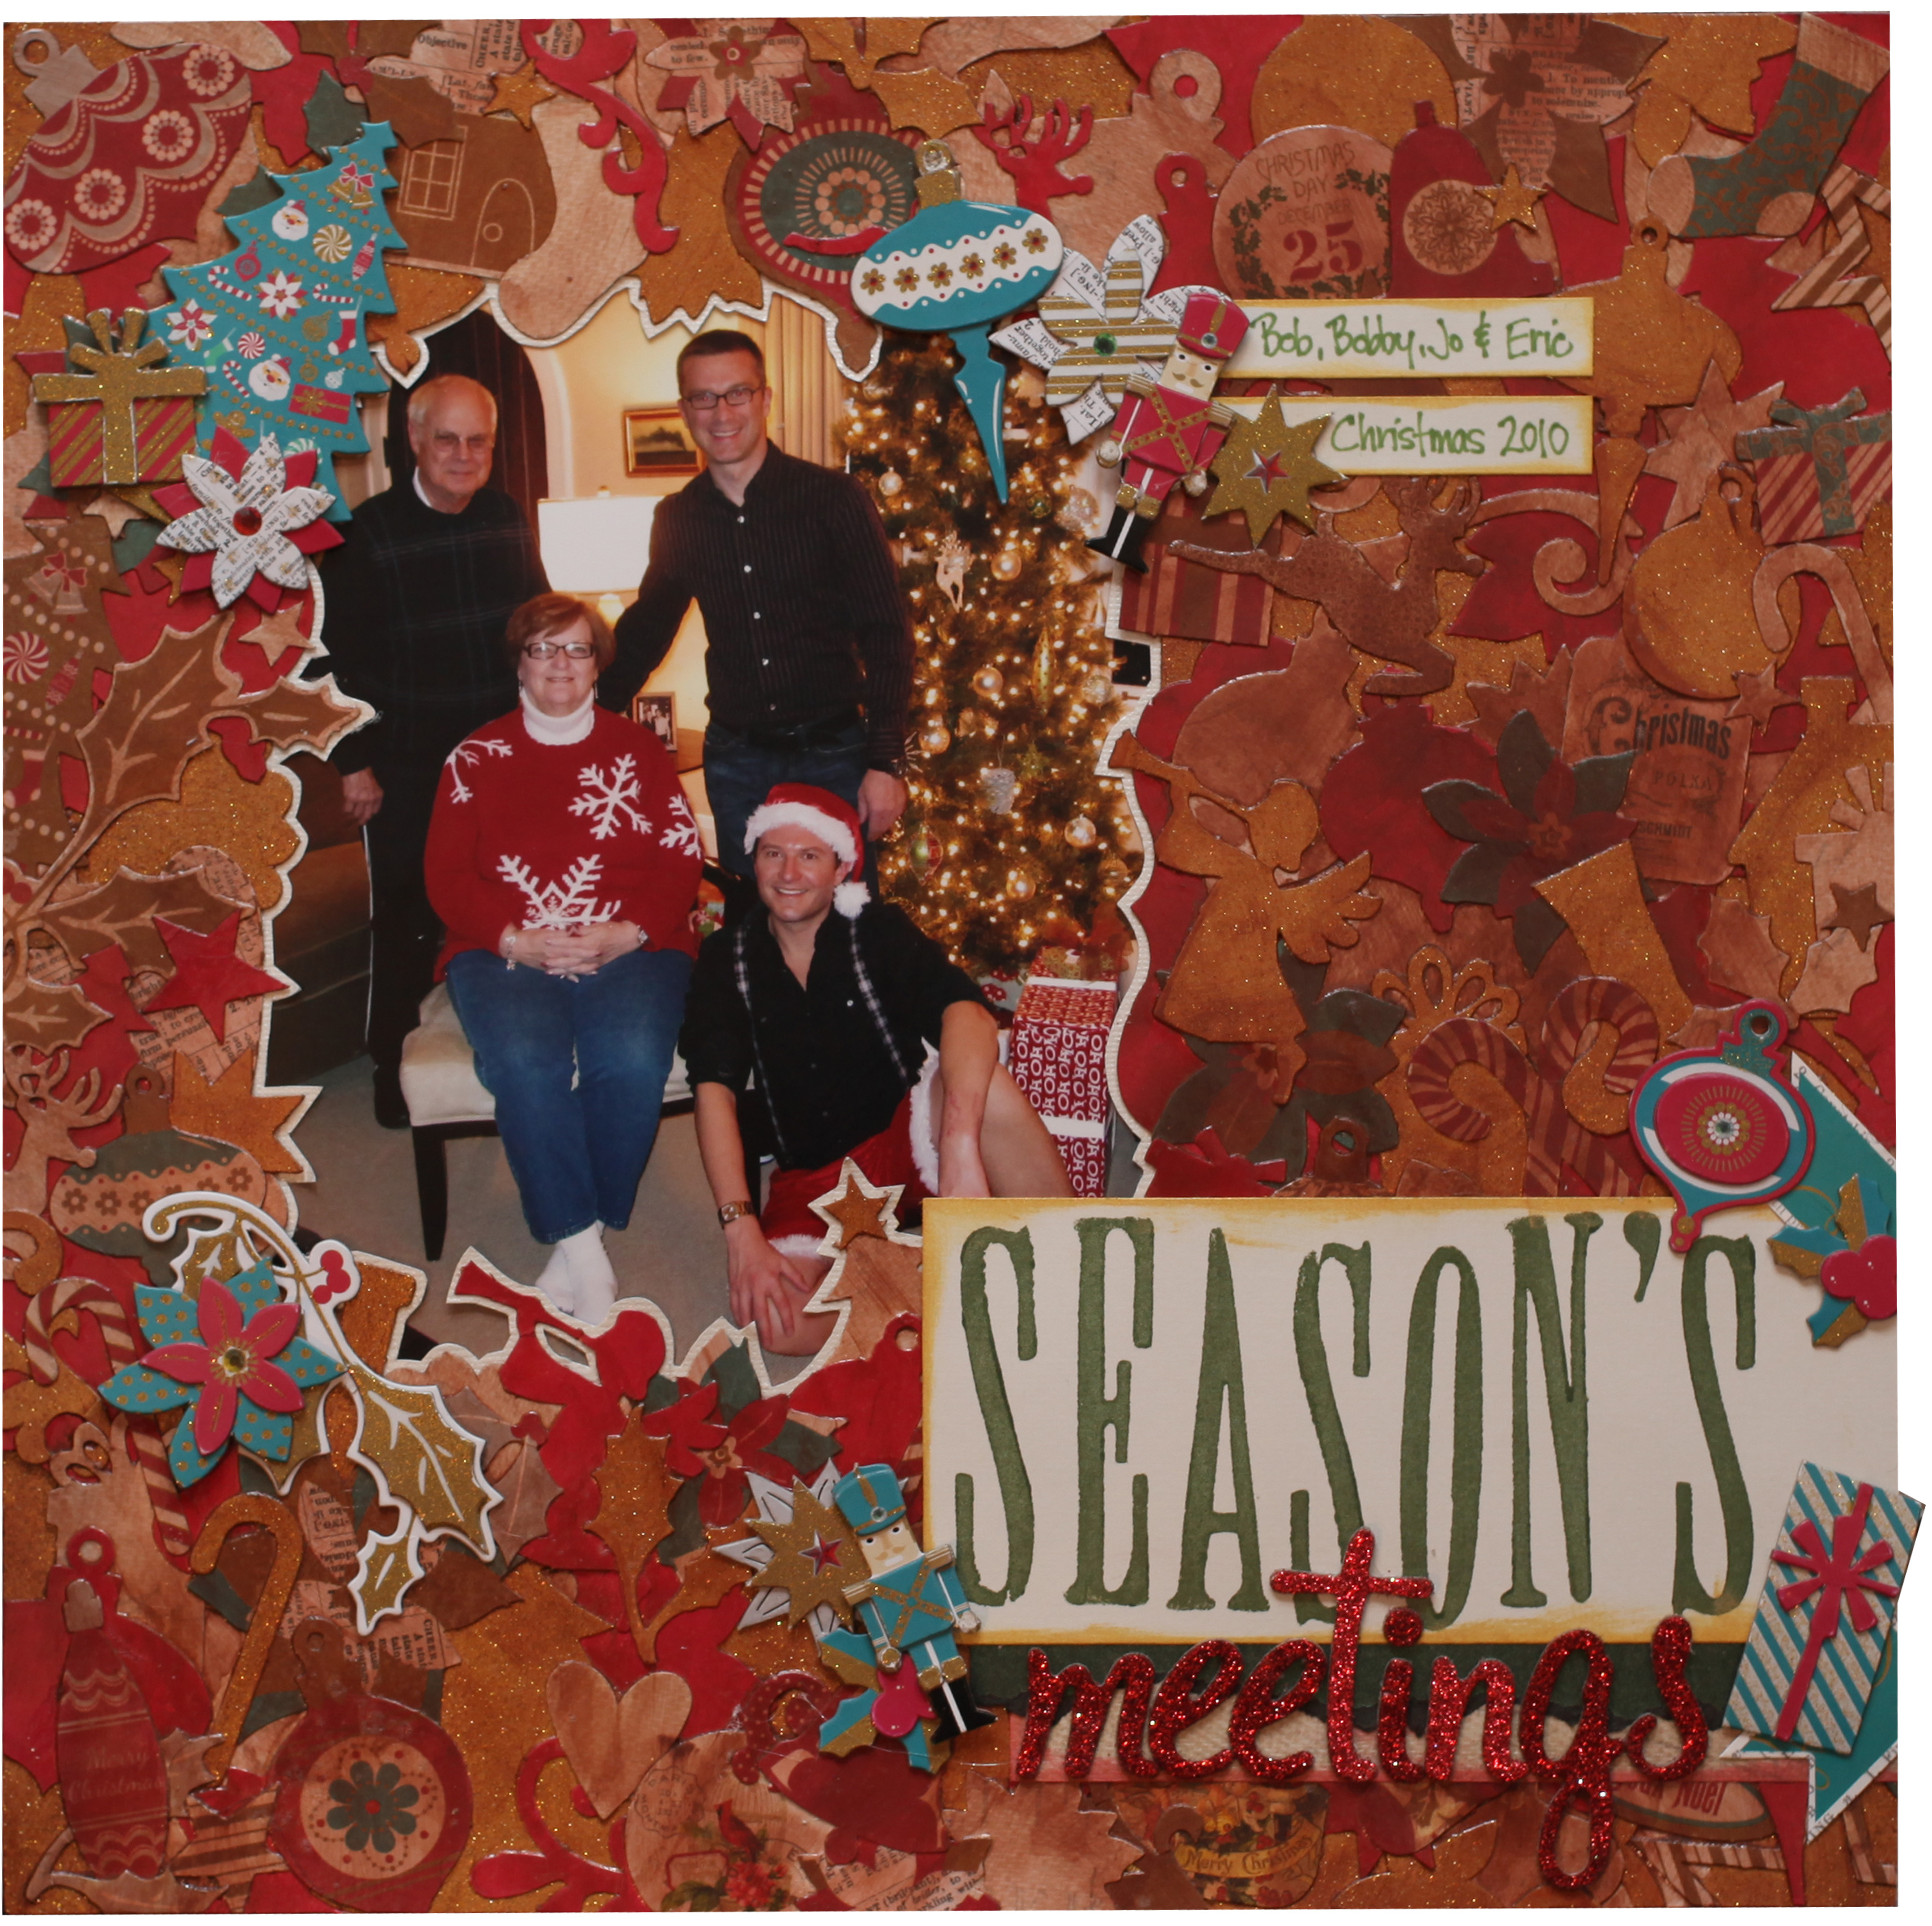
Brilliance Ink to Create a Season’s Meetings Scrapbook Layout
Create a frame of die cuts for your scrapbook.
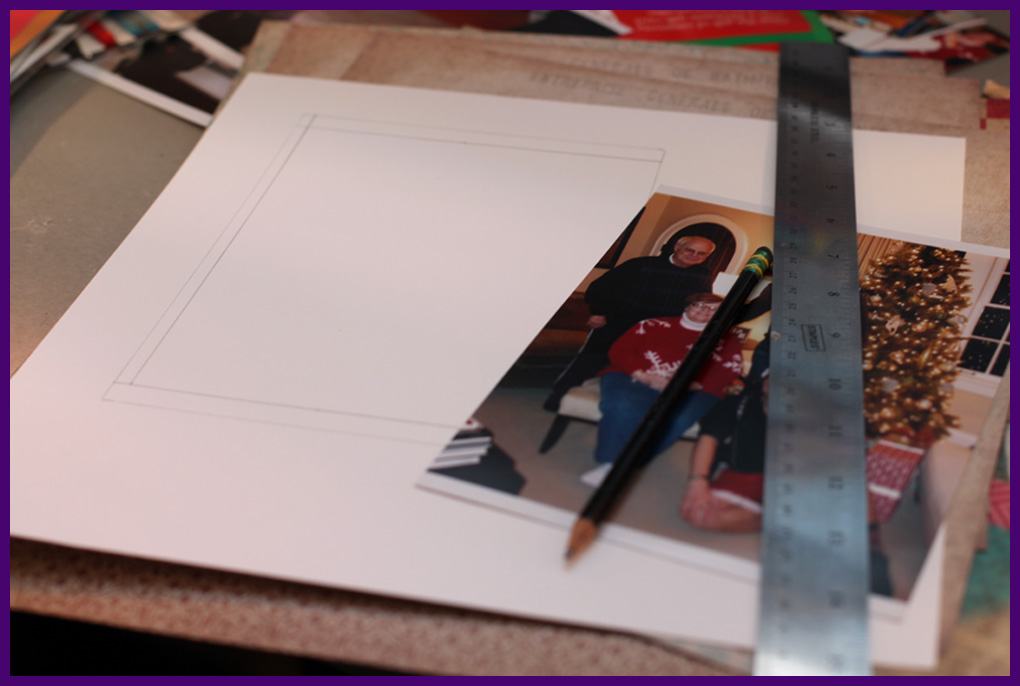
Determine size of the frame opening based on the size of your photo.
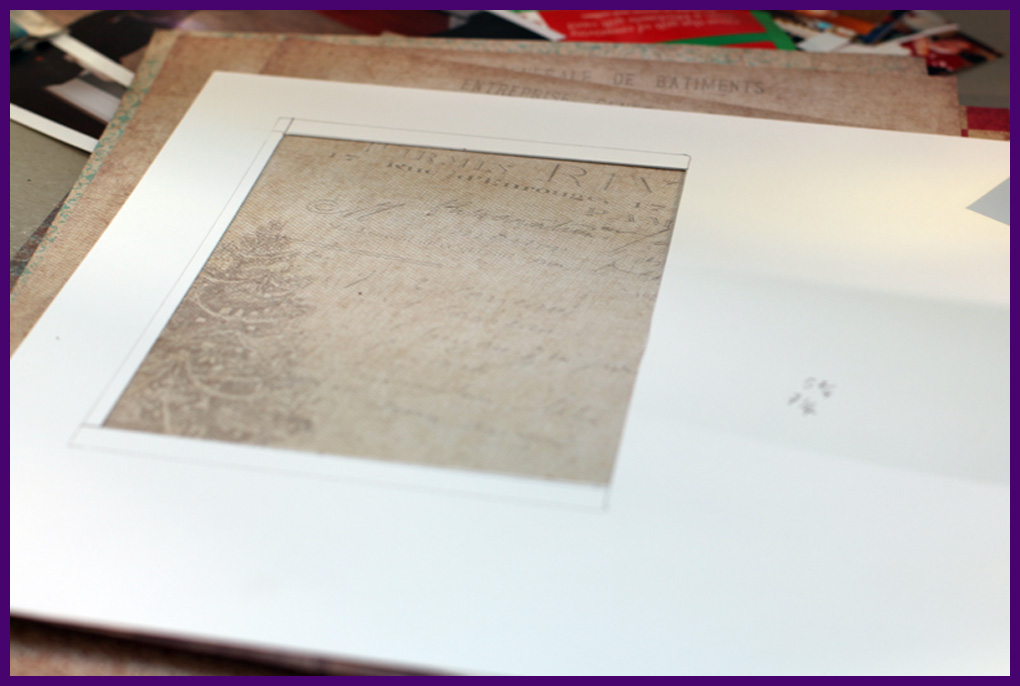
Draw the frame size onto the background paper and cut out where the photo should be placed.
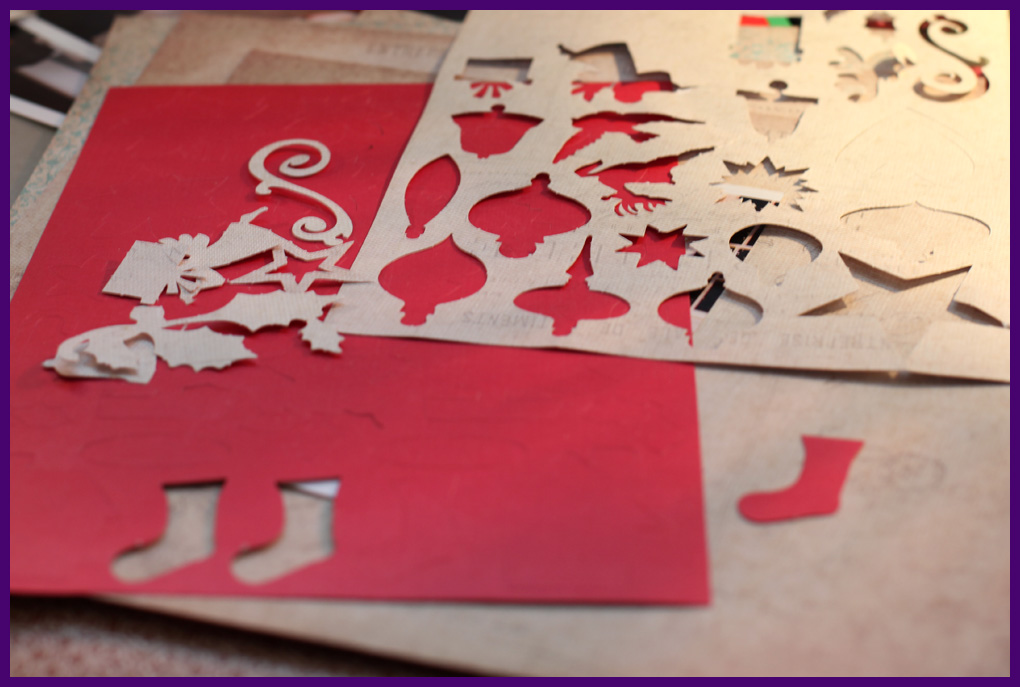
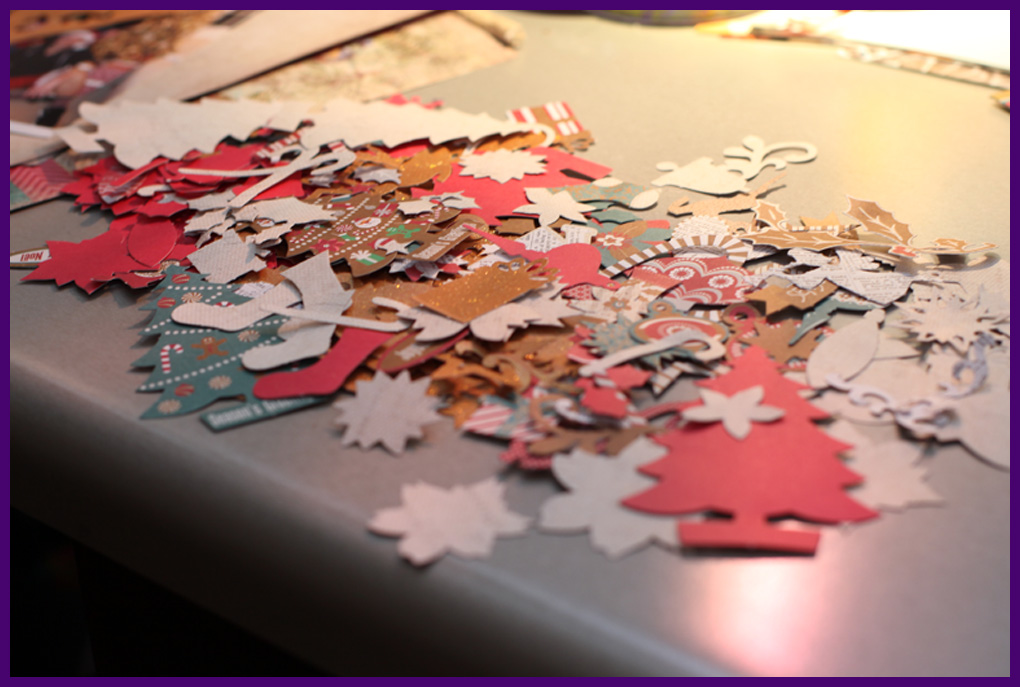
Punch out shapes.
Once all the shapes are punched out, organize them by shape, size and color so they will be evenly places over the layout.
Run the shapes through a sticker-making machine to get adhesive on the backs of them.
Begin placing the shapes over the background page and around the frame hole, evenly distributing the colors and shapes over the background.
Directly from the inker bottle, add a few drops of VersaMagic Jumbo Java to Creative Medium Vintage to darken the color.
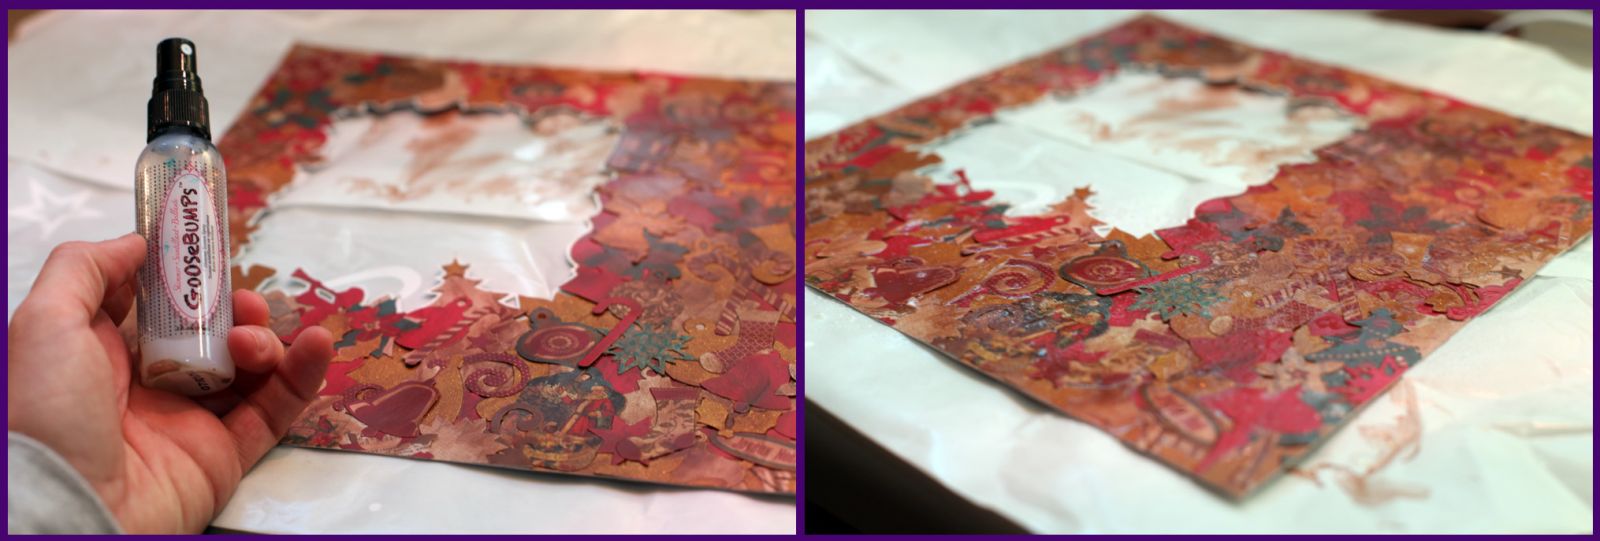
Coat the Christmas-shape covered frame with the darkened Creative Medium with an InkBlusher. This will dull the colors of the punched out shapes and allow the rest of the layout to pop.
Trim off the shapes that hang over the edges of the background
Place a piece of contrasting cardstock on the back of the frame and cut a thin mat around the edges of the frame.
Spray and cover the entire frame with GooseBumps Shimmer to give a glossy, textured sheen.
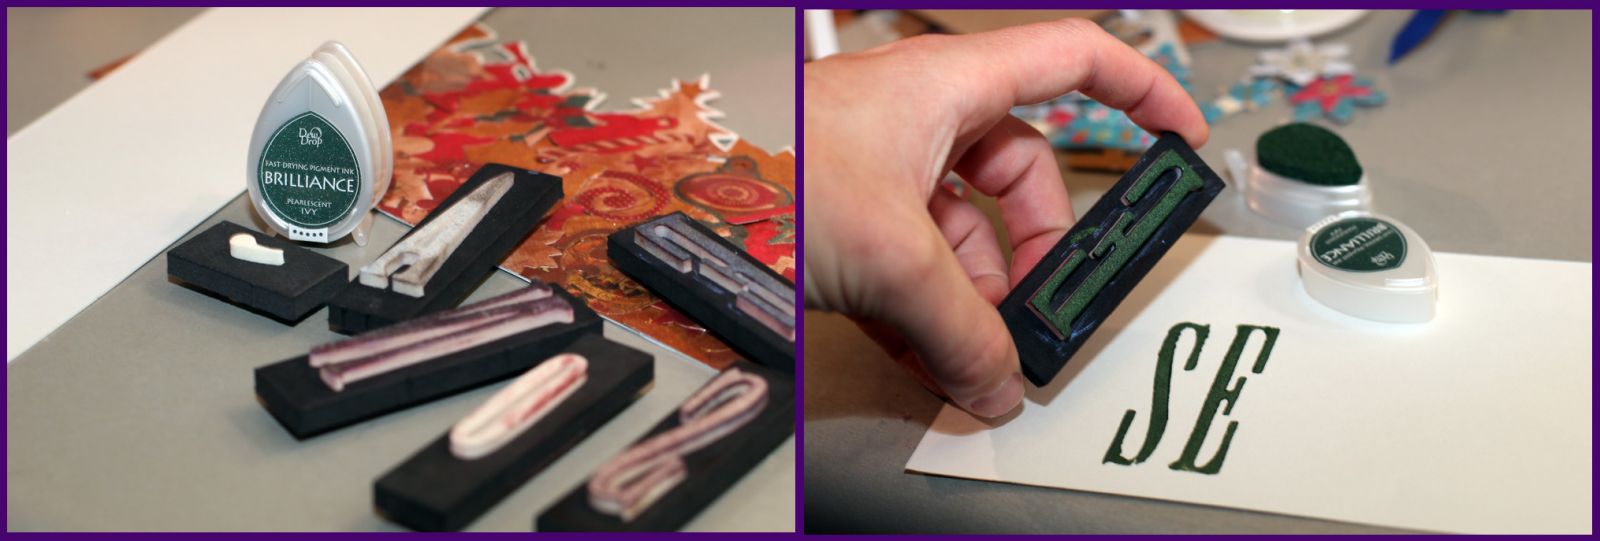
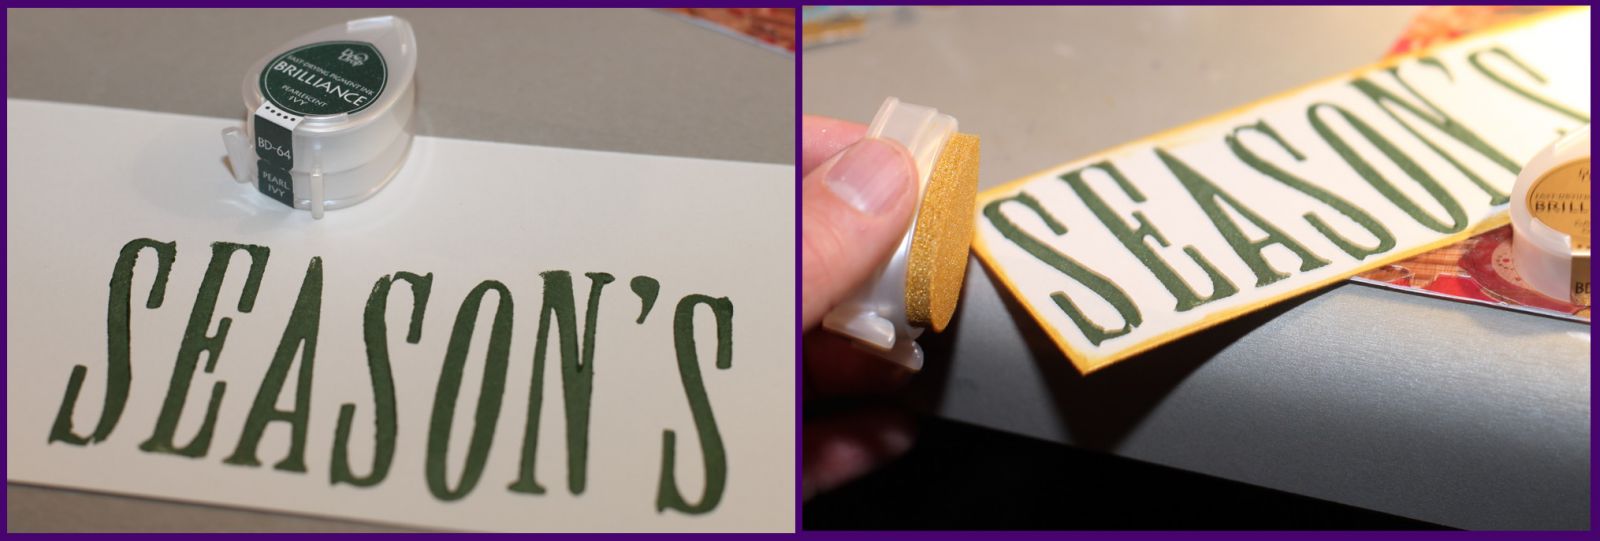
Stamps the page’s title with and Brilliance Pearlescent Thyme.
Use Brilliance Galaxy Gold to color the edges of the title card.
Adhere other Ruby Rock-It embellishments to the corners of the frame.