Array ( [0] => 280 [ID] => 280 [1] => 1 [TYPEID] => 1 [2] => 0 [SECTIONID] => 0 [3] => project-details [MOD_NAME] => project-details [4] => [TITLE] => [5] => Project Details [META_TITLE] => Copper Metallic Ink THANK YOU Card [6] => [META_DESCRIPTION] => Copper Metallic Ink THANK YOU Card [7] => [META_KEYWORDS] => [8] => [BUTTON_TITLE] => [9] => [BODY] => [10] => [BODY_SIDE] => [11] => [MODULE_PROCESSING] => [12] => [MODULE_META] => [13] => project-details-head.php [MODULE_HEAD] => project-details-head.php [14] => project-details-body.php [MODULE_BODY] => project-details-body.php [15] => [MODULE_SIDE] => [16] => 0 [TOP_ORDER] => 0 [17] => 0 [HITS_UNIQUE] => 0 [18] => 0 [HITS_REPEAT] => 0 [19] => 0 [ROBOT_HITS] => 0 [20] => 0000-00-00 00:00:00 [LASTVIEWED] => 0000-00-00 00:00:00 [21] => 0000-00-00 00:00:00 [ROBOT_LASTVIEWED] => 0000-00-00 00:00:00 [22] => 0.70 [PRIORITY] => 0.70 [23] => 1 [SITEMAP] => 1 [24] => 1 [ACTIVE] => 1 [25] => 1 [DISPLAY_TITLE] => 1 [26] => 0 [SSL_MODE] => 0 [27] => 0 [EDITABLE] => 0 [28] => 0 [DELETABLE] => 0 [29] => 2013-11-05 00:00:00 [LASTUPDATED] => 2013-11-05 00:00:00 [30] => 2013-11-05 00:00:00 [CREATED] => 2013-11-05 00:00:00 )
Imagine Crafts
LearnMakeCommunityShop

Copper Metallic Ink THANK YOU Card

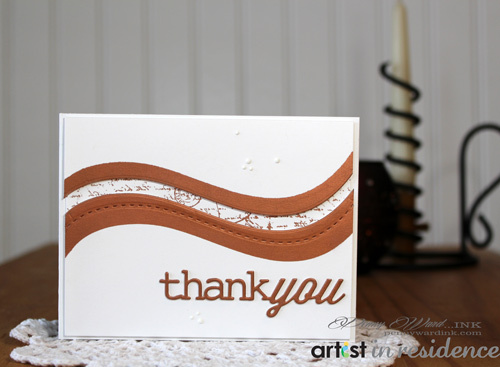
Anything and everything metallic is trending right now and it just looks soooo good on a card! This would make a wonderful snail mail greeting for any occasion, just change the sentiment.


Copper Metallic Ink THANK YOU Card


1. Cut white cardstock to 4.25 x 11 inches, fold in half to make card base.
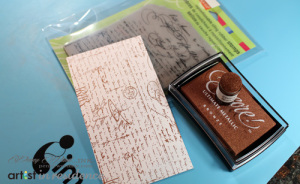
2. Cut a small panel of white cardstock to 3 x 5.25 inches and stamp image with Encore Metallic Bronze. Adhere to center area of card base.

3. Cut a piece of white cardstock 3.5 x 5.25 inches.
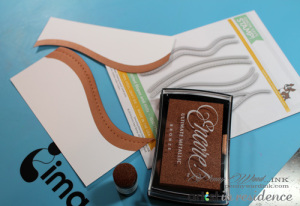
4. Die cut as shown. Die cut a second set from scrap cardstock to use as a mask.
5. Mask curved edges and ink with Encore Metallic Bronze.
6. Adhere to card base with foam adhesive leaving a small opening in the center.

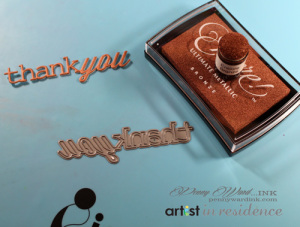
7. Die cut greeting three times from white cardstock.
8. Stack and adhere the pieces together.
9. Ink with Encore Metallic Bronze and adhere to card front.

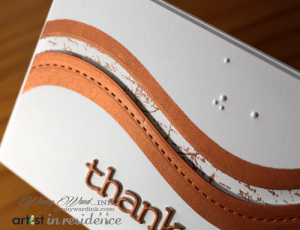
10.  Finish card by adding irRESISTible Pico Wedding Dress dots as desired.

by Penny Ward

Difficulty

Intermediate

Time

½ an hour

Materials Needed

Imagine Crafts featuring Tsukineko:

Other Supplies:

  • Simon Says Stamp: Stitched Slopes & Hills die
  • Papertrey Ink: Thank you die
  • Stampendous: Vintage Letter stamp
  • Craftwell: eBosser
  • Miscellaneous:  white cardstock, foam adhesive, adhesive of choice


Sign up for our newsletter
Facebook Pinterest Twitter YouTube Vimeo