Array ( [0] => 280 [ID] => 280 [1] => 1 [TYPEID] => 1 [2] => 0 [SECTIONID] => 0 [3] => project-details [MOD_NAME] => project-details [4] => [TITLE] => [5] => Project Details [META_TITLE] => Flower Power Your Handmade Cards with Amplify! [6] => [META_DESCRIPTION] => Flower Power Your Handmade Cards with Amplify! [7] => [META_KEYWORDS] => [8] => [BUTTON_TITLE] => [9] => [BODY] => [10] => [BODY_SIDE] => [11] => [MODULE_PROCESSING] => [12] => [MODULE_META] => [13] => project-details-head.php [MODULE_HEAD] => project-details-head.php [14] => project-details-body.php [MODULE_BODY] => project-details-body.php [15] => [MODULE_SIDE] => [16] => 0 [TOP_ORDER] => 0 [17] => 0 [HITS_UNIQUE] => 0 [18] => 0 [HITS_REPEAT] => 0 [19] => 0 [ROBOT_HITS] => 0 [20] => 0000-00-00 00:00:00 [LASTVIEWED] => 0000-00-00 00:00:00 [21] => 0000-00-00 00:00:00 [ROBOT_LASTVIEWED] => 0000-00-00 00:00:00 [22] => 0.70 [PRIORITY] => 0.70 [23] => 1 [SITEMAP] => 1 [24] => 1 [ACTIVE] => 1 [25] => 1 [DISPLAY_TITLE] => 1 [26] => 0 [SSL_MODE] => 0 [27] => 0 [EDITABLE] => 0 [28] => 0 [DELETABLE] => 0 [29] => 2013-11-05 00:00:00 [LASTUPDATED] => 2013-11-05 00:00:00 [30] => 2013-11-05 00:00:00 [CREATED] => 2013-11-05 00:00:00 )
Imagine Crafts
LearnMakeCommunityShop

Flower Power Your Handmade Cards with Amplify!

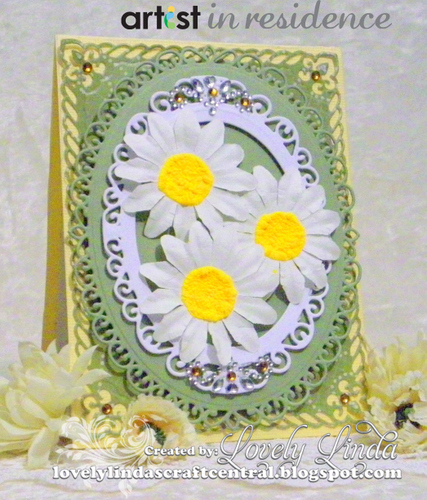
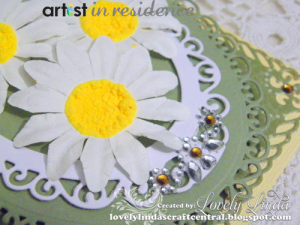
I am excited to discover so many ways to use the new Amplify! I am always looking for new ways to add dimension to projects - you see see how this amazing product has totally brought these flat flowers to life - so simple but so effective.


Flower Power Your Handmade Cards with Amplify!

1. Apply Amplify! in Electric Yellow to the flower centers, slightly squeezing the bottle

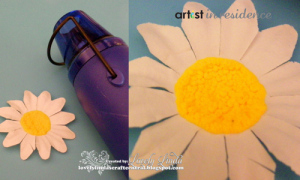
2. Use heat tool to 'puff up' the Amplify!

NOTE: Once Amplify! starts to puff, move to the next area.

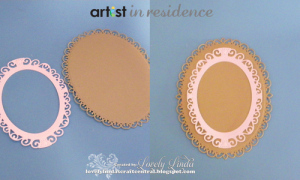
3. Cut/Emboss one (1) Elegant Ovals #3 using white card (#1 being the smallest).

4. Cut/Emboss one (1) Elegant Ovals #4 using moss green cardstock.

5. Pop up white layer onto green layer using 3D Foam Squares to create a frame.

6. Arrange flowers, attach inside the frame using 3D Foam Squares.

7. Create card base by cutting white cardstock 4.25 x 12 inches, score at 6 inches and fold in half.

8. Adhere patterned paper, cut slightly smaller than the base, using double sided tape.

9. Attach the layered frame using double sided tape.

by Linda Lucas

Difficulty

Advanced

Time

½ an hour

Materials Needed

Imagine Crafts featuring Tsukineko:

Other Supplies:

  • Spellbinders: Grand Calibur Machine; Nestabilities: S4-425 Elegant Ovals,  A2 Valiant Honor Card Creator, Classic Ovals Large
  • Kaisercraft: white flowers, cardstock (White, Moss Green, Pale Yellow)
  • Scrapbook Adhesives by 3L: E-Z Runner, 3D Foam Squares
  • Want 2 Scrap: Baby Bling Brown Rhinestones
  • Miscellaneous:  heat tool


Sign up for our newsletter
Facebook Pinterest Twitter YouTube Vimeo