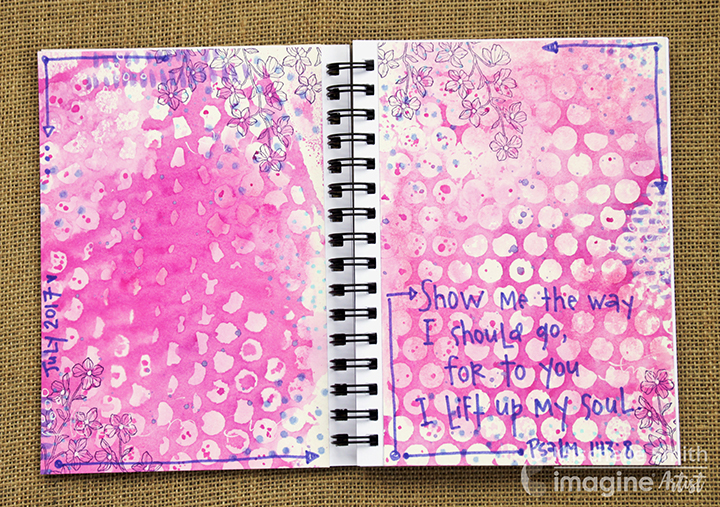
Firworks! Shimmery Craft Sprays have a beautiful shimmer that kisses your paper with a soft, subtle sparkle. It was this kiss of color that I wanted to capture with this technique. I wanted to create a background that I can add to effortlessly when the time allows. We all know that feeling! {smiles}
This layout features the Faux Gelli Printing technique. This time, however, I utilized my Fireworks sprays to create a monochromatic background and I’ll also show you how to use Fantastix with Fireworks for doodling and detailing.
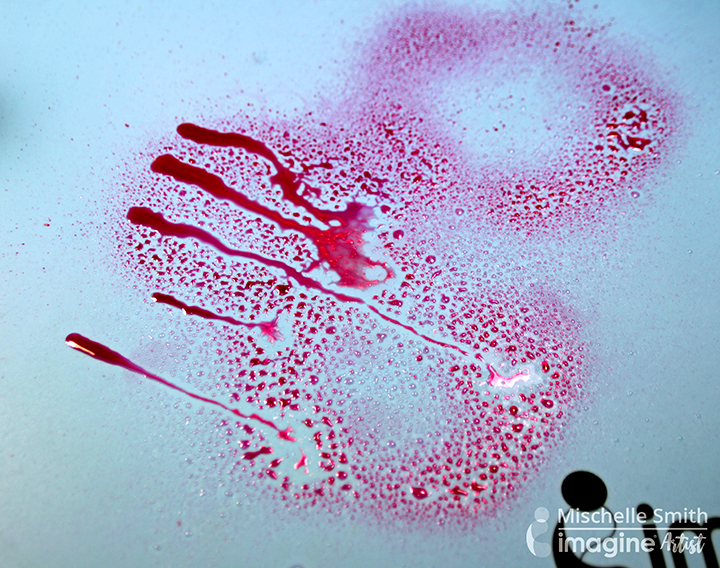
Generously ink the craft mat with Fireworks Shimmery Craft Spray in Rose Bud. Add Fireworks in Lilac Posies and allow the colors to blend. Both these colors are an intense pink with slightly different hues. Lilac Posies is a bit darker. Lift one side of the craft mat and allow ink to run and create new patterns.
Spritz ink with Ink Potion No. 9 which will dilute the mix and create a cool effect.
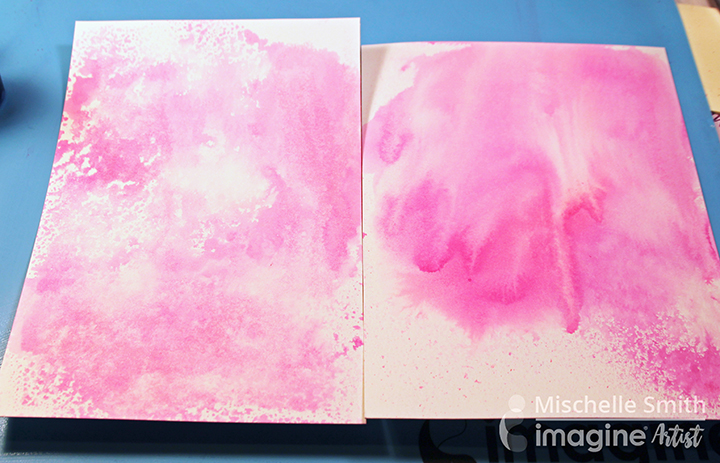
Lay watercolor paper on ink and lift off. Repeat with more paper. Heat set. The paper on the right, in photo above, shows the first pull of color. The paper on the left shows the 2nd pull of color. Both create cool textures to work with.

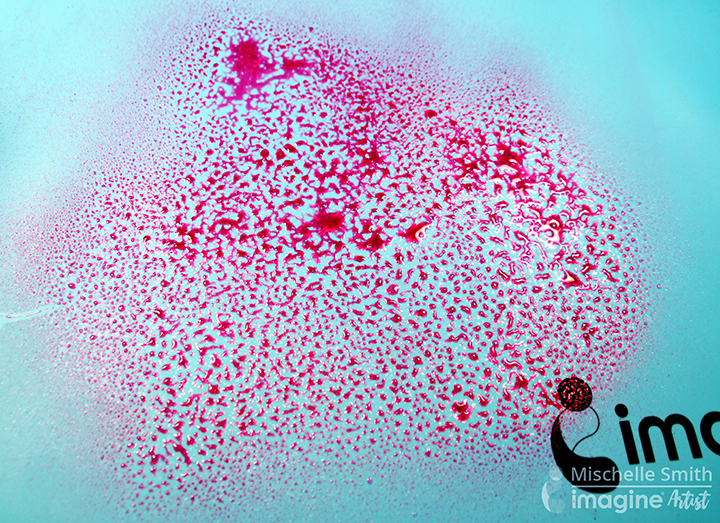
Spritz craft mat with Lilac Posies and Ink Potion #9. Lay stencil on top of spritzed ink. Place watercolor paper on top of stencil and press gently with your fingers around the stencil.
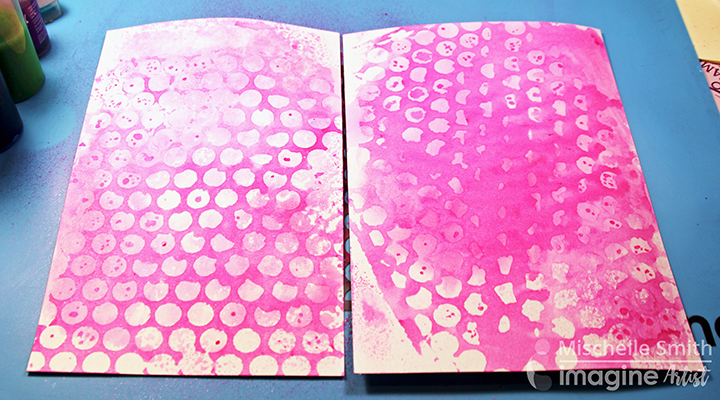
Remove paper and heat set. As the paper continues to dry more variations of color and shimmer will appear – adding depth to the pink tones. Repeat steps 1-5 with any additional colors or stencils you wish to add to the faux gelli print.
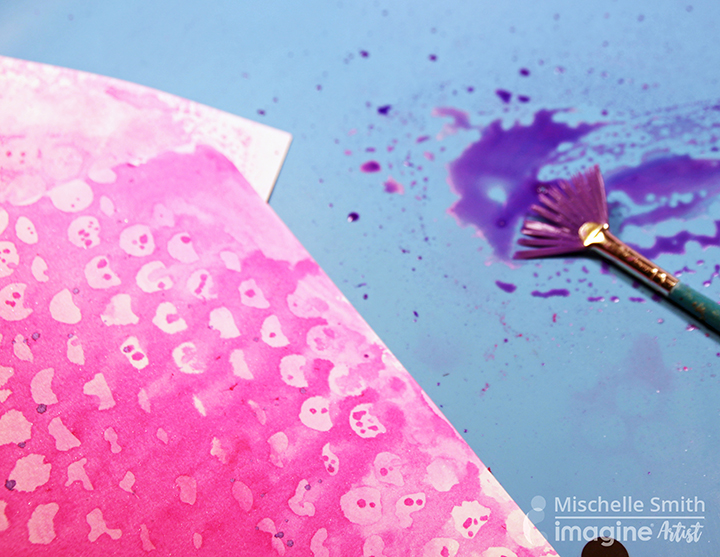
Splatter Fireworks onto paper using a fan brush mixed with Grape Jelly and Ink Potion #9.
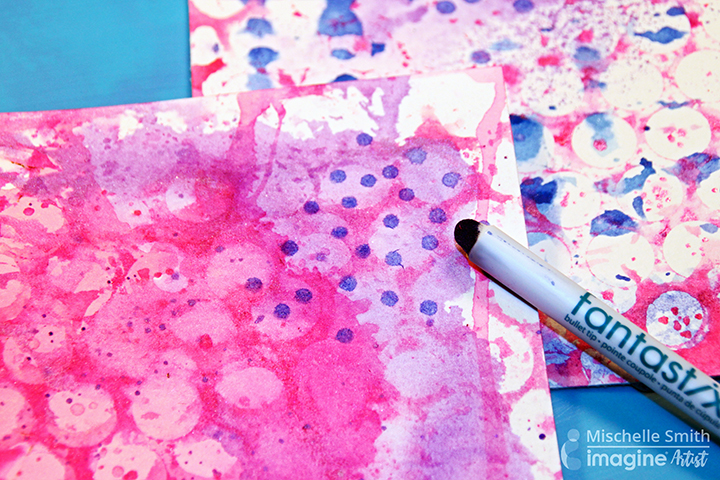
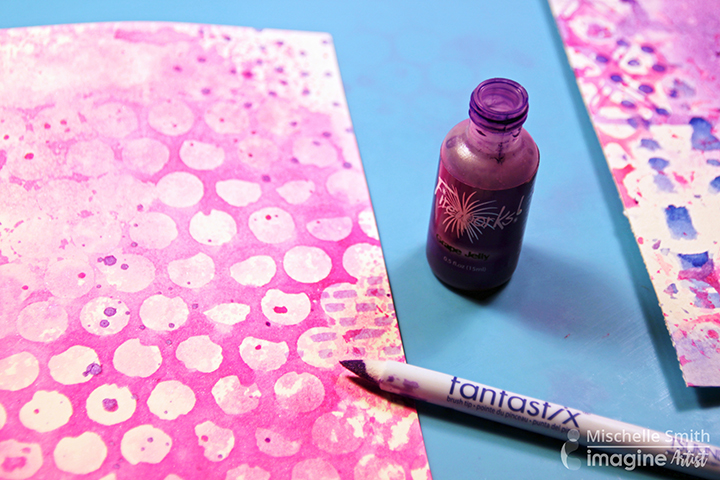
To use Fireworks with a Fantastix is super easy. Since Fantastix has such an absorbent fiber barrel, it readily soaks up both the dye color and the shimmer into the barrel. So, remove the lid from Fireworks and dip a bullet tipped Fantastix into the ink for 5-10 seconds. The Fantastix should have enough ink to work with the project and more. Continue with detailing by making dots using the tip of the Fantastix.
Use a brush tipped Fantastix to draw lines in a brick pattern or a pattern of your choosing. Add lines and let dry, or heat set. Apply color until desired depth is achieved.