 Learn how to use a cloud stencil to create an inkblended card.
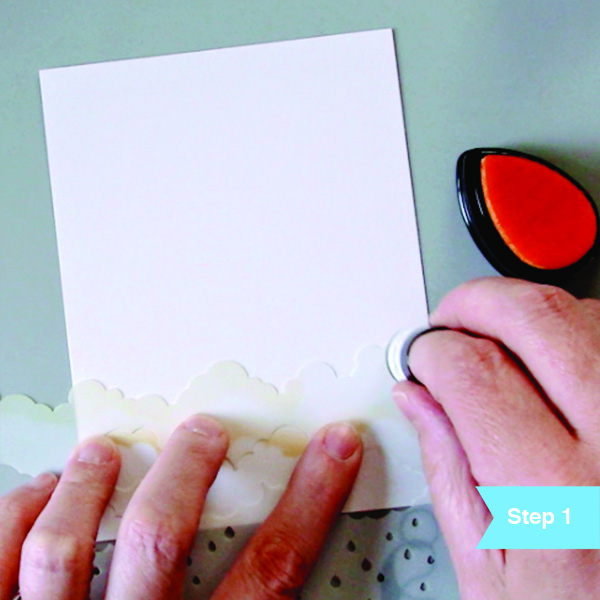
We will be working on a piece of cardstock cut to 4.25 x 5.5 inches, and we will call this our panel. Choose a stencil with a cloud edge. If you do not have a stencil, this is not a problem, simply cut out a piece of thick card stock with bumps like a cloud. Make sure your cut piece is several inches wider than your panel. Next, choose the Dandelion (yellow) Memento Ink and pick up a bit of color with a sponge dauber. Dab a little off onto your craft mat or a scrap piece of paper before inking your panel. Place the stencil edge near the bottom of your panel. Gently add color over the top of the stencil/or cloud cut-out onto the panel. Using a light touch, move the dauber in a circular motion over the edges of the tops of the clouds.
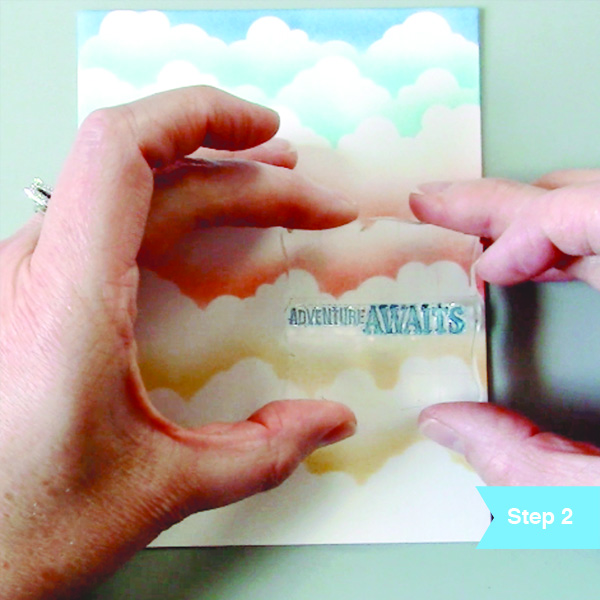
Repeat step one with all four colors of ink. For each layer, move or flip your stencil to get different patterns for each layer. I did two layers each of Dandelion, Morocco, and Danube Blue, and one layer of Paris Dusk at the end to represent the sky behind the clouds. Next, choose a sentiment from any clear stamp set and stamp a sentiment using the Danube Blue Memento Ink on the cloud scene panel.
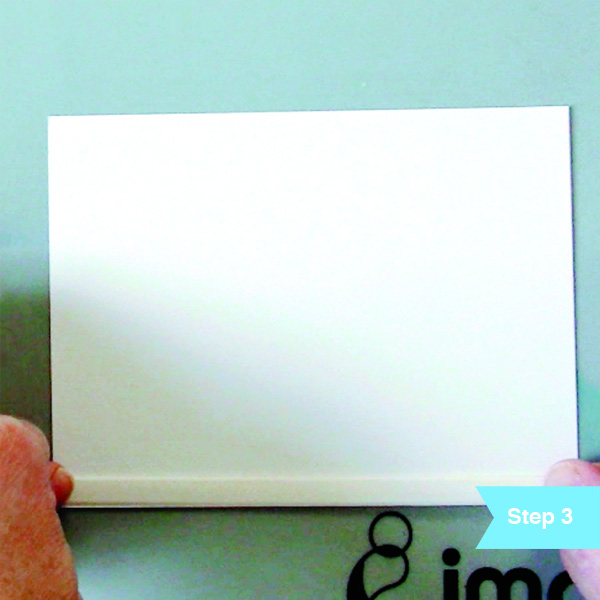
Add Tear It Tape to the backside of the cloud panel and adhere to an A2 sized card base. Make sure you press the tape down firmly so it will be easier to peel the backing off the tape. It is best to use the tape on the edges of the card so the paper does not curl on the card base. Once you peel off the backing, adhere to the front of your card base. Don't forget to check that the fold of the card base is on the left side.
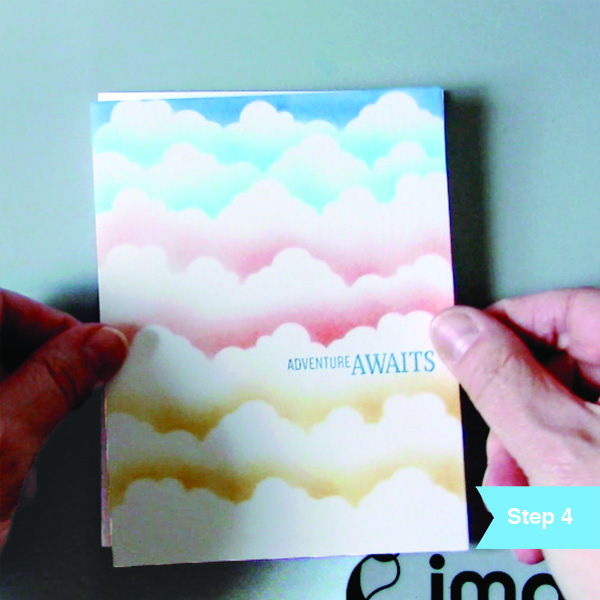
At this point, the card is finished and is ready to gift! You can continue to embellish with extra details such as glitter, decorative dots, or hand-drawn elements, but it is pretty just as it is too.
|
|
|
|---|---|
|
|
|
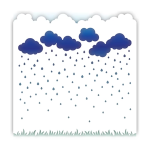 Rainy Day - 6x6 Stencil |
|
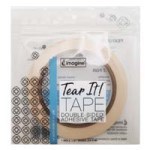 Tear It Tape |
|