.png)
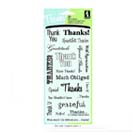
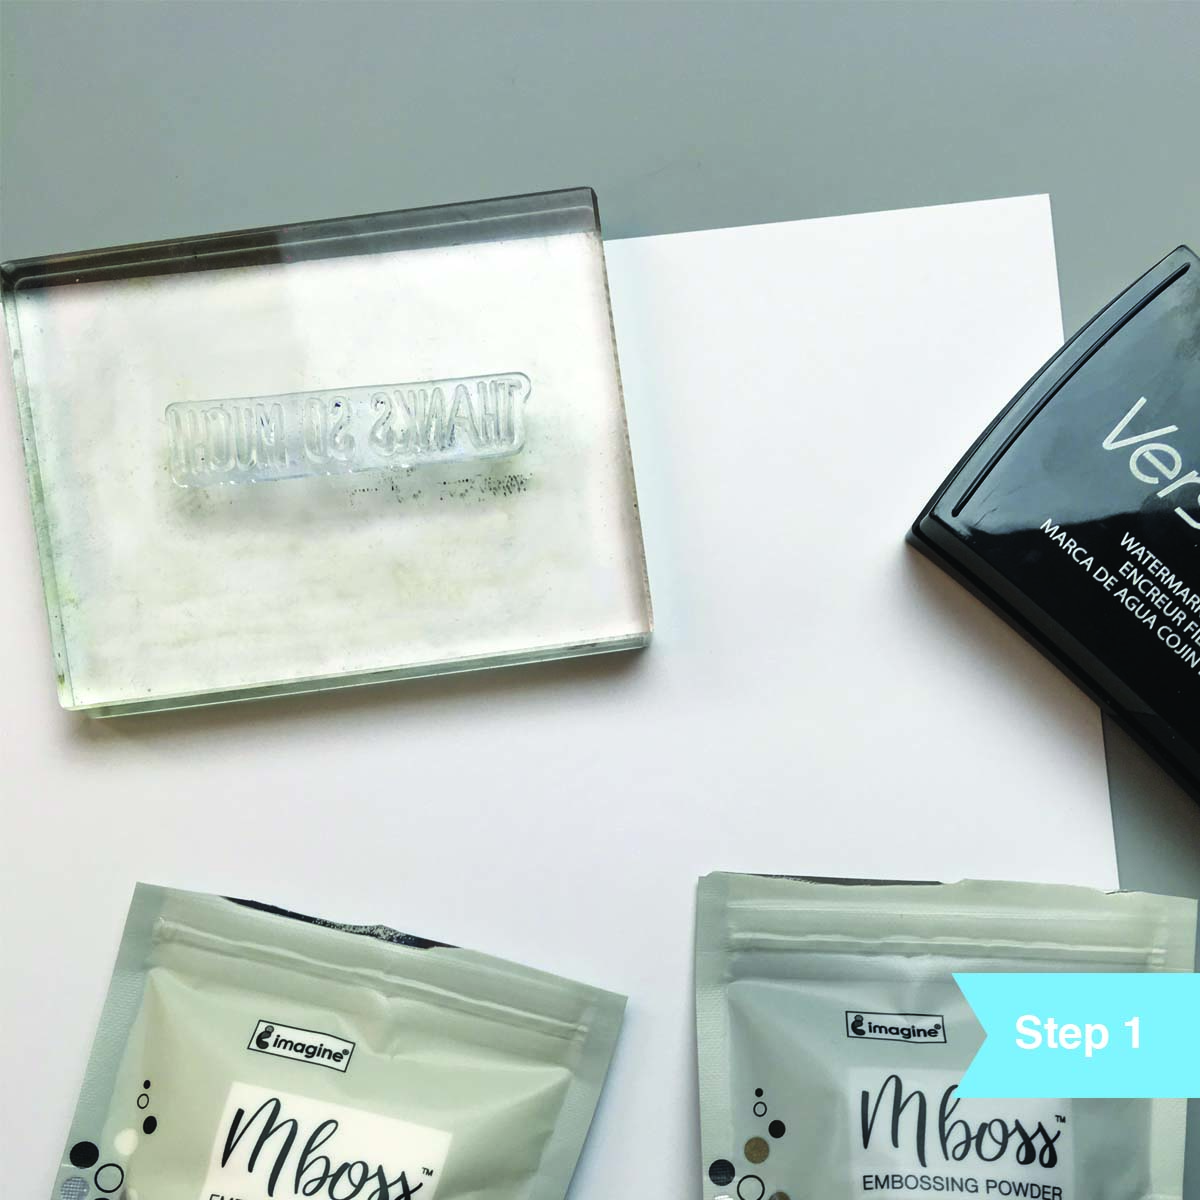
Place an acrylic or photopolymer sentiment stamp, such as “Thanks So Much!” to an acrylic block. Acrylic stamp sets are a great way to get more bang for your buck and cling effortlessly to acrylic blocks. (They are just as effortless to peel back off.) We recommend a sentiment stamp set that has several phrases to choose from. Dab the stamp onto the VersaMark ink pad and stamp the sentiment onto the top corner of your sheet of cardstock. Don't be alarmed if it hard to see your image; VersaMark is a clear sticky ink which is perfect for heat embossing. Repeat 3 or more times in a row going vertically down the page being sure to space each stamp roughly a half inch apart.
.jpg)
Place an extra piece of paper (or a coffee filter) on your crafting surface and your stamped cardstock over it. Sprinkle ample amounts of embossing powder directly over the freshly stamped sentiments and gently tilt the paper back and forth to allow the embossing powder to cover the inked area. Tap off the excess onto the extra paper or filter. Since sentiments are usually fine lines, you can apply the embossing powder several times until all areas are covered, each time pour off the excess then gently tapping off the excess. Return the excess powder to the bag by using your copy paper or coffee filter as a funnel.
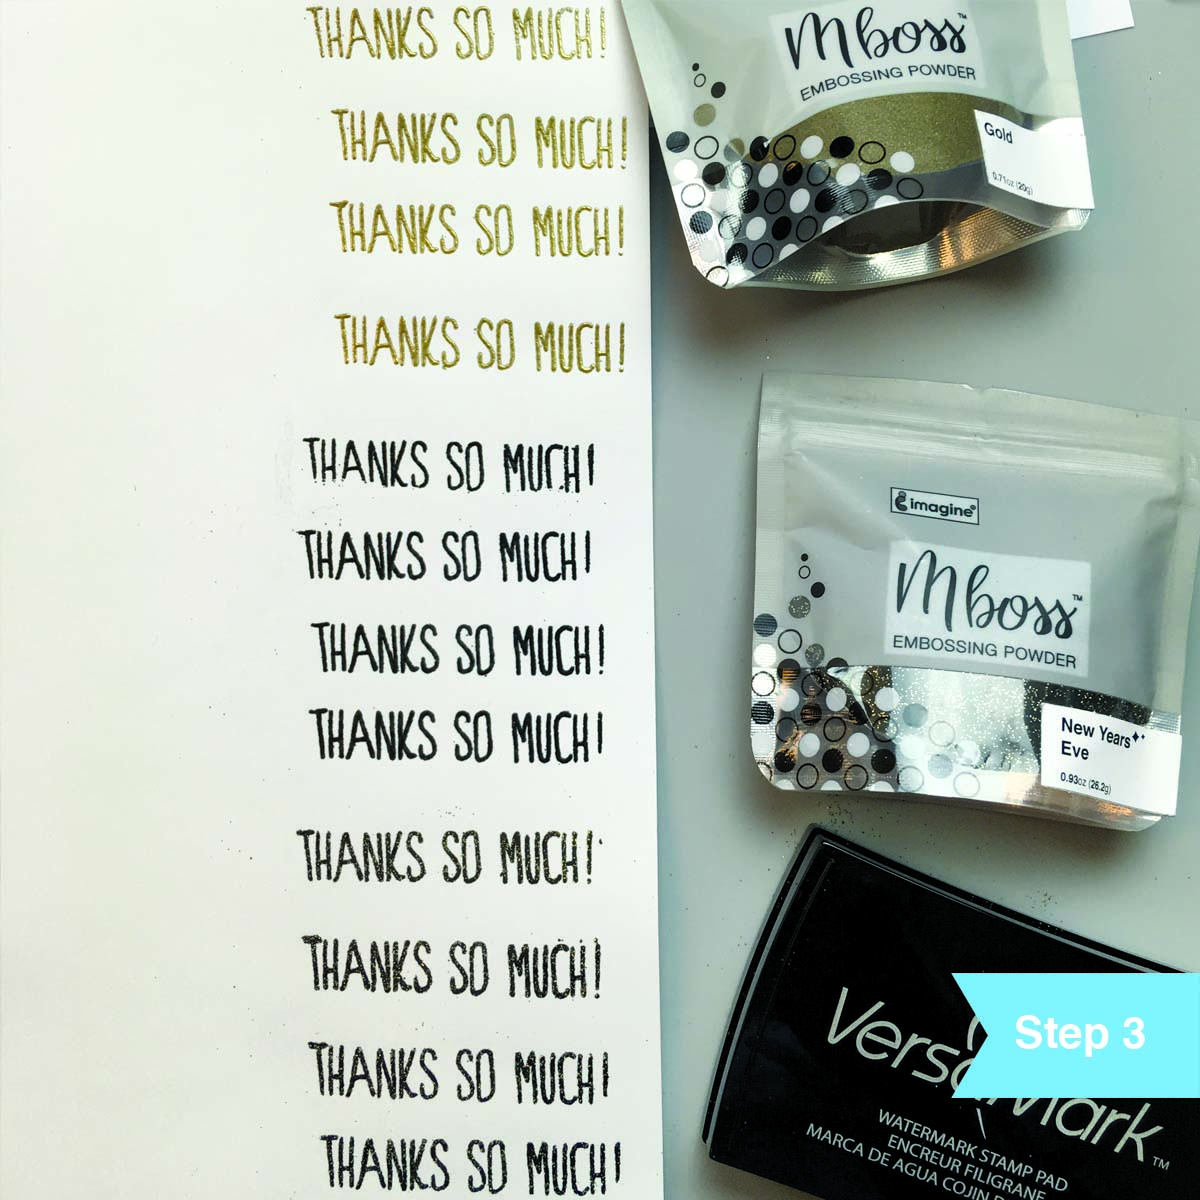
Turn on the heat tool and preheat for 20-30 seconds. Preheating the tool helps melt the embossing powder faster which reduces paper warping. Caution, the heat tool blows very hot air intended to melt plastic, please be careful to keep your hands away from the flow of heat! Now, begin melting the powder from underneath the paper to melt the microbeads to the paper without the powder blowing away. Continue until all powder is melted moving your paper over your heat tool so it is not focused on one spot for too long. Most embossing powders will transform from a dull color to a high gloss. This is especially visible with the Gold color. Once the color transition happens the embossing is done. Repeat this process as many times as you like with other embossing powder colors or with other sentiments.

Once all the embossing is finished, take a pair of scissors to cut out each phrase. This simple technique is a great way to practice embossing and to create a little sentiment collection to pull from for making quick thank you cards. You will find that each sentiment turns out a little different. Some small areas can be missed by the embossing powder altogether. By stamping several times, you can begin to see where you might be pressing harder on one side or tapping off too much of the powder, etc. The more you stamp and emboss the better you will become and soon every time you do this technique the result will be perfect!
 Learn How to Emboss in this Beginner Lesson.