Create cute Panda Birthday Cards!
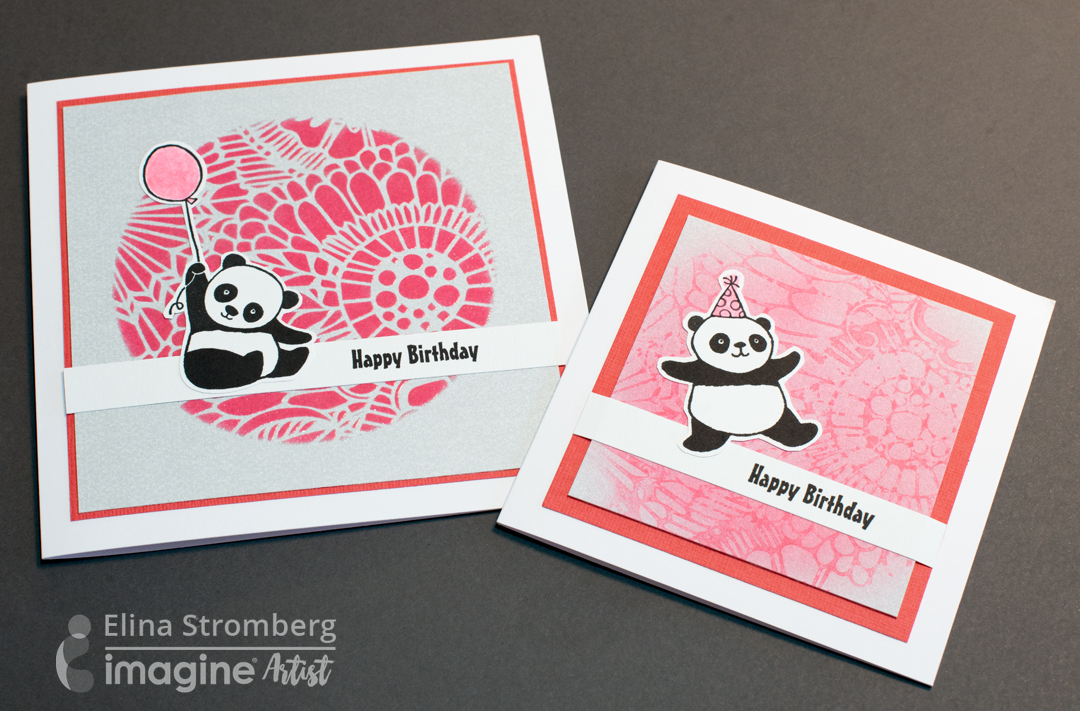
Since 2000, the Pantone Color Institute declares a particular color “Color of the Year”. It is chosen in a secret meeting of representatives from various nations’ color standards groups, and the result of the meeting is communicated in Pantone View, which fashion designers and other consumer-oriented companies purchase and use as guidance for their future product designs.
This year the Pantone Color of the Year is “Living Coral”. It is described as “an animating and life-affirming coral hue with a golden undertone that energizes and enlivens with a softer edge”. Lovely! To celebrate this newly released Color of the Year “Living Coral” is also the color of the month for Imagine AIR’s. I must admit that coral is very rarely seen on my crafting projects, but I was quite surprised how yummy this rich red color looked on my card creation. Especially when contrasted with simple light grey hues!
Skill: Beginner/Intermediate
Time: 1 hour
Directions
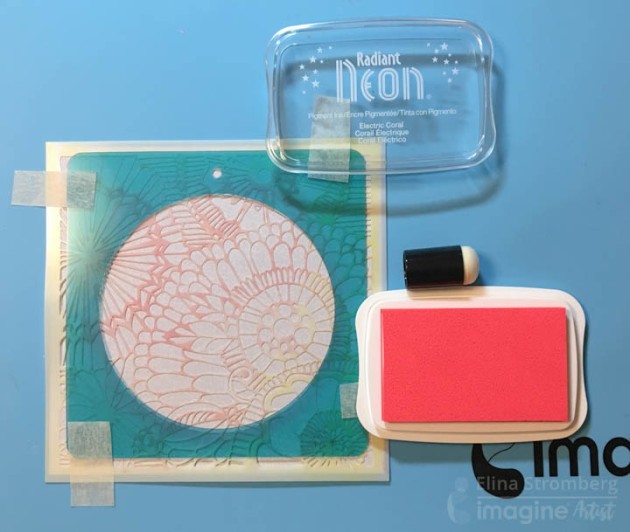
Layer two stencils on the card background: Place the patterned stencil on the background paper and a circle stencil on top. Secure on your crafting mat with masking tape. Apply ‘Electric Coral’ Radiant Neon ink through the stencil with a sponge dauber. Remove both stencils.
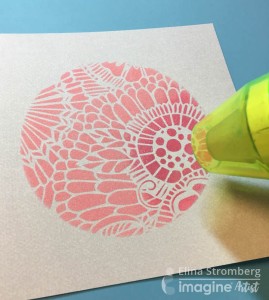
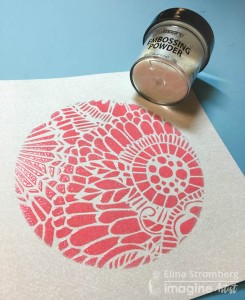
Place the inked background paper on a sheet of printing paper. Pour clear embossing powder over the stenciled and inked area. Pour any extra embossing powder onto the printing paper and funnel the extra powder back into its container. Heat the embossing powder with a heating tool until completely melted. Trim the decorated paper to size and mat on a piece of coral colored cardstock.
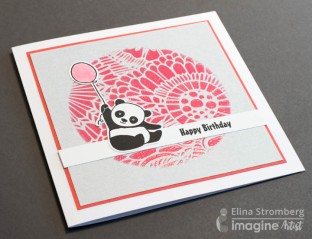
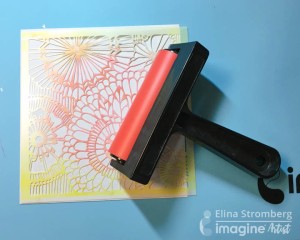
Stamp the panda image and sentiment text with black ink on white paper. Cut out and glue on the card front. Attach card on white card base using double-sided tape. When the card was finished the stencil still had still coral ink on it, so I decided to use it for another fun card background: I misted the inked part of the stencil gently with water, placed it upside down on a piece of grey patterned paper, and transferred the ink on the paper by rolling the stencil background with a brayer.
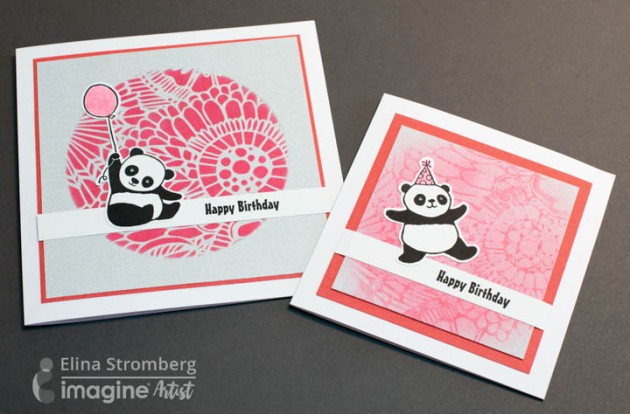
Then I removed the stencil, let the ink dry, and dabbed a thin layer of coral ink on the pattern. Then I repeated the mounting on coral cardstock and used a different panda image for this card. I think this reverse version of the stencil pattern looks very nice, too!