Array ( [0] => 280 [ID] => 280 [1] => 1 [TYPEID] => 1 [2] => 0 [SECTIONID] => 0 [3] => project-details [MOD_NAME] => project-details [4] => [TITLE] => [5] => Project Details [META_TITLE] => All Your Eggs in One Basket - Papercraft for Easter [6] => [META_DESCRIPTION] => All Your Eggs in One Basket - Papercraft for Easter [7] => [META_KEYWORDS] => [8] => [BUTTON_TITLE] => [9] => [BODY] => [10] => [BODY_SIDE] => [11] => [MODULE_PROCESSING] => [12] => [MODULE_META] => [13] => project-details-head.php [MODULE_HEAD] => project-details-head.php [14] => project-details-body.php [MODULE_BODY] => project-details-body.php [15] => [MODULE_SIDE] => [16] => 0 [TOP_ORDER] => 0 [17] => 0 [HITS_UNIQUE] => 0 [18] => 0 [HITS_REPEAT] => 0 [19] => 0 [ROBOT_HITS] => 0 [20] => 0000-00-00 00:00:00 [LASTVIEWED] => 0000-00-00 00:00:00 [21] => 0000-00-00 00:00:00 [ROBOT_LASTVIEWED] => 0000-00-00 00:00:00 [22] => 0.70 [PRIORITY] => 0.70 [23] => 1 [SITEMAP] => 1 [24] => 1 [ACTIVE] => 1 [25] => 1 [DISPLAY_TITLE] => 1 [26] => 0 [SSL_MODE] => 0 [27] => 0 [EDITABLE] => 0 [28] => 0 [DELETABLE] => 0 [29] => 2013-11-05 00:00:00 [LASTUPDATED] => 2013-11-05 00:00:00 [30] => 2013-11-05 00:00:00 [CREATED] => 2013-11-05 00:00:00 )
Imagine Crafts
LearnMakeCommunityShop

All Your Eggs in One Basket - Papercraft for Easter

For a non-Easter theme, try filling your "basket" with fruit or flowers.


All Your Eggs in One Basket - Papercraft for Easter
  1. Cut cardstock into the following sized pieces: white -- 6.5" x 4.75" and 5.5" x 4"
    green --  4.75” x .75” and 10.5” x .25”
     
  2. Trim a piece of the Tack 'n' Peel
 to the size of your acrylic block. Cut toothpicks in 1/2 and line them up on the block to create the pattern shown in the final picture.
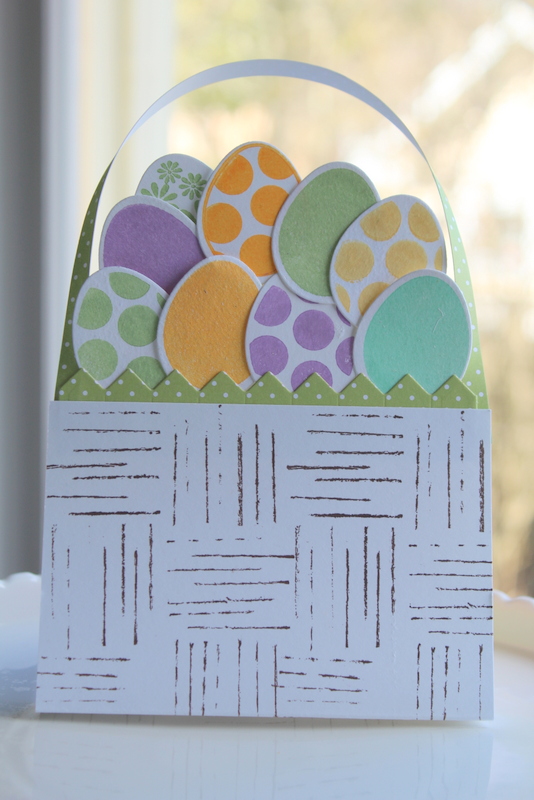
  3. Ink toothpick stamp with VersaColor Pinecone & stamp the 6.5 x 4.75" white cardstock until pattern is full. Let dry, fold in half. This is the "envelope" for your card. Add a 4.75" x .75" piece of green paper to the top edge of one side -- cut a jagged edge to give the idea of grass.

  4. Using the VersaMagic spring colors, stamp the various egg designs on white cardstock.
  5. Using the matching die, cut out the eggs.

  6. To add some sparkle, spritz the solid eggs with Shimmer Spritz in Frost and the polka dot eggs with Shimmer Spritz in Sparkle.
  7. Assemble the eggs in a group pattern and adhere to the top of the 5.5" x 4" white cardstock.

  8. Add sentiment to lower half of card. It will be hidden in the "basket."
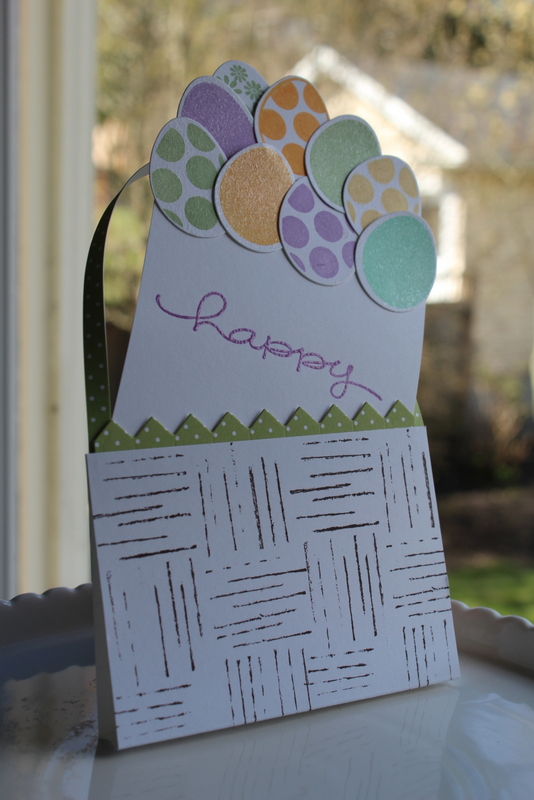
  9. Assemble: using a 10.5" strip of green cardstock, place a drop of glue on each end of strip on each side. Sandwich between the top corner edges of the basket to attach the handle and seal the basket edges closed. 

by Maureen Cronin

Difficulty

Beginner - Easy

Time

1-2 hours

Materials Needed

From IMAGINE Crafts/Tsukineko:

  • Tack 'n' Peel

  • 
Versa Magic in Spring Pansy, Mango Madness, Aloe Vera, Aquatic Splash, & Thatched Straw
  • 
Shimmer Spritz in Frost and Sparkle

  • VersaColor in Pine Cone 
  • Embossing Powder in Clear

Miscellaneous:

  • Acrylic block

  • White and green cardstock
  • amuse | studio 'egg-stravaganza' stamp set
  • amuse | studio matching egg die 
  • Toothpicks


Sign up for our newsletter
Facebook Pinterest Twitter YouTube Vimeo