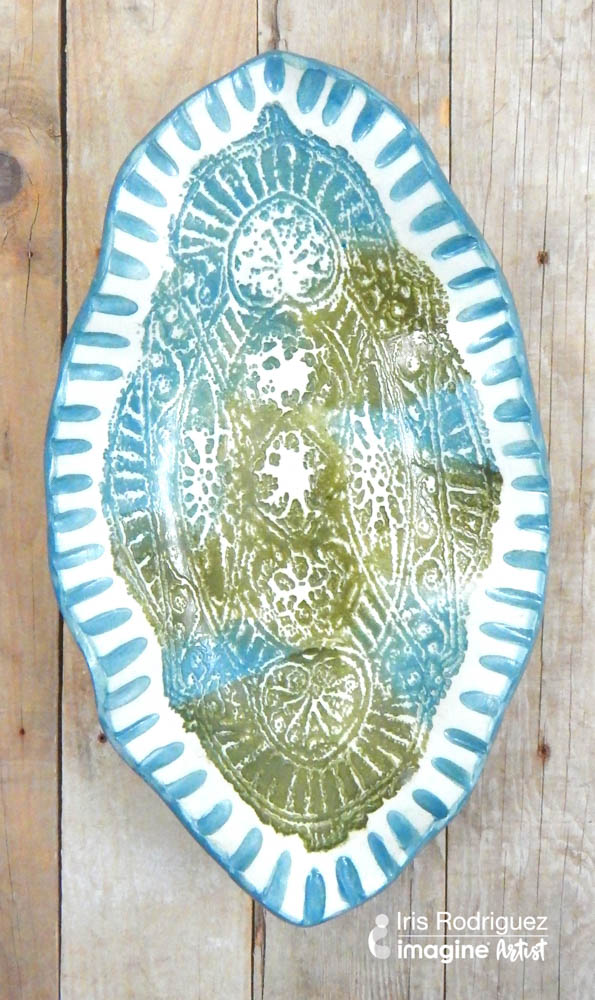
Ink is not just for paper. You can use it on fabric, metal and more specifically Polyform clay. You can use inks to transform polymer clay projects into a wide variety of pieces. Use ink to simply color your clays projects, use with stamps to add designs, or blend it into the clay to create a new color clay.
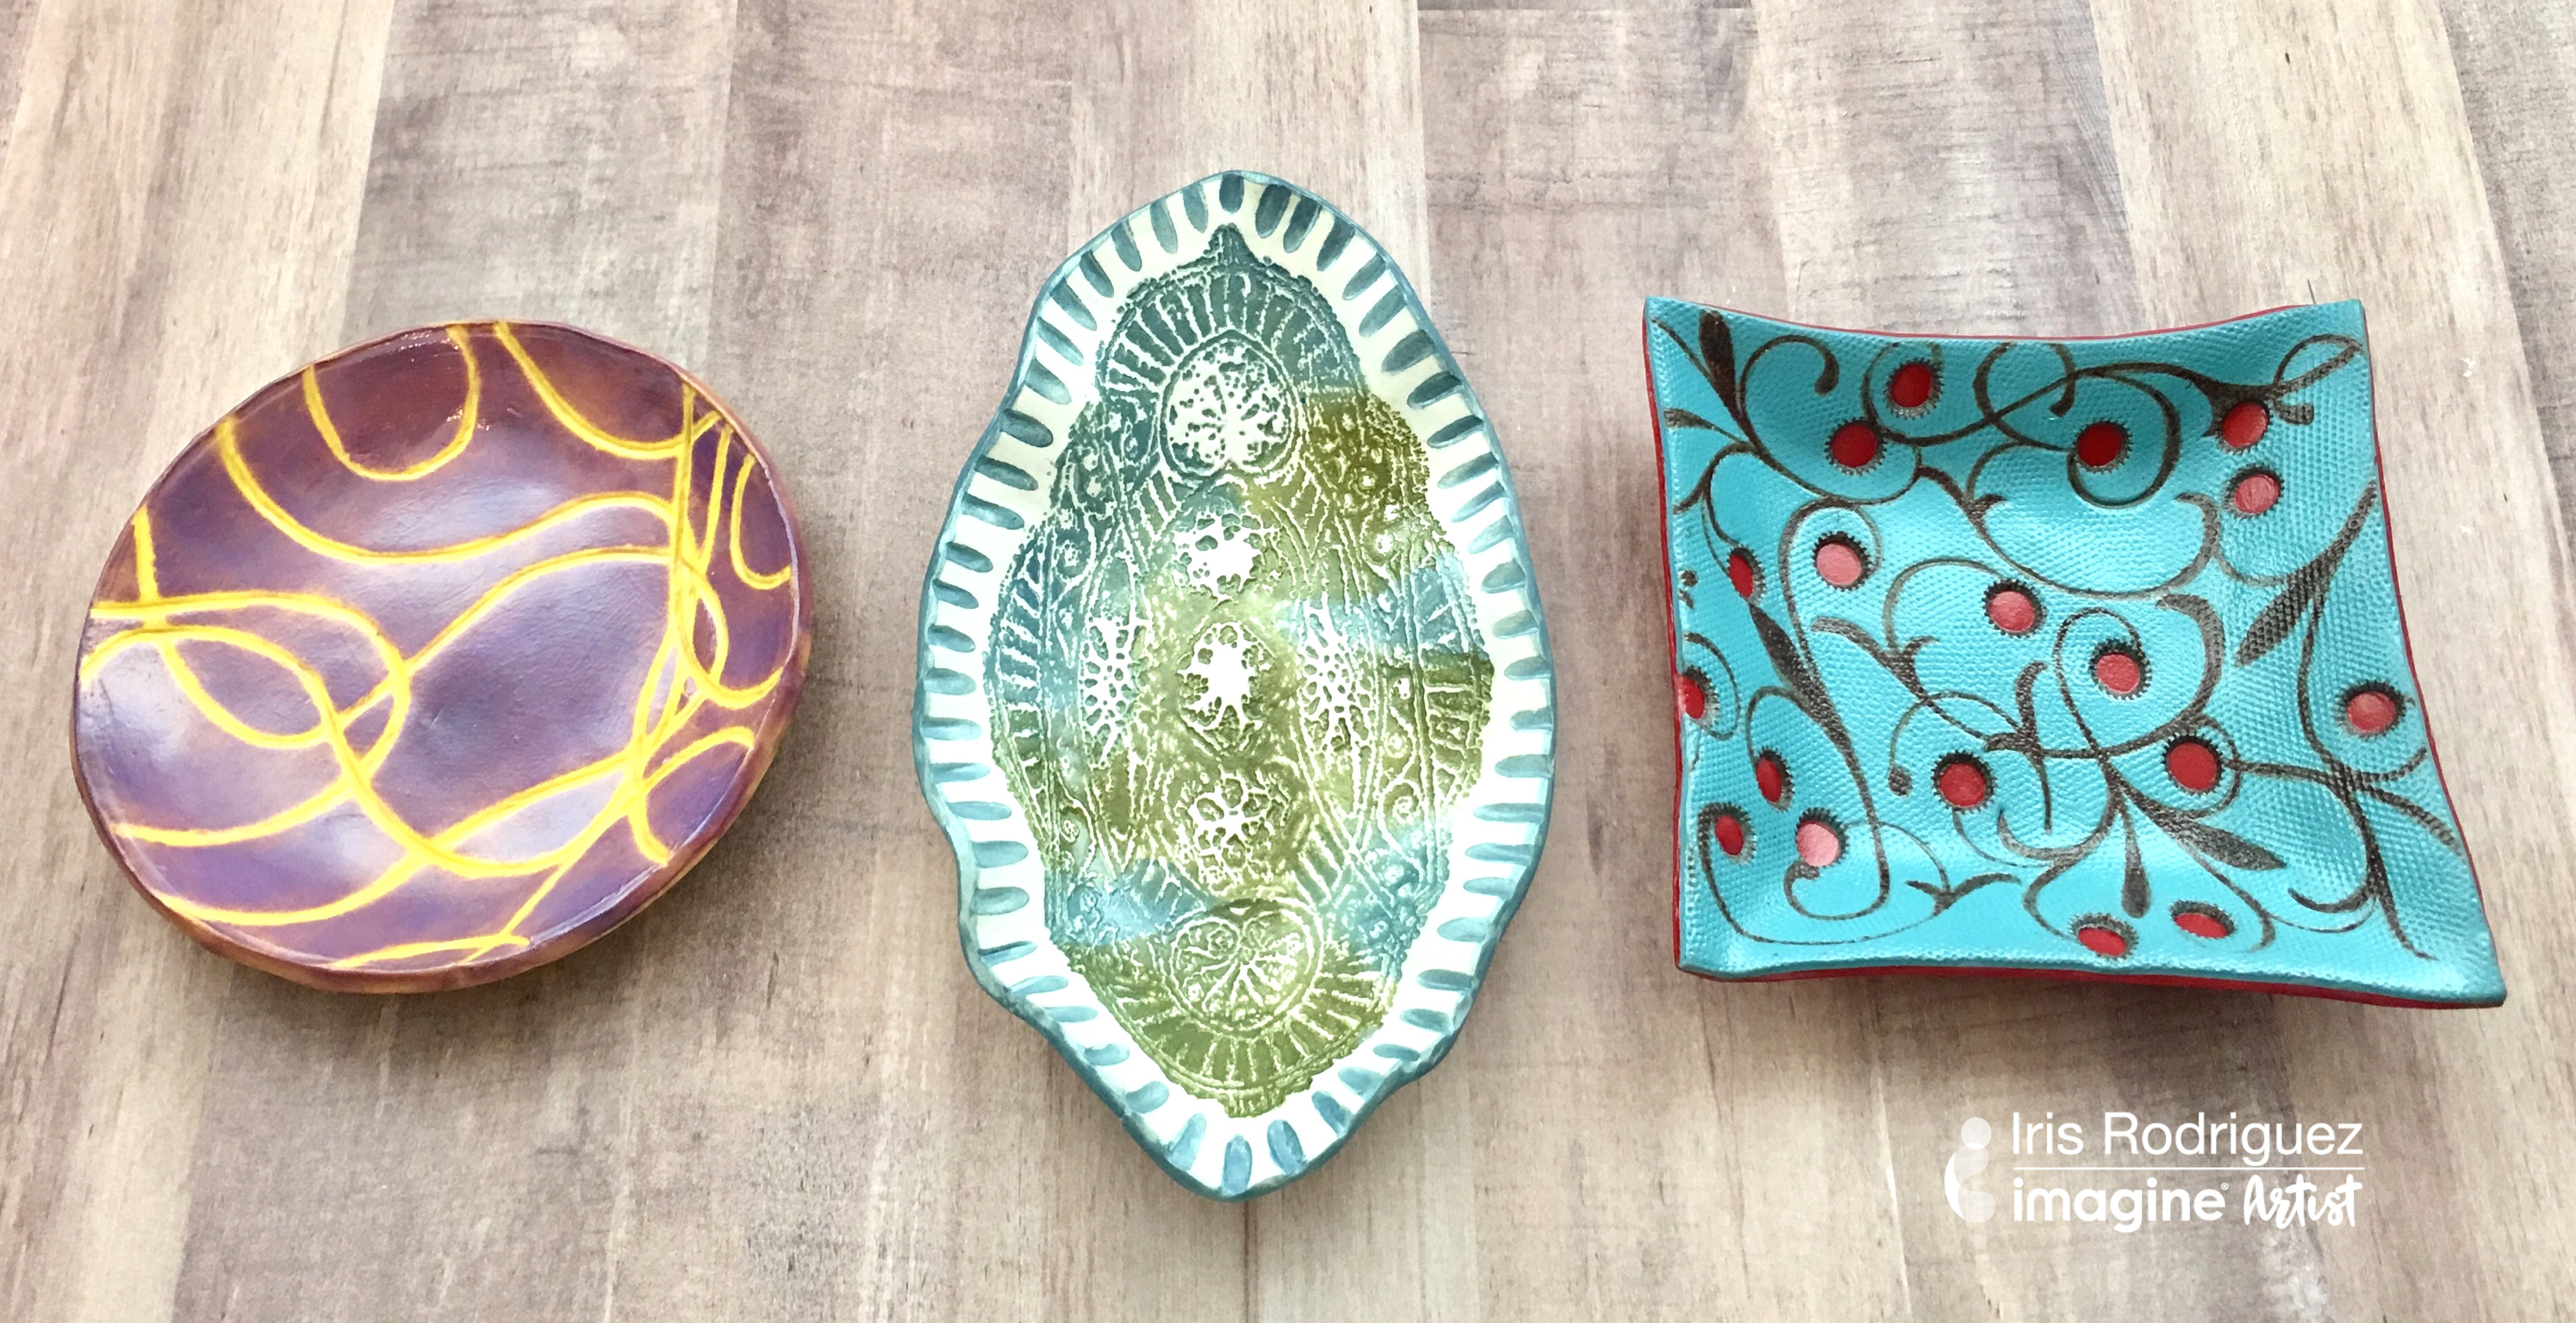
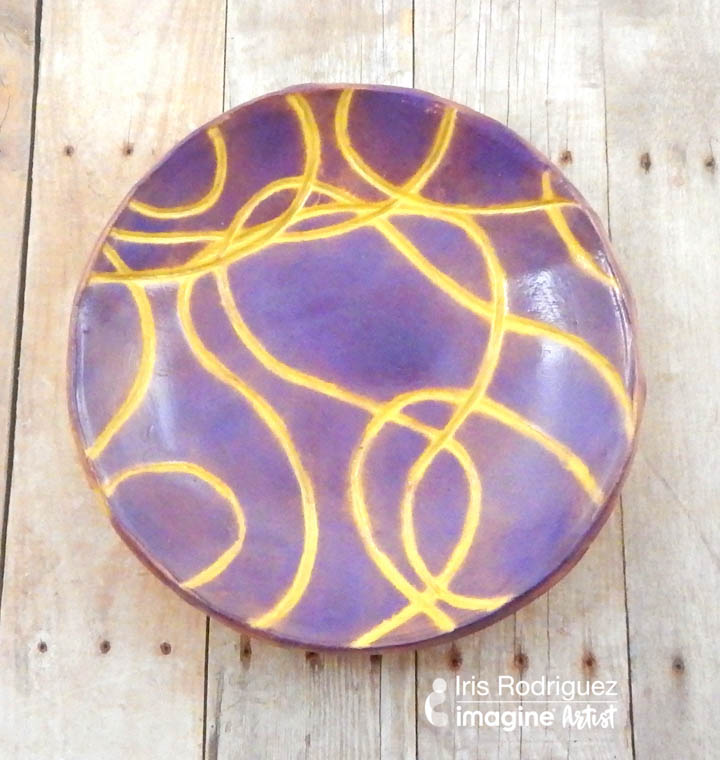
Ink is not just for paper. You can use it on fabric, metal and more specifically Polyform clay. You can use inks to transform polymer clay projects into a wide variety of pieces. Use ink to simply color your clays projects, use with stamps to add designs, or blend it into the clay to create a new color clay. For this project, I create three different bowls using Sculpey Souffle clay with VesaMagic Dew Drop and StazOn inks and demonstrate several techniques when using inks. Hope I pique your interest and give these projects a try.
Skill: Advanced
Time: 1 hour per bowl; baking time according to clay manufacturer instructions
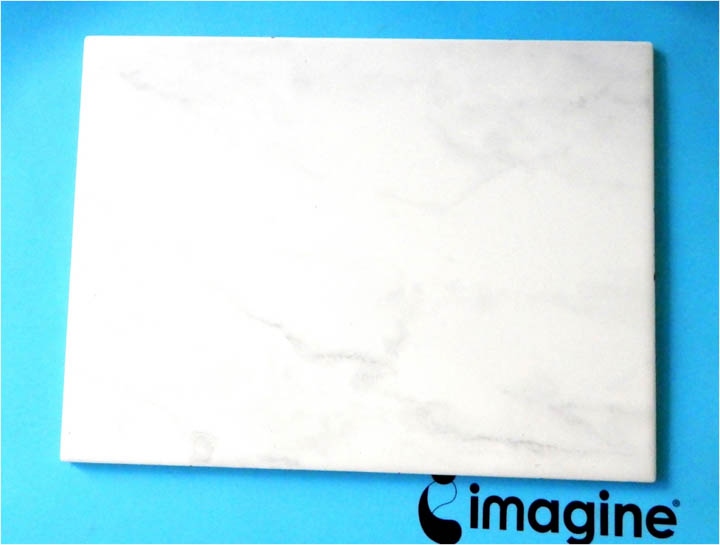
Ceramic, glass or specially made mat like Polyform’s Sculpey Make ‘n Bake Mat surfaces work best when working with clay.
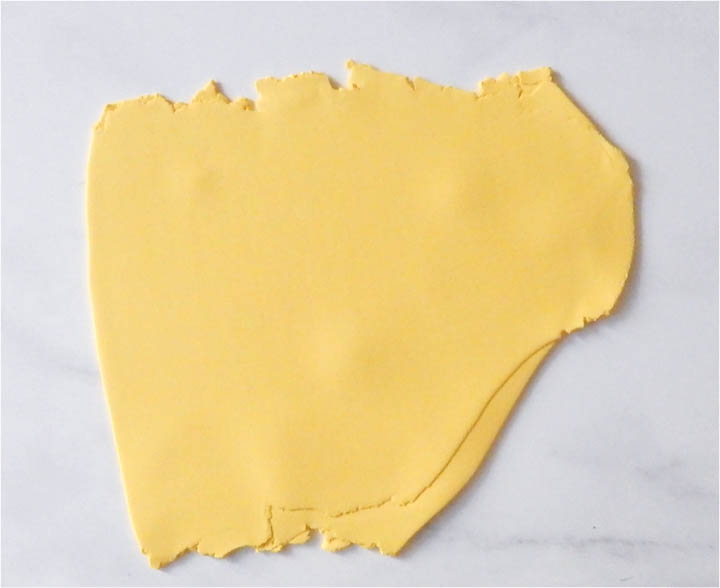
Before starting, determine bowl size. Use a template or a real bowl as a guide. This will help to determine how much clay you will need. For this bowl, use the Canary Sculpey Souffle clay. Begin by conditioning the clay with a clay roller, or pasta machine. When first taking the clay out of the package, roll the clay a few times in order to soften it. If it cracks when running it through the pasta machine or roller; this means that it’s not conditioned. So continue to condition. If using a pasta machine, roll out two sheets of clay to the third thickest setting. If using a roller, aim for ~¼ inch thickness. Ensure that the sheet is big enough for desired bowl size. Place one sheet over the other sheet, roll the clay roller over the sheets; this allows them to stick together and avoids bubbles.
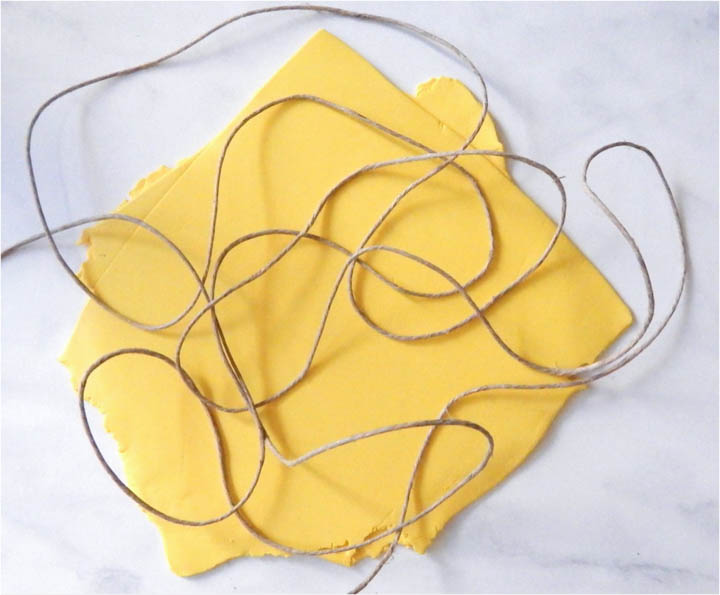
Place a long string in a random fashion on top of the clay.
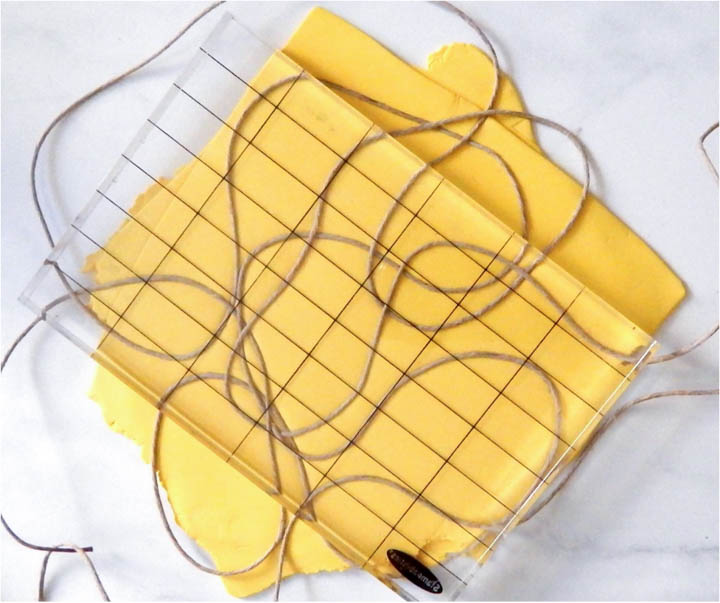
Squish the string with an acrylic block or tile. Avoid using your fingers to push in the string, as you’ll get fingerprints and finger indentations on the clay.
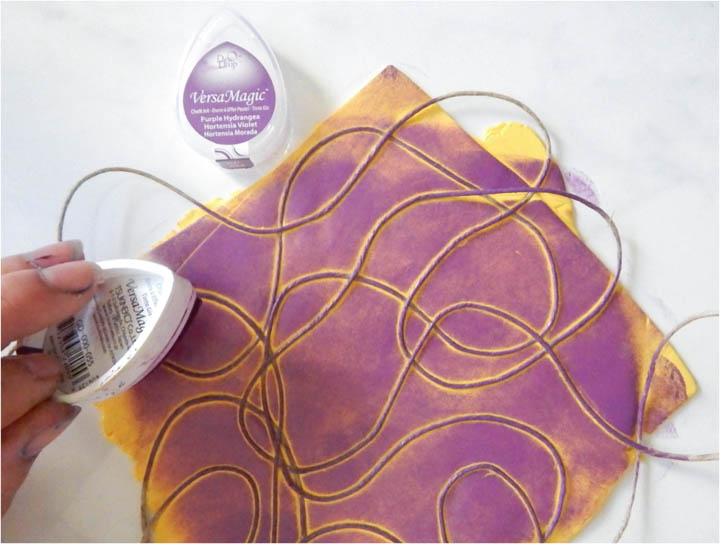
Pounce the Purple Hydrangea VersaMagic Dew Drop ink.
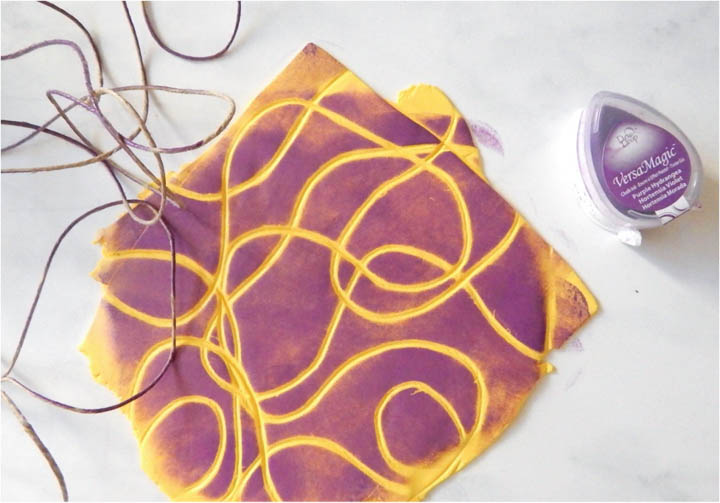
Remove the string.
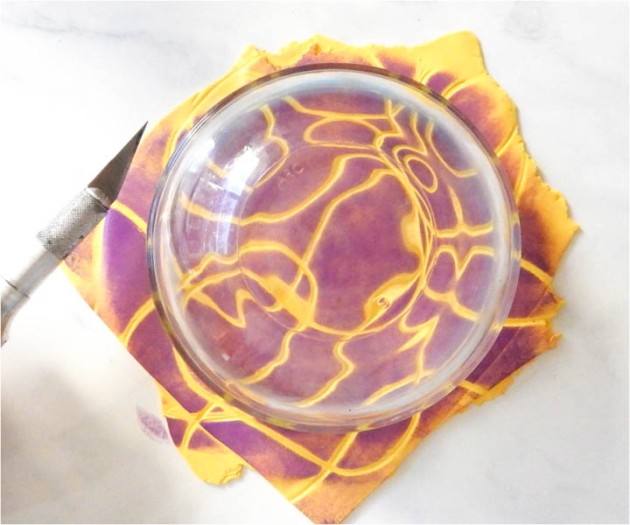
Place a bowl or template over the clay, cut the excess clay.
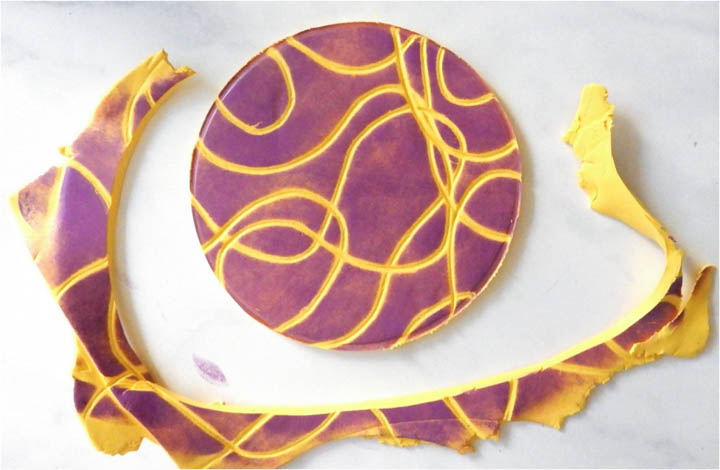
Smooth out the outer edge (or what will be the bowl’s rim) with your fingers or clay tool. Color the outer edge with the Purple Hydrangea VersaMagic Dew Drop ink.
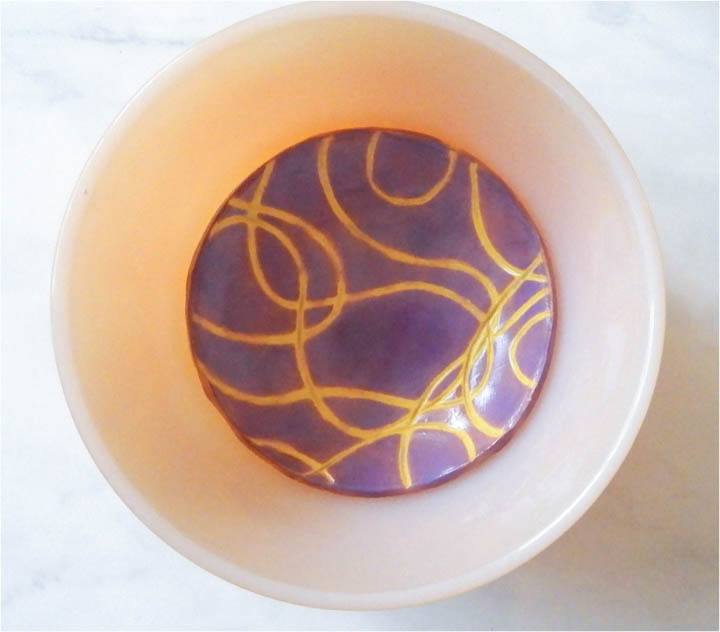
Place the clay bowl into a real bowl and bake according to the manufacturer's instructions on the package. The clay bowl will take on the shape of the real bowl.
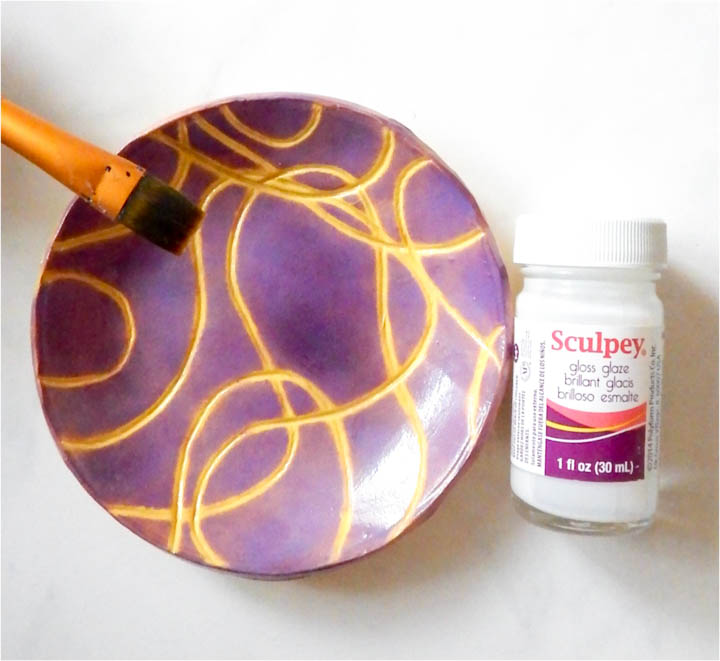
Seal the clay bowl with Polyform Sculpey Gloss Glaze.
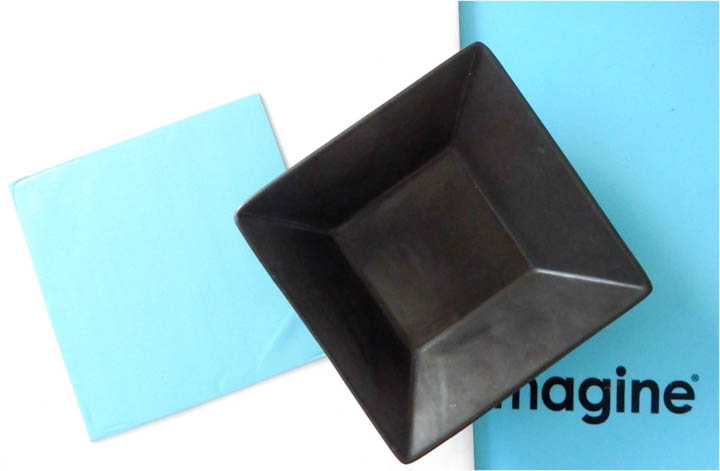
Following the same instructions in Step 2 above. Determine bowl size. For this bowl blend 2/3 Sea Glass Sculpey Souffle clay and 1/3 Igloo Sculpey Souffle, to lighten it up a little. Roll out one sheet to the third thickest setting or ~1/16 inch if using a clay roller.
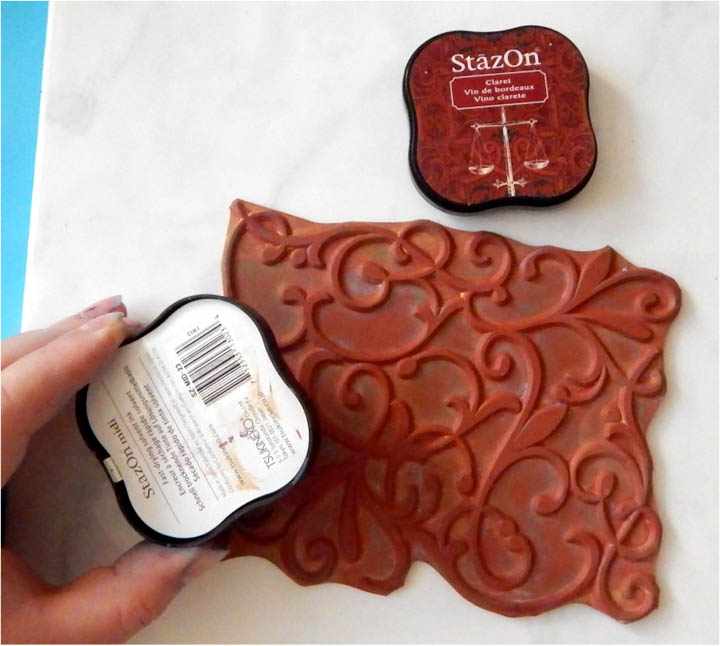
Ink a large background stamp or clay texture stamp with Claret StazOn ink.
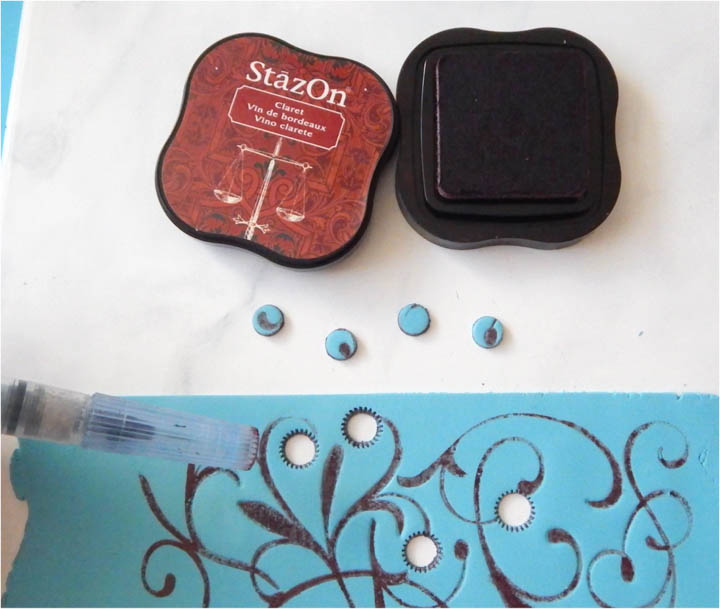
Stamp into the clay. Press firmly with your fingers. Cut out holes with a cutter or use the cap of a pen.
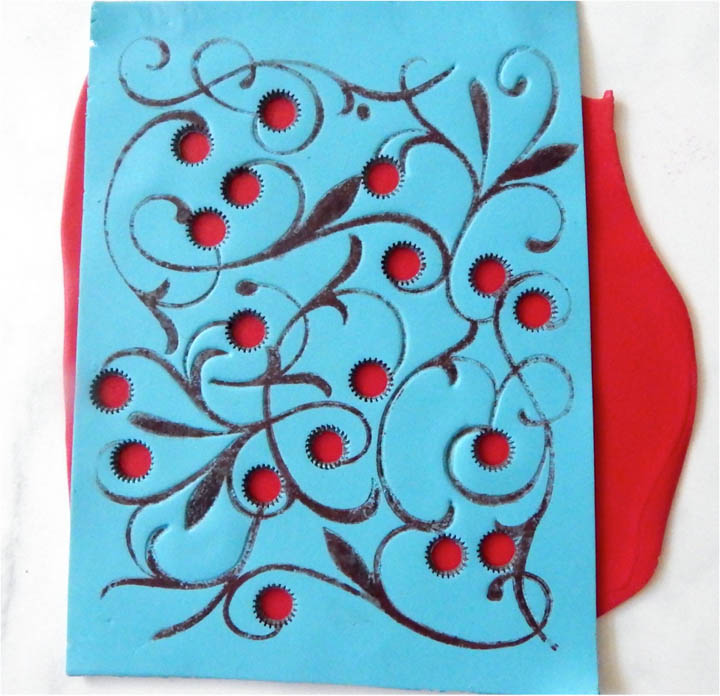
Following the same instructions in Step 2. Roll out one sheet of the Cherry Pie Sculpey Souffle clay to the third thickest setting or ~1/16 inch if using a clay roller. Place the Cherry Pie clay sheet under the Sea Glass sheet. Roll the clay roller over the sheets; this allows them to stick together and avoids bubbles.
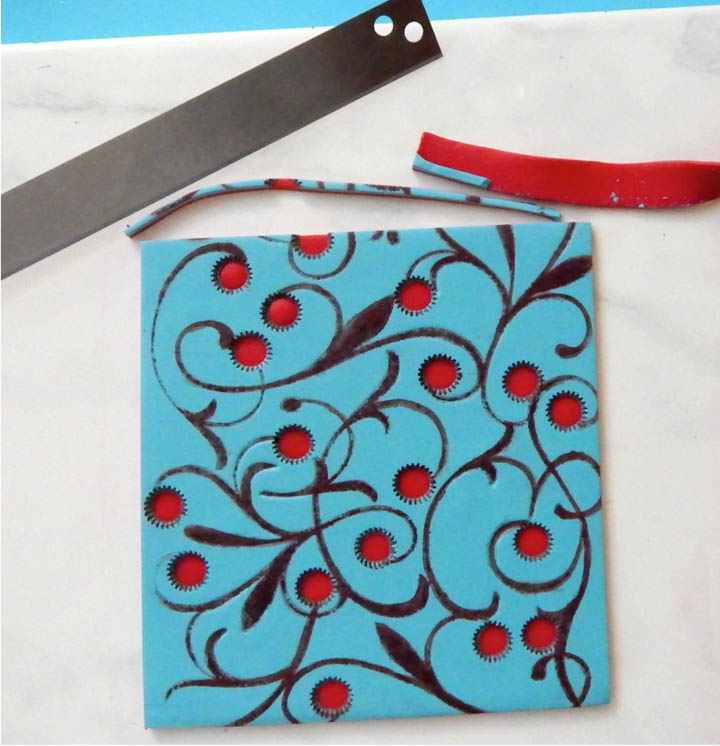
Cut the excess clay. Place the clay bowl into a real bowl and bake according to the manufacturer’s instructions on the package. The clay bowl will take on the shape of the real bowl.
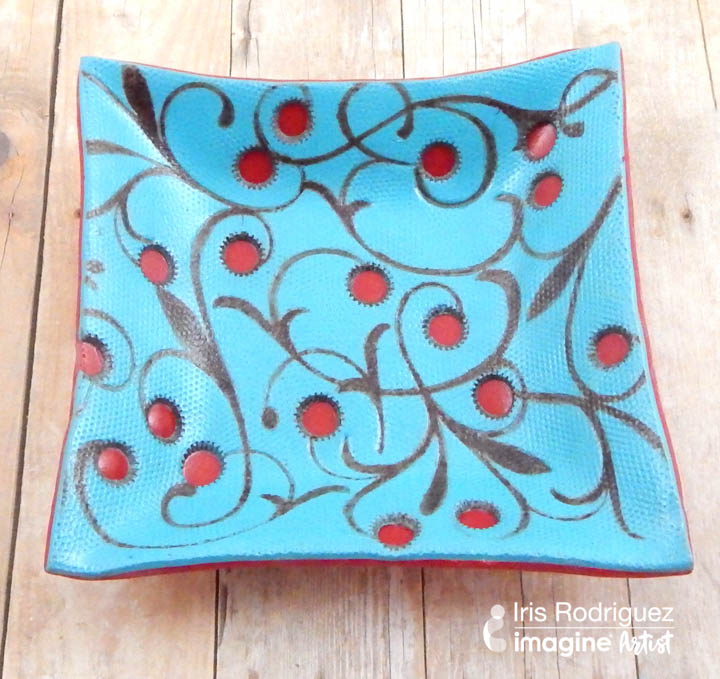
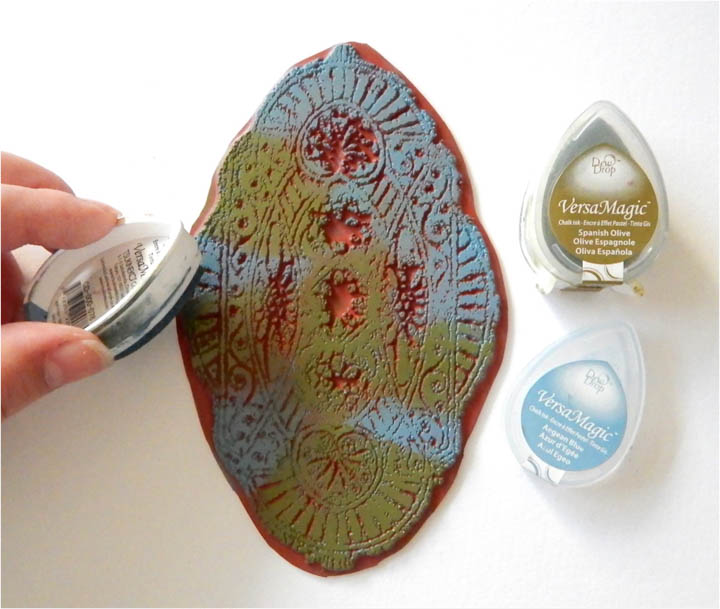
Following the same instructions in Step 2. For this bowl use the Igloo Sculpey Souffle clay. Roll out two sheets to the third thickest setting or ~1/4 inch if using a clay roller. Place one sheet over the other sheet, roll the clay roller over the sheets; this allows them to stick together and avoids bubbles. Pounce on the Spanish Olive and Aegean Blue VersaMagic DewDrop inks onto a rubber stamp.
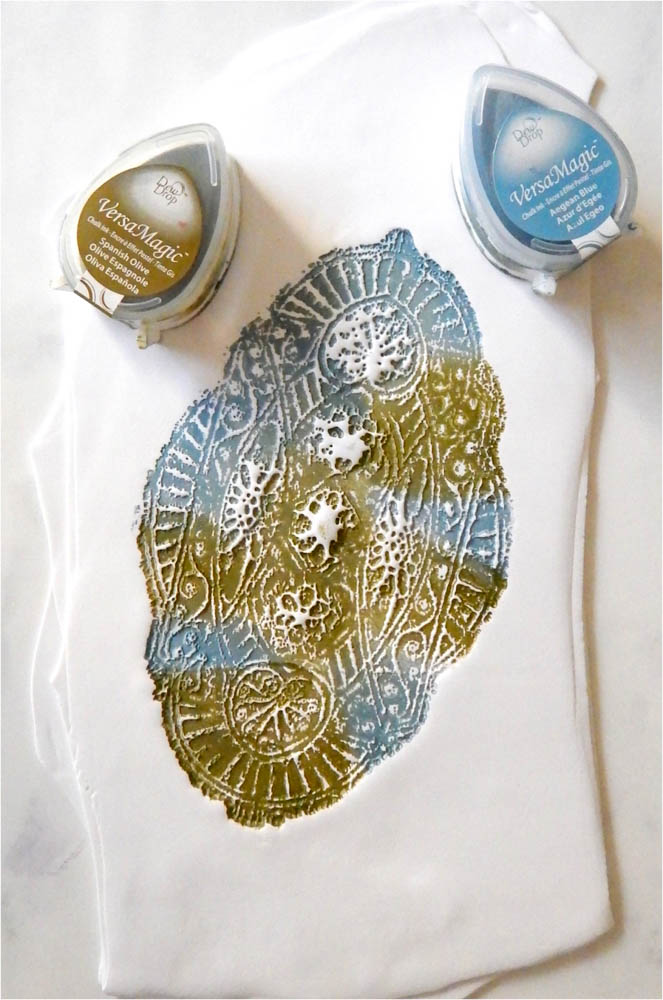
Stamp into the clay. Press firmly with your fingers.
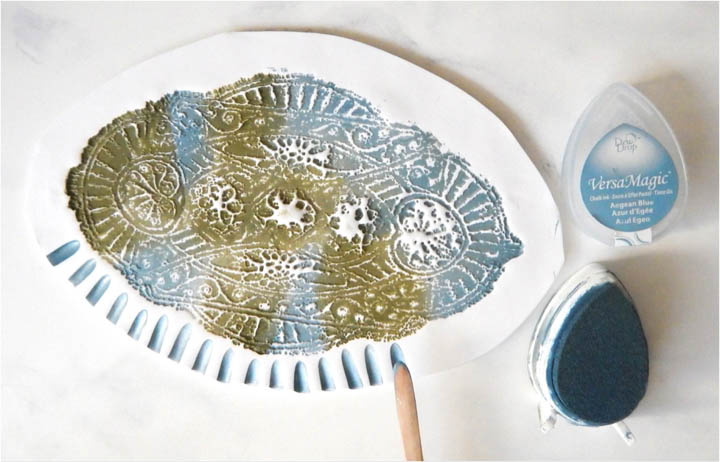
Add interest to the edges with some markings. For this bowl, I inked a wooden clay tool with the Aegean Blue VersaMagic Dew Drop ink and pressed it onto the edges.
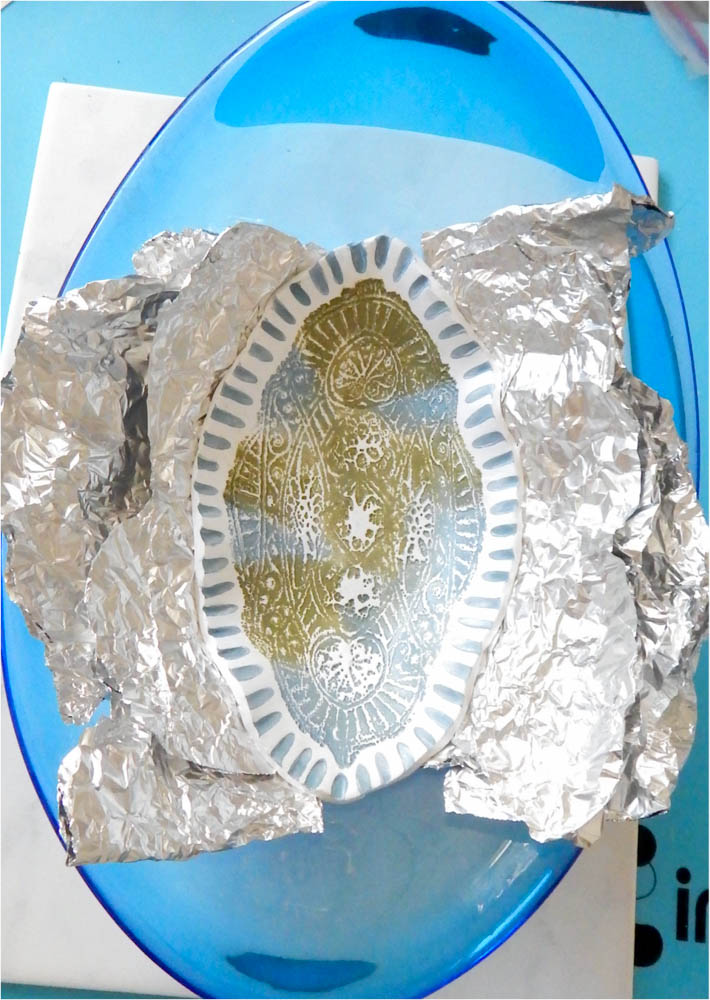
For this bowl, I wanted a sort of uneven edges. I placed the clay bowl in a real bowl and lined the sides with aluminum foil, giving it ruffled like shape. Bake according to the manufacturer’s instructions on the package. The clay bowl will take on the shape of the real bowl. Dealing with backs of the bowls. I like to stamp textures or images stamp to backs of them, but not add color. It is very important to seal the bowls. Sculpey’s Gloss Glaze works great for sealing the bowls. Sealing clay projects helps to protect the ink and clay, makes it look lively and purposely finished.
