VersaMagic inks have a longer drying time so they are perfect to use with stencils where you can use multiple colors. I love to use stencils. Rather than clean the stencil, I like to lightly spritz the inked side of the stencil, flip it over, and place it on the second piece of cardstock creating a watercolored panel.
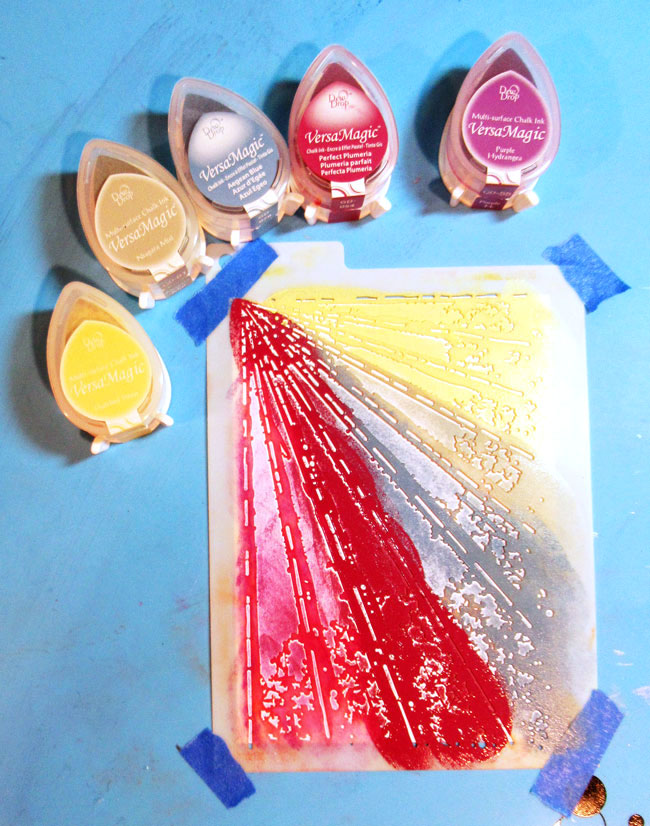
Tape a stencil to white cardstock. Ink with VersaMagic in Aegean Blue, Niagara Mist, Purple Hydrangea, Perfect Plumeria, and Thatched Straw. Remove the stencil.
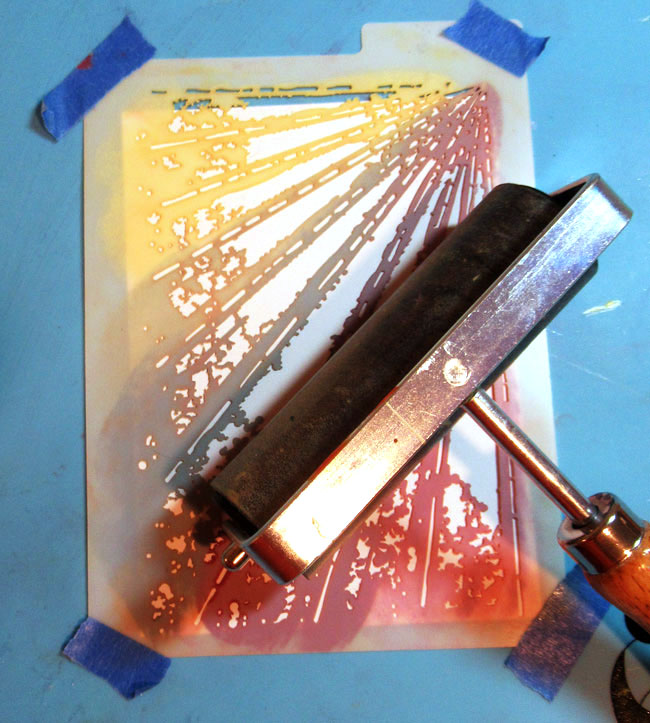
Lightly spritz the inked side of the stencil. Place the stencil, inked side down, on the second panel of white cardstock and tape in place. Brayer over the stencil to release the ink.
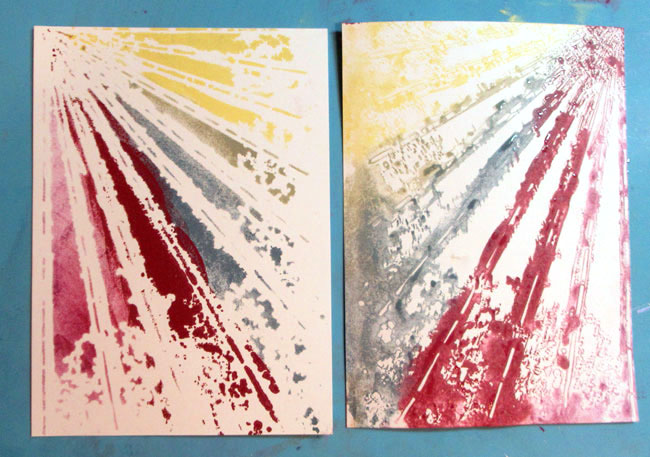
Remove the stencil and let both panels air dry.
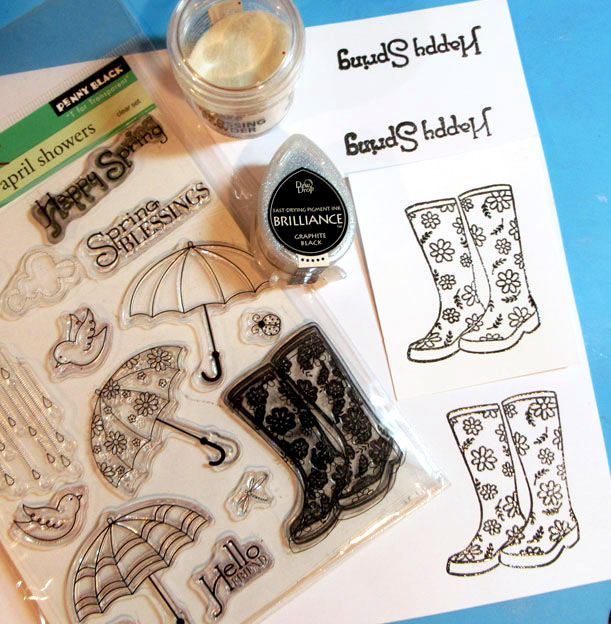
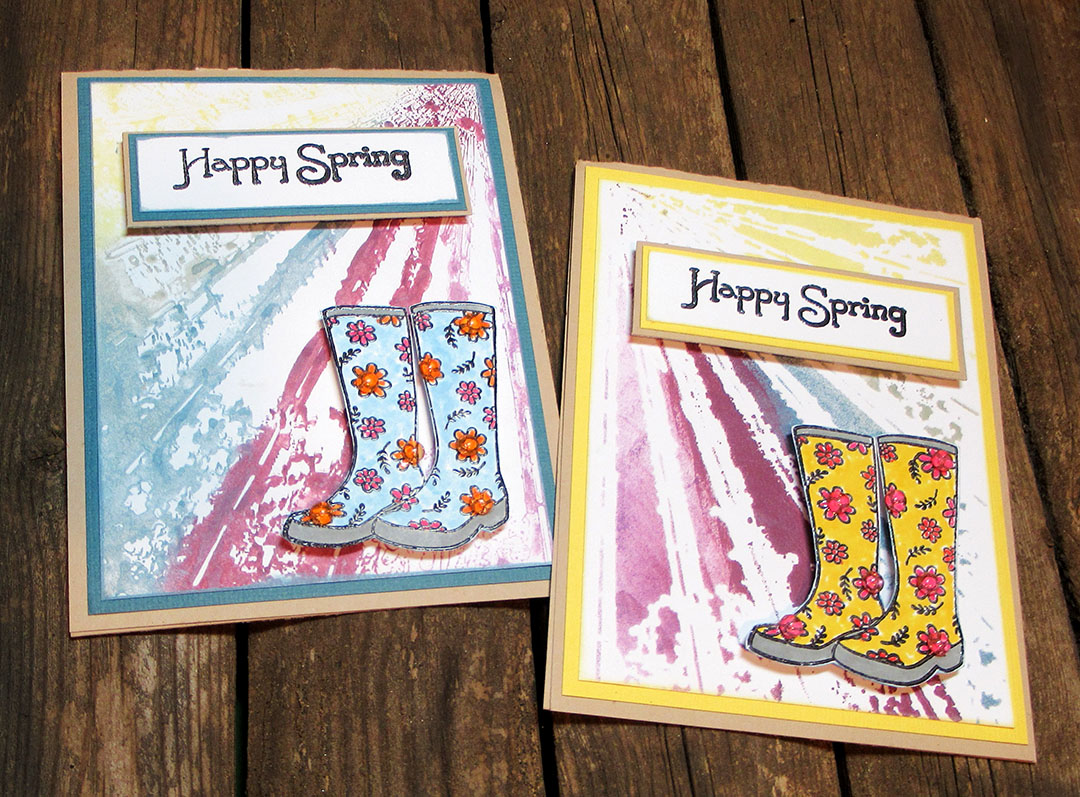
Using Brilliance in Graphite Black, stamp two pairs of boots and two "Happy Spring" sentiments. Emboss with Imagine's Embossing Powder in Clear.
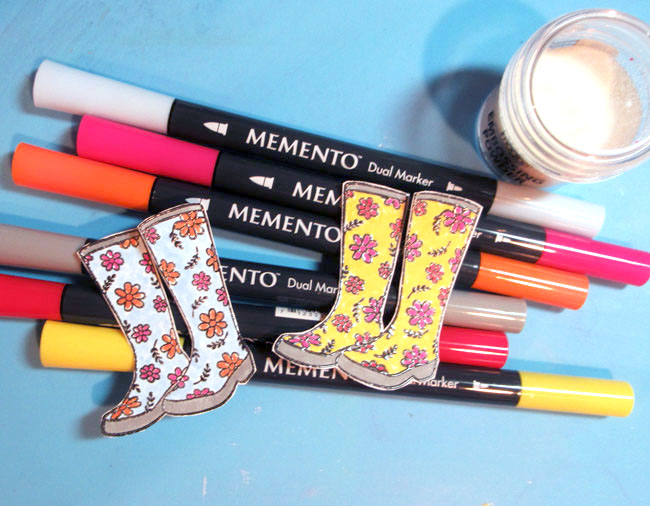
Fussy cut the boots and color with different colors of Memento Markers.
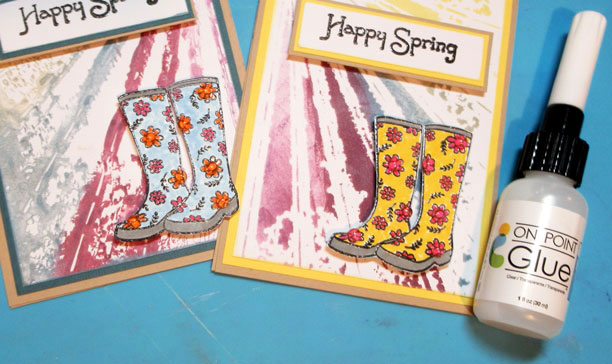
Mat one stenciled panel with yellow cardstock and one panel with blue cardstock. Adhere each panel to a kraft paper card base. Double mat the sentiments and add to the cards with foam adhesives. Adhere the boots to the cards with foam adhesives. Use On Point Glue to adhere the gems to the boots.