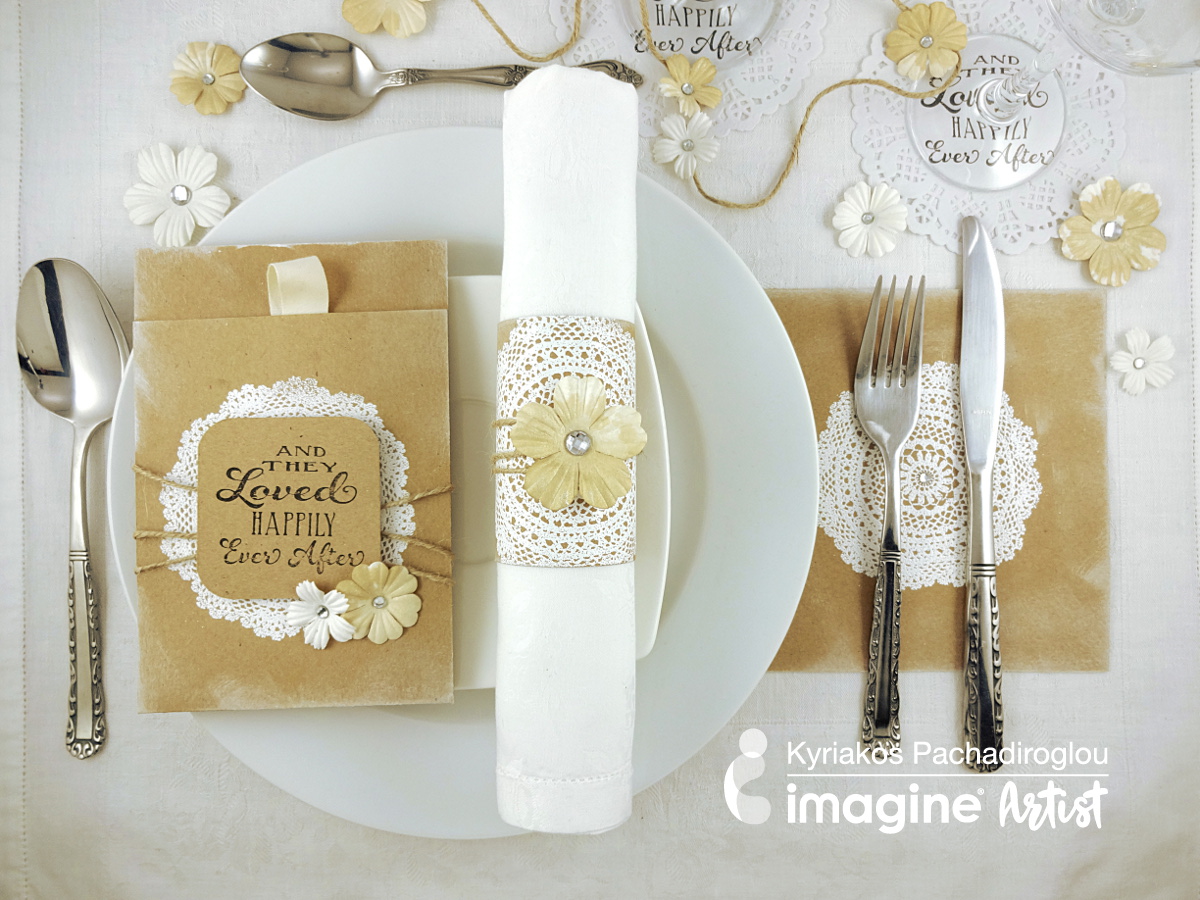
Planning to make wedding table decorations? By creating several easy-to-make matching pieces, the cost of the basic crafting supplies is still quite low per setting. Using the kraft cardstock as the background, you have the option to play with more color choices on the embossing powder or the dyed flowers with the Fireworks! Simmery Craft Sprays.
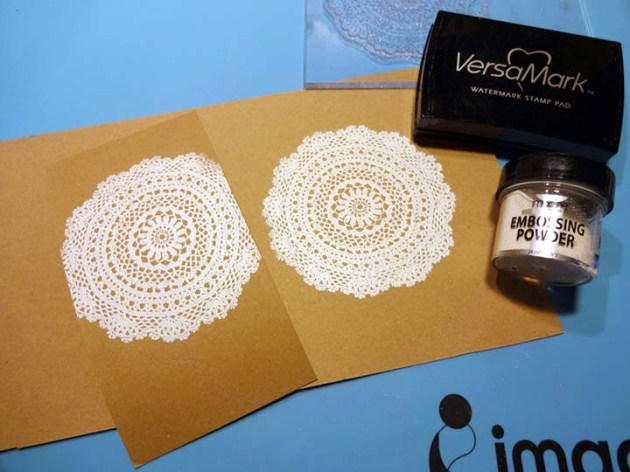
Cut a 6 x 3 inch piece of kraft carstock (for the napkin ring) and a 6 x 8 inch piece (for under the cutlery). Stamp both pieces with the doily image with VersaMark, cover with the white Imagine Embossing Powder and heat set.
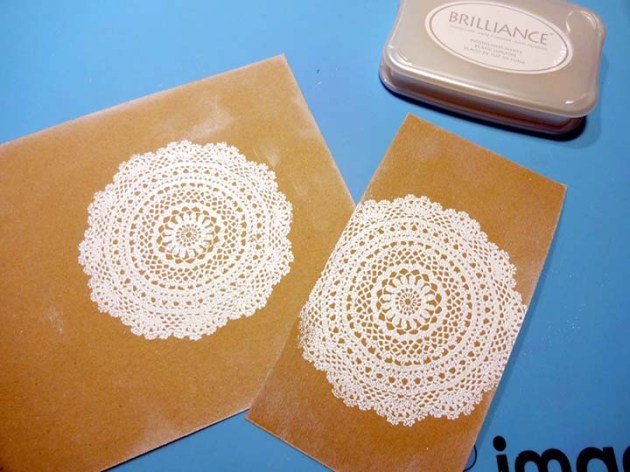
Distress the edges of the above pieces with Brilliance Moonlight White inkpad. TIP: Step 1 could be completed using Brilliance Moonlight White under the embossing powder if you do not already own a VersaMark inkpad. VersaMark is the best ink to use for embossing, but the Brilliance pigment ink would work as well.
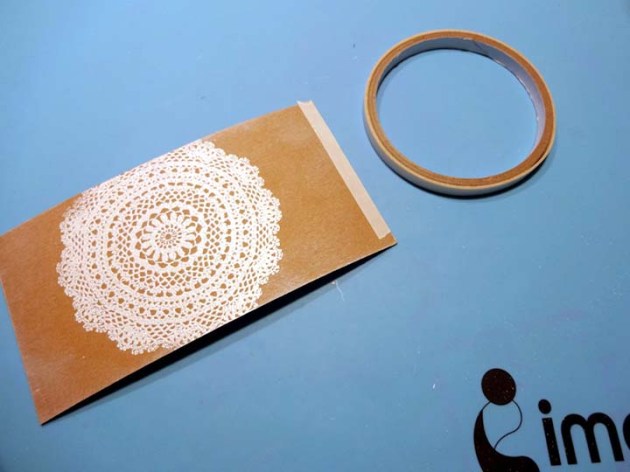
Set a piece of the Tear It Tape on the edge of the napkin ring card piece and bend the card to make the ring.
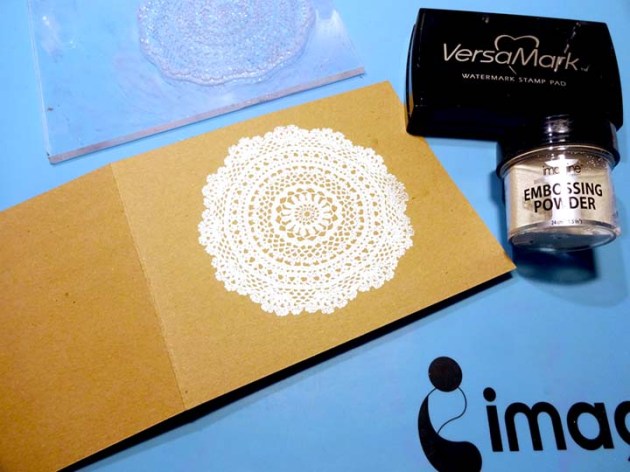
Cut a 12 x 4 inch piece from the kraft paper and score on 6 ½ inch mark. Stamp and heat emboss the doily design as previously done.
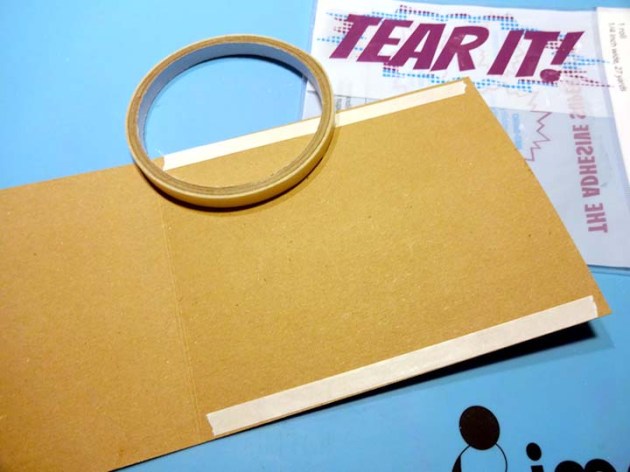
Turn to backside and set Tear It! Tape on the left and right sides of the shorter part. Fold and secure. This makes a pocket to use for a thank you card or as a favor; glue a bit loose to allow more space if you place something thick.

Spay some of the white paper flowers with the Fireworks Shimmery Craft Spray in Desert Sand. Let them dry.
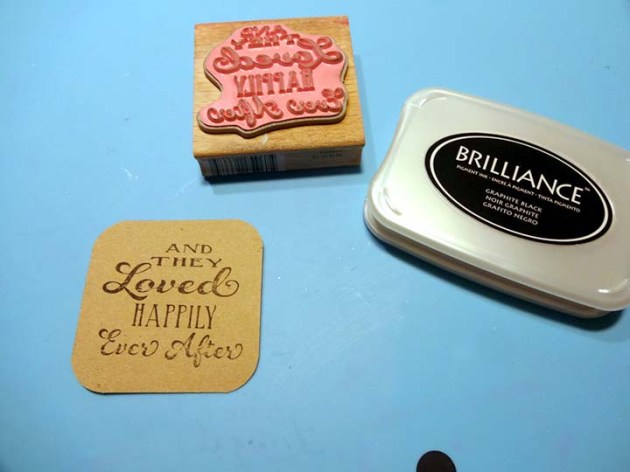
Cut a 2 ¼ x 2 ¼ inch kraft paper piece. Stamp the sentiment stamp with Brilliance Graphite Black. Let dry before stacking, or use heat tool to speed up the drying time. For extra elegance, use a corner punch to round the corners. TIP: Later you will use StazOn Jet Black ink for another piece. You could use that ink for this step as well, but the Brilliance pigment ink will show up more solid or opaque on the kraft cardstock which is why I recommend it here.
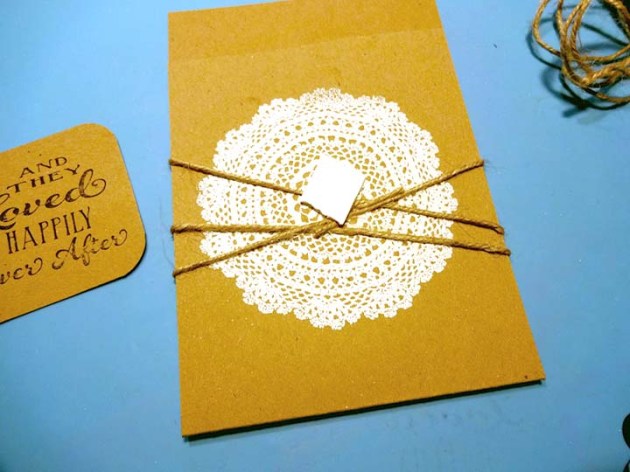
Wrap some burlap cord around the pocket card, add a piece of the foam tape and place the quote card piece. TIP: For a little less volume, you could secure the sentiment with Tear It Tape as well.
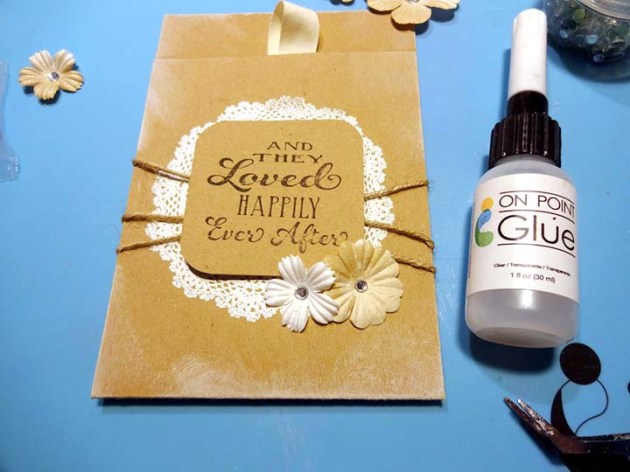
Add paper flowers and rhinestones gluing with the On Point Glue. Fill this simple envelope with a small favor or the menu.
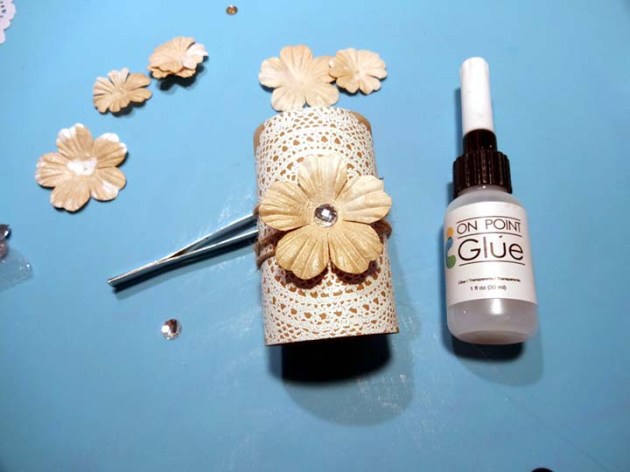
Wrap burlap cord around the napkin ring, add a large a flower and a rhinestone in the center of it using On Point Glue.
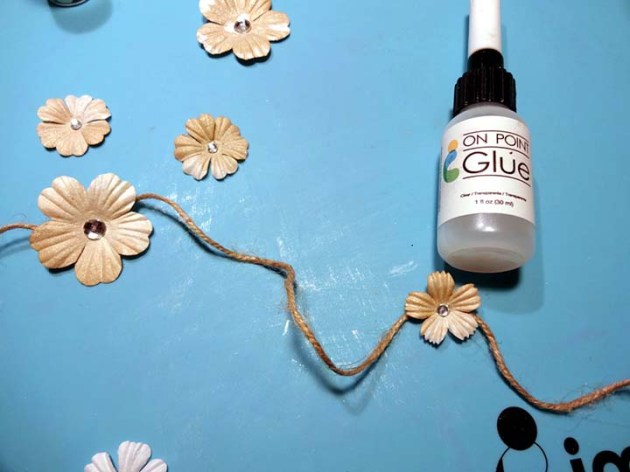
Glue paper flowers on a large cutting of burlap cord to create garlands for the table decoration.
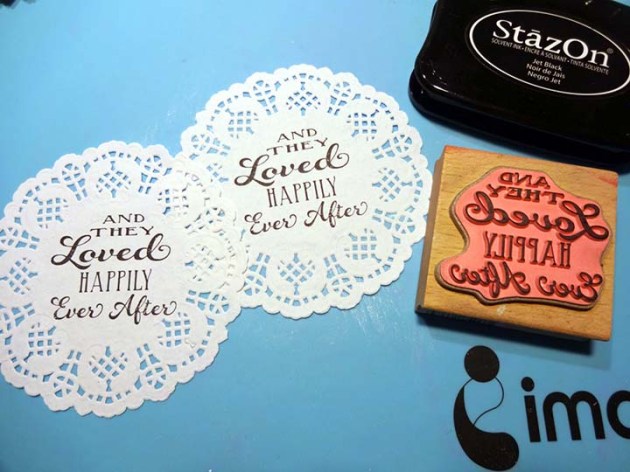
Stamp paper doilies with sentiment stamp and the StazOn Jet Black inkpad. The StazOn ink will stay put on the doilies when they are used as coasters and won’t bleed if they get wet. It also dries very quickly, so the stamping for these pieces can go very quickly.
The time to make all of these pieces can be reduced with preparation. Cut all the papers in advance (or even have them cut and scored to specification), estimate the flowers you will need to color and spray all at once so they are all dry before using them, and cut the cords you need in advance to reduce the time of pulling it all together at the end.