Array ( [0] => 280 [ID] => 280 [1] => 1 [TYPEID] => 1 [2] => 0 [SECTIONID] => 0 [3] => project-details [MOD_NAME] => project-details [4] => [TITLE] => [5] => Project Details [META_TITLE] => Merry Wishes – Decorated Kraft Paperbag for Christmas Cookies [6] => [META_DESCRIPTION] => Merry Wishes – Decorated Kraft Paperbag for Christmas Cookies [7] => [META_KEYWORDS] => [8] => [BUTTON_TITLE] => [9] => [BODY] => [10] => [BODY_SIDE] => [11] => [MODULE_PROCESSING] => [12] => [MODULE_META] => [13] => project-details-head.php [MODULE_HEAD] => project-details-head.php [14] => project-details-body.php [MODULE_BODY] => project-details-body.php [15] => [MODULE_SIDE] => [16] => 0 [TOP_ORDER] => 0 [17] => 0 [HITS_UNIQUE] => 0 [18] => 0 [HITS_REPEAT] => 0 [19] => 0 [ROBOT_HITS] => 0 [20] => 0000-00-00 00:00:00 [LASTVIEWED] => 0000-00-00 00:00:00 [21] => 0000-00-00 00:00:00 [ROBOT_LASTVIEWED] => 0000-00-00 00:00:00 [22] => 0.70 [PRIORITY] => 0.70 [23] => 1 [SITEMAP] => 1 [24] => 1 [ACTIVE] => 1 [25] => 1 [DISPLAY_TITLE] => 1 [26] => 0 [SSL_MODE] => 0 [27] => 0 [EDITABLE] => 0 [28] => 0 [DELETABLE] => 0 [29] => 2013-11-05 00:00:00 [LASTUPDATED] => 2013-11-05 00:00:00 [30] => 2013-11-05 00:00:00 [CREATED] => 2013-11-05 00:00:00 )
Imagine Crafts
LearnMakeCommunityShop

Merry Wishes – Decorated Kraft Paperbag for Christmas Cookies

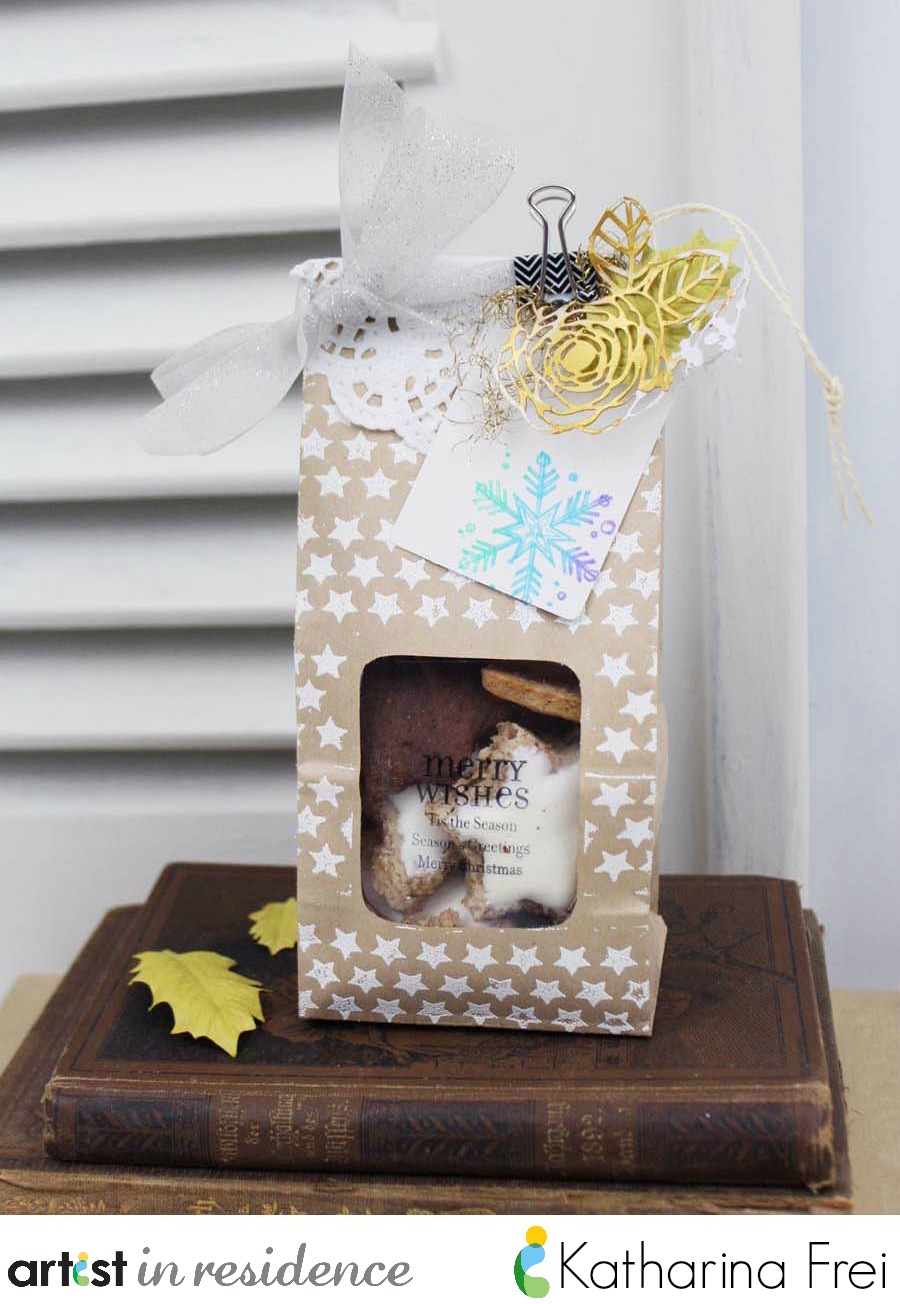
Everybody loves Christmas cookies! With Christmas right around the corner, I love to have several decorated kraft bags at hand to give my homemade cookies to family, friends or teachers. A pretty packaging makes the cookies taste even more delicious, doesn’t it?


Merry Wishes – Decorated Kraft Paperbag for Christmas Cookies

Directions:

Step 1.

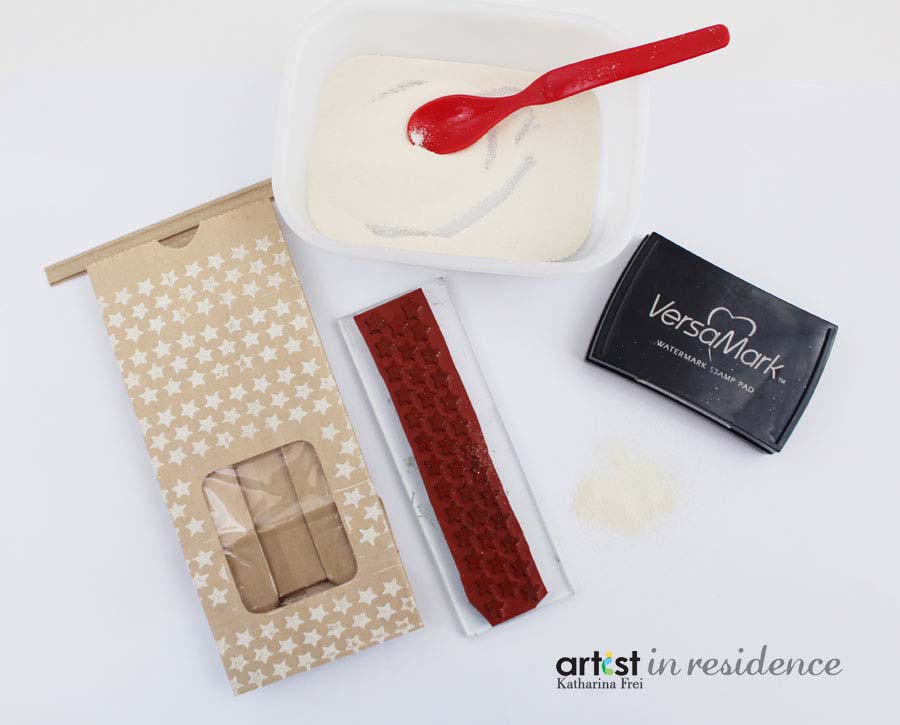
I started with stamping the stars on the paperbag with Versamark ink, added white embossing powder and heat set it with my heat tool.

Step 2.

I stamped the sentiment with black StazOn ink on transparenty film (the one you use for laser printers). I love StazOn, because it gives a super crisp impression on almost every surface. I trimmed the film to size to fit the window of the paperbag and adhered it inside with adhesive tape.

Step 3.

I stamped this beautiful snowflake with the Kaleidacolor rainbow inks – so easy to get a truly special effect. The little tag will be used to write a note for the person I’ll give the cookies to.

Step 4.

I gathered some pieces from my craft table, left-overs from other projects. The beautiful, delicate flower is a paper stencil from Heidi Swapp. I used it with Creative Medium metallic gold to create a mixed media background on one of my scrapbooking layouts. The clue is, that the stencil itself got colored as well and I can use it as a beautiful embellishment.

by Katharina Frei

Difficulty

Beginner

Time

1/2 hour + dry time

Materials Needed

Imagine Crafts featuring Tsukineko

  • VersaMark Ink
  • Embossing Powder: White
  • Kaleidocolor Rainbow Dye Ink: Pastel
  • Creative Medium: Metallic Gold
  • StazOn Ink: Jet Black
  • Imagine Crafts Palette Knives

Other:

  • Whiff of Joy star stamp, Stampin’Up snowflake stamp, American Crafts paper clip, Heidi Swapp rose paper stencil,
  • Miscellaneous: kraft paperbag, transparency film, paper doily, ribbon, scissors, adhesive tape, heat tool


Sign up for our newsletter
Facebook Pinterest Twitter YouTube Vimeo