Create personalized stockings for each member of your family. Today I wanted to share two different techniques for creating fun stockings for every member of your family!
Directions:
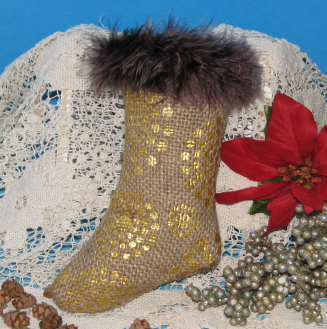
Burlap Creative Medium Stocking
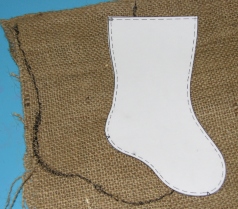

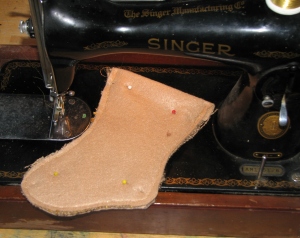
1 . Trace stocking pattern onto a piece of burlap twice and trim.
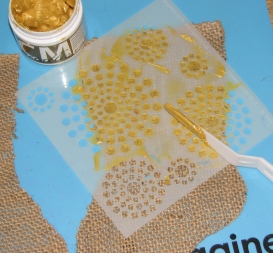
2. Position stencil over one side of the stocking.
3. Spread desired color of Creative Medium over the stencil using a Palette Knife. Carefully re-position the stencil to cover the remainder of the stocking with the design.
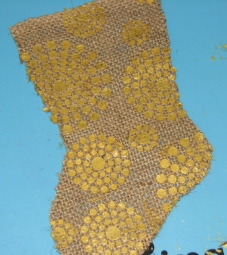
4. Repeat step 2 and 3 on the second half of the stocking. Set both stockings aside to dry.
5. Use soap and warm water to remove the excess Creative Medium from the stencil and knife.
6. (optional) If desired, cut 2 felt pieces to line the stocking.
7. Pin front and back pieces together (including felt lining if desired); stitch around the outside edges.
8. Turn the stocking right side out and embellish as desired, a section of feather boa was adhered to the example.
Stamped & Painted Muslin Stocking
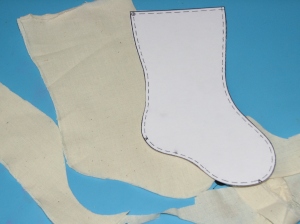
1 . Trace the stocking pattern on to a piece of folded unbleached muslin.

NOTE: Since the inks may bleed through work on either the front or the back side of the stocking at one time.
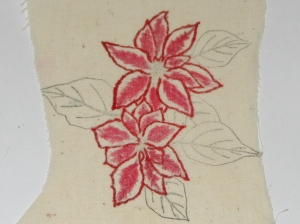
2. Stamp the desired image onto the stocking using Memento LUXE ink; iron to set the ink.
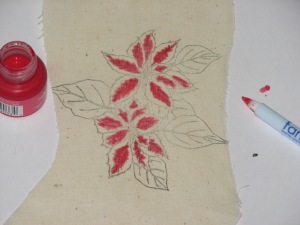
3. Begin painting the image using All Purpose Ink and fantastix. For this particular image I used 3 colors for the poinsettia flower petals – Rose Pink, Poppy Red and Red Delicious. Normally you would iron the image after each application of ink to set the colors but in this case I wanted the inks to blend on the fabric so I didn’t iron the flowers until I was finished coloring them. I started off by applying the lightest color, Rose Pink, in the centers of each petal.
4. Next I applied the Red Delicious ink around the edges of each petal.
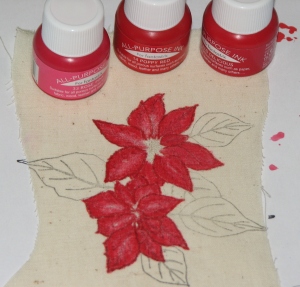
5. Finally I applied the Poppy Red between the two colors, blending as the ink was applied. Once you are satisfied with the color iron the image for 20-30 seconds on the hottest setting your fabric will allow, extend the ironing time for lower temperature settings.
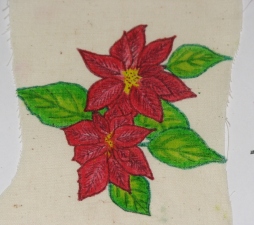
6. Lemon Yellow was used to paint the centers of each flower then ironed to set the ink.
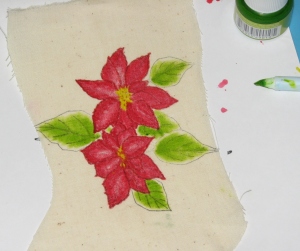
7. The leaves were painted in the same fashion this time using Green Apple, Spring Green and Emerald inks. The lightest color of green, Green Apple, was applied to the centers of each leaf.
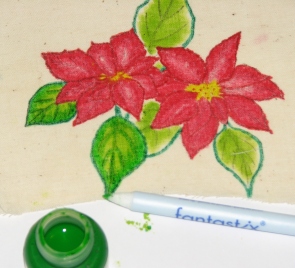
8. Emerald Green was used to outline each leaf and Spring Green was used to fill in the remaining area and for the veining on each leaf. The image was then ironed to set the inks.
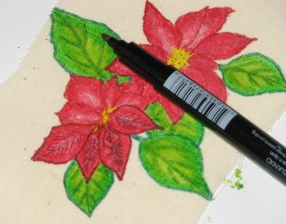
9. Add tiny detail lines to the flower petals using the Burgundy Fabrico Marker to add depth and dimension.
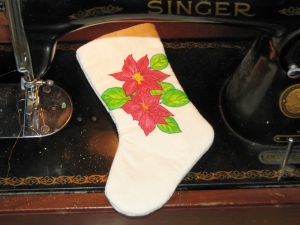
10. Line and stitch the front and backs of the stocking together and turn right side out.

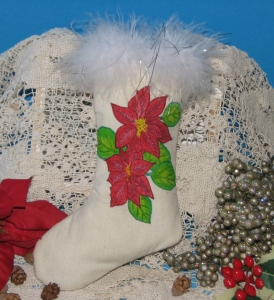
11. Finish off the stocking with desired embellishments. A section of fluffy white sparkle boa was added to the top of this stocking using hot glue.
Supplies:
Imagine Crafts featuring Tsukineko:
Other