Array ( [0] => 280 [ID] => 280 [1] => 1 [TYPEID] => 1 [2] => 0 [SECTIONID] => 0 [3] => project-details [MOD_NAME] => project-details [4] => [TITLE] => [5] => Project Details [META_TITLE] => Add Color to Creative Medium for Holiday Ornament [6] => [META_DESCRIPTION] => Add Color to Creative Medium for Holiday Ornament [7] => [META_KEYWORDS] => [8] => [BUTTON_TITLE] => [9] => [BODY] => [10] => [BODY_SIDE] => [11] => [MODULE_PROCESSING] => [12] => [MODULE_META] => [13] => project-details-head.php [MODULE_HEAD] => project-details-head.php [14] => project-details-body.php [MODULE_BODY] => project-details-body.php [15] => [MODULE_SIDE] => [16] => 0 [TOP_ORDER] => 0 [17] => 0 [HITS_UNIQUE] => 0 [18] => 0 [HITS_REPEAT] => 0 [19] => 0 [ROBOT_HITS] => 0 [20] => 0000-00-00 00:00:00 [LASTVIEWED] => 0000-00-00 00:00:00 [21] => 0000-00-00 00:00:00 [ROBOT_LASTVIEWED] => 0000-00-00 00:00:00 [22] => 0.70 [PRIORITY] => 0.70 [23] => 1 [SITEMAP] => 1 [24] => 1 [ACTIVE] => 1 [25] => 1 [DISPLAY_TITLE] => 1 [26] => 0 [SSL_MODE] => 0 [27] => 0 [EDITABLE] => 0 [28] => 0 [DELETABLE] => 0 [29] => 2013-11-05 00:00:00 [LASTUPDATED] => 2013-11-05 00:00:00 [30] => 2013-11-05 00:00:00 [CREATED] => 2013-11-05 00:00:00 )
Imagine Crafts
LearnMakeCommunityShop

Add Color to Creative Medium for Holiday Ornament

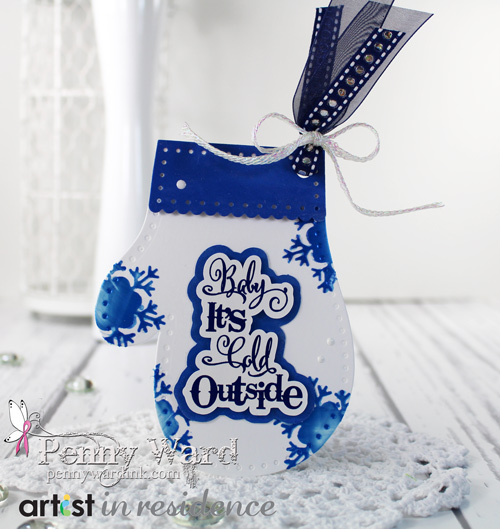
I just love the Mother of Pearl look you achieve when using Iridescent Creative Medium, but wanting more choice of colors, I made my own. With the wide arrange of inker colors to choose from, you can make new colors until your heart is content.


Add Color to Creative Medium for Holiday Ornament

Directions:

1.  Die cut Plush Frosty Mitten from heavy White cardstock. Die cut top of Mitten from Blue cardstock.

2.  Using Silhouette Cameo, print sentiment to laser printer, add foil and run through laminator. Die cut sentiment shadow from blue cardstock.

2015_PW_baby-its-cold_-step1

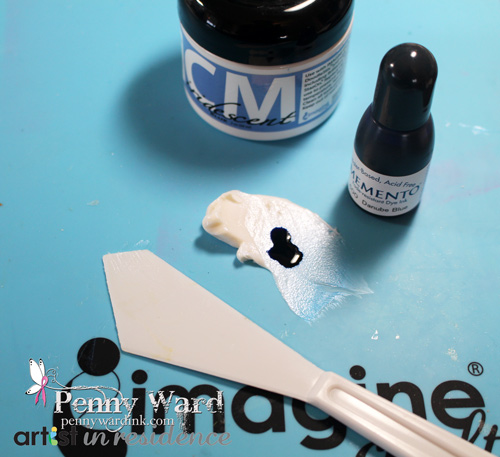
3.  Put a good size dollop of Iridescent Creative Medium Blue on Craft Mat. Add 3 drops of Memento Danube Blue inker, mix with palette knife.

2015_PW_baby-its-cold_-step2

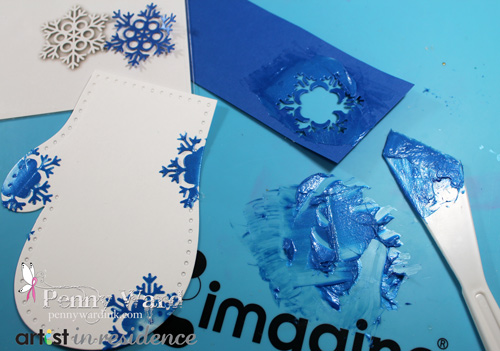
4.  Die cut snowflake stencil from scrap cardstock. Place stencil as desired over die cut Mitten and apply newly made Creative Medium with a Palette Knife. Let dry. Using finger, also add some of this Creative Medium to the Mitten top and sentiment shadow.

5.  Adhere Mitten top. Punch 1/4 inch hole at top right corner, thread ribbons through and tie with bow.

2015_PW_baby-its-cold_sneak

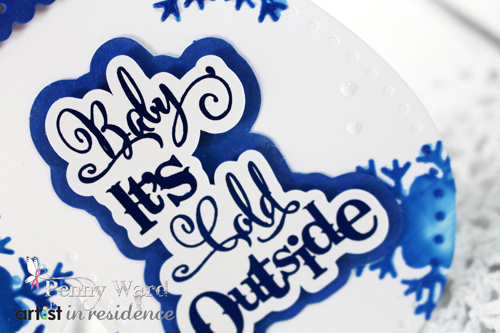
6.  Adhere sentiment and shadow to Mitten with foam adhesive.

7.  Add irRESISTible Pico Wedding Dress dots as desired.

by Penny Ward

Difficulty

Intermediate

Time

1 hour

Materials Needed

Imagine Crafts featuring Tsukineko:  

Other

  • Silhouette Cameo and File Design #71159
  • Memory Box:  Plush Frosty Mitten die
  • Simon Says Stamp:  Melody Snowflake die
  • May Arts:   Ribbons
  • Craftwell:  eBosser
  • Heat Foil,  Laminator & Laser Printer
  • Miscellaneous:  White & Blue cardstocks, Favorite adhesive, Foam adhesive, 1/4 inch hold punch


Sign up for our newsletter
Facebook Pinterest Twitter YouTube Vimeo