Array ( [0] => 280 [ID] => 280 [1] => 1 [TYPEID] => 1 [2] => 0 [SECTIONID] => 0 [3] => project-details [MOD_NAME] => project-details [4] => [TITLE] => [5] => Project Details [META_TITLE] => Upcycled Muffin Pan into an Autumn Wall Hanging [6] => [META_DESCRIPTION] => Upcycled Muffin Pan into an Autumn Wall Hanging [7] => [META_KEYWORDS] => [8] => [BUTTON_TITLE] => [9] => [BODY] => [10] => [BODY_SIDE] => [11] => [MODULE_PROCESSING] => [12] => [MODULE_META] => [13] => project-details-head.php [MODULE_HEAD] => project-details-head.php [14] => project-details-body.php [MODULE_BODY] => project-details-body.php [15] => [MODULE_SIDE] => [16] => 0 [TOP_ORDER] => 0 [17] => 0 [HITS_UNIQUE] => 0 [18] => 0 [HITS_REPEAT] => 0 [19] => 0 [ROBOT_HITS] => 0 [20] => 0000-00-00 00:00:00 [LASTVIEWED] => 0000-00-00 00:00:00 [21] => 0000-00-00 00:00:00 [ROBOT_LASTVIEWED] => 0000-00-00 00:00:00 [22] => 0.70 [PRIORITY] => 0.70 [23] => 1 [SITEMAP] => 1 [24] => 1 [ACTIVE] => 1 [25] => 1 [DISPLAY_TITLE] => 1 [26] => 0 [SSL_MODE] => 0 [27] => 0 [EDITABLE] => 0 [28] => 0 [DELETABLE] => 0 [29] => 2013-11-05 00:00:00 [LASTUPDATED] => 2013-11-05 00:00:00 [30] => 2013-11-05 00:00:00 [CREATED] => 2013-11-05 00:00:00 )
Imagine Crafts
LearnMakeCommunityShop

Upcycled Muffin Pan into an Autumn Wall Hanging

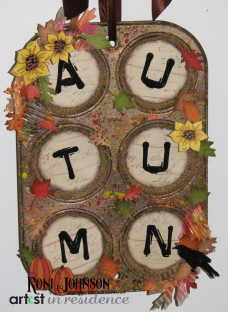
I love to upcycle items that may have outlived their usefulness in their original form into pieces of art. I thought this old rusty muffin tin would be a perfect candidate.


Upcycled Muffin Pan into an Autumn Wall Hanging

Directions:

2015_October_RJ_AutumnHomeDecor_01

1. Wash and dry the muffin tin to remove any loose bits of rust, dust and debris.

2015_October_RJ_AutumnHomeDecor_02

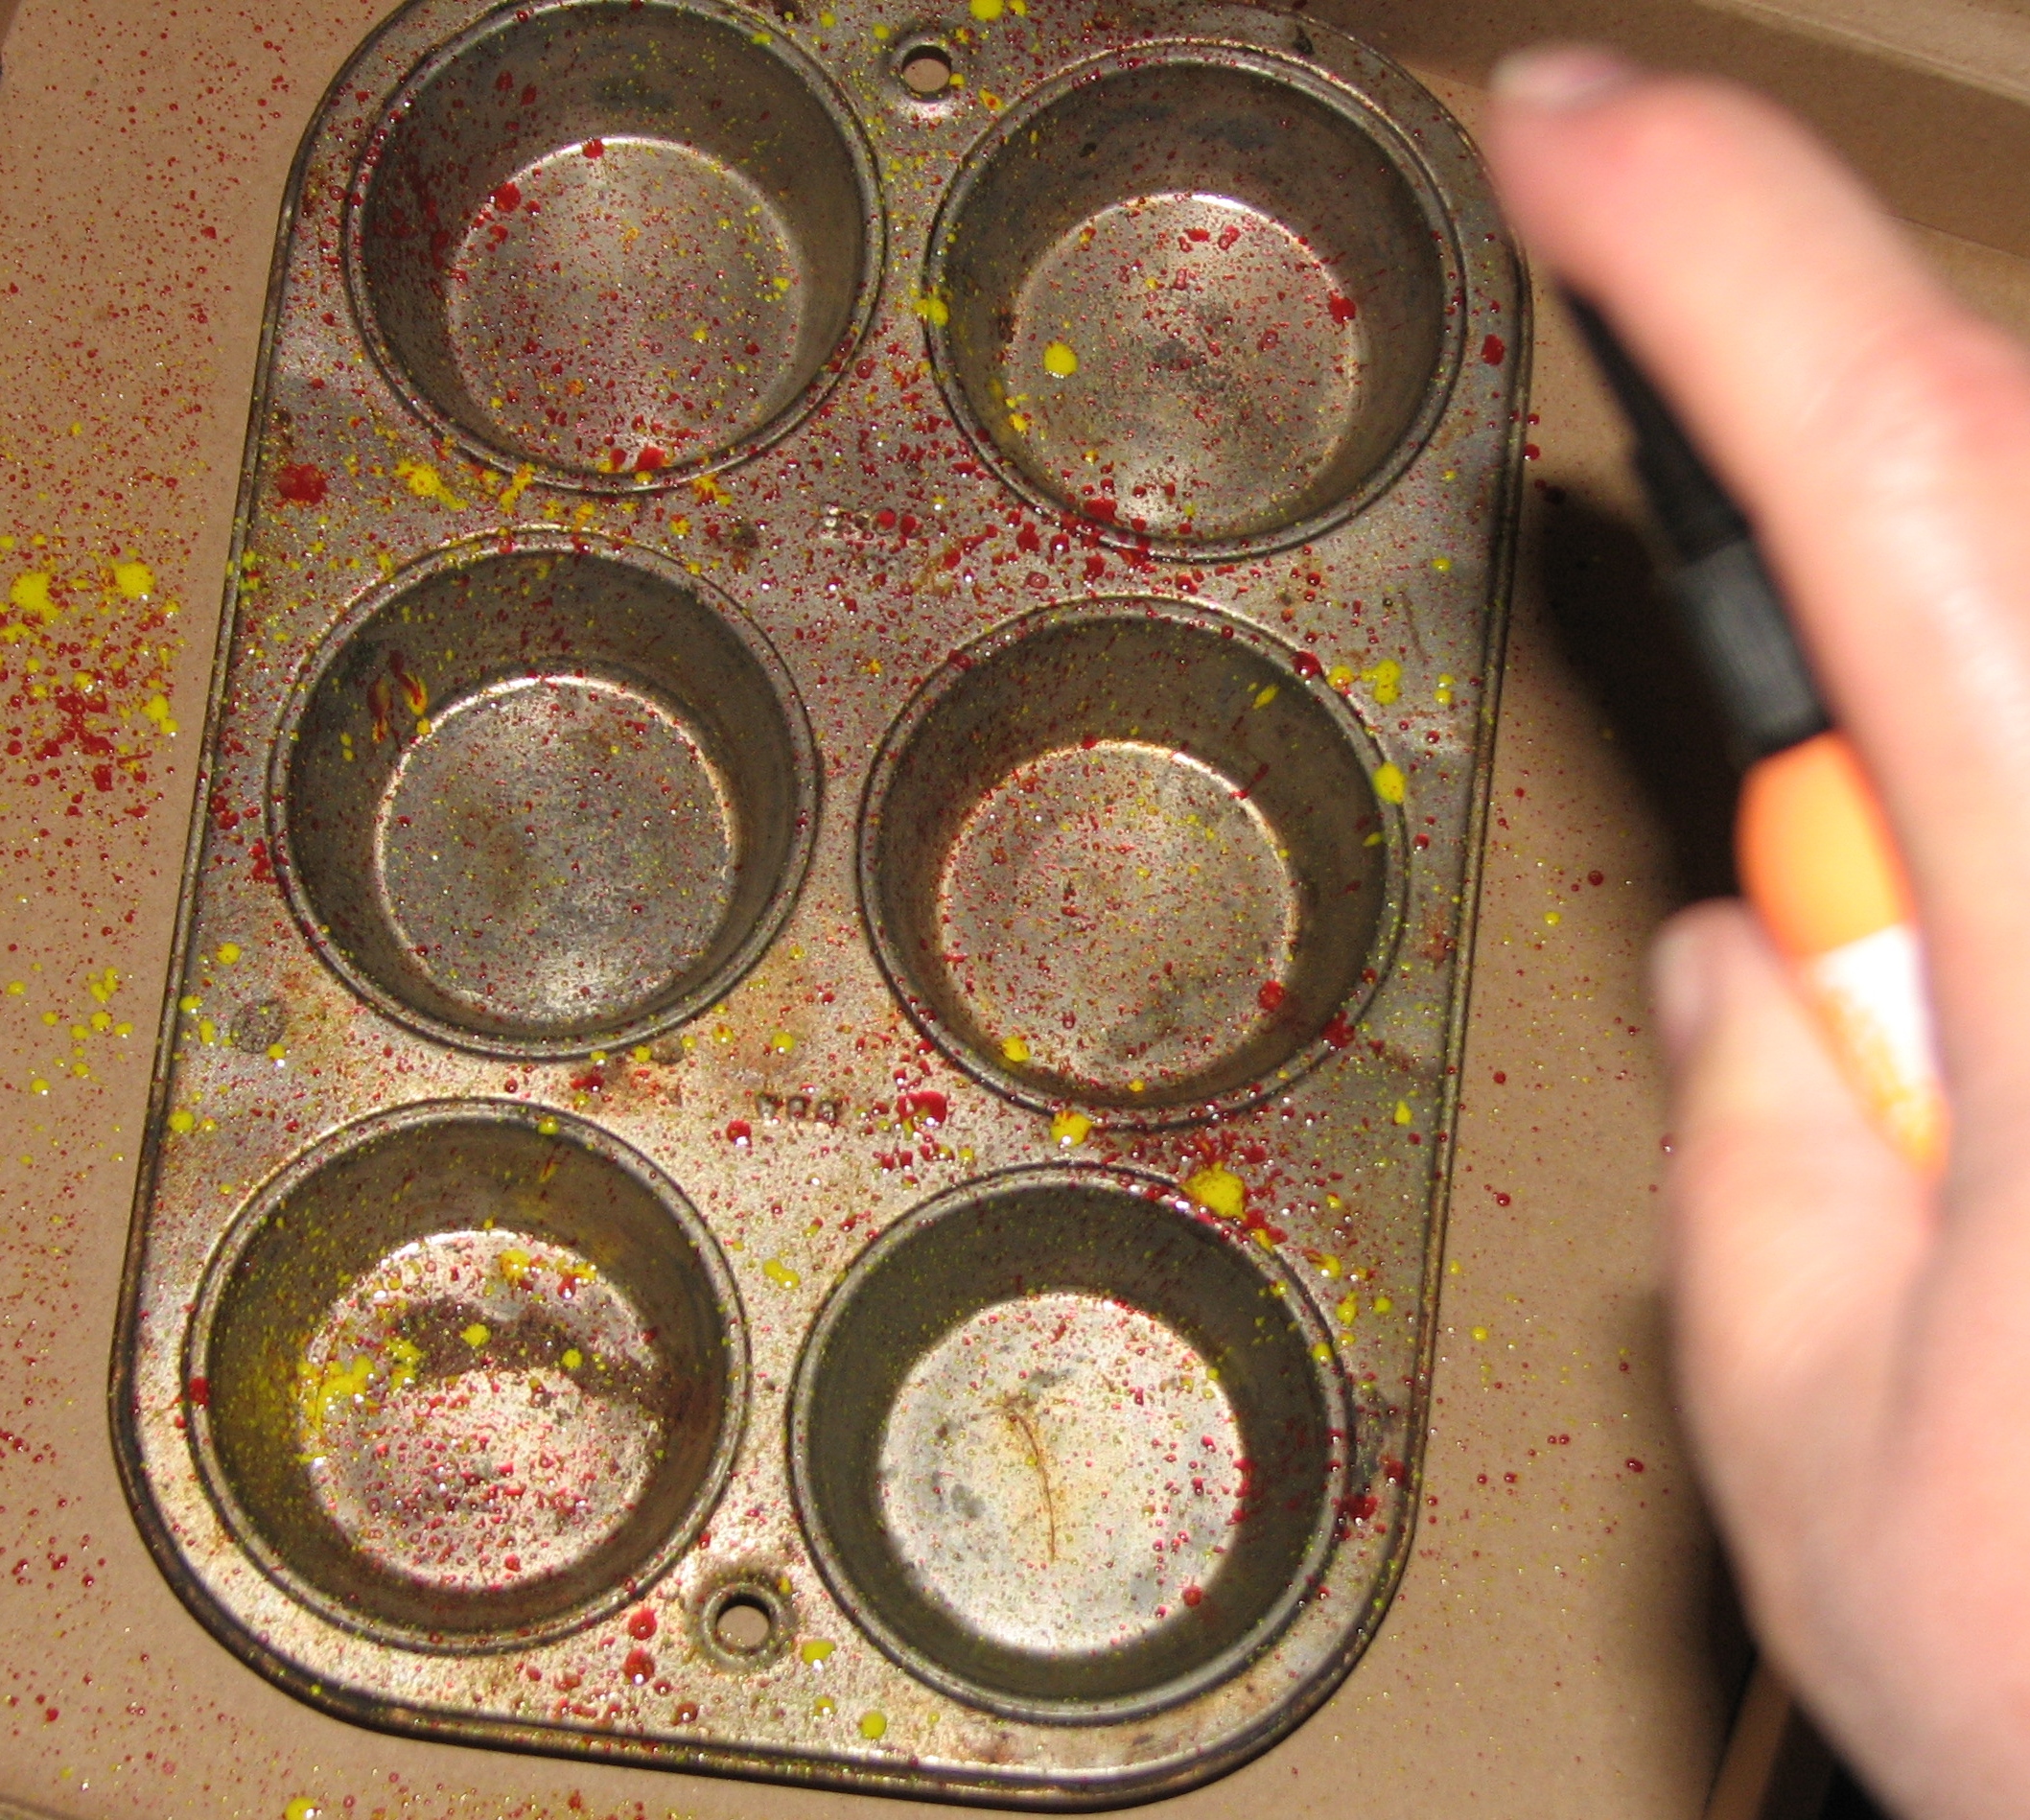
2. Place the tin in a cardboard box; spray with Lady Bug irRESISTible Texture Spray and let dry.

2015_October_RJ_AutumnHomeDecor_03  2015_October_RJ_AutumnHomeDecor_04

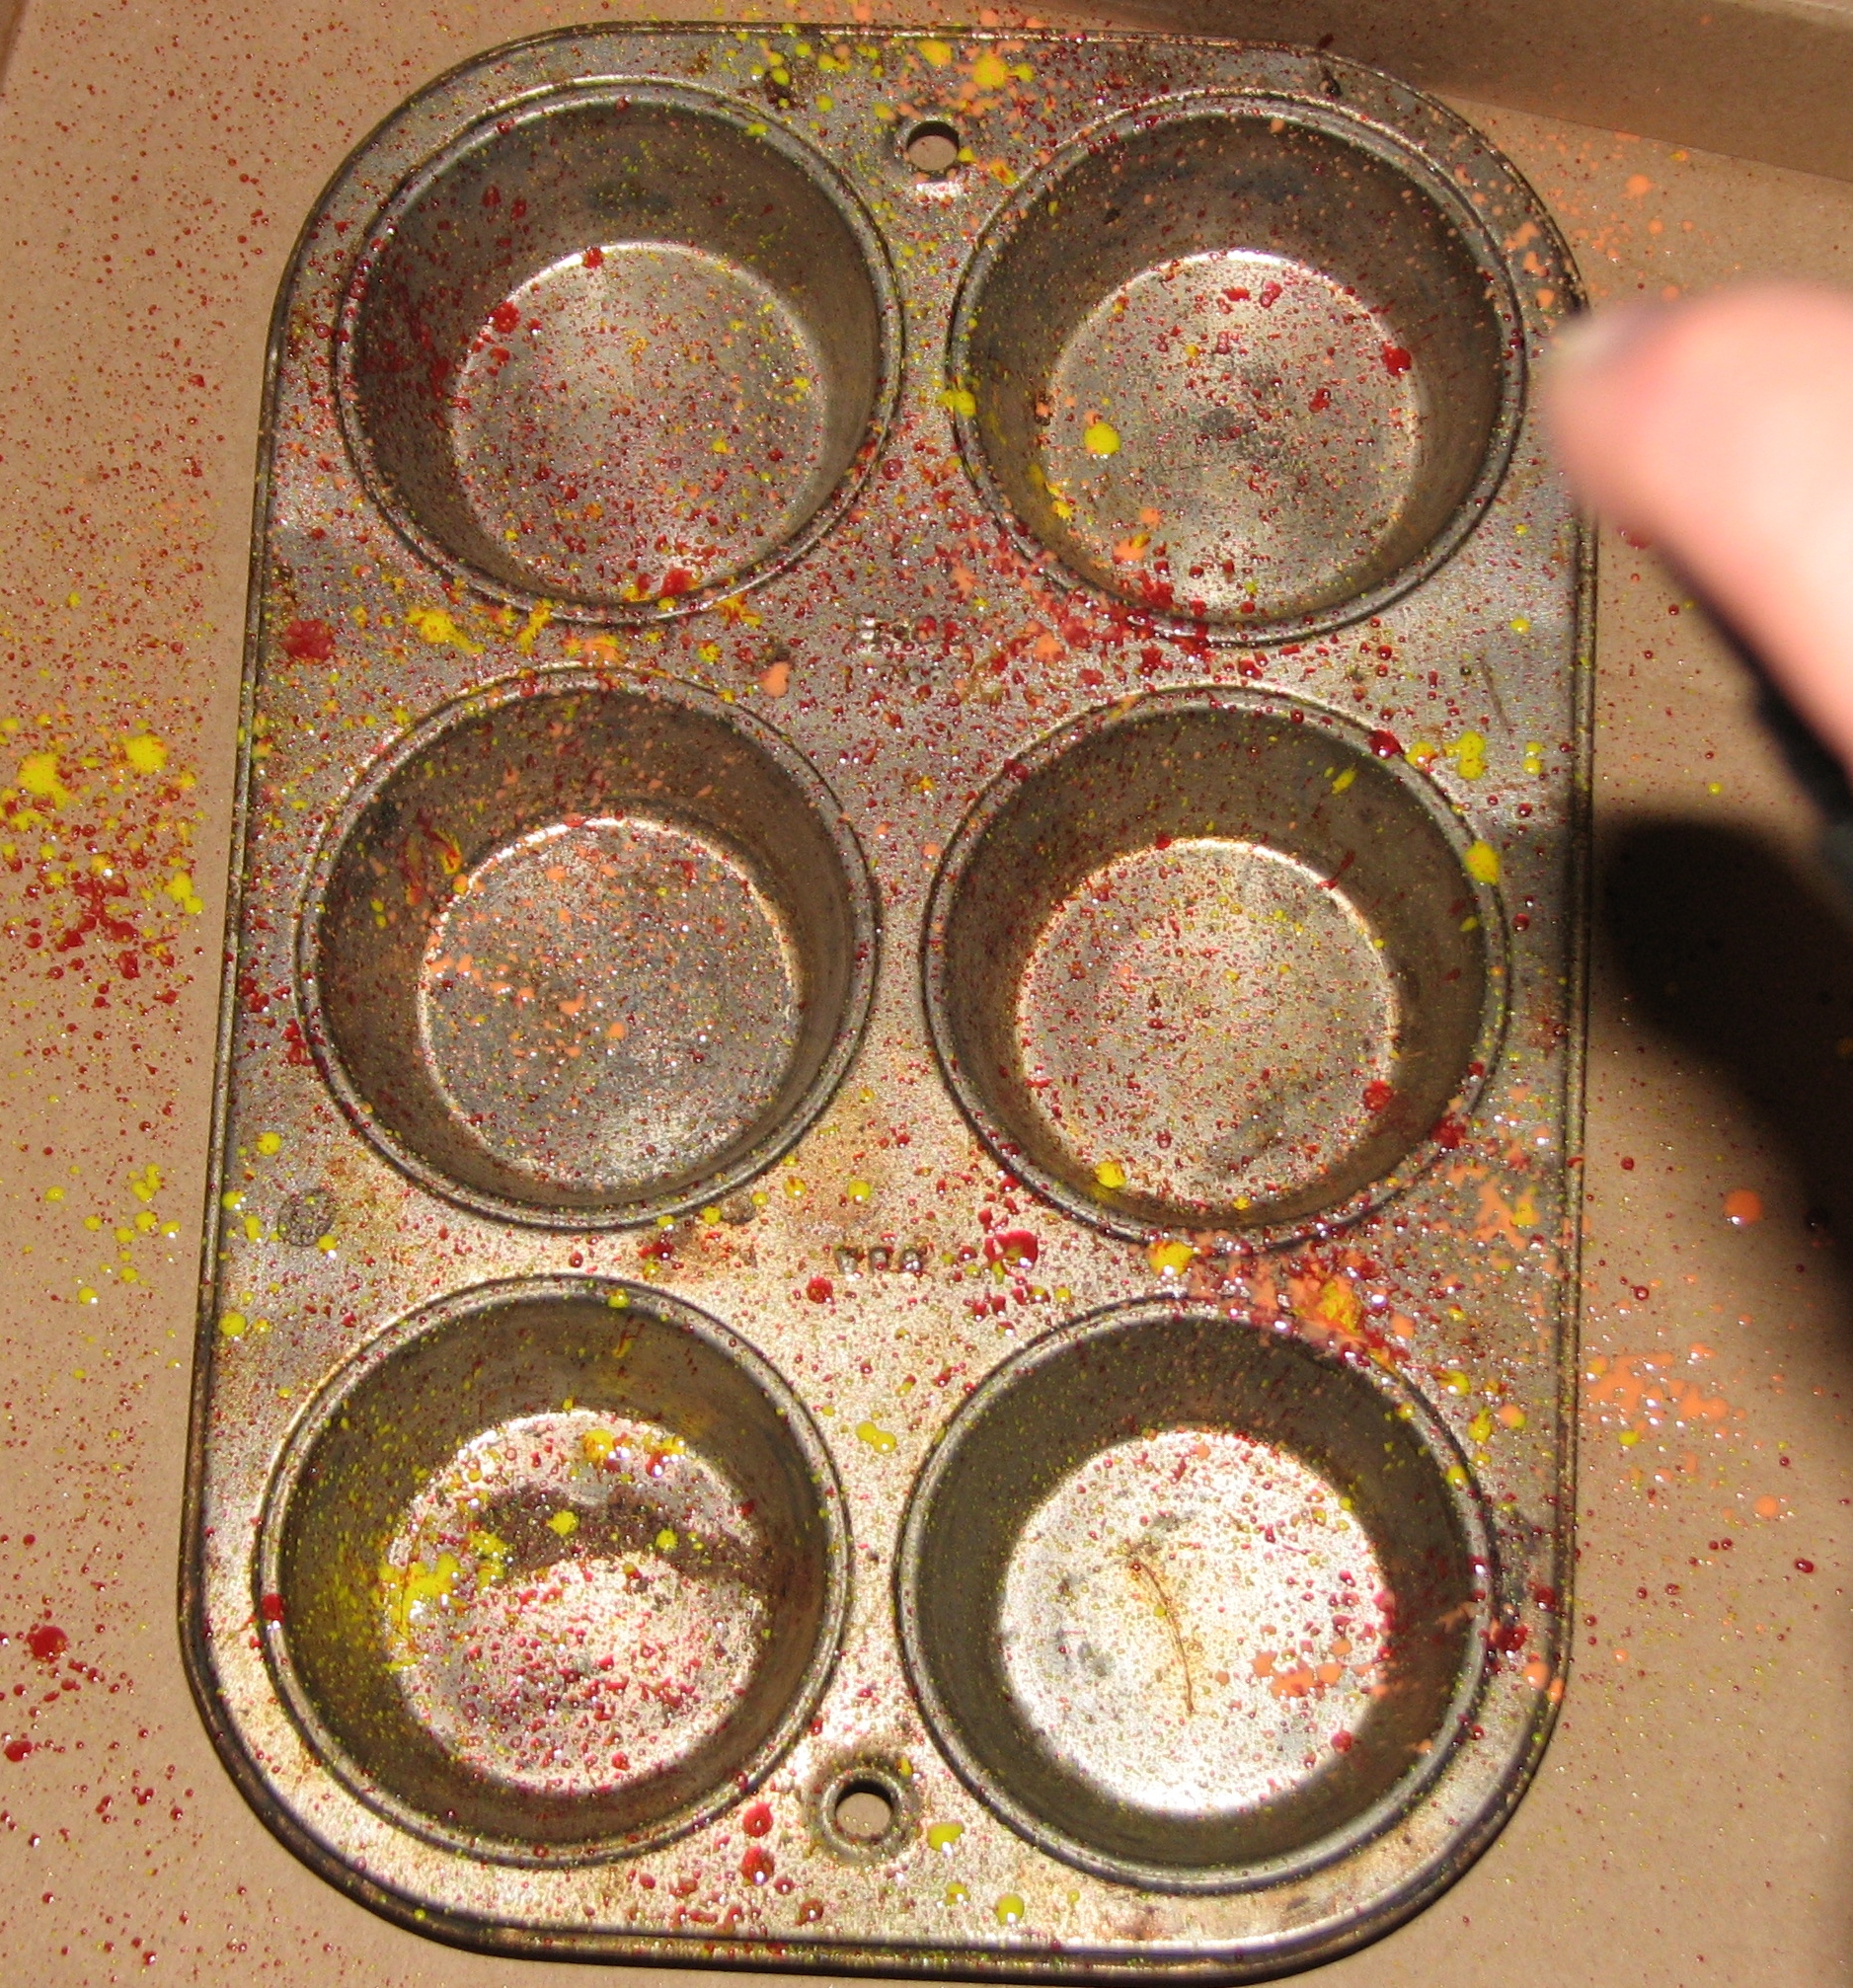
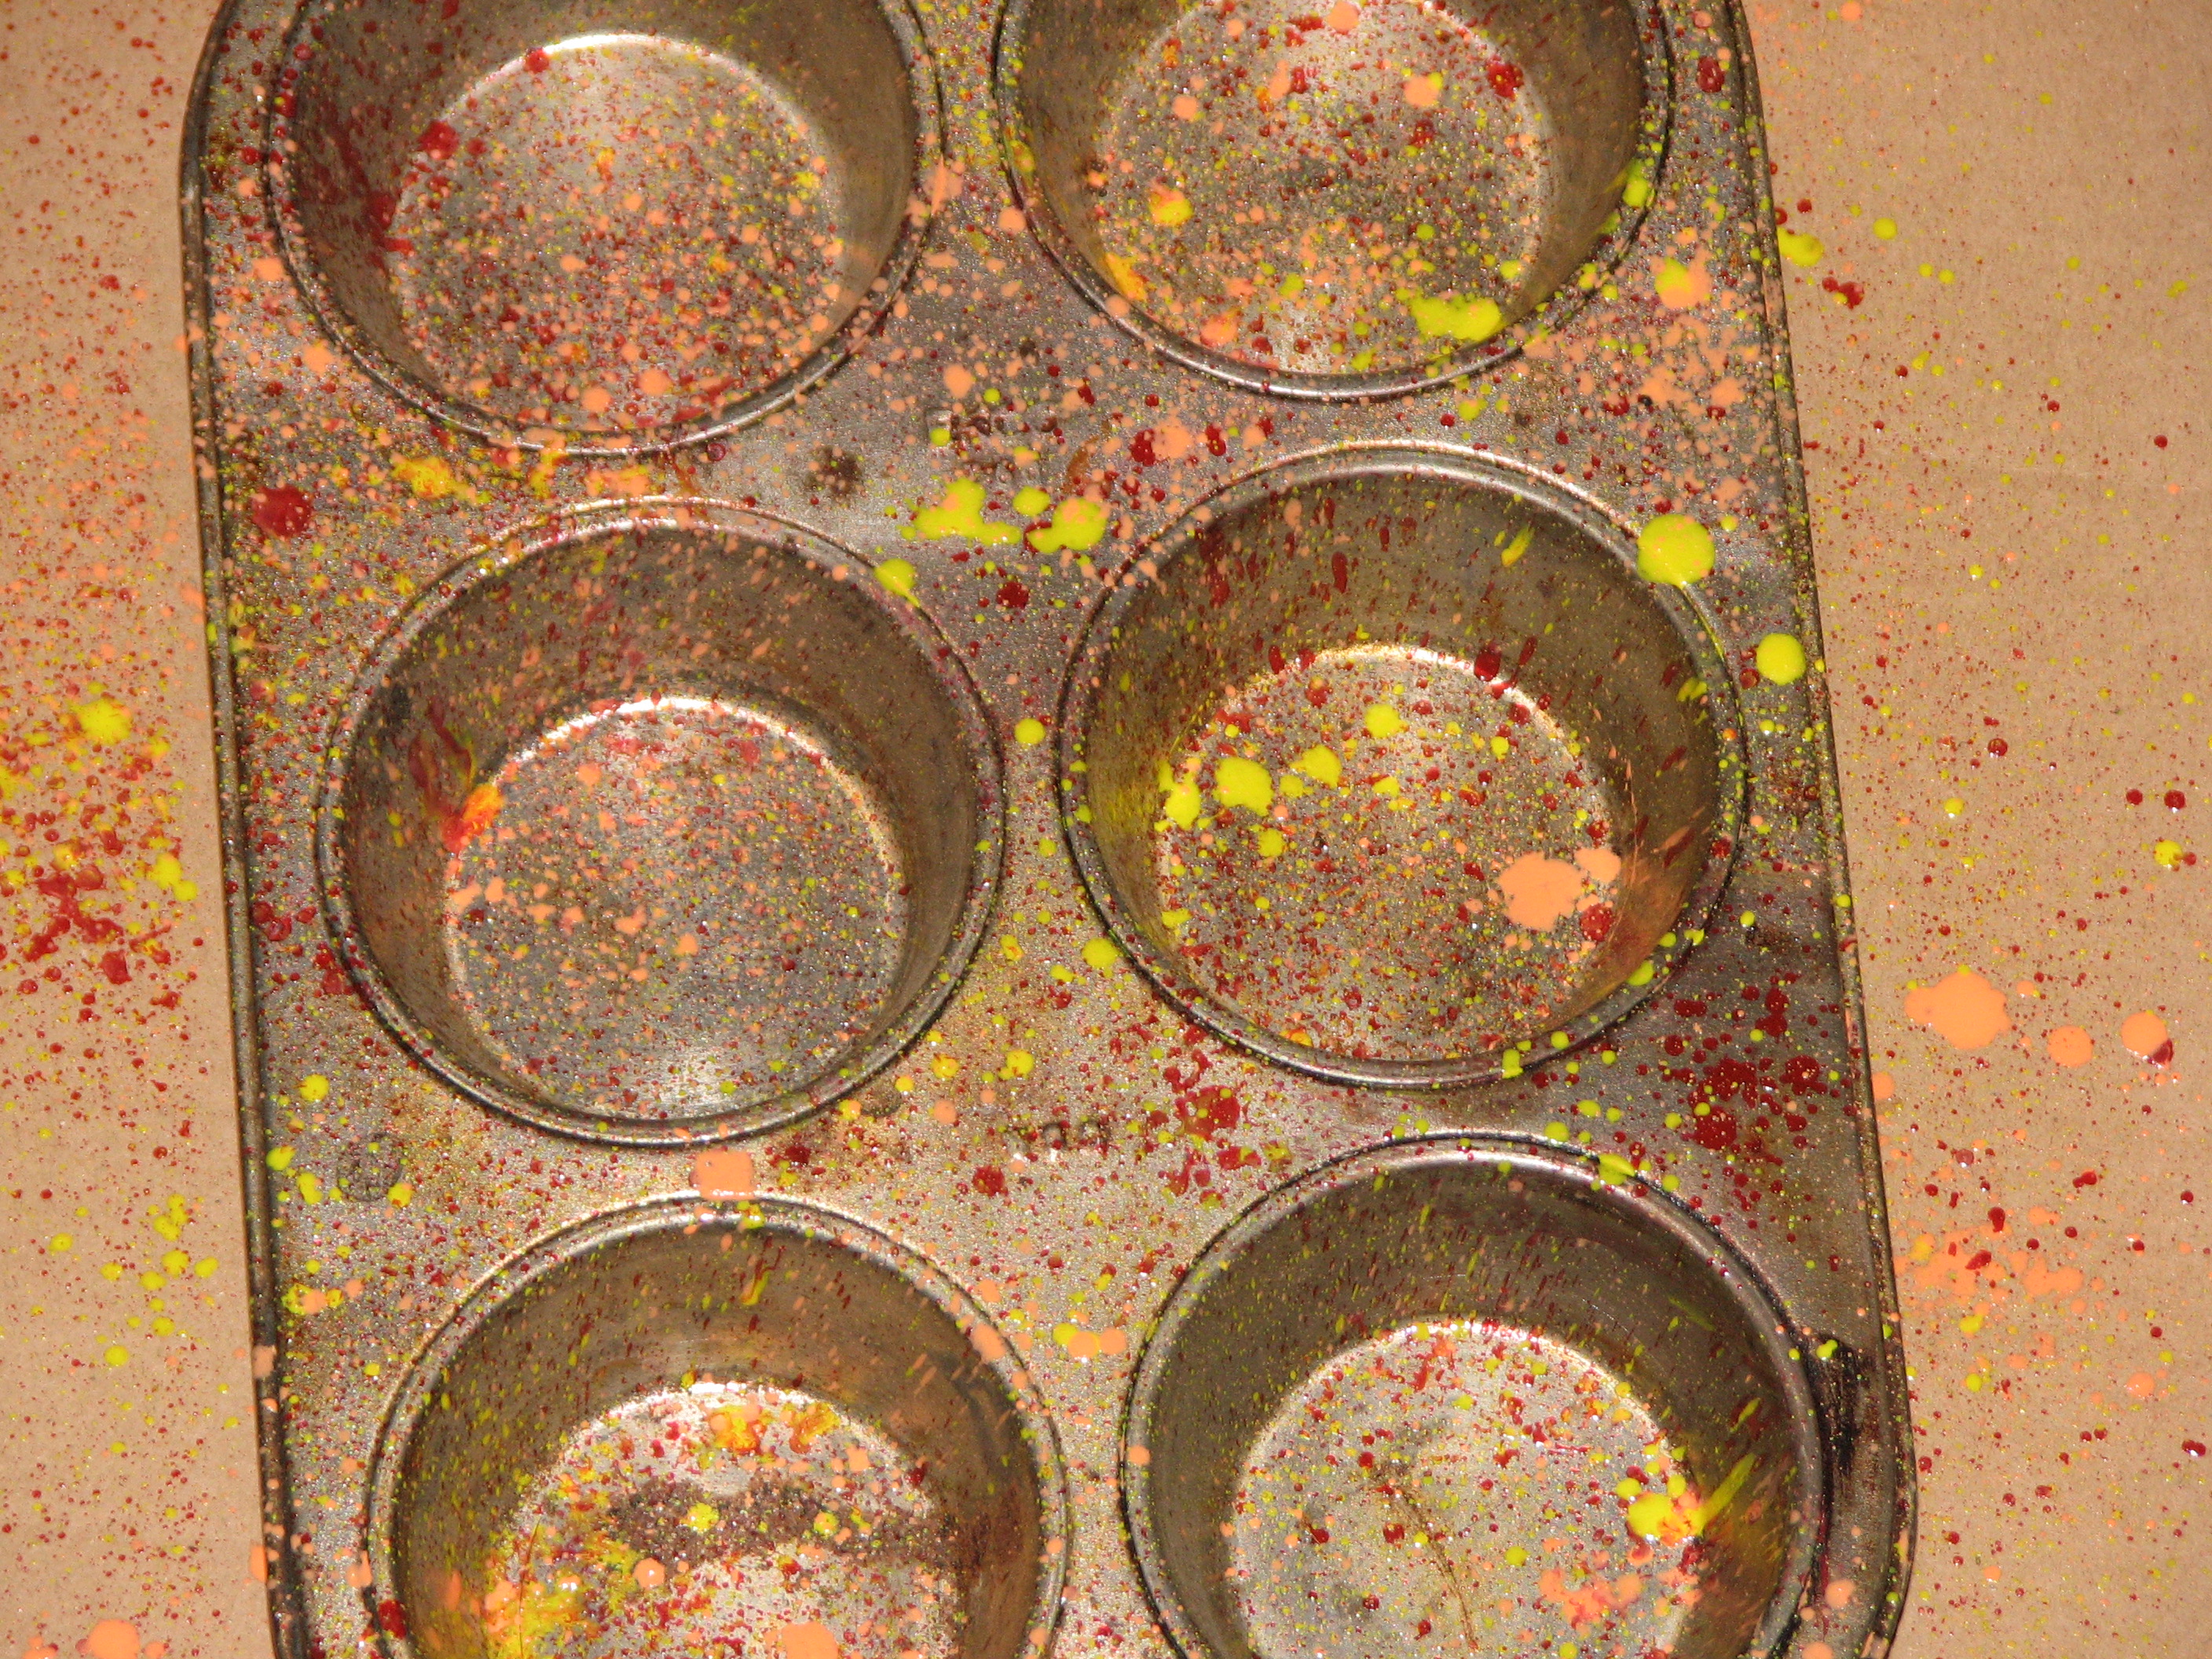
3. Continue to build layers of color by misting on coats of Bronze, Radiant Neon Electric Yellow, Electric Orange irRESISTible Texture Sprays allowing each coat to dry before adding the next.  Set aside to dry.

2015_October_RJ_AutumnHomeDecor_05

4. Die-cut 6 circles from vintage ledger paper; stamp a letter onto each circle with VersaMark ink and sprinkle with black embossing powder.  Heat to melt the powders.

2015_October_RJ_AutumnHomeDecor_06

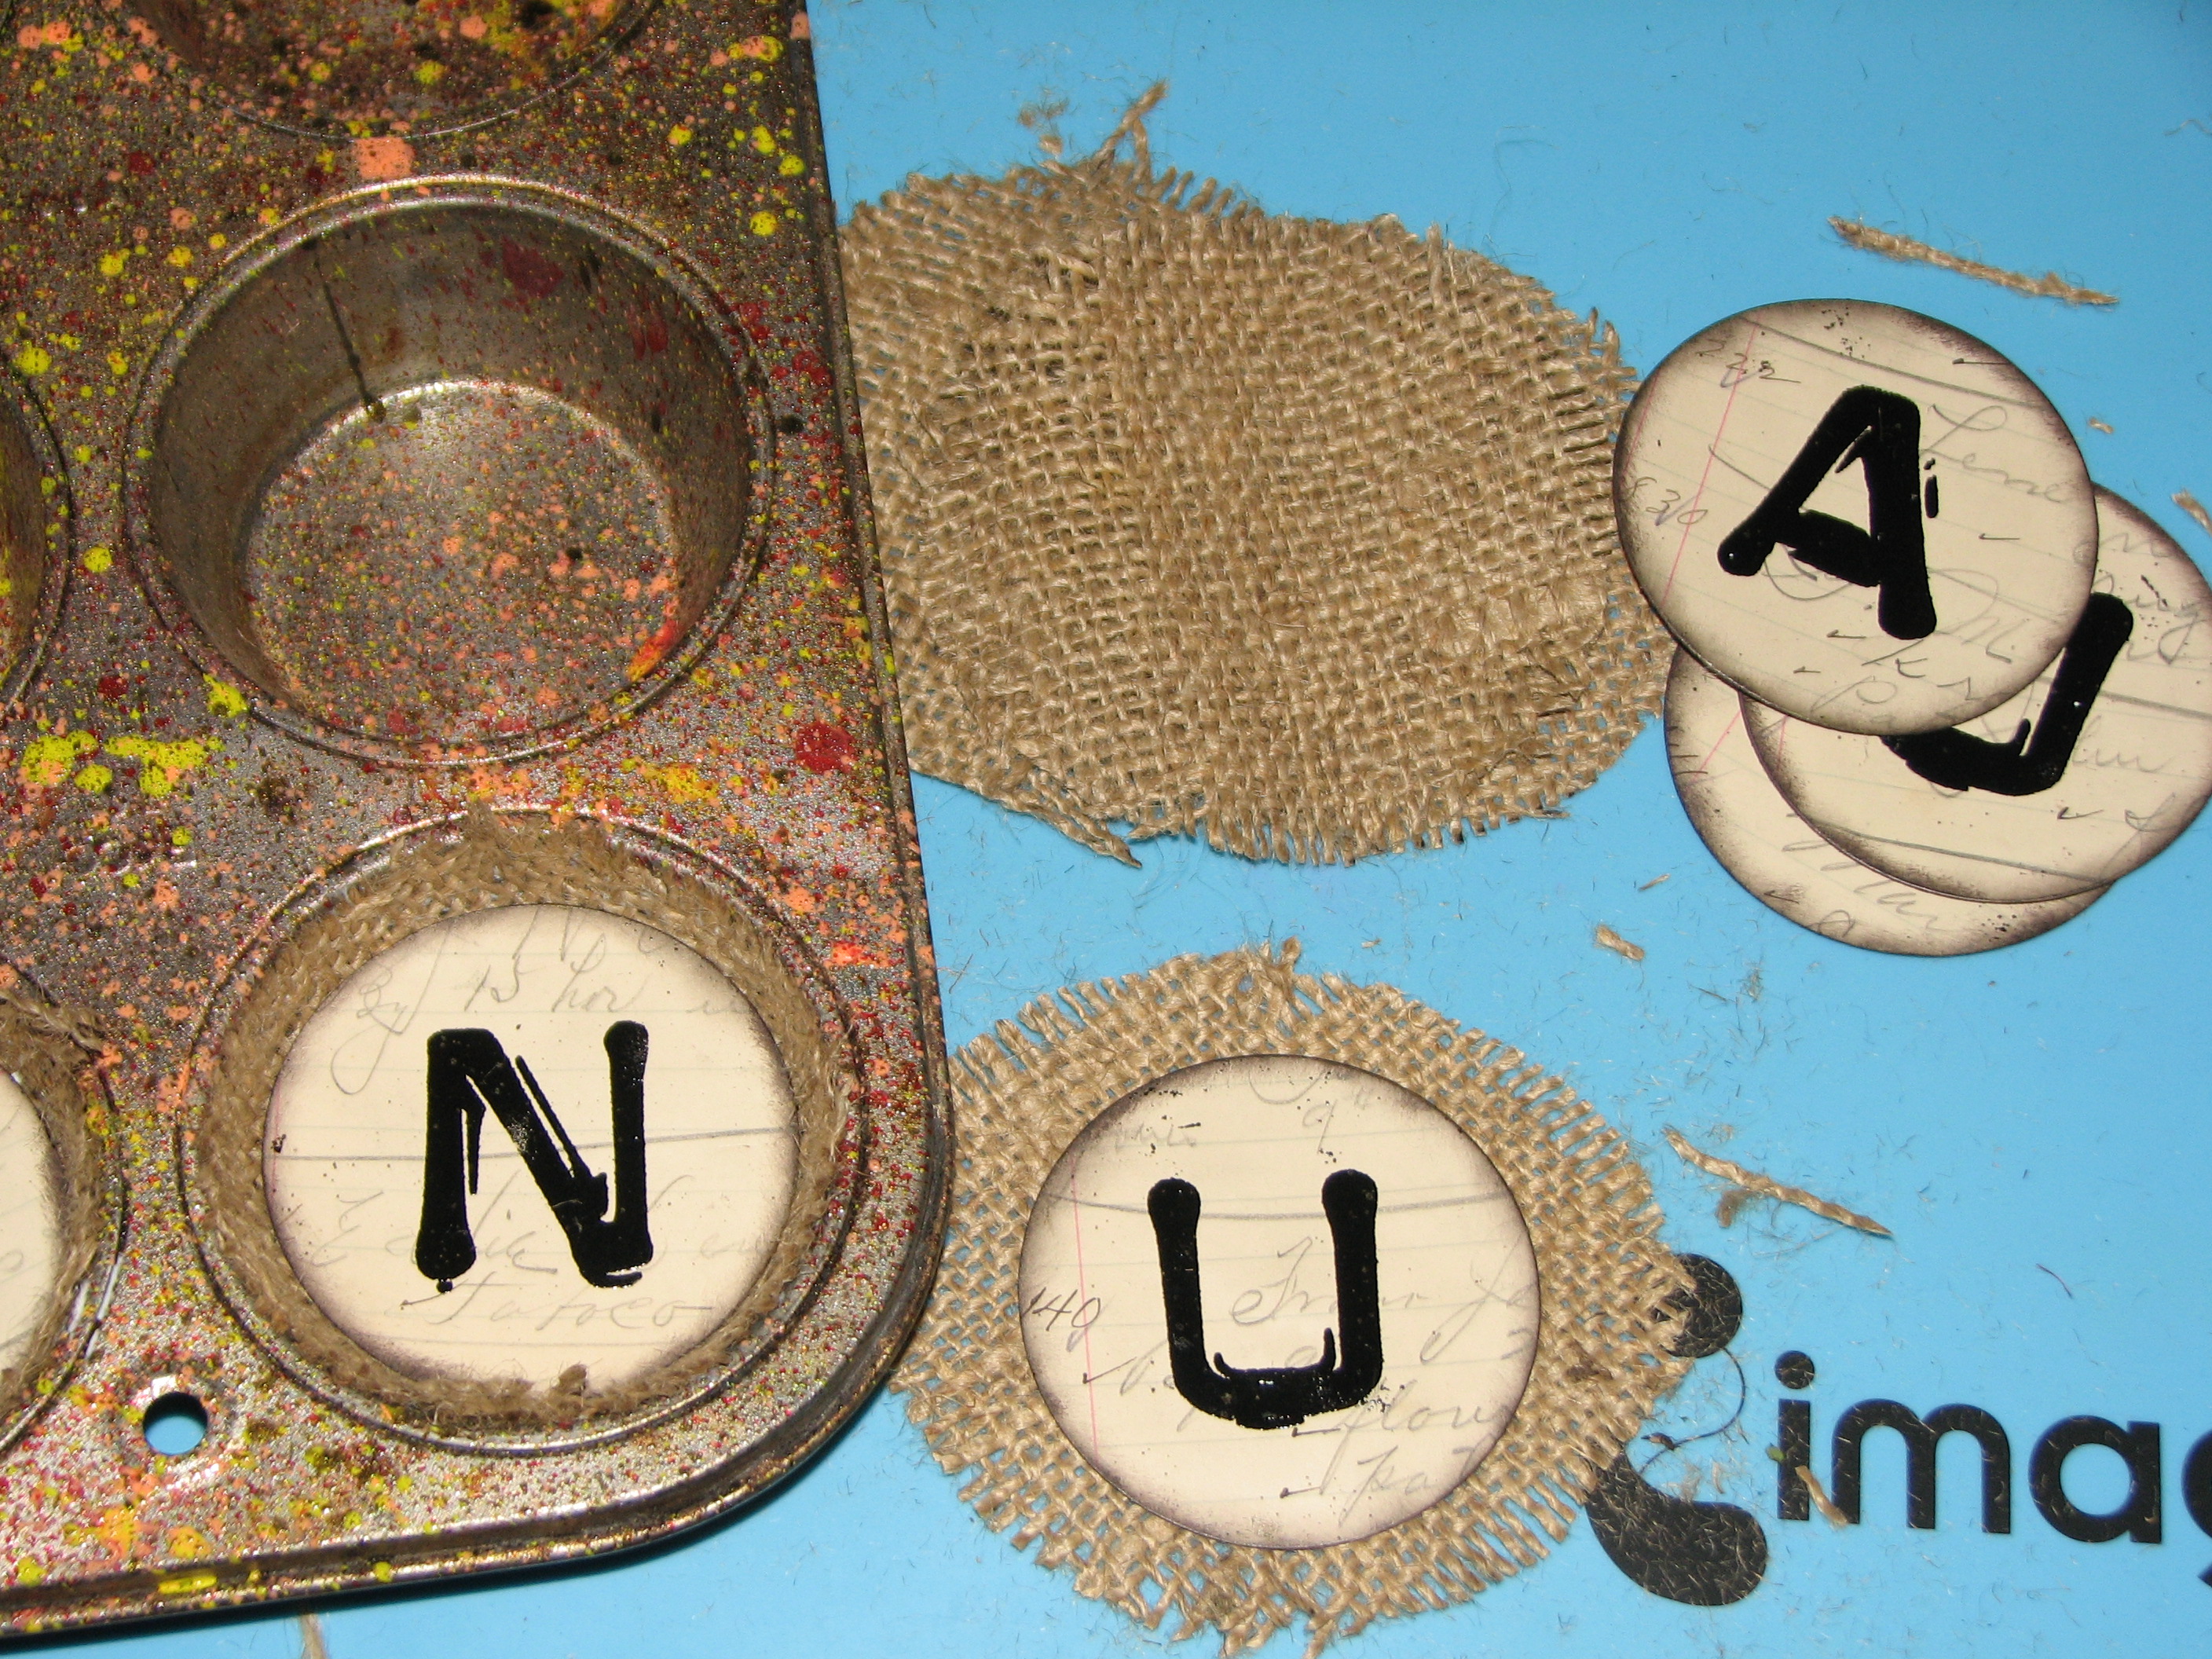
5. Mount each circle letter on a piece of die-cut chipboard.  Glue each circle to a round piece of burlap; insert each letter into a space in the muffin tin and glue in place.

2015_October_RJ_AutumnHomeDecor_07

6. Die-cut leaves from Vertigo Film; ink each leaf with various colors of StazOn ink using a Sponge Dauber.

2015_October_RJ_AutumnHomeDecor_08

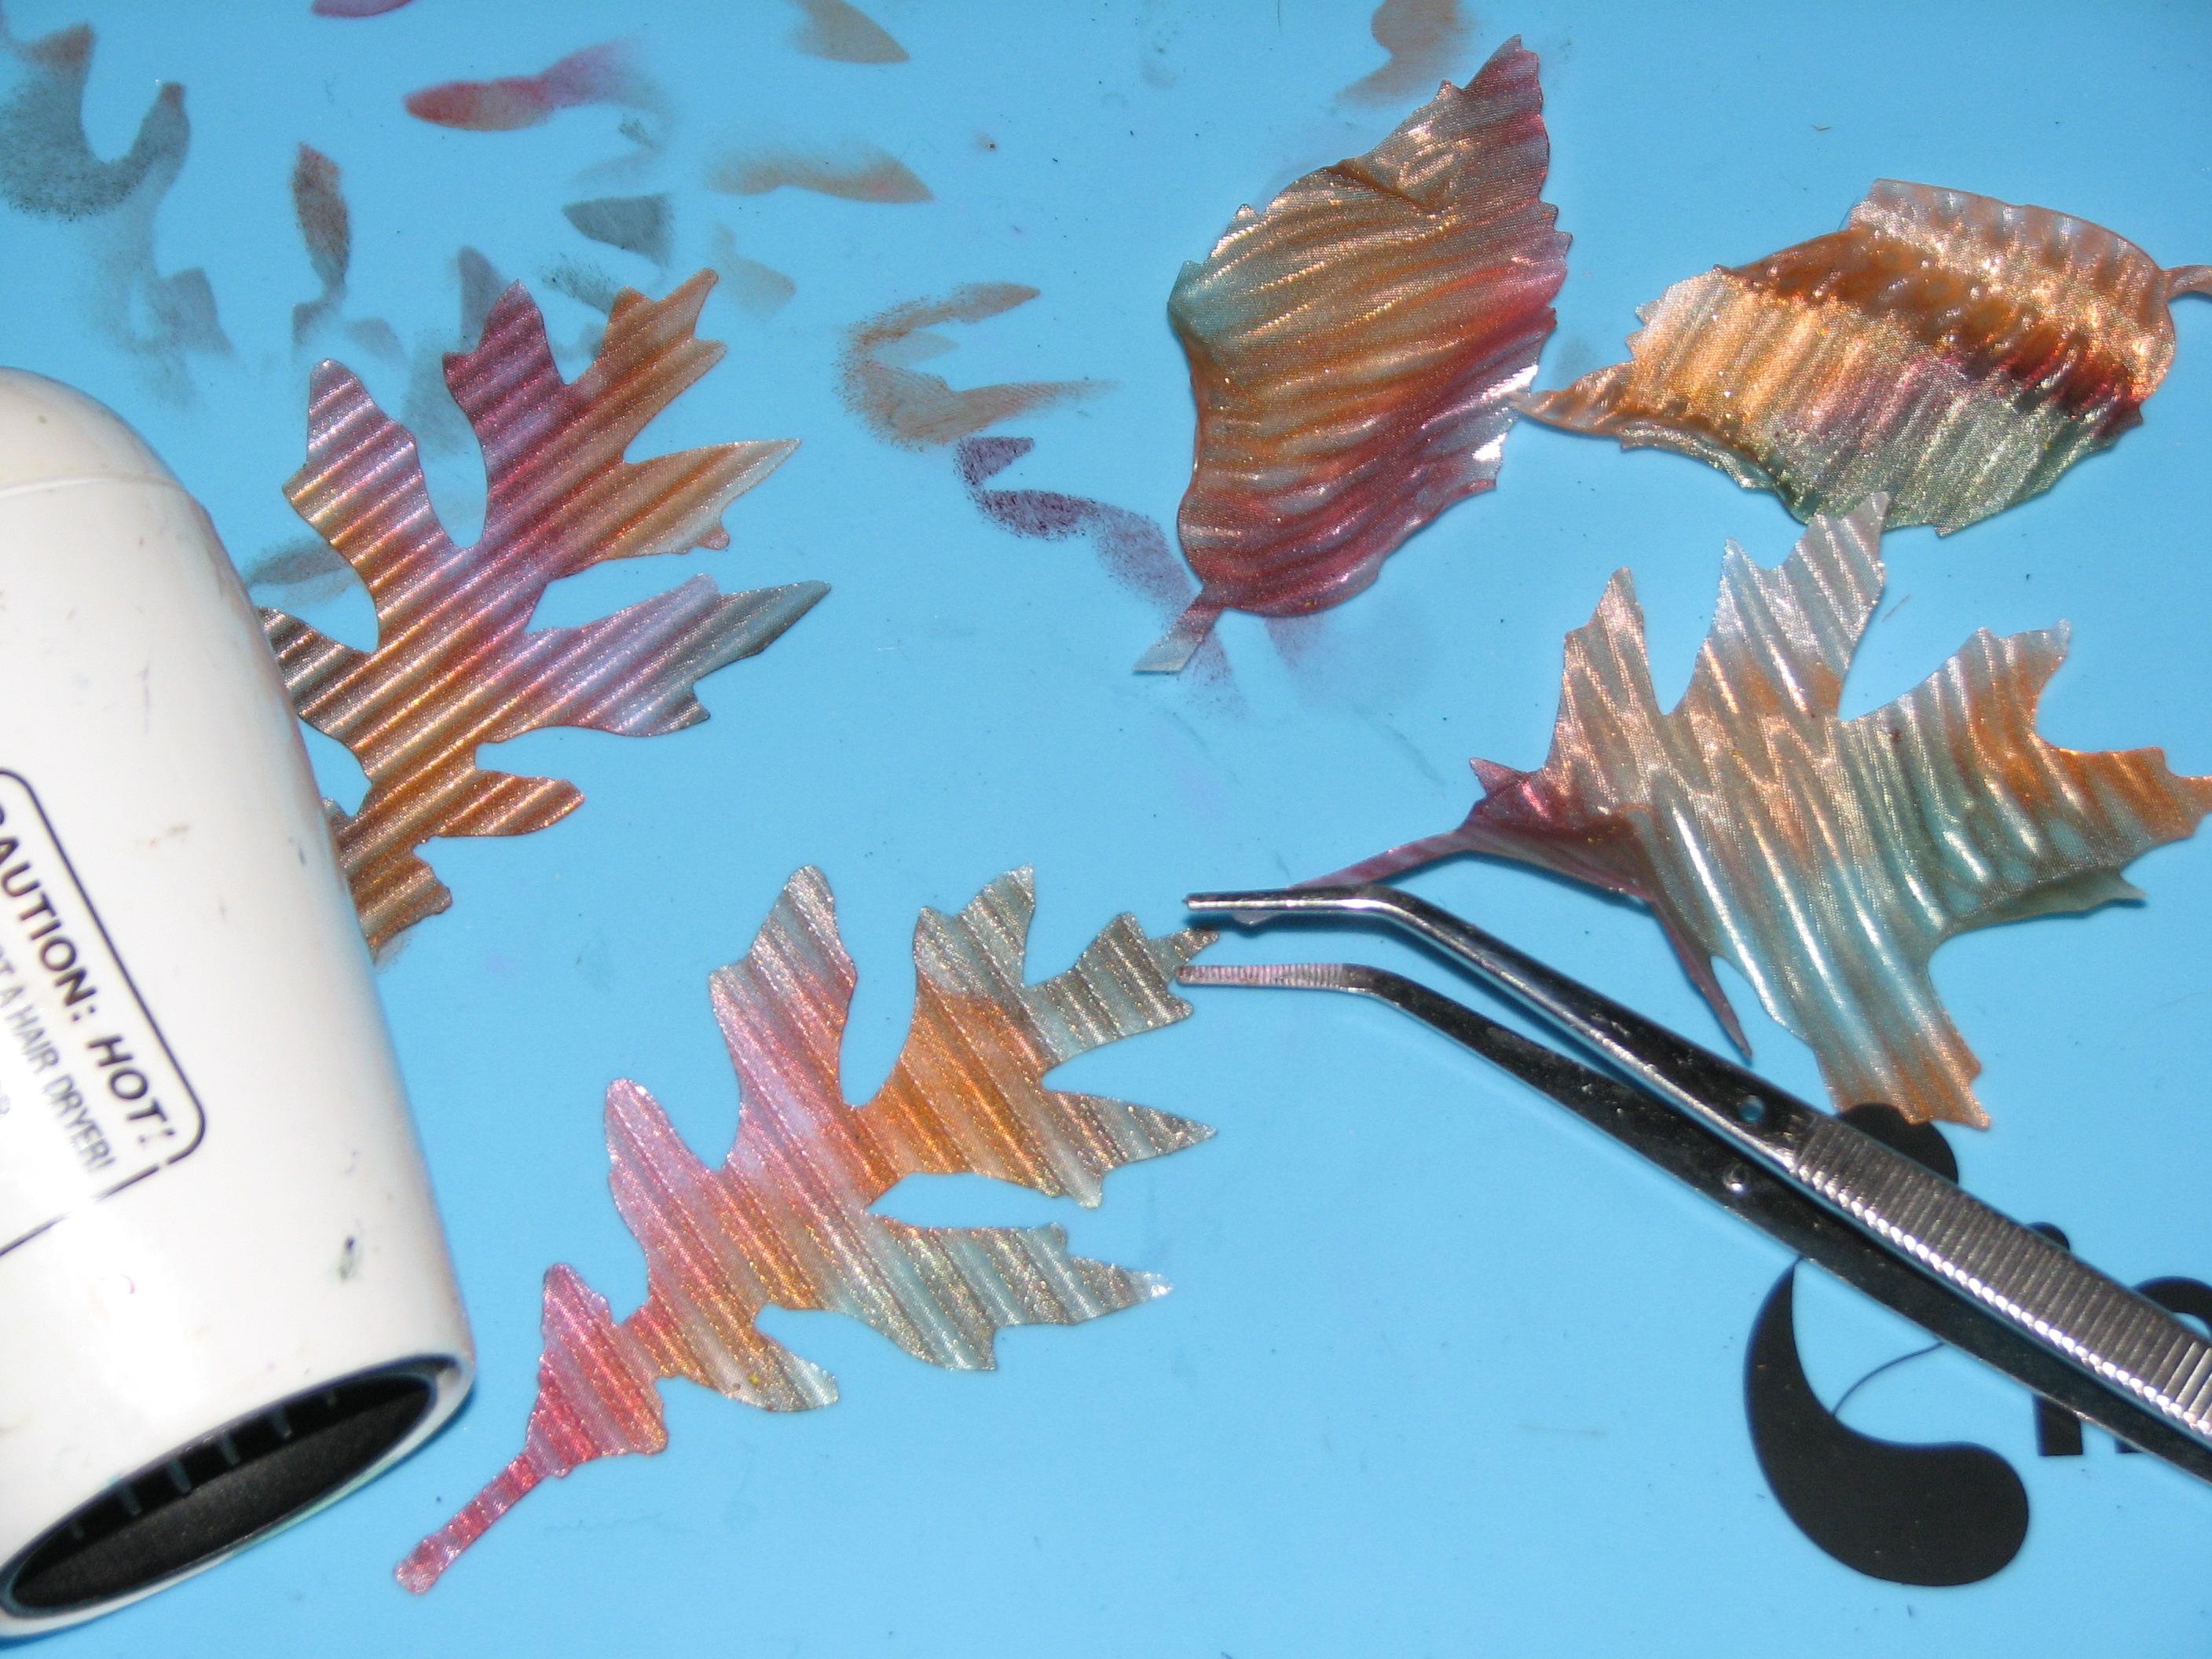
7. Once the ink has dried, heat the Vertigo Film with a heat tool to soften, shape each leaf as desired to give it the appearance of movement.

2015_October_RJ_AutumnHomeDecor_09

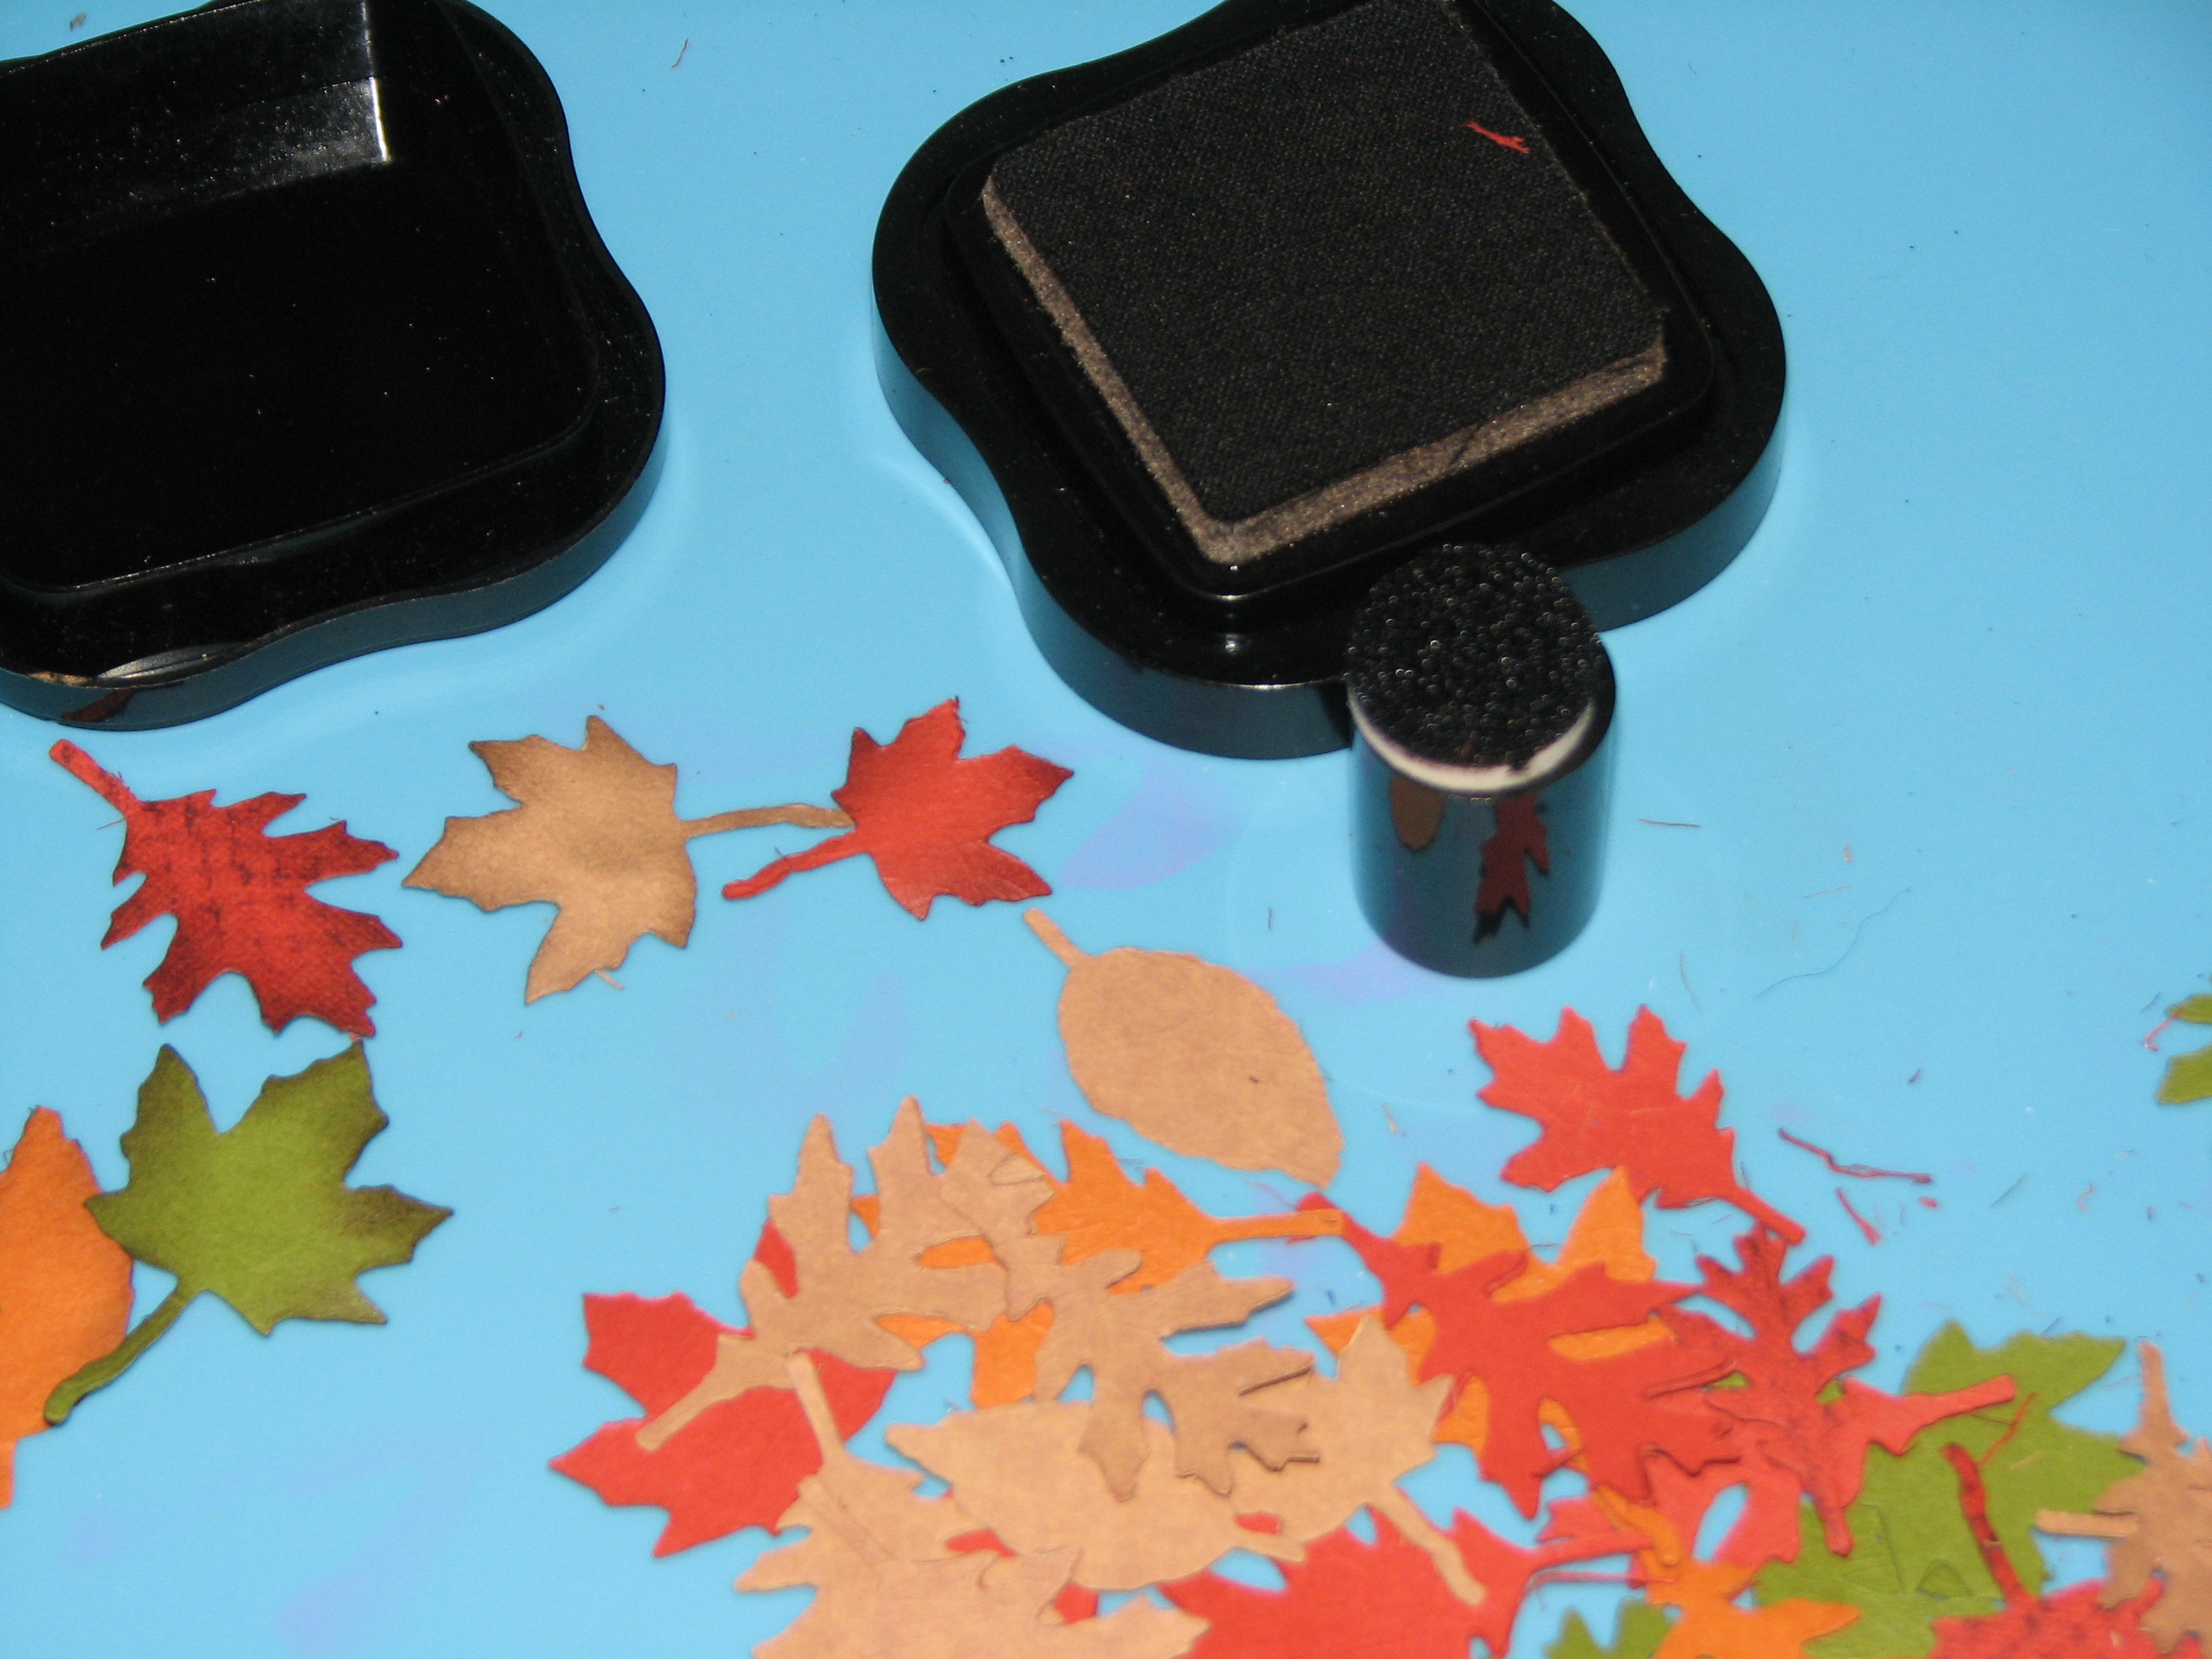
8. Die-cut several small leaves and ink the edges with Spiced Chai StazOn ink.

9. Stamp autumn images and color as desired.

2015_October_RJ_AutumnHomeDecor_10

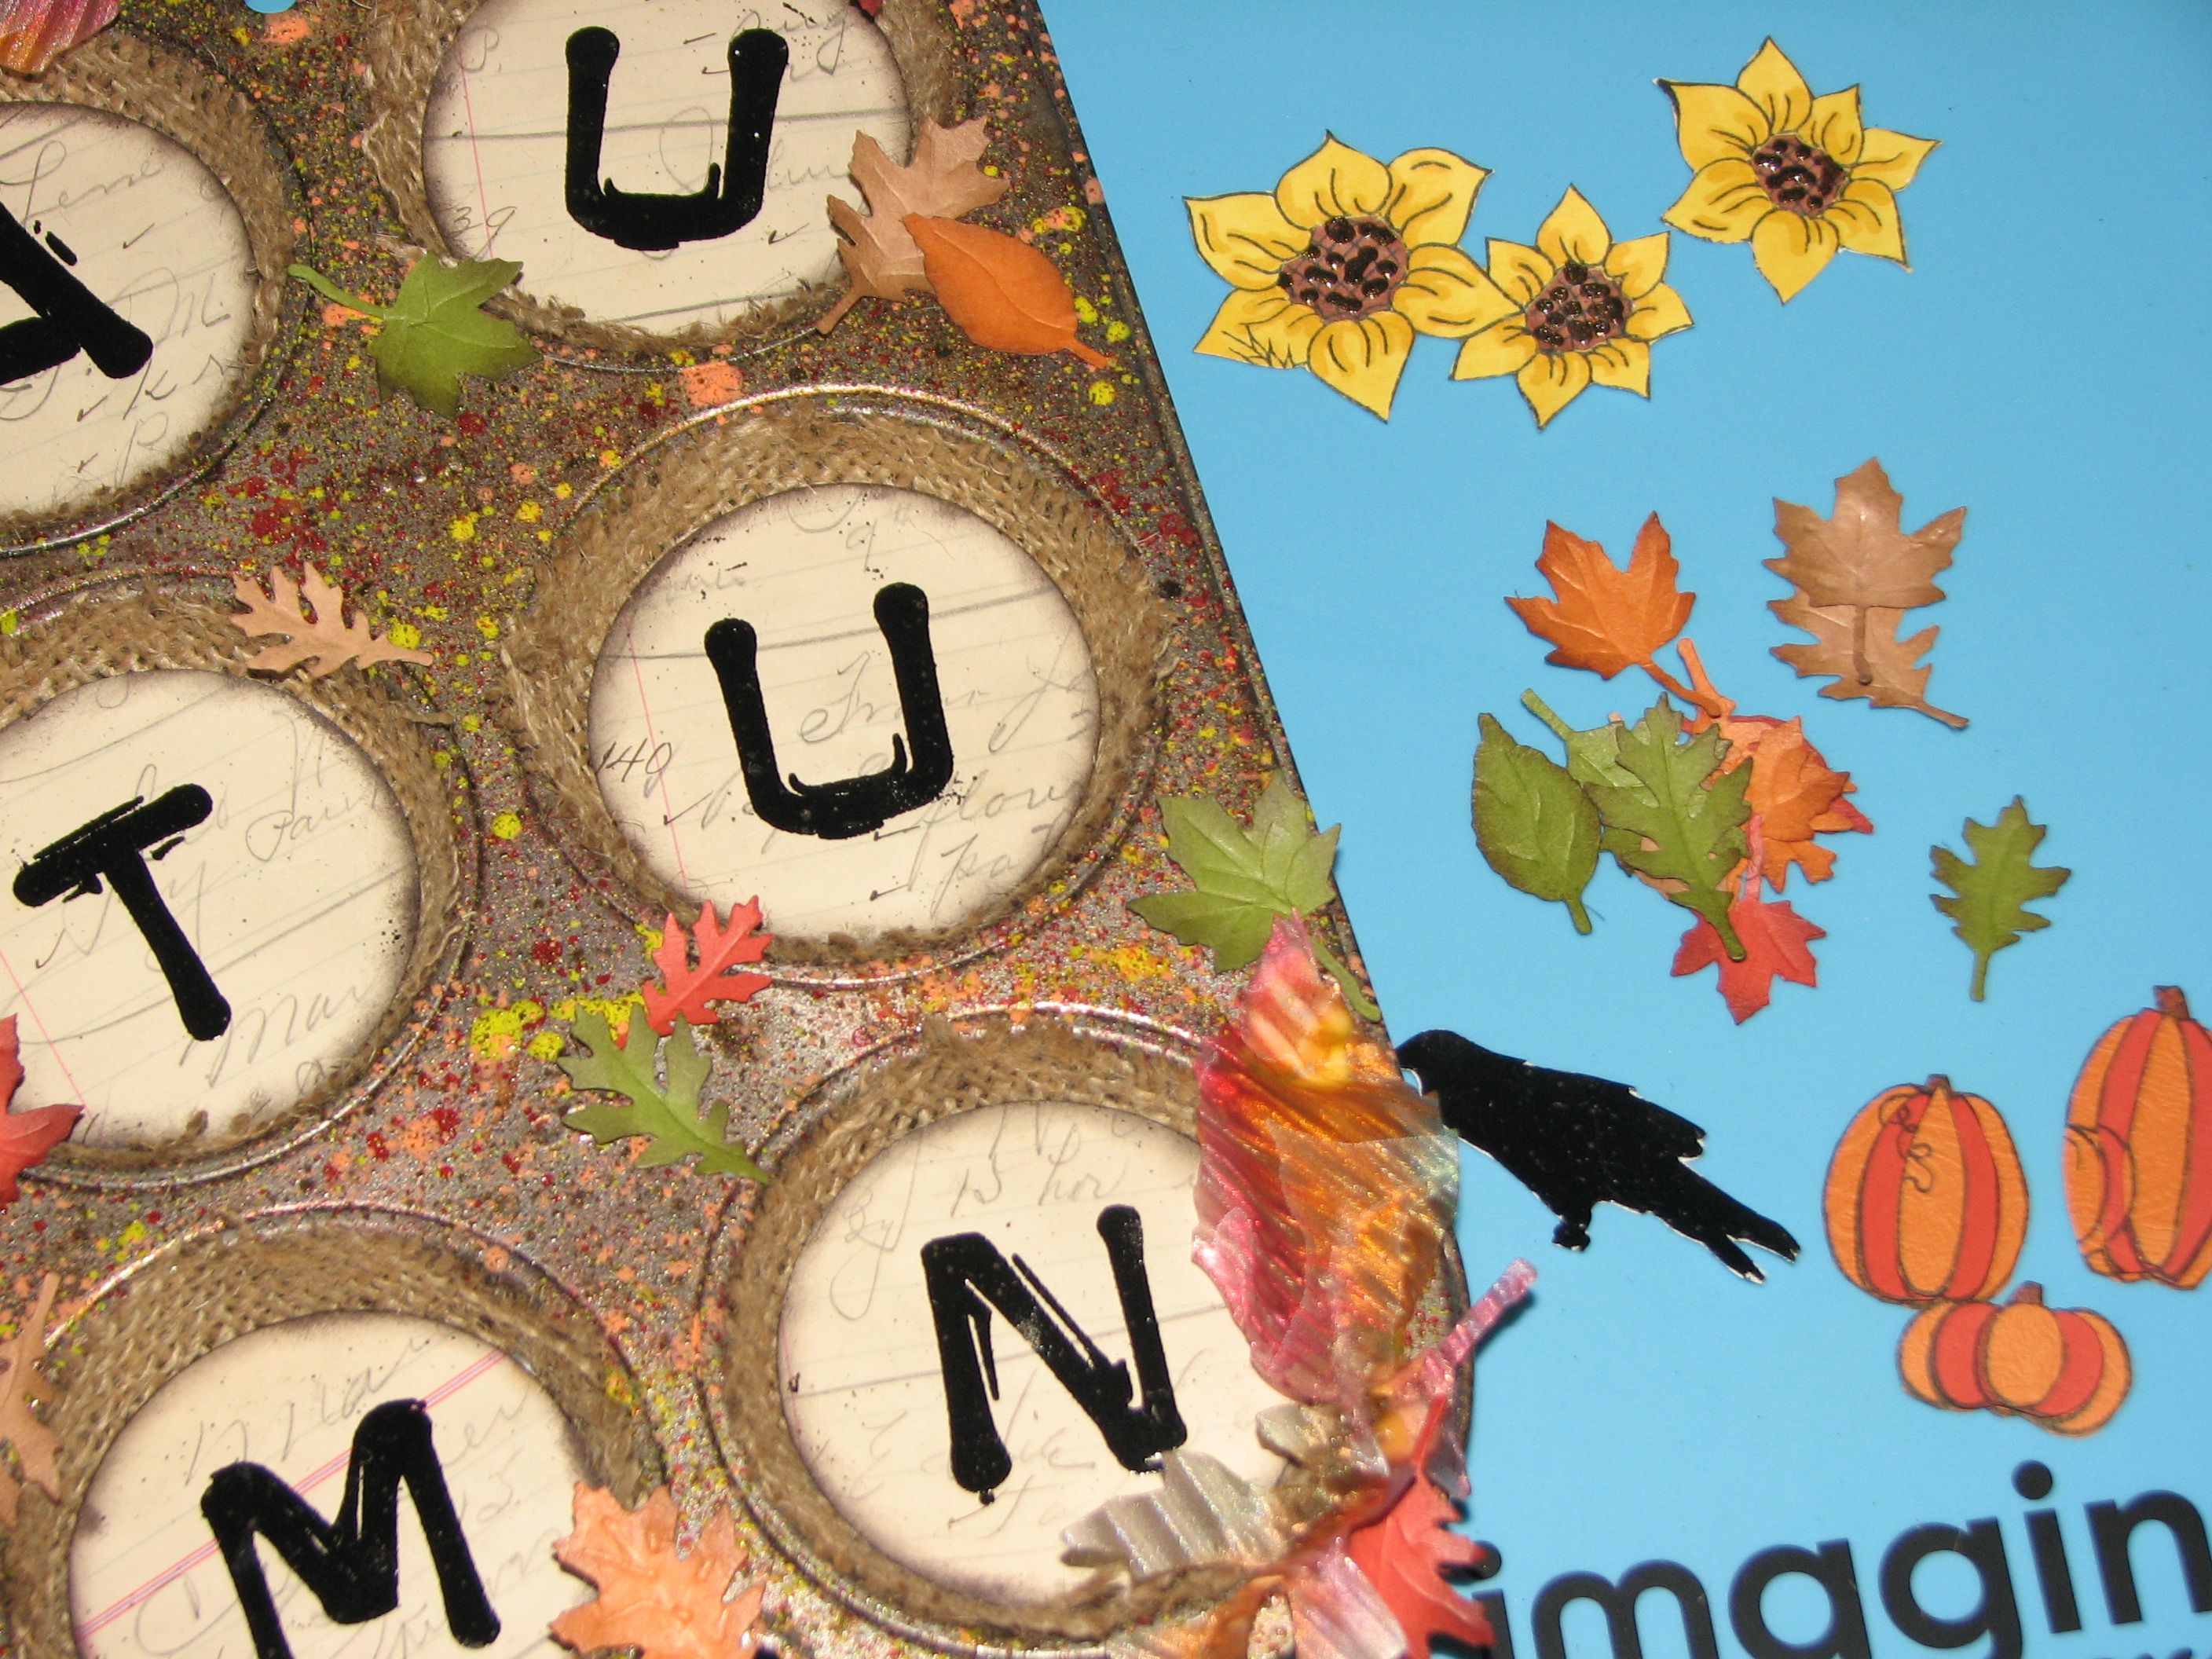
10. Adhere the Vertigo and die-cut cardstock leaves, and stamped images to the muffin tin as desired.

2015_October_RJ_AutumnHomeDecor_Main2WM

11. Finally add a ribbon hanger to the muffin tin.

by Roni Johnson

Difficulty

Advanced

Time

1 hour

Materials Needed

Imagine Crafts featuring Tuskineko:

Other Supplies:

Sizzix Dies – Tattered Leaves, Autumn Gatherings Sizzlits Strip
Just For Fun Rubber Stamps – Sunflower, Pumpkins, Crow
The Paper Studio – Jetson Alphabet
Burlap, Vintage Ledger Paper, Muffin Tin, Brown Ribbon
Club Scrap – Cardstock


Sign up for our newsletter
Facebook Pinterest Twitter YouTube Vimeo