Array ( [0] => 280 [ID] => 280 [1] => 1 [TYPEID] => 1 [2] => 0 [SECTIONID] => 0 [3] => project-details [MOD_NAME] => project-details [4] => [TITLE] => [5] => Project Details [META_TITLE] => Memento Luxe for a No Fuss DIY T-Shirt [6] => [META_DESCRIPTION] => Memento Luxe for a No Fuss DIY T-Shirt [7] => [META_KEYWORDS] => [8] => [BUTTON_TITLE] => [9] => [BODY] => [10] => [BODY_SIDE] => [11] => [MODULE_PROCESSING] => [12] => [MODULE_META] => [13] => project-details-head.php [MODULE_HEAD] => project-details-head.php [14] => project-details-body.php [MODULE_BODY] => project-details-body.php [15] => [MODULE_SIDE] => [16] => 0 [TOP_ORDER] => 0 [17] => 0 [HITS_UNIQUE] => 0 [18] => 0 [HITS_REPEAT] => 0 [19] => 0 [ROBOT_HITS] => 0 [20] => 0000-00-00 00:00:00 [LASTVIEWED] => 0000-00-00 00:00:00 [21] => 0000-00-00 00:00:00 [ROBOT_LASTVIEWED] => 0000-00-00 00:00:00 [22] => 0.70 [PRIORITY] => 0.70 [23] => 1 [SITEMAP] => 1 [24] => 1 [ACTIVE] => 1 [25] => 1 [DISPLAY_TITLE] => 1 [26] => 0 [SSL_MODE] => 0 [27] => 0 [EDITABLE] => 0 [28] => 0 [DELETABLE] => 0 [29] => 2013-11-05 00:00:00 [LASTUPDATED] => 2013-11-05 00:00:00 [30] => 2013-11-05 00:00:00 [CREATED] => 2013-11-05 00:00:00 )
Imagine Crafts
LearnMakeCommunityShop

Memento Luxe for a No Fuss DIY Hawaiian T-Shirt

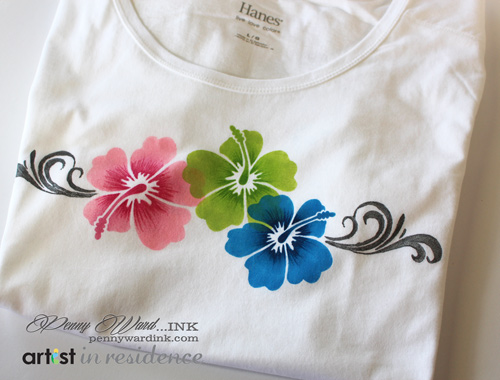
Do you have some old T-Shirts in the closet that you never wear because they are just too plain? Dress them up with a stencil and an ink pad. The first swipe of ink always make me nervous (it is a $3 t-shirt after all), but then we you see your shirt coming to life, it is super fun!


Memento Luxe for a No Fuss DIY Hawaiian T-Shirt

Directions:

2015_PW_artist_summershirt_step1

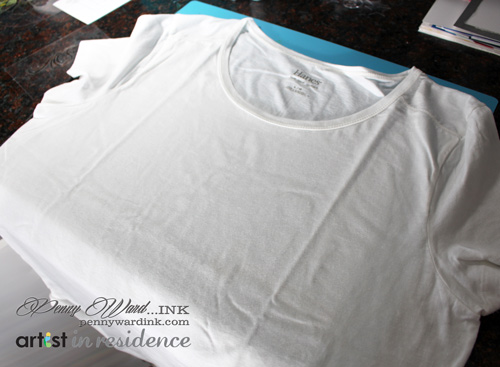
1. Prepare your shirt by sliding a piece of cardboard (even a cereal box will do) between the front and back.

2015_PW_artist_summershirt_step2

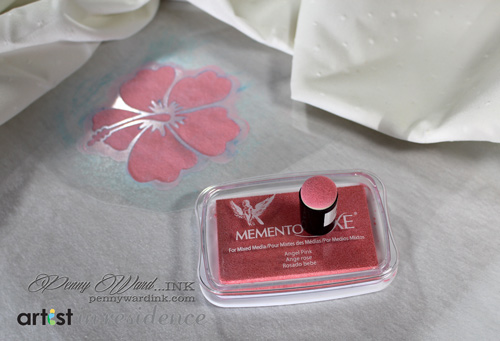
2. Spray backside of stencil with temporary adhesive (blot adhesive off on a scrap of paper a couple of times). Place stencil in desired position on shirt. Using a Sponge Dauber, apply Memento Luxe ink until you achieve desired coverage. Continue this same step for each flower.

2015_PW_artist_summershirt_step3


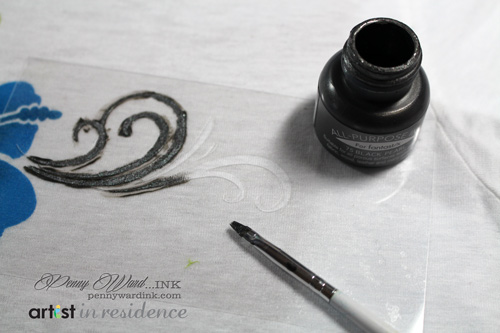
3.  With temporary adhesive on "flourish" stencil, position as desired. Apply Black Pearl All Purpose Ink with a paint brush. (Use a light hand as you don't want to move the fabric underneath the stencil).

2015_PW_artist_summershirt_step4

4.  When shirt is completely dry, add shading to flowers with a coordinating Fabrico marker. Let dry.

5. Heat set design.

by Penny Ward

Difficulty

Beginner

Time

1/2 hour + dry time

Materials Needed

Imagine Crafts featuring Tsukineko:  

Other

  • Silhouette Cameo and design #42859 & #29356
  • T-Shirt, Clear Acrylic sheet (for stencil), Temporary Spray Adhesive, cardboard, paintbrush, iron


Sign up for our newsletter
Facebook Pinterest Twitter YouTube Vimeo