My sweetheart and I were married way back in 1986, right out of high school. At that time I knew nothing of the fun stuff the paper arts world had in store for me. See how I made this puzzle piece card to celebrate our union.
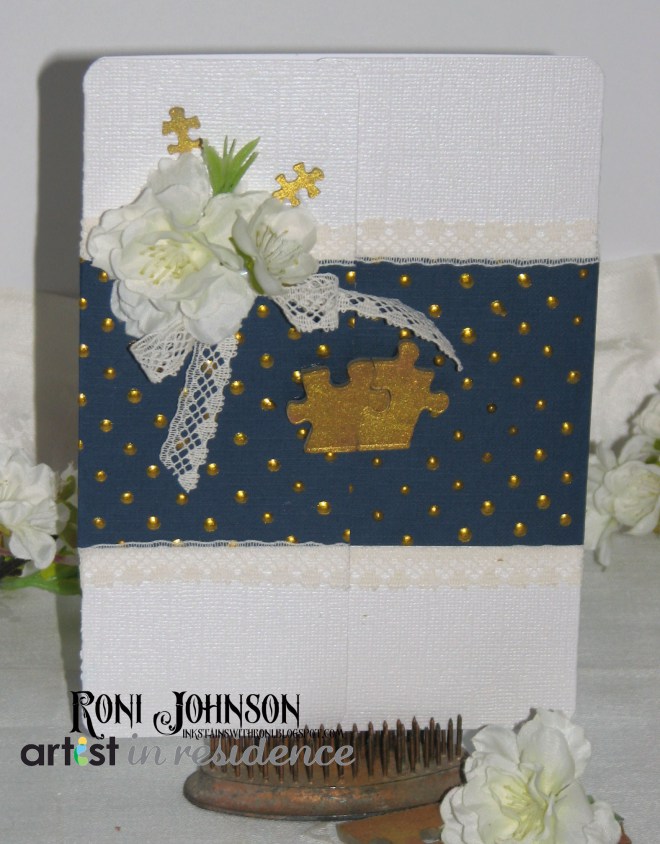
We chose a couple verses about the two shall become one which wasn't really represented in our invitations or decor at the time but I thought it would be a great jumping off point for the re-make version. I thought about various ways to represent this and that would convey the meaning to others. Finally I came up with using puzzle pieces, after all two do become one once joined! The rest are all aspects that are very much me...Blue (my favorite color), Gold (to represent our love), and I added some vintage lace (for our love of all things old) and lovely apple blossoms (beauty in their simplicity).
I invite you all to come along with me on my wedding make-over
!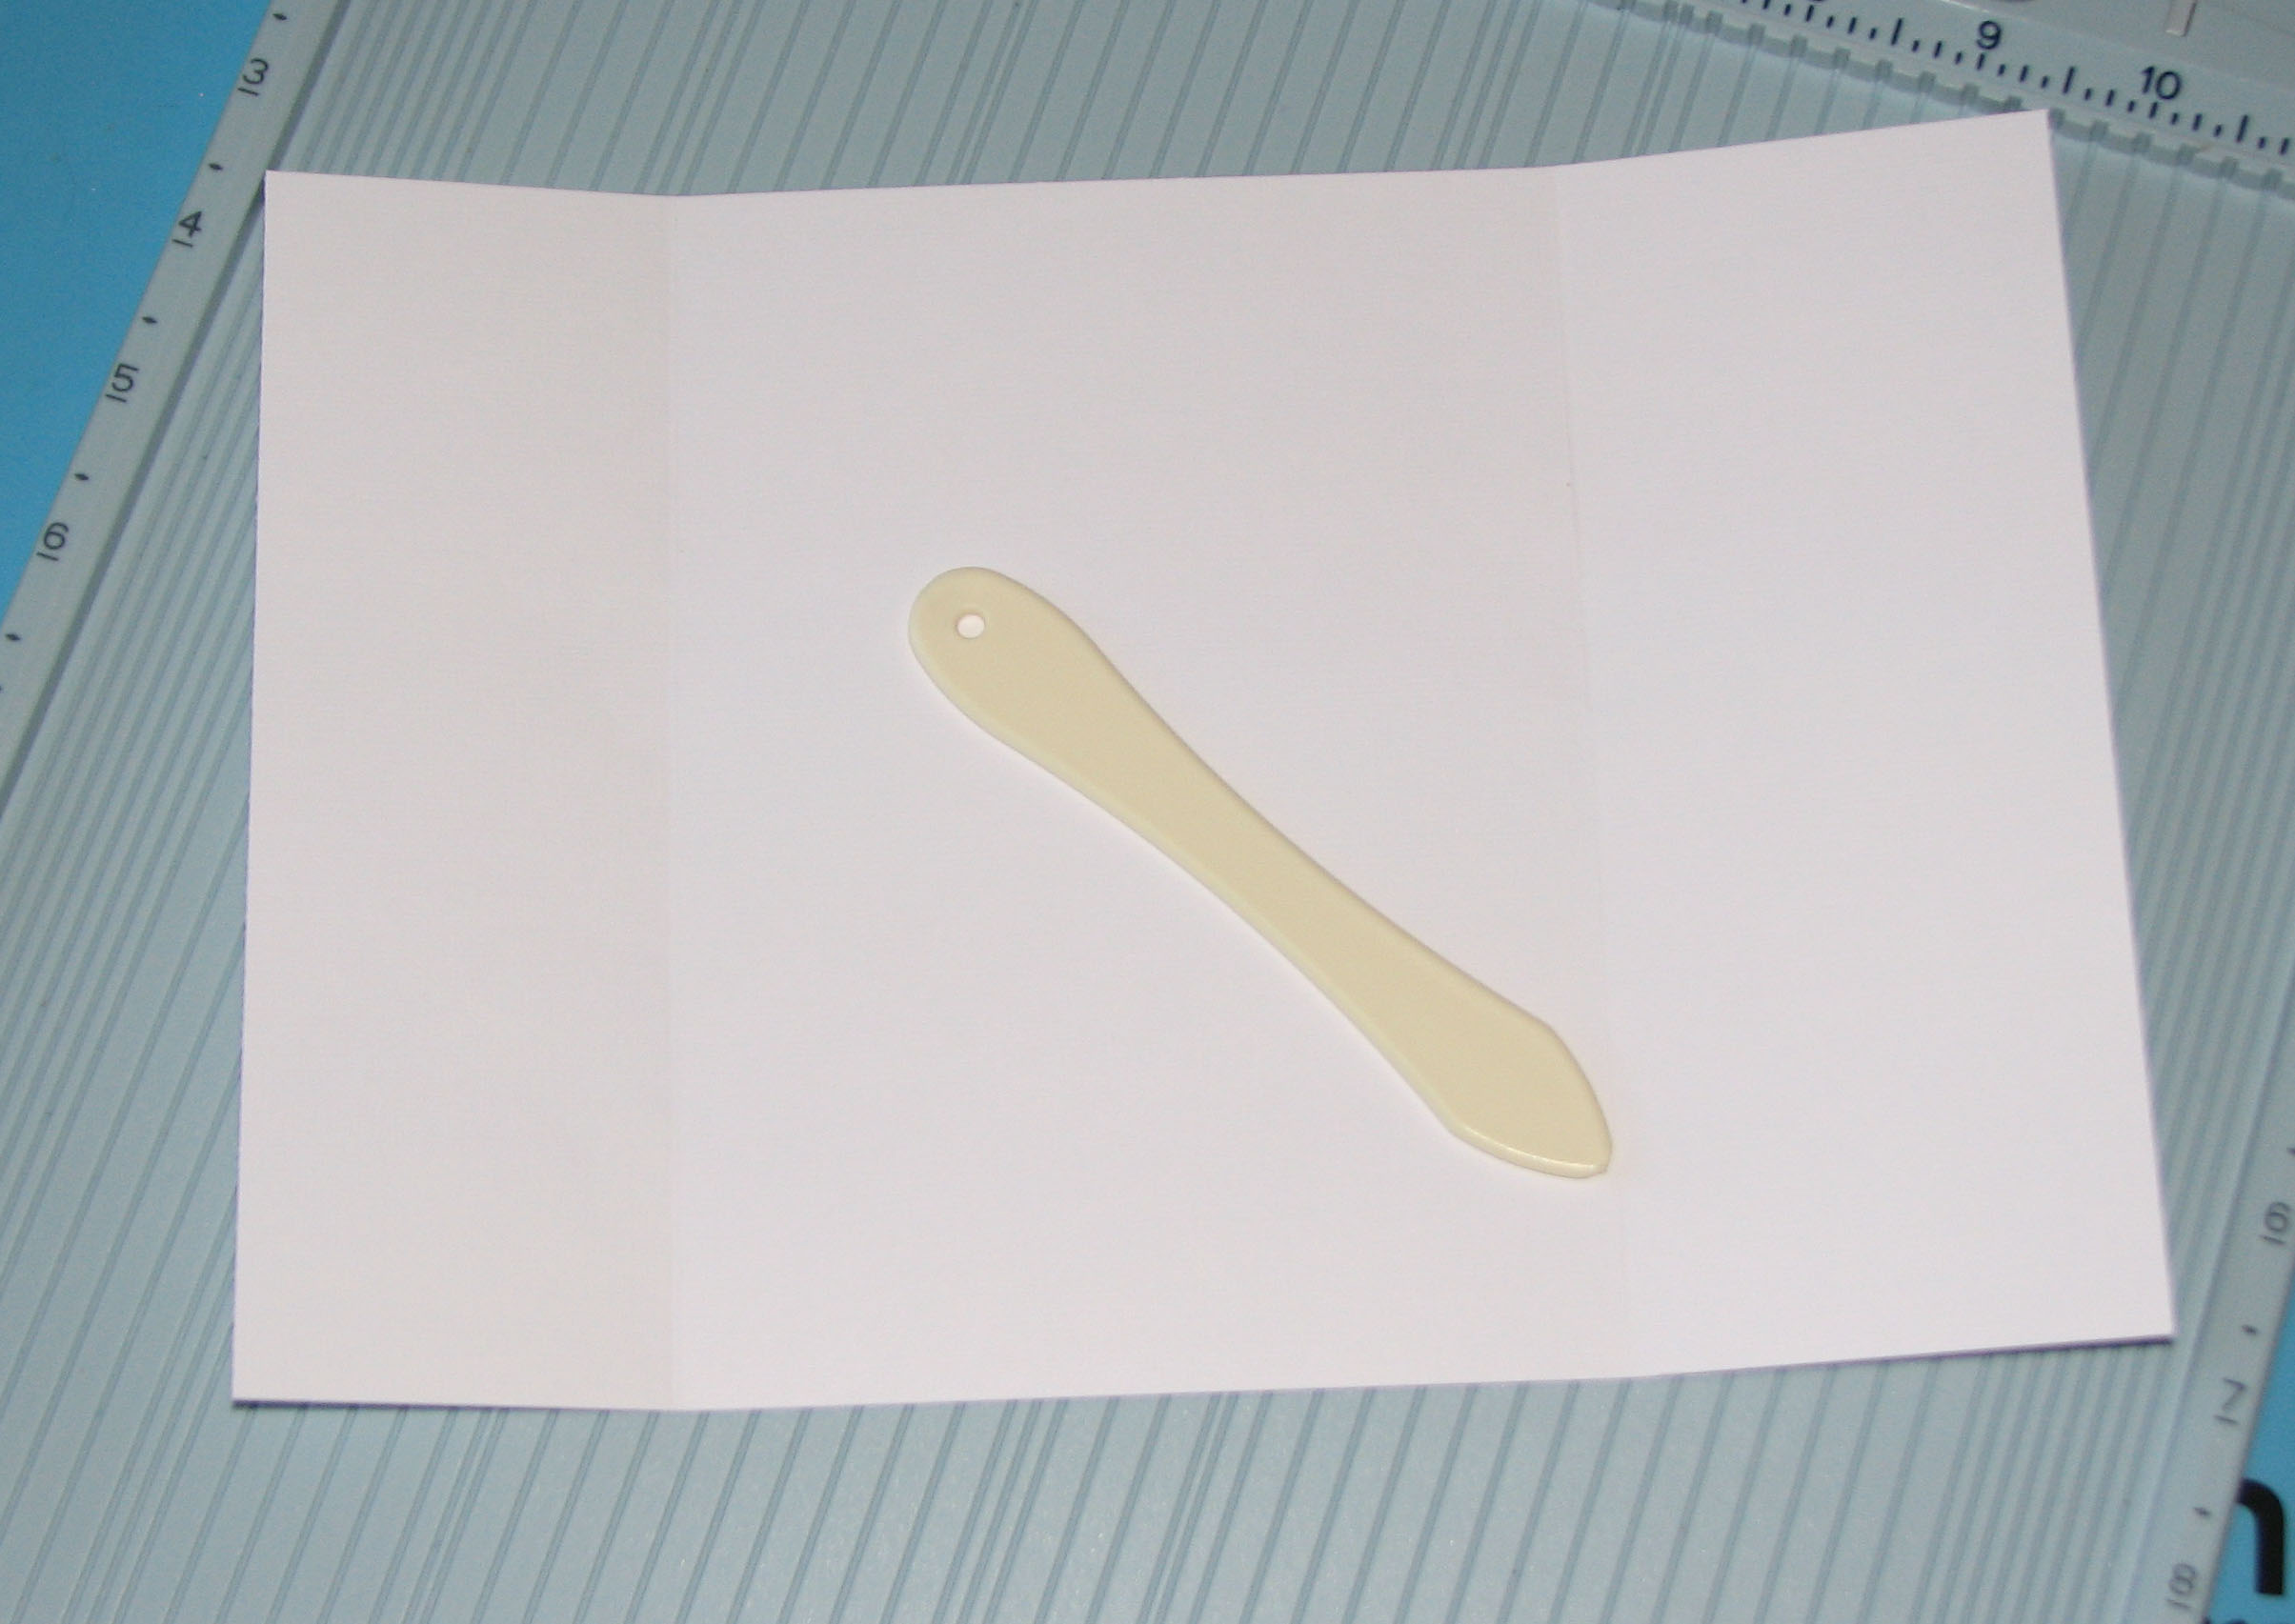
1. Trim a piece of pearl white cardstock to 7" x 11"; score at 2.75" and 7.75" marks. Fold and burnish for nice crisp edges.
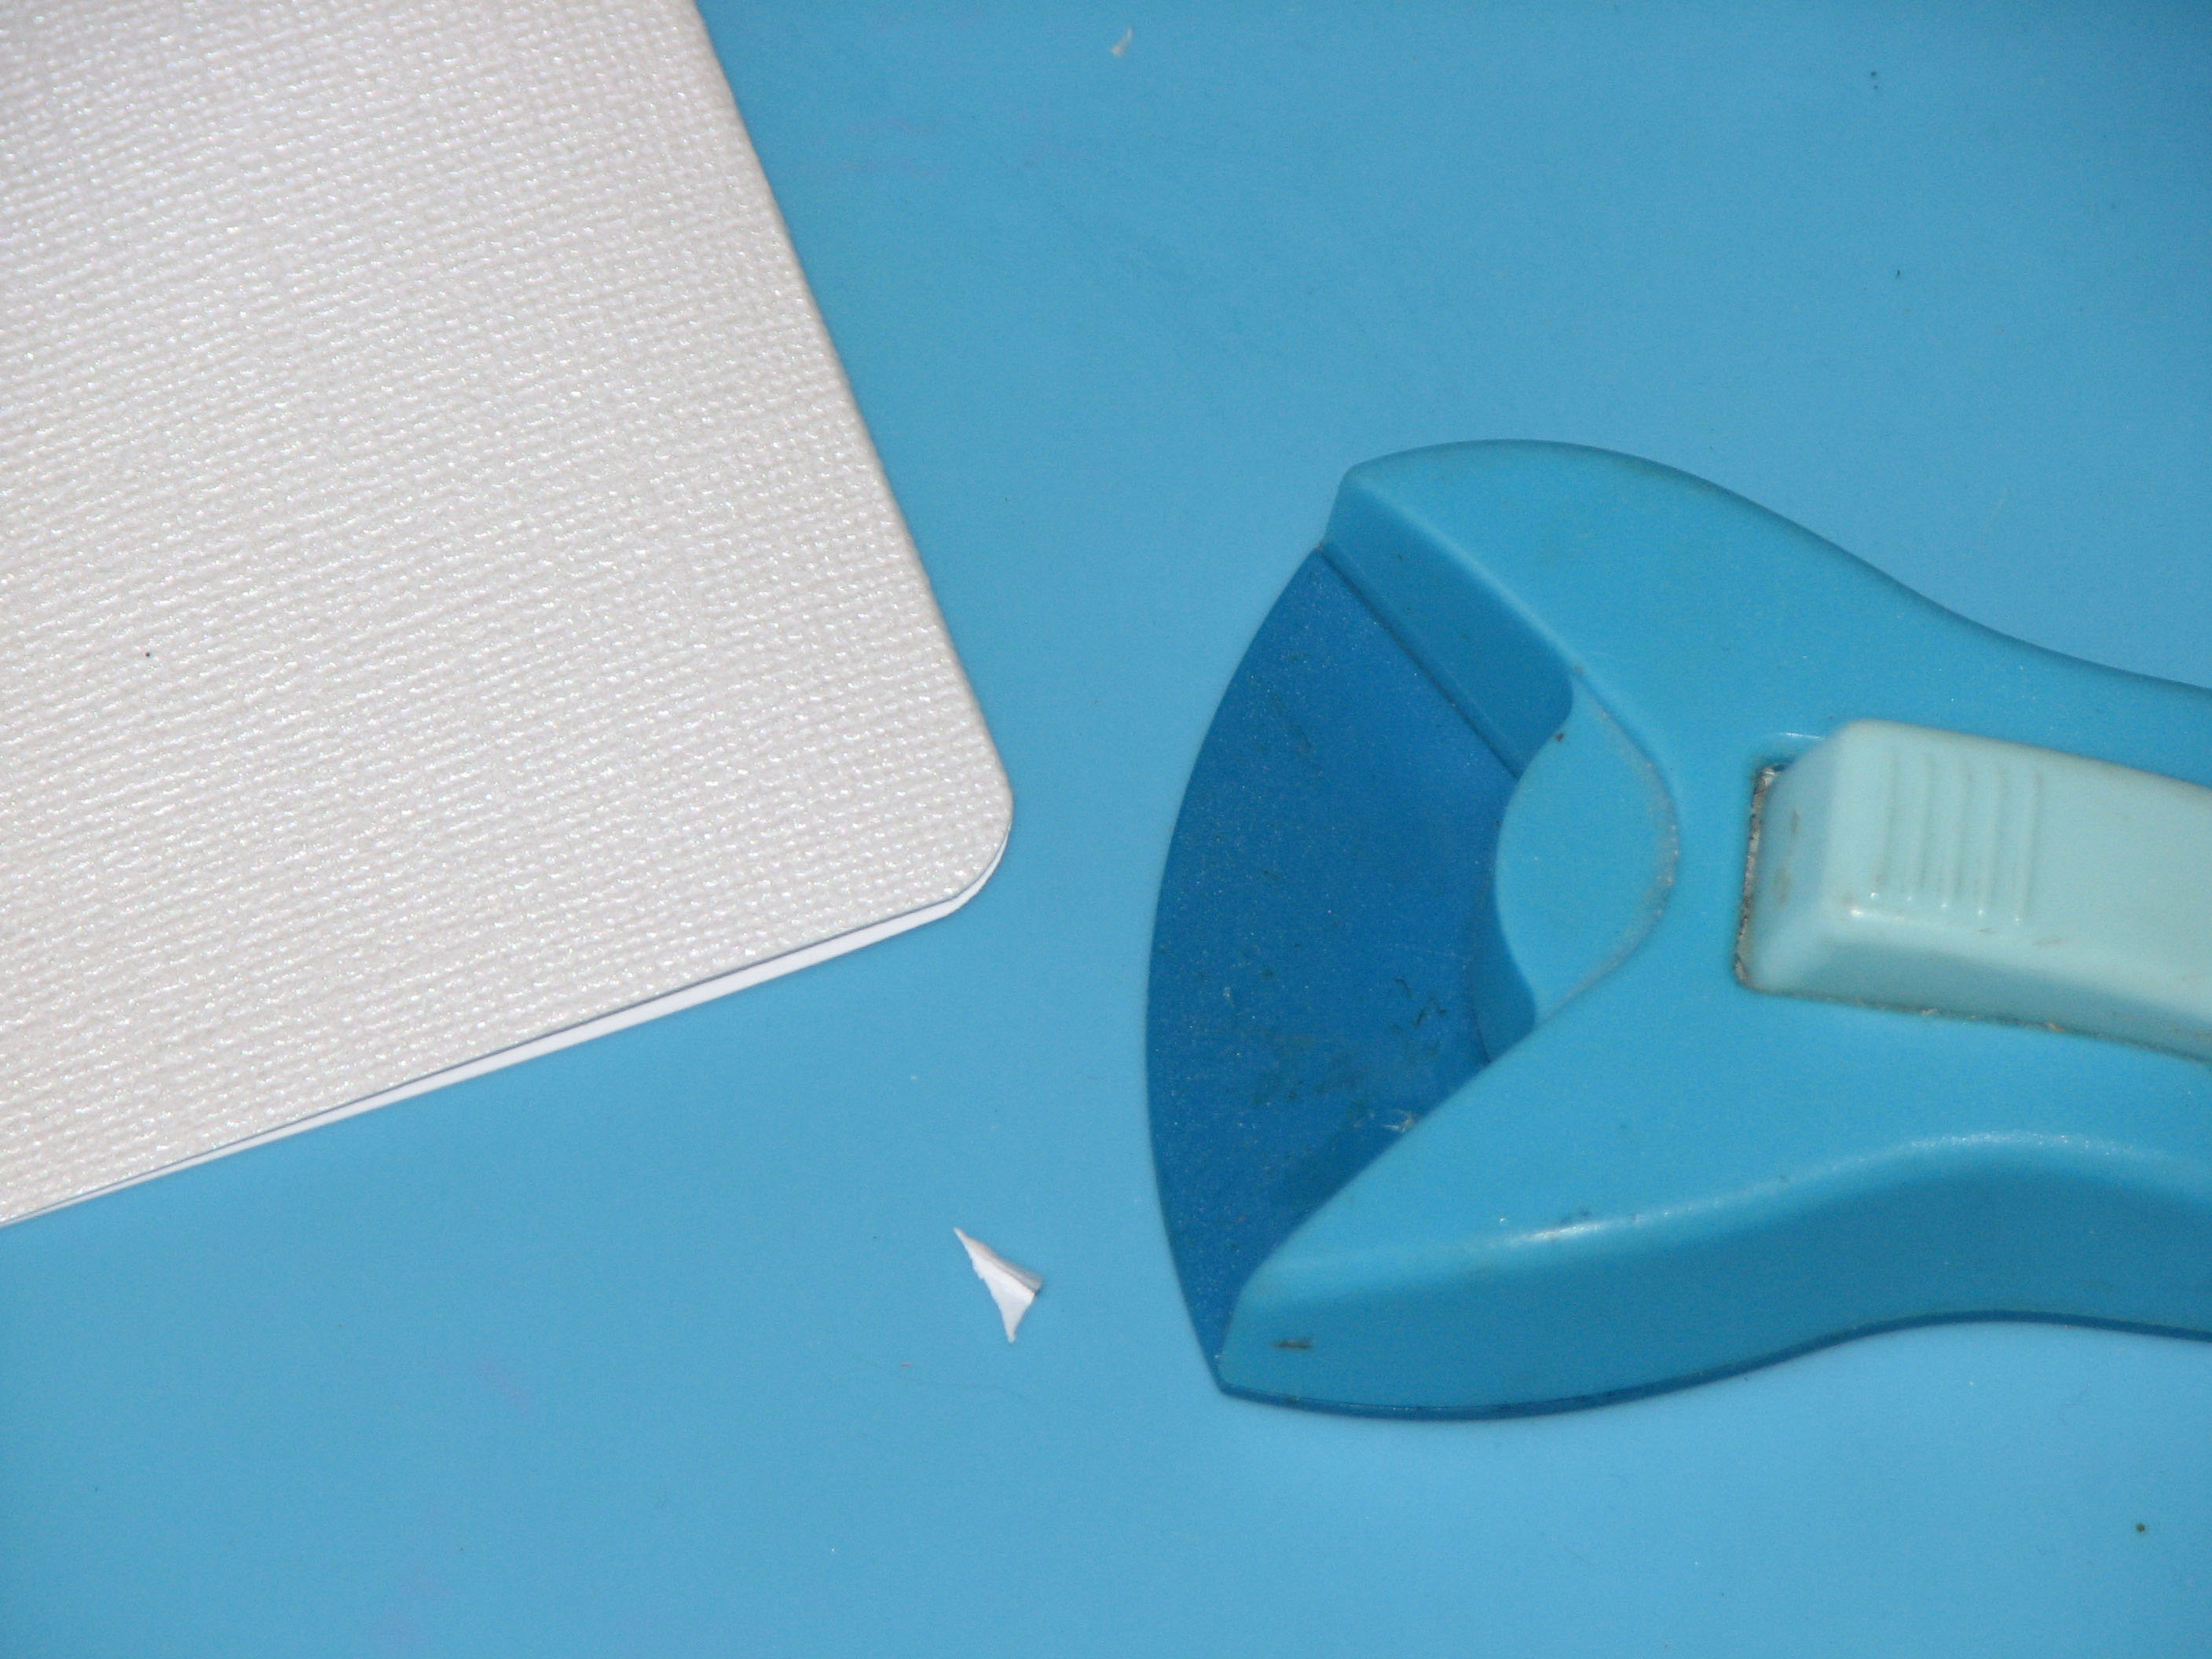
2. Use a corner rounder and round all of the outside edges as well as the edges on the two flaps.
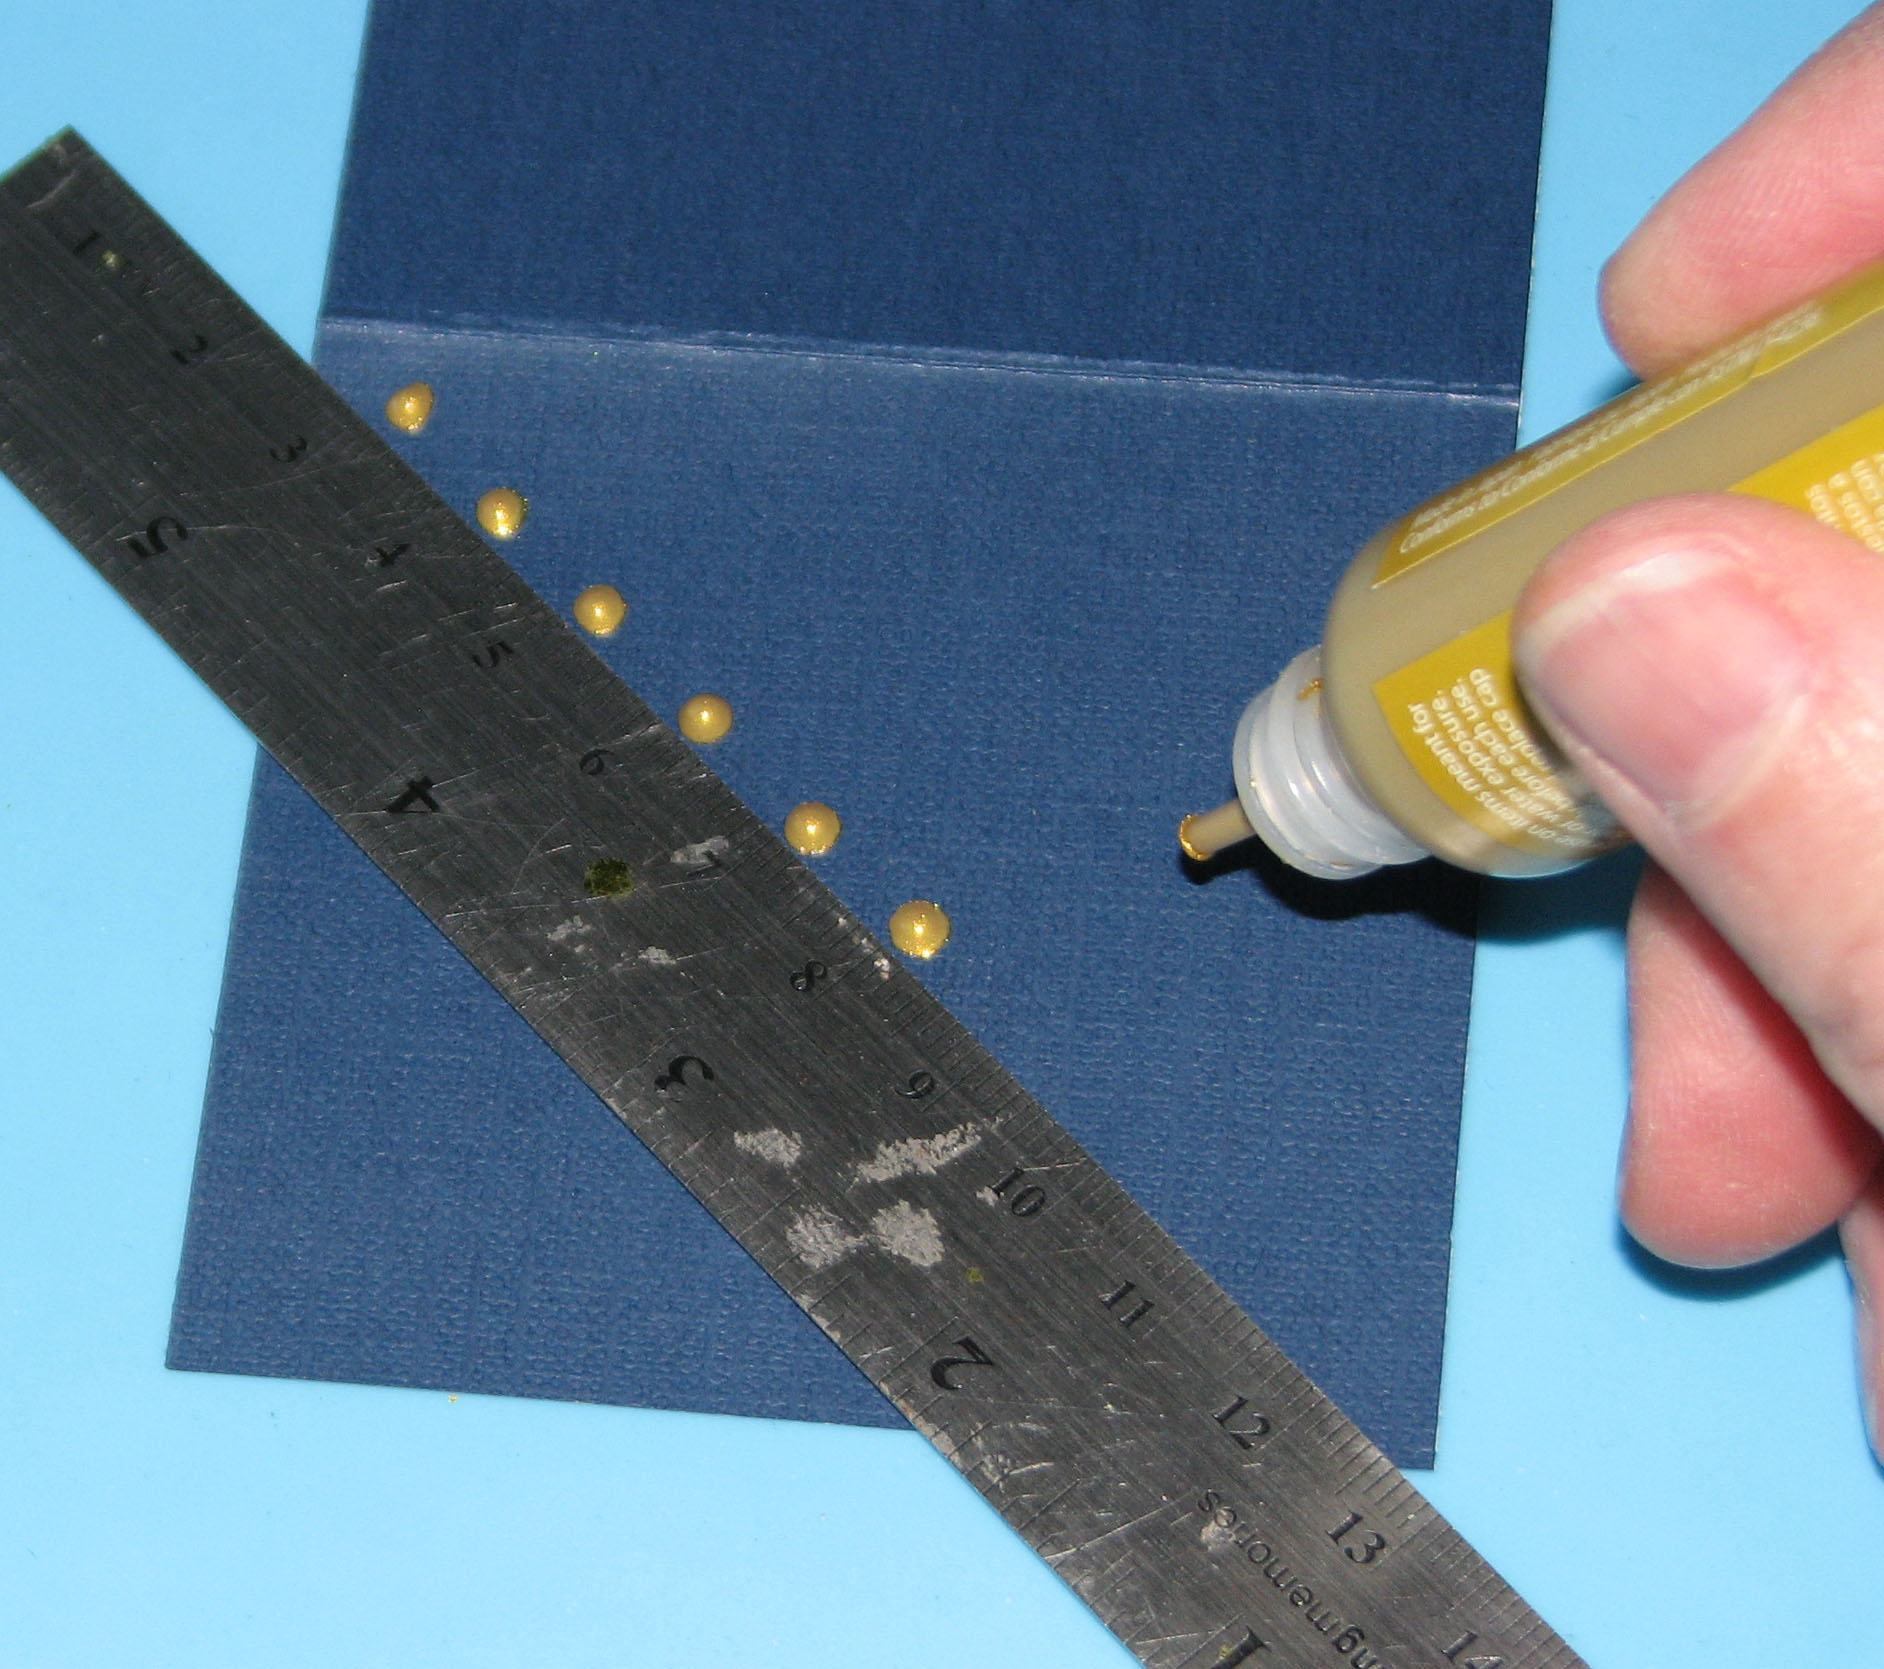
3. Cut a strip of dark blue cardstock 2.75" x 11" and score at the 2.75" and 7.75" marks just as you did for the card. Use a ruler to apply dots of Gold StazOn Studio Glaze to create a polka dot pattern on both of the short sections of the cardstock. Set aside to dry.
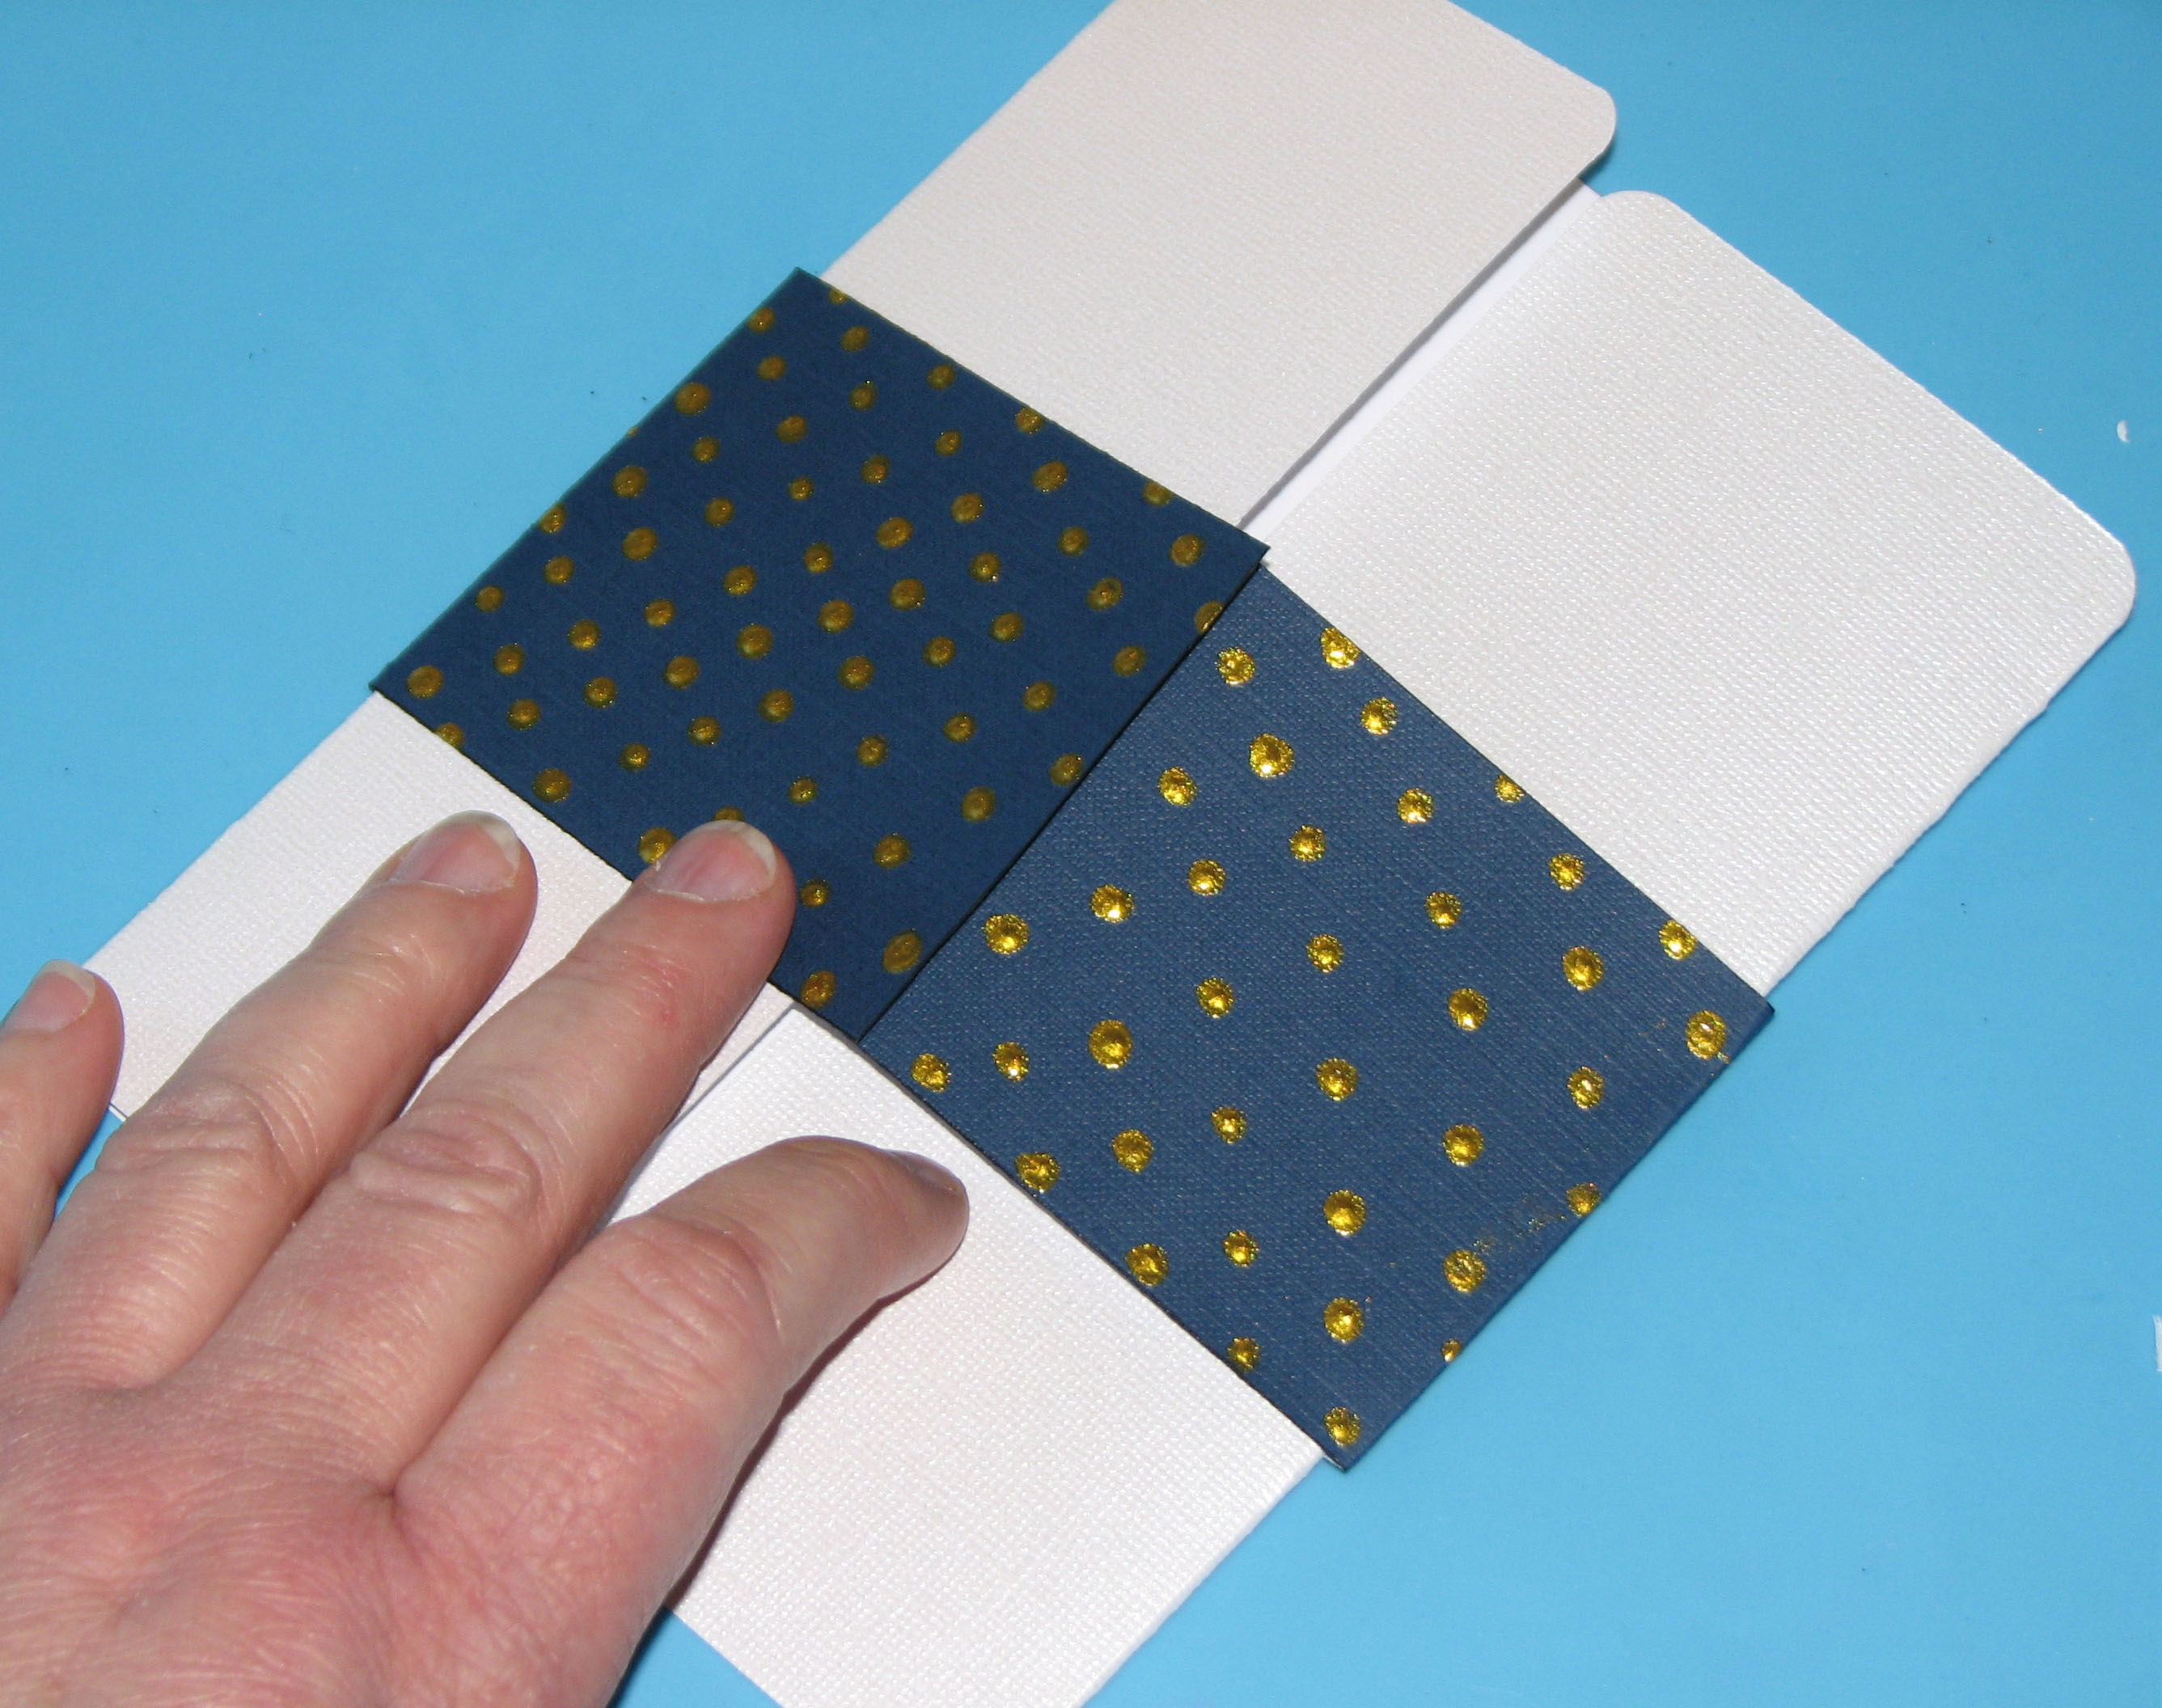
4. When the Studio Glaze has dried, affix the deco strip to the card.
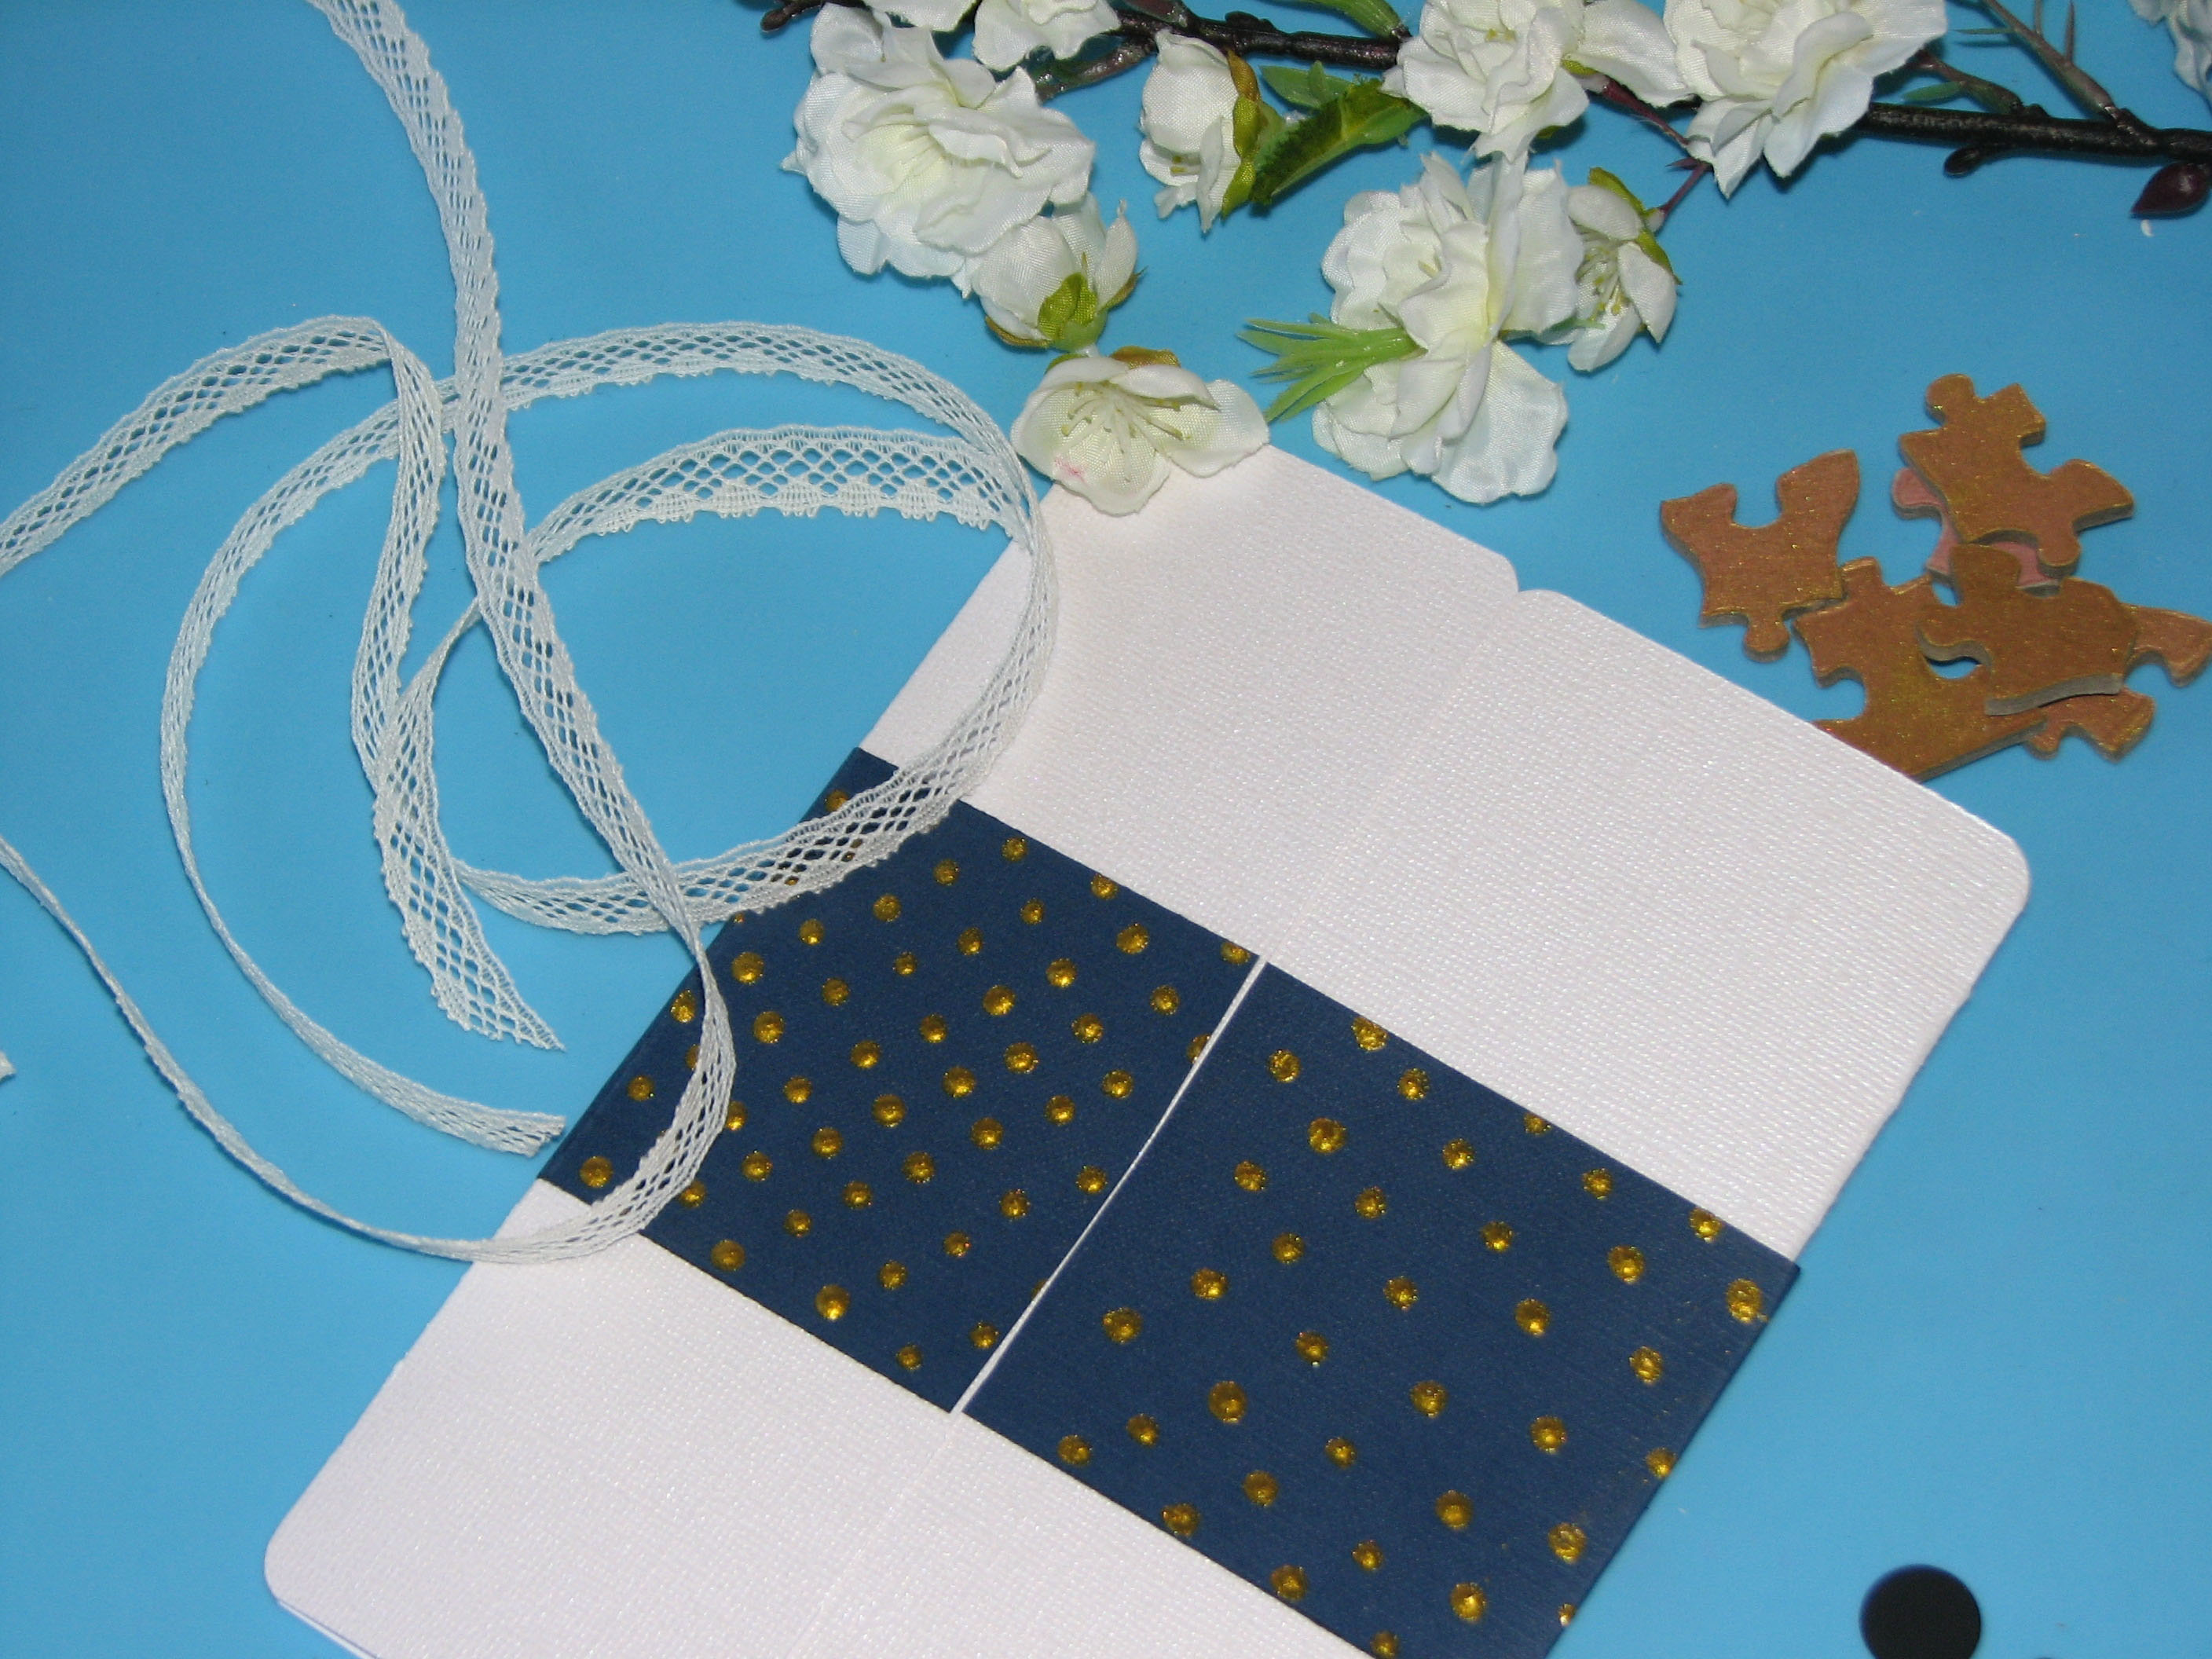
5. Wrap a strip of vintage lace around the card at the top and bottom of the dot strip. Add additional lace and flowers as desired.
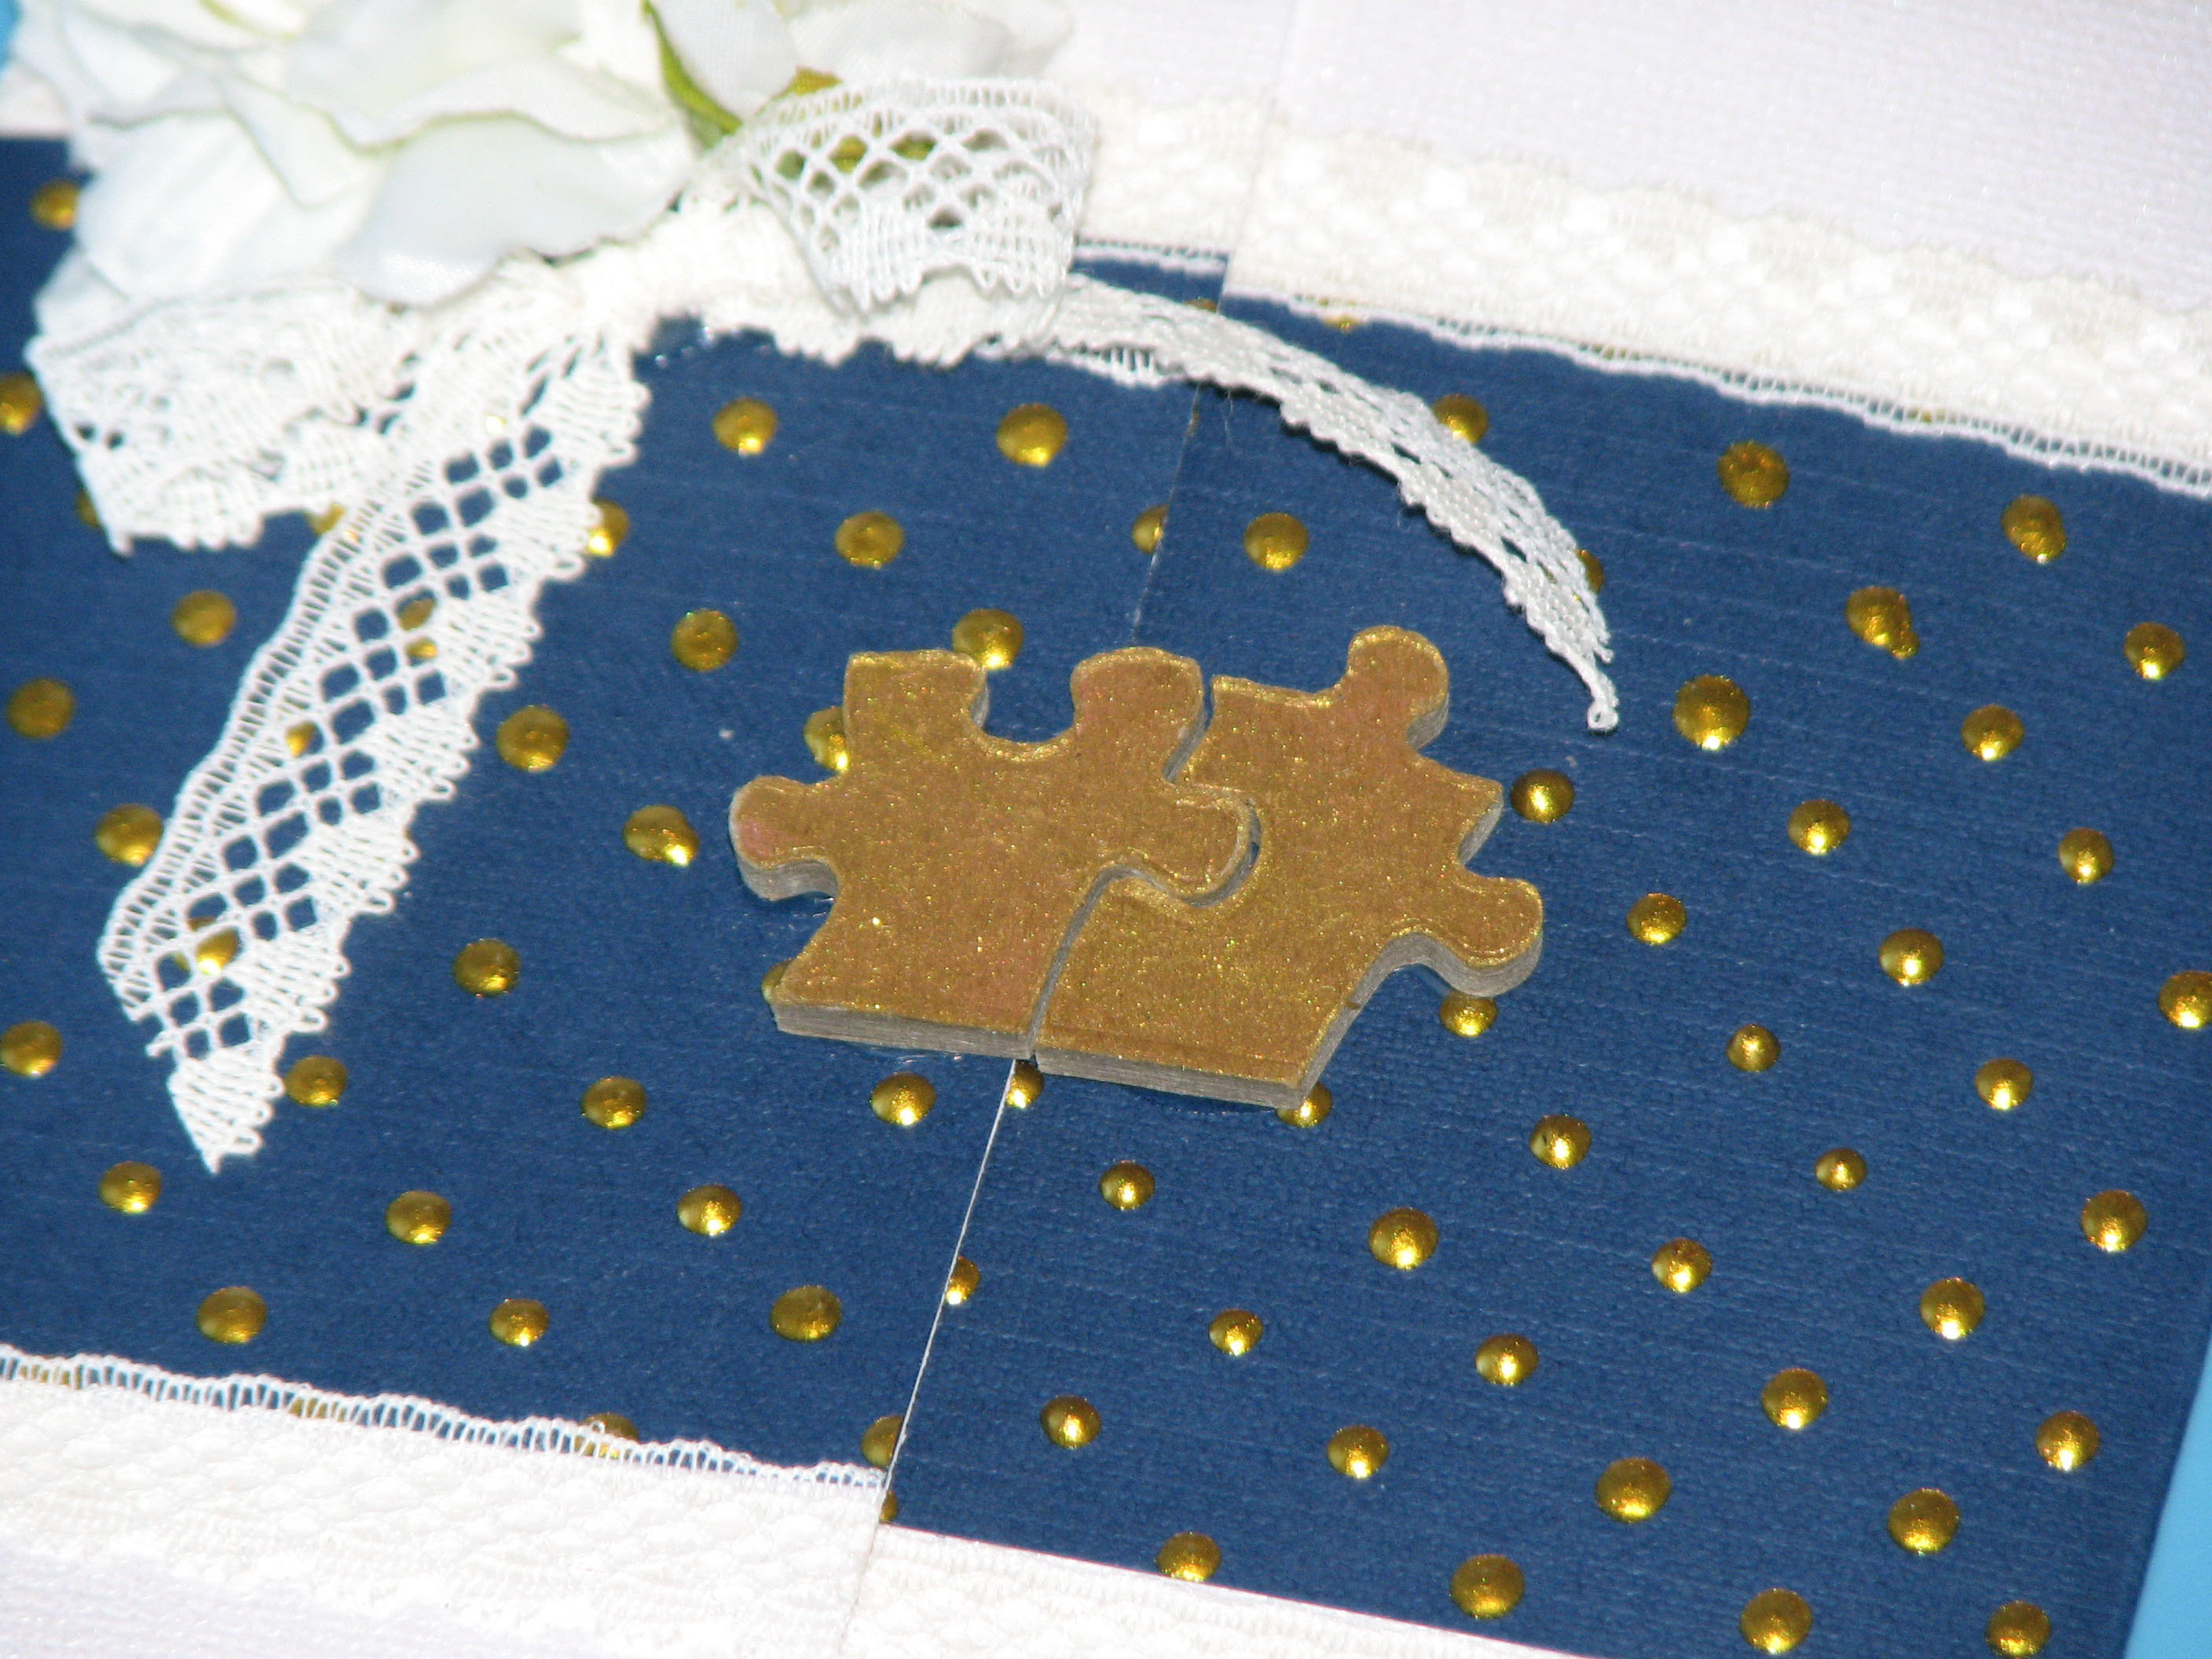
6. Use two interlocking puzzle pieces to hold the card closed.
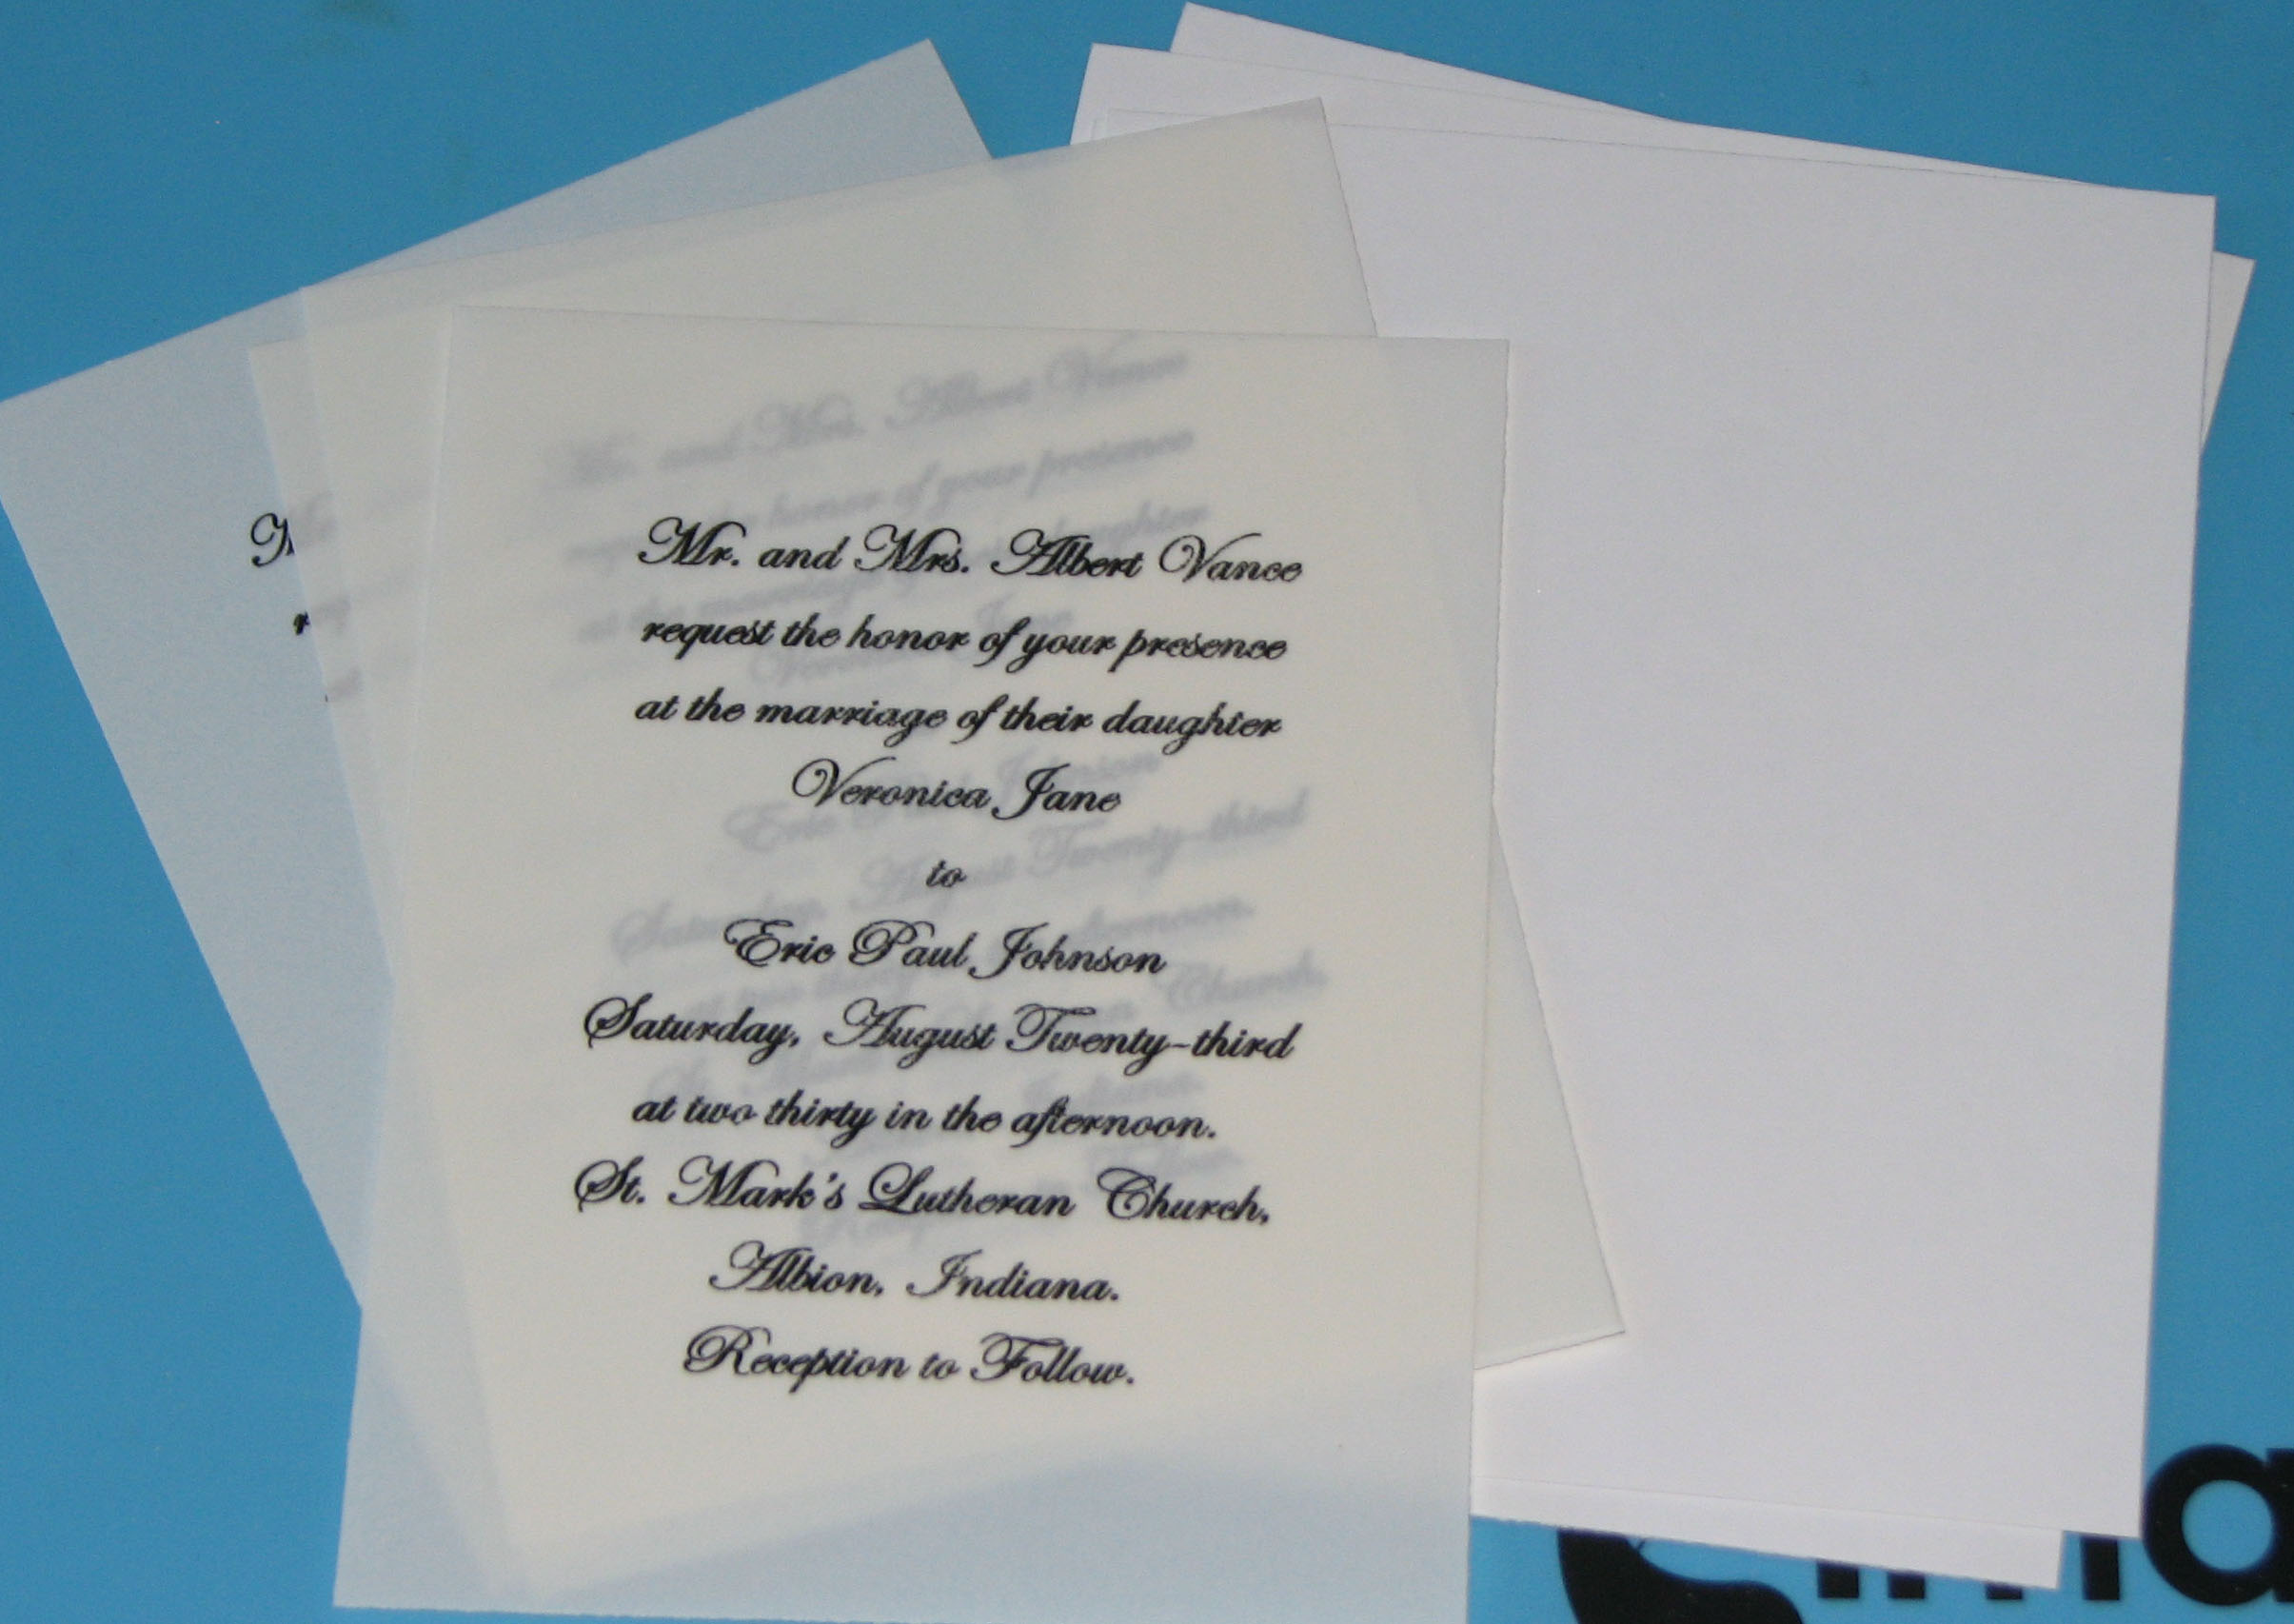
7. Print the desired information on vellum and cut to size. Cut a white card panel for each invitation.
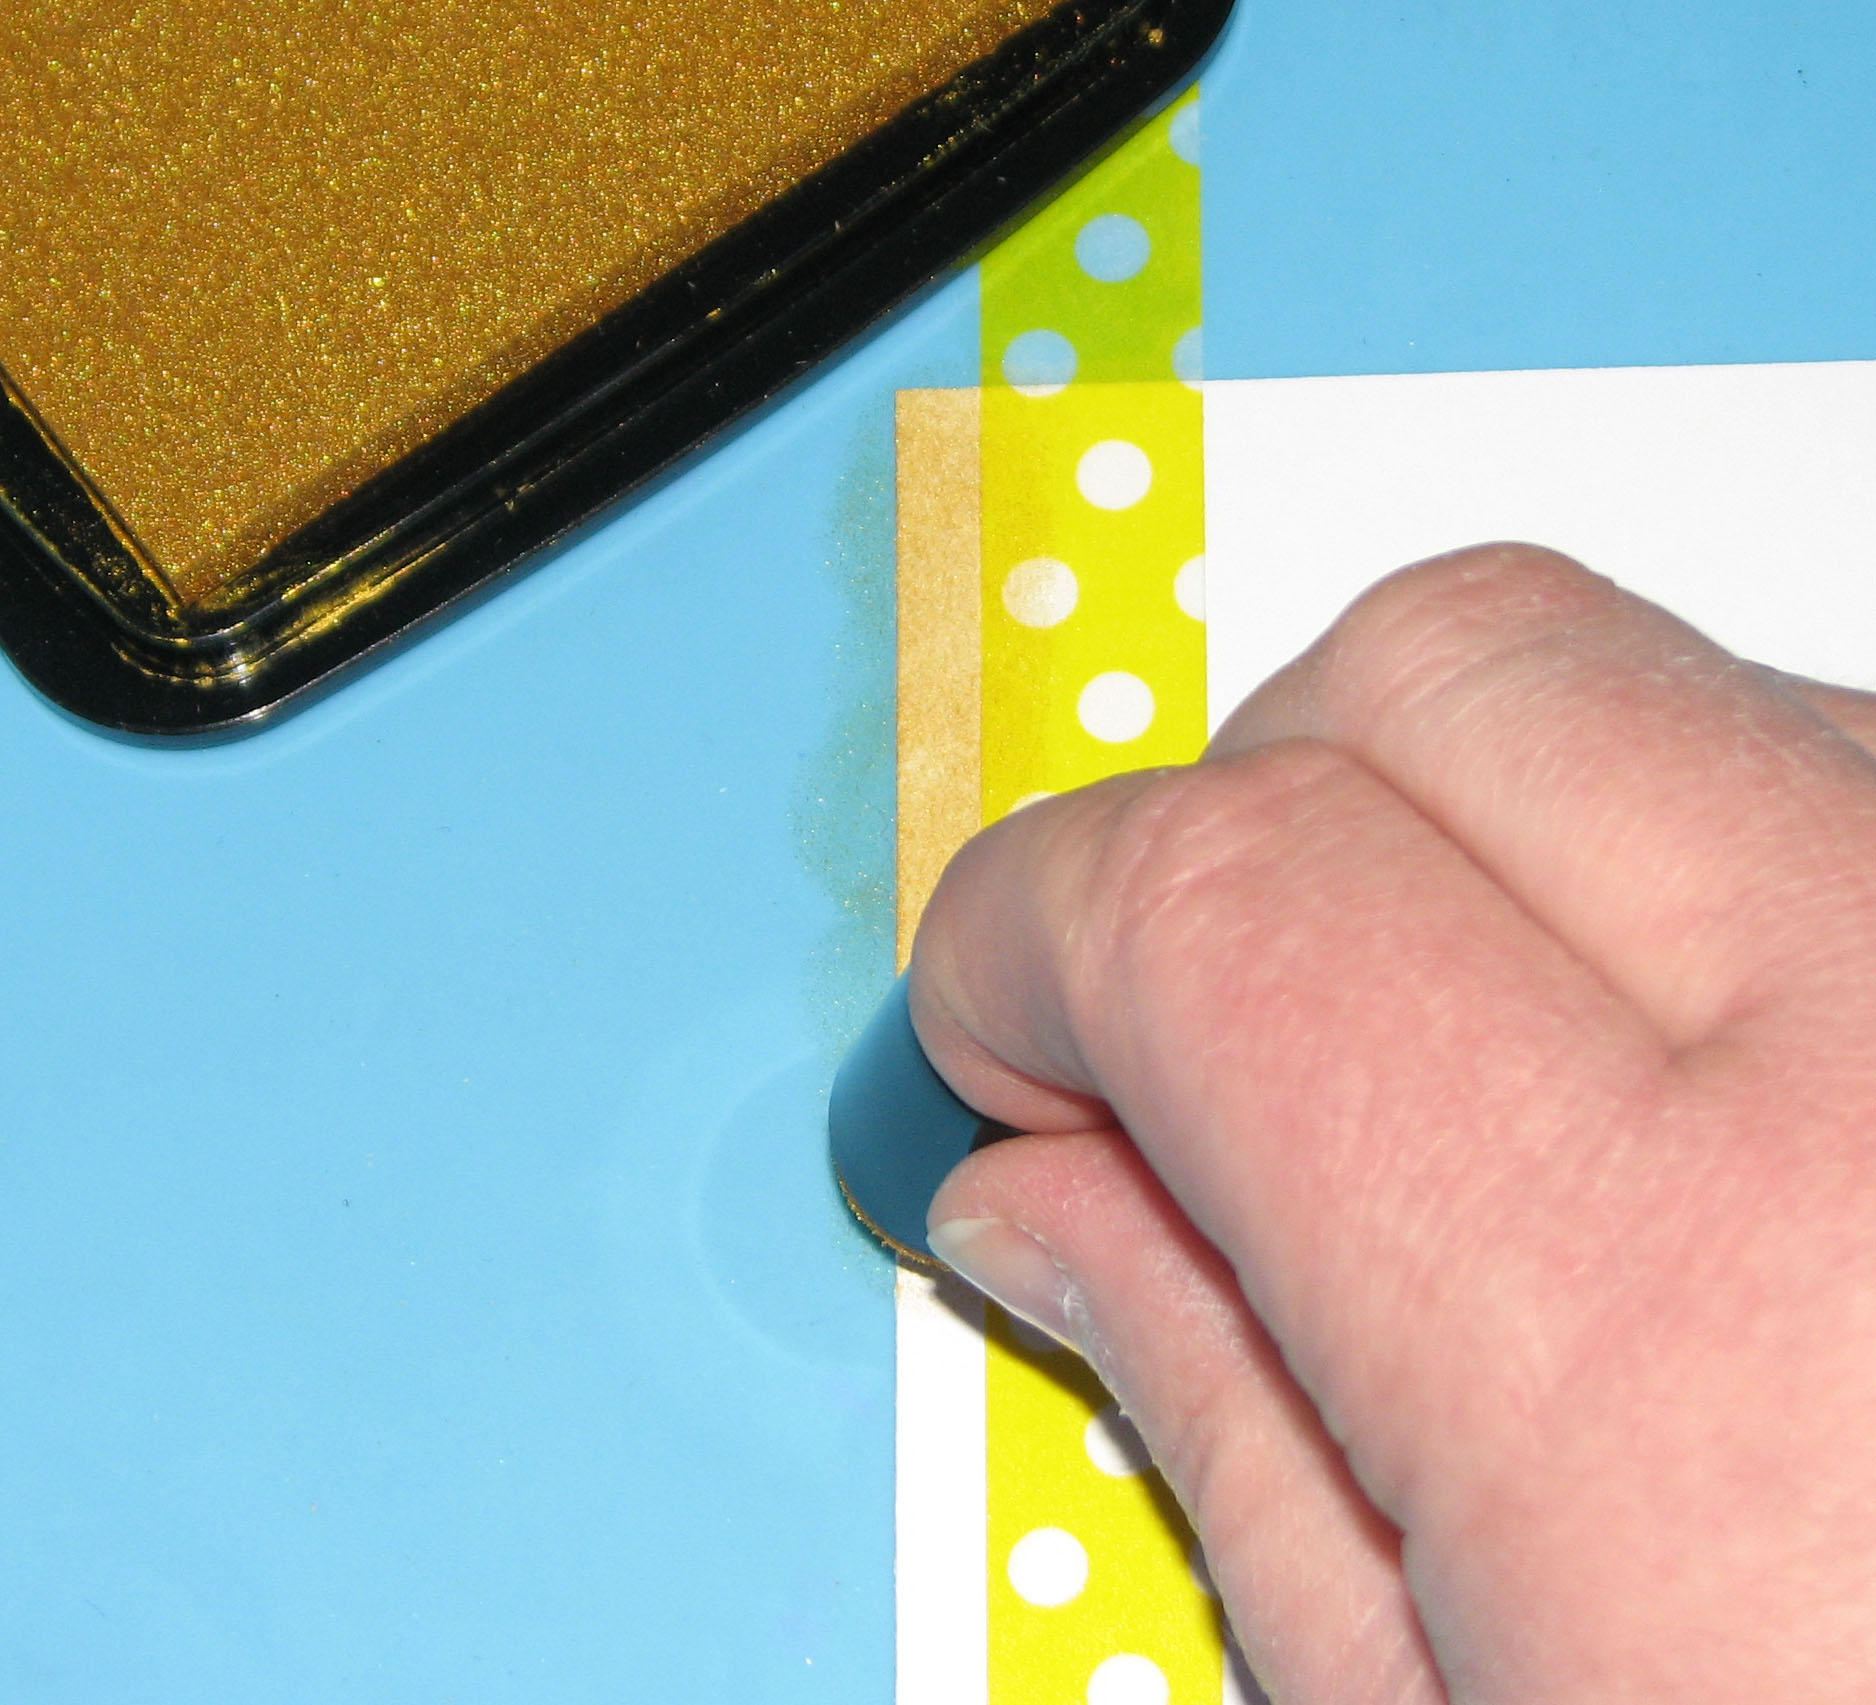
8. Position a strip of washi tape along one edge leaving a 1/4" gap and use a Sponge Dauber to apply Delicata Golden Glitz ink in the gap. Remove the washi tape.

9. Ink the edges of the vellum with the Sponge Dauber and Golden Glitz ink.
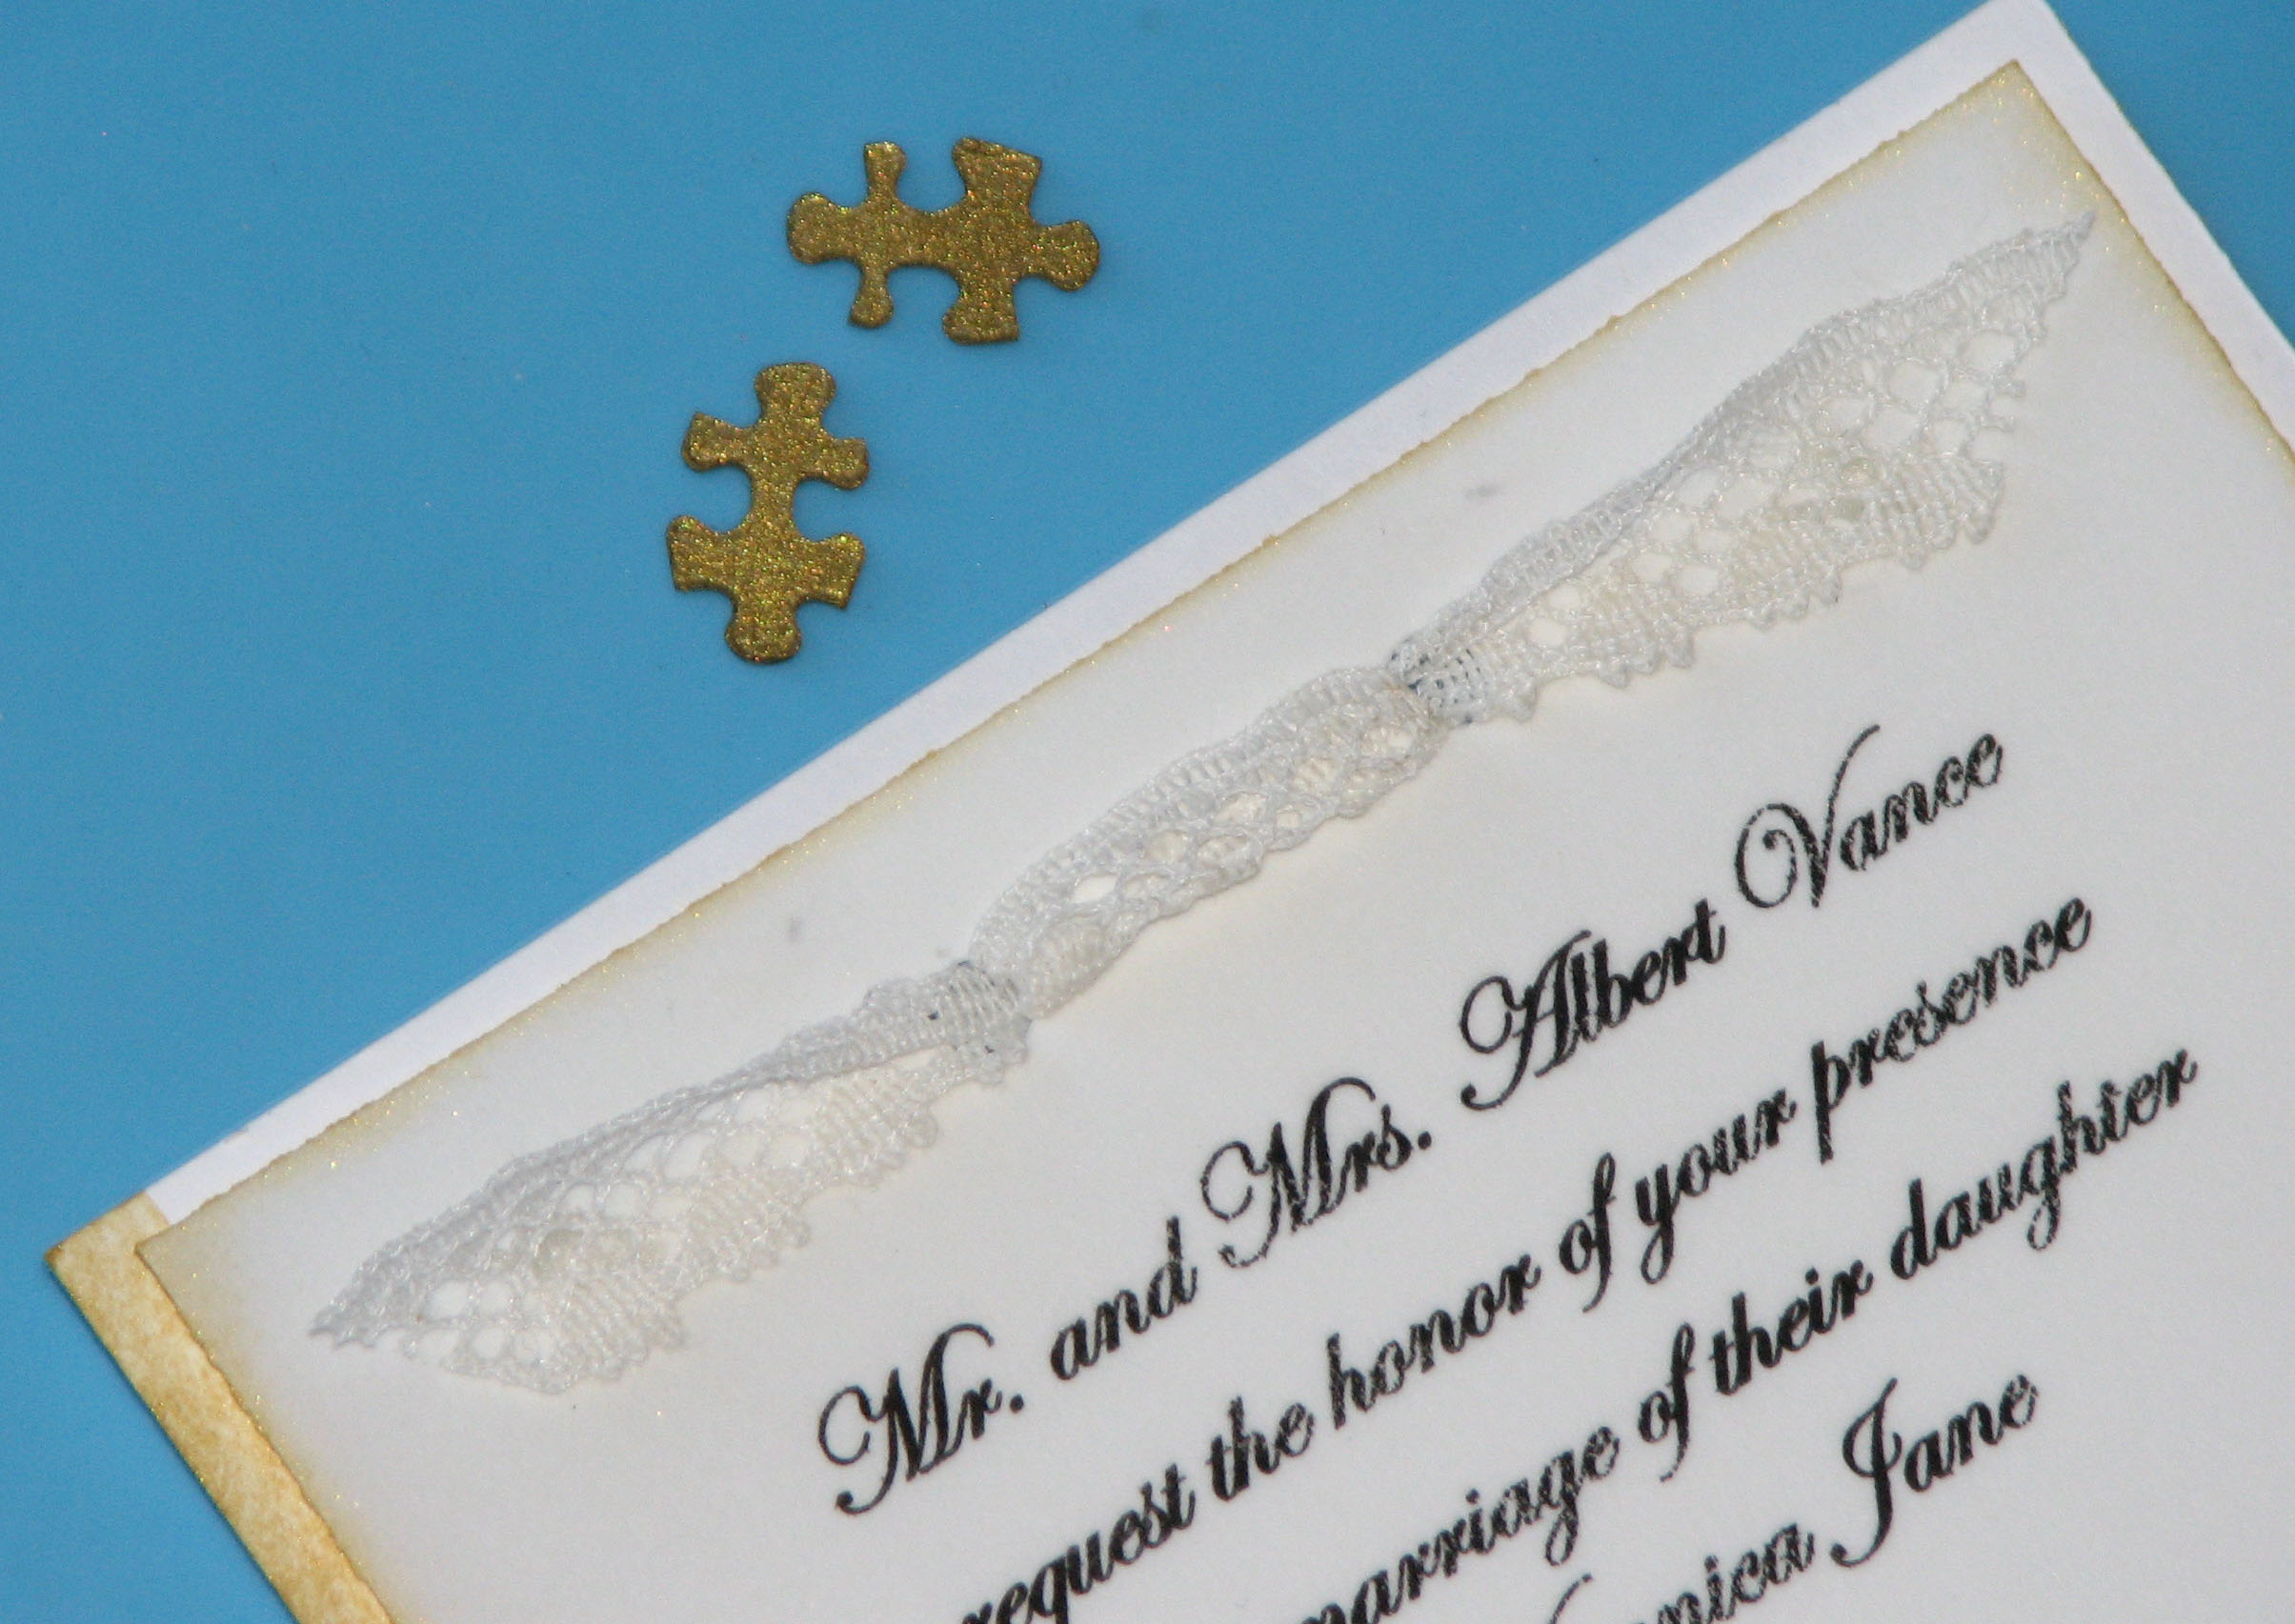
10. Affix the vellum to the card panel by punching two holes at the top of the card and fastening with a length of vintage lace. Glue on a couple micro puzzle pieces which have been inked with Golden Glitz ink over the ribbon.
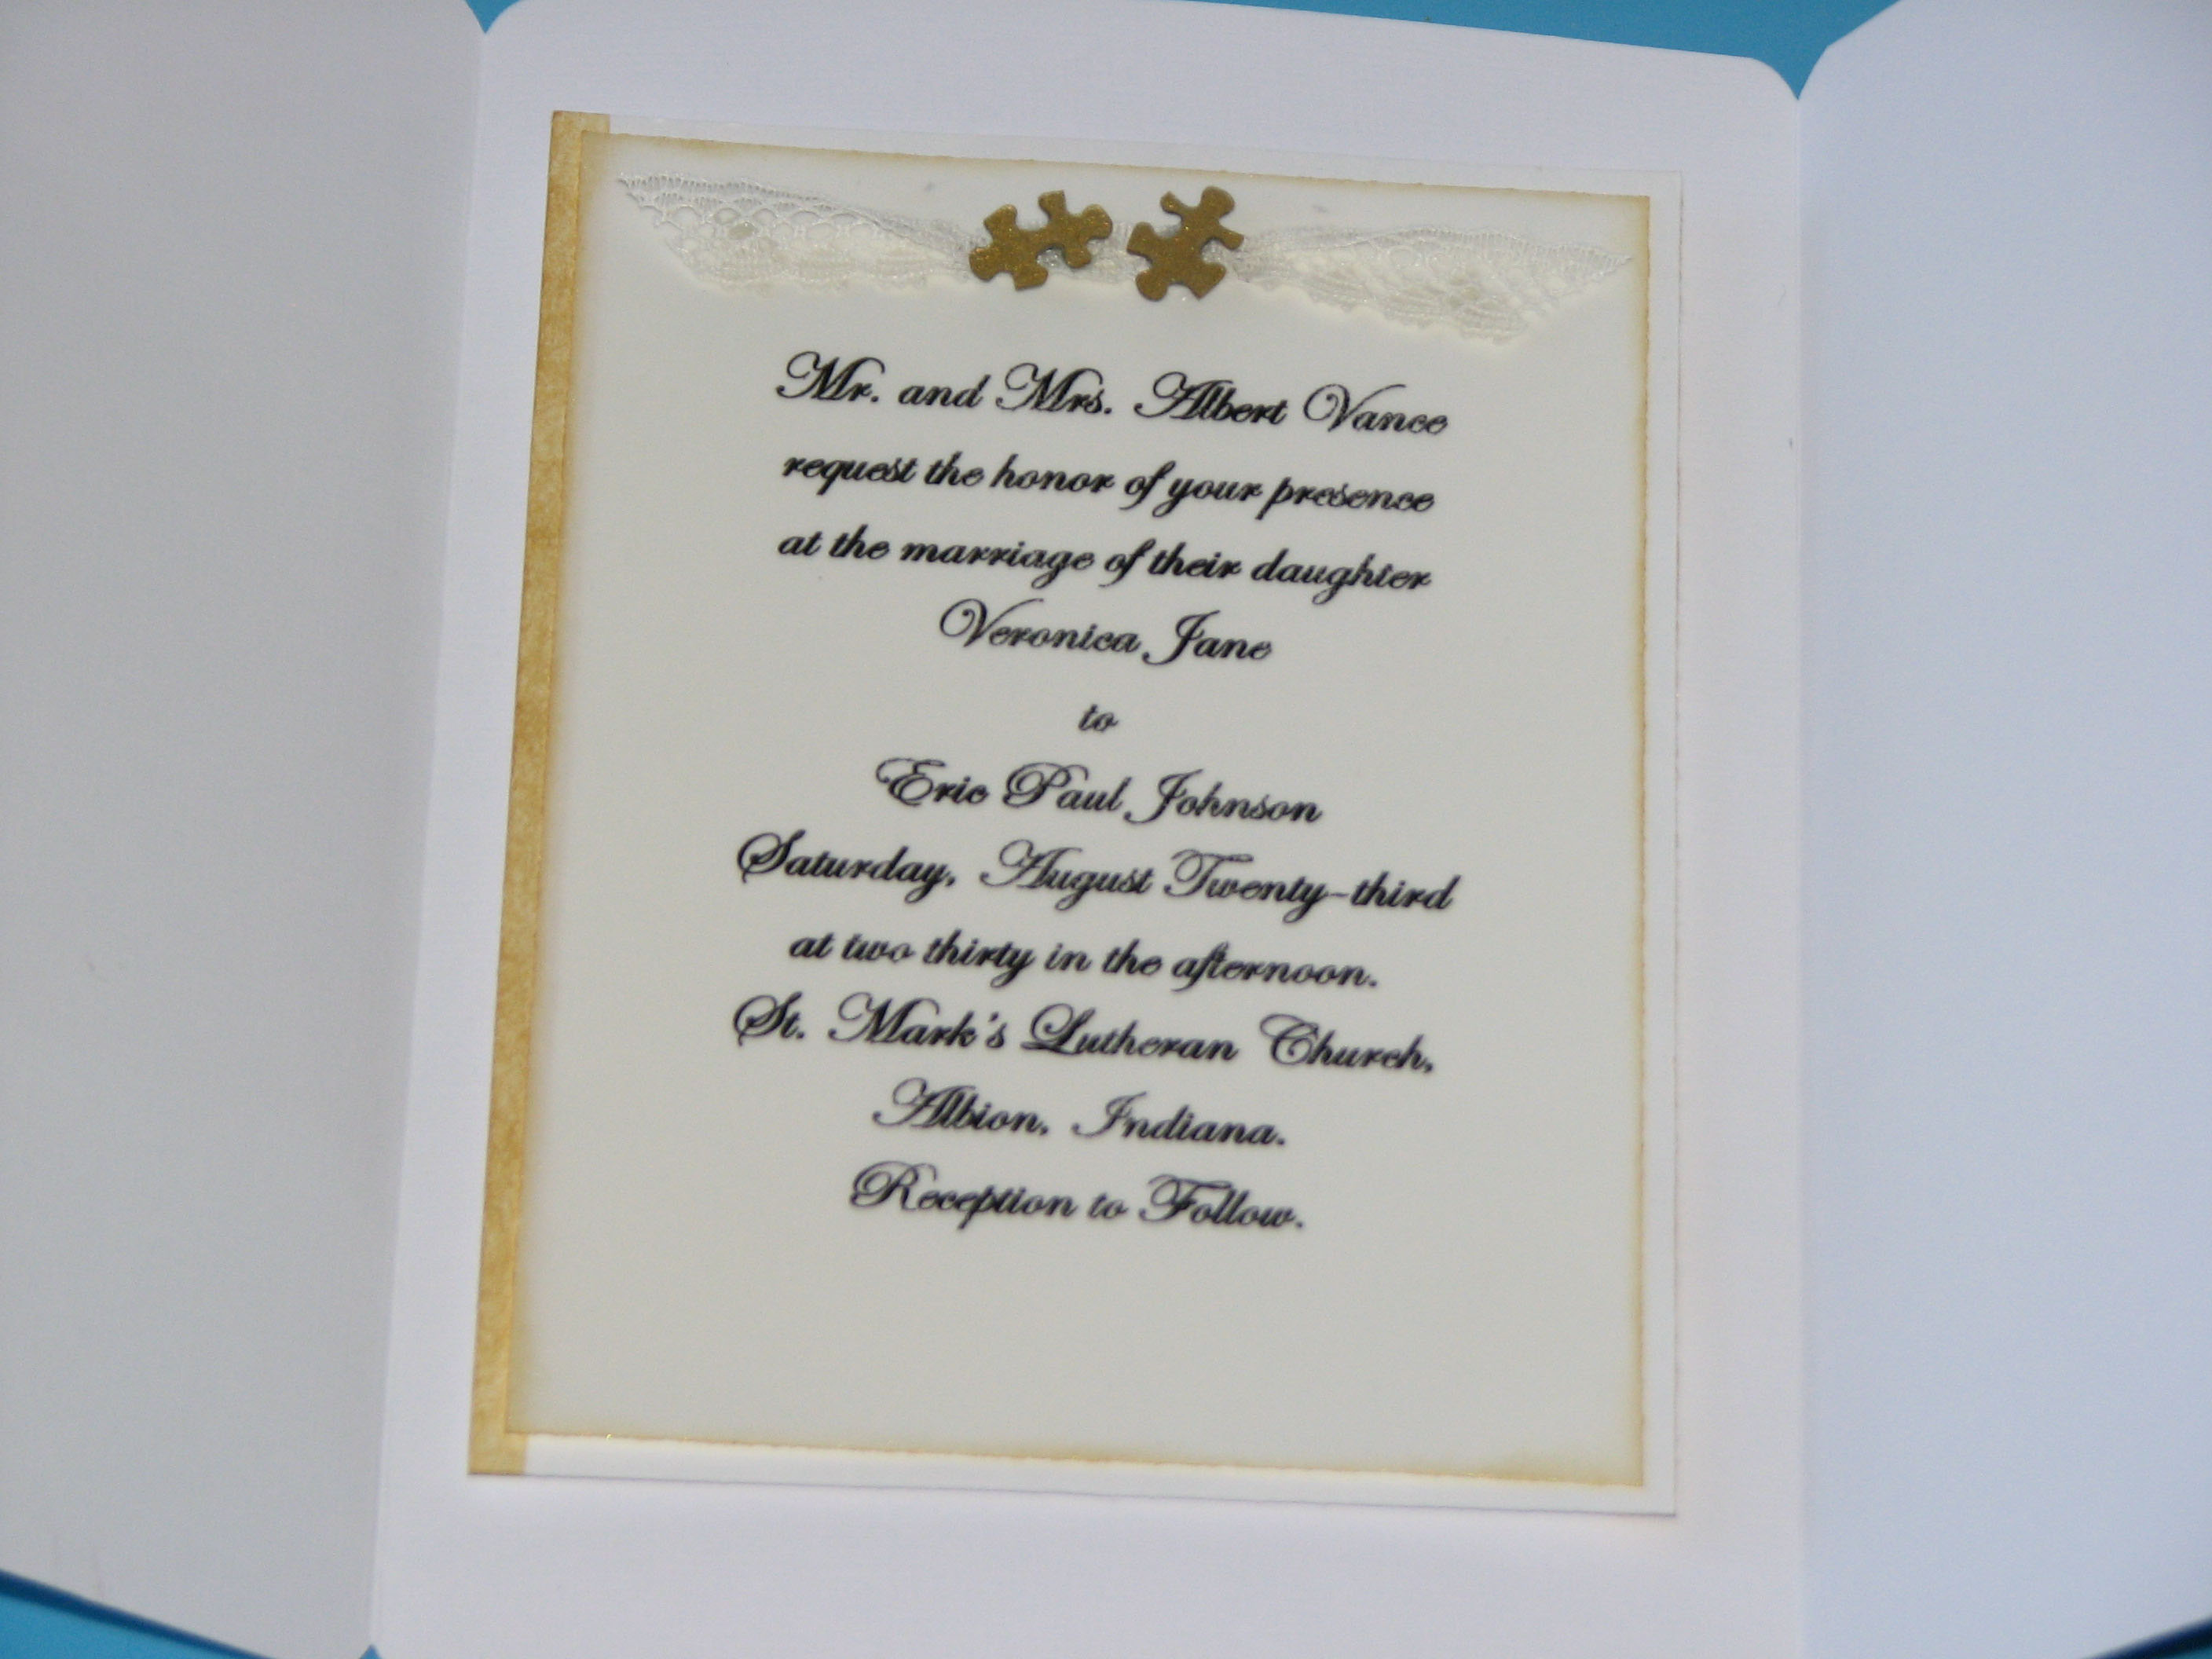
11. Glue the completed panel to the inside of the card.
Imagine Crafts featuring Tsukineko:
Other: