Array ( [0] => 280 [ID] => 280 [1] => 1 [TYPEID] => 1 [2] => 0 [SECTIONID] => 0 [3] => project-details [MOD_NAME] => project-details [4] => [TITLE] => [5] => Project Details [META_TITLE] => Three different tools that can take a birthday card to the next level [6] => [META_DESCRIPTION] => Birthday card tutorial featuring three different tools that make an extra wow factor [7] => [META_KEYWORDS] => [8] => [BUTTON_TITLE] => [9] => [BODY] => [10] => [BODY_SIDE] => [11] => [MODULE_PROCESSING] => [12] => [MODULE_META] => [13] => project-details-head.php [MODULE_HEAD] => project-details-head.php [14] => project-details-body.php [MODULE_BODY] => project-details-body.php [15] => [MODULE_SIDE] => [16] => 0 [TOP_ORDER] => 0 [17] => 0 [HITS_UNIQUE] => 0 [18] => 0 [HITS_REPEAT] => 0 [19] => 0 [ROBOT_HITS] => 0 [20] => 0000-00-00 00:00:00 [LASTVIEWED] => 0000-00-00 00:00:00 [21] => 0000-00-00 00:00:00 [ROBOT_LASTVIEWED] => 0000-00-00 00:00:00 [22] => 0.70 [PRIORITY] => 0.70 [23] => 1 [SITEMAP] => 1 [24] => 1 [ACTIVE] => 1 [25] => 1 [DISPLAY_TITLE] => 1 [26] => 0 [SSL_MODE] => 0 [27] => 0 [EDITABLE] => 0 [28] => 0 [DELETABLE] => 0 [29] => 2013-11-05 00:00:00 [LASTUPDATED] => 2013-11-05 00:00:00 [30] => 2013-11-05 00:00:00 [CREATED] => 2013-11-05 00:00:00 )
Imagine Crafts
LearnMakeCommunityShop

3 Tools, 3 Ways to Create a Birthday Card

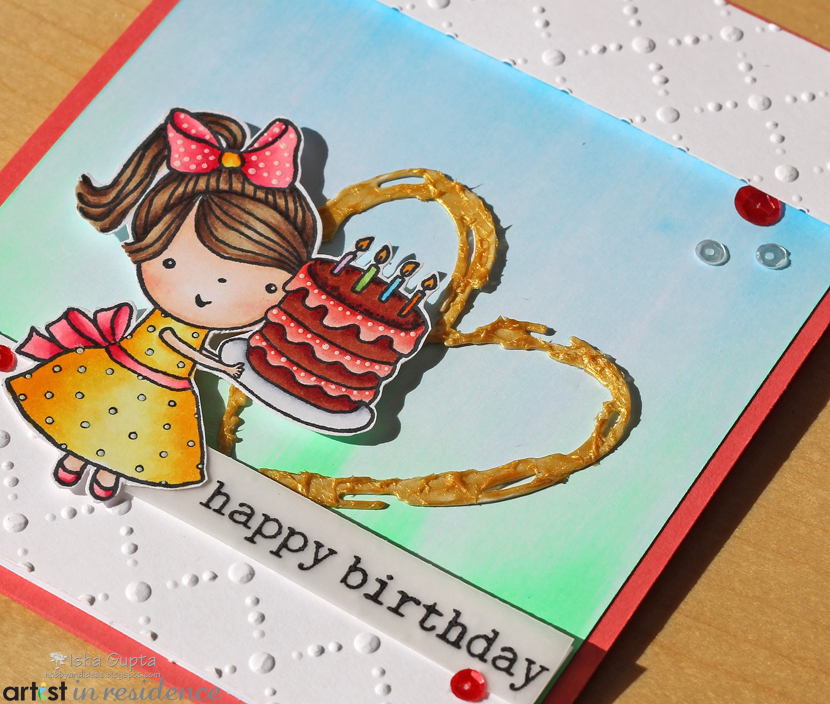
When I needed to make a birthday card for my daughter this cute image was a great starting point for inspiration. I really enjoyed the various ways to add depth, dimension and texture to my projects. Take a look!


Birthday card tutorial featuring three different tools that make an extra wow factor

Directions:

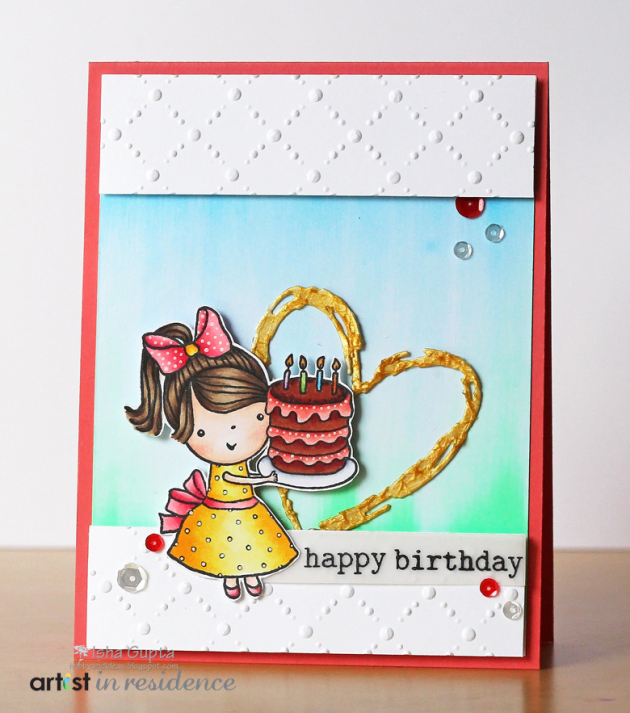
1. Cut/score card base to a finished size of 4¼˝ x 5½˝ from Candy Heart cardstock.

AIR_2015_IG_3Tools_Step1


2. Cut a white mat layer.

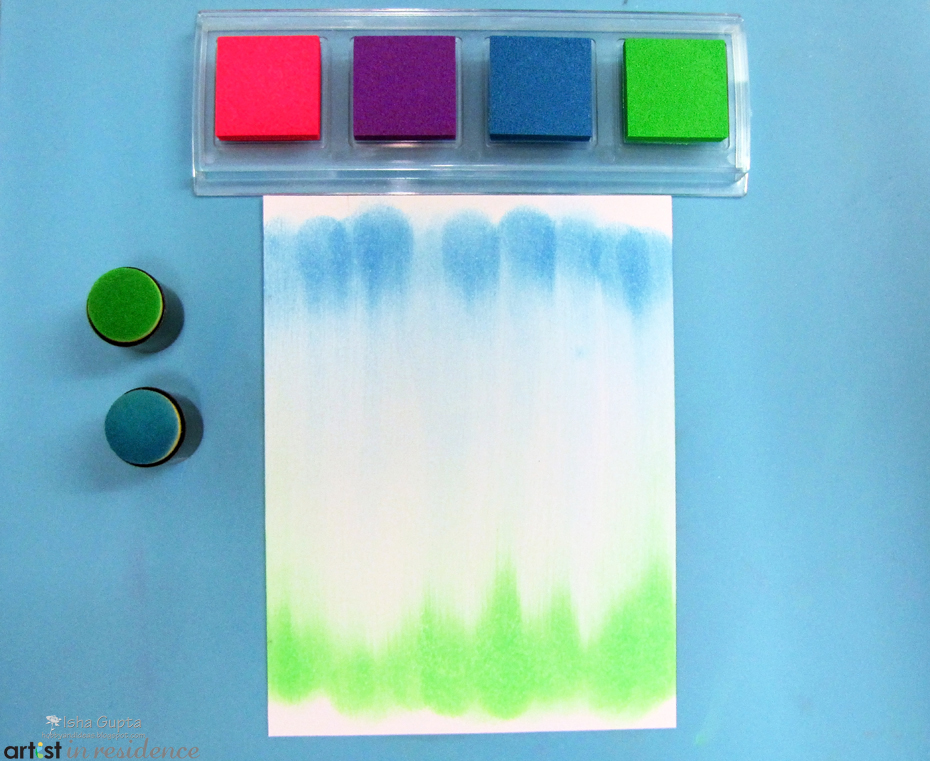
3. Use sponge dauber and instead of a usual circular sponging motion, just swipe the inks across. This gives a nice subtle interest to the background.


AIR_2015_IG_3Tools_Step2


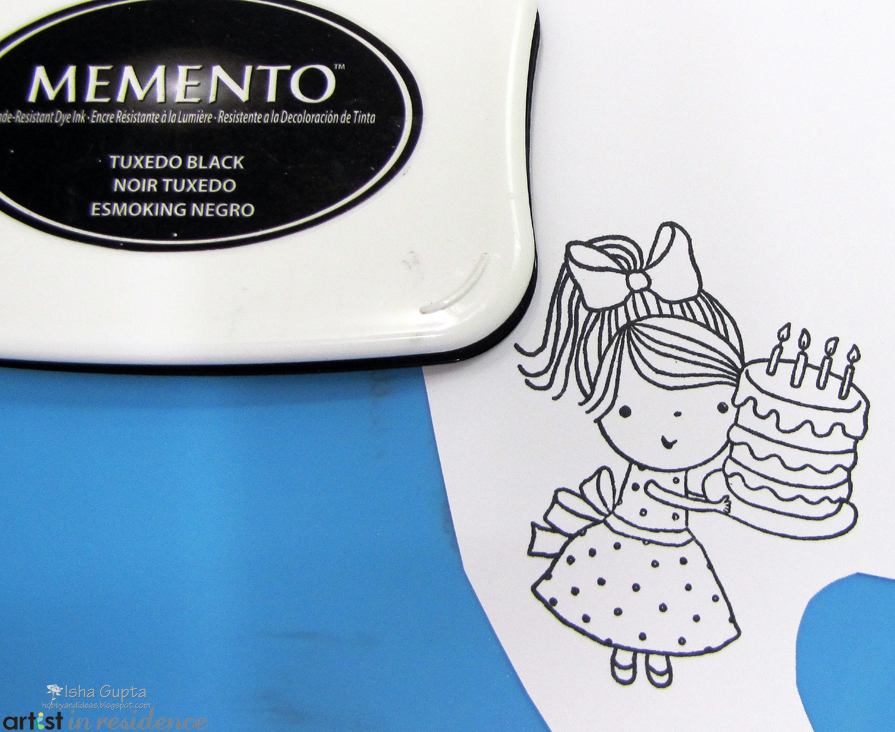
4. Stamp the image using Memento Tuxedo Black as I am going to color using Copic markers.

AIR_2015_IG_3Tools_Step3


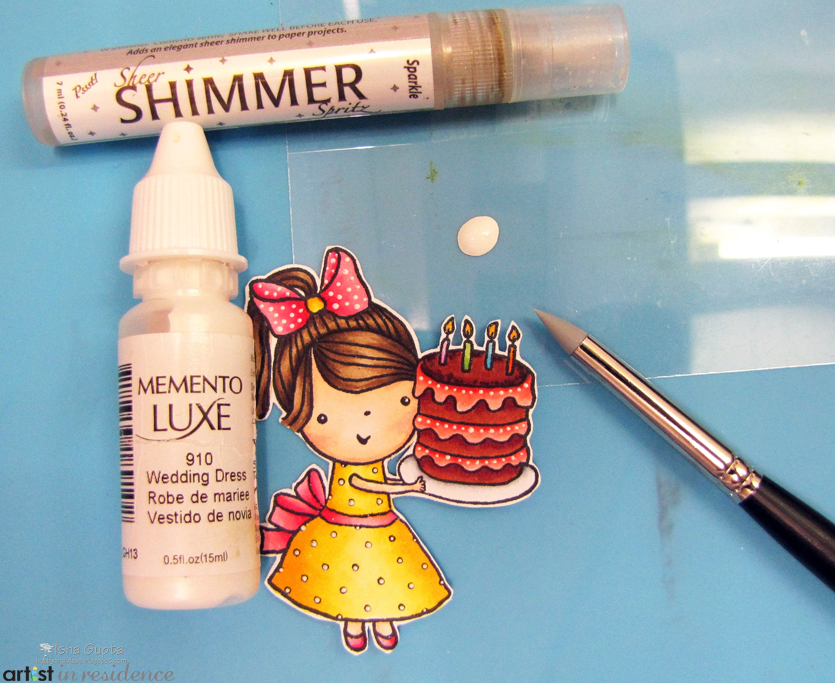
5. Once the image is colored, I applied tiny dots using Wedding Dress inker and the pointed Doodlestix.

6. Then, I applied some Shimmer Spritz Sparkle to the cake, candles and hair bow.

AIR_2015_IG_3Tools_Step4


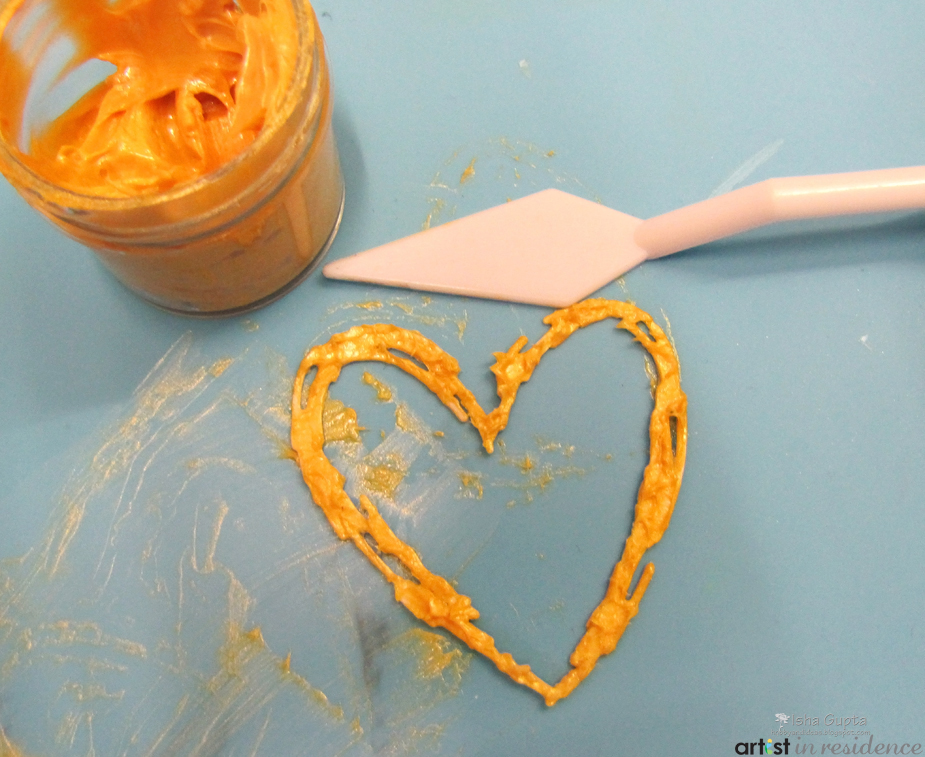
7. Die-cut a heart shape to your liking, apply some gold Creative Medium using a palette knife. You will want to apply your Creative Medium in a tapping motion to give it a nice texture.

AIR_2015_IG_3Tools_Step5

8. Finally, I cut 2 strips of white cardstock, dry emboss it using an embossing folder and assembled my card as per the main photo.
by Isha Gupta

Difficulty

Intermediate

Time

1/2 hour + drying time

Materials Needed

Imagine

Other Supplies

  • Stamp: Penny Black (happy days, edge to edge)
  • Die: Simon Says Stamp (Sketch Heart)
  • Cardstock: Neenah Solar white; Bazzill Card Shoppe (Candy Heart)
  • Miscellaneous: Sequins (Pretty Pink Posh), 3D Foam, Tombow mono multi glue, Sizzix Embossing Folder


Sign up for our newsletter
Facebook Pinterest Twitter YouTube Vimeo